How to make a three-tier garden fountain from old tires
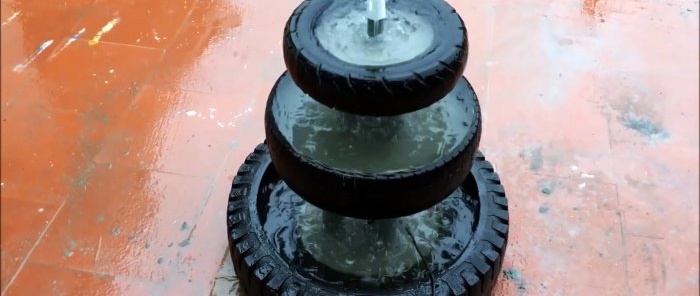
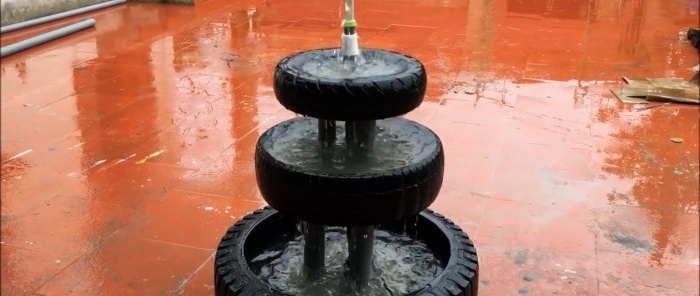
The landscape of a country house plot can be decorated with a small fountain. It will look great against the backdrop of a garden pond, flowers, green lawn or ornamental shrubs. Its presence diversifies the landscape design, and in addition enhances its impression with the sound of flowing water. You can make a garden fountain with your own hands from old tires.
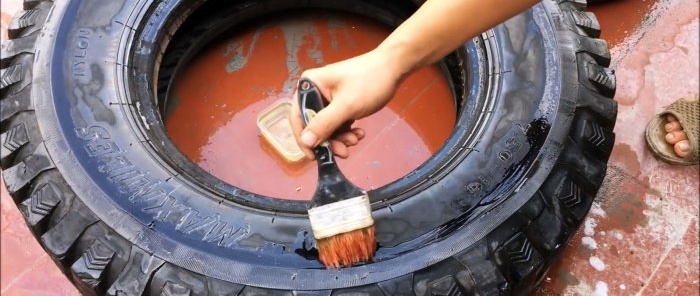
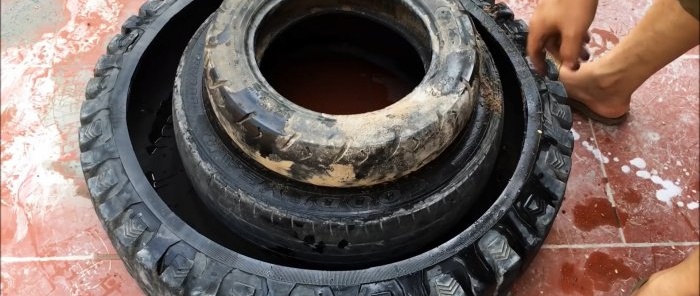
For medium and larger tires, you need to cut off the sidewall on one side. To do this, they need to be washed and lubricated along the cut line with oil.
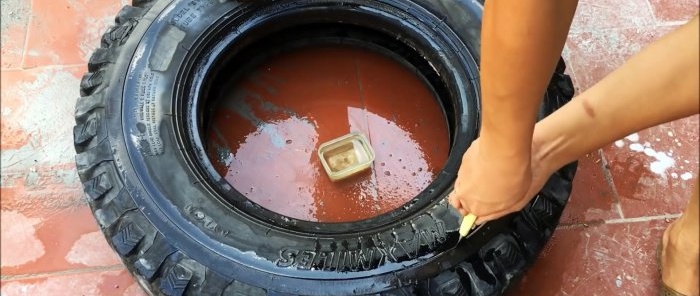
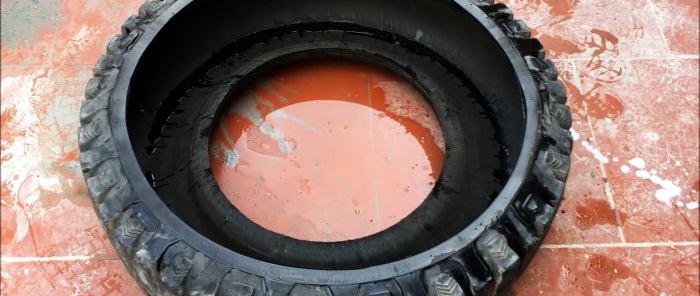
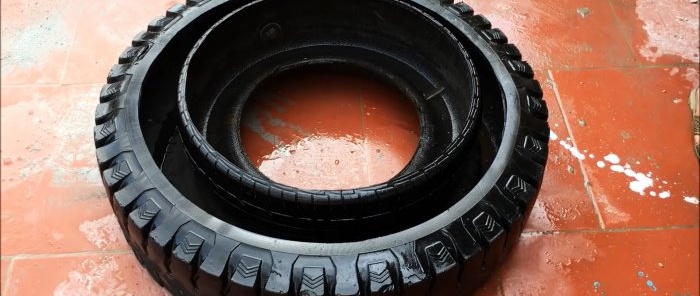
Cutting in a circle is done with a mounting knife with a thin blade dipped in oil. The bead of a large tire needs to be cut enough so that a medium tire can fit inside it with clearance. Also, the smaller tire should fit into the middle one.
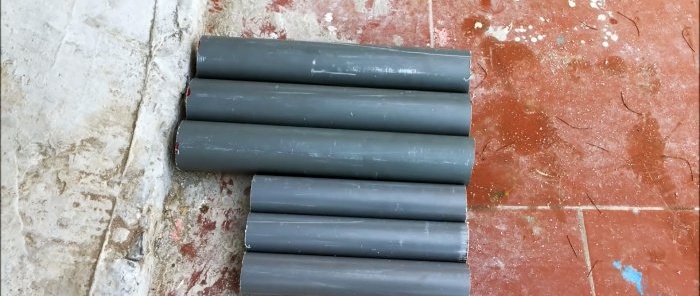
Next you need to make 3 racks for a medium and a small tire. You can use sewer pipes for this.
The racks for the medium tire will be concreted into the large one, and for the small one into the medium one. Their height is calculated taking into account the width of the tires and the desired gap between the tiers of the fountain. For the lower racks you can use a 75 mm pipe, and for the upper racks 50 mm.
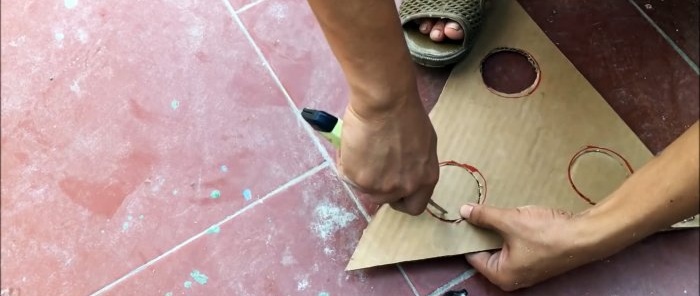
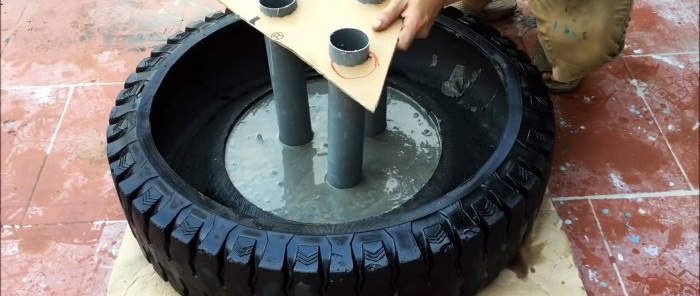
The tubes will be placed in a triangle. To prevent them from falling during concreting, you will need to make a template from corrugated cardboard with holes for them.
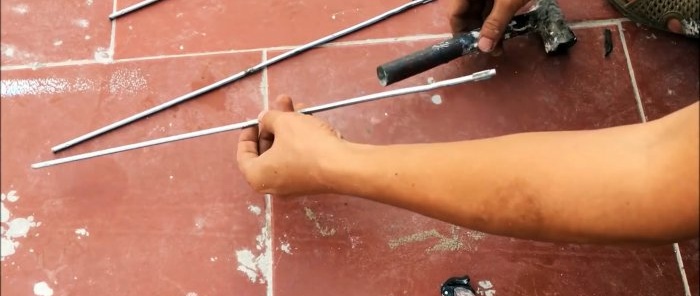
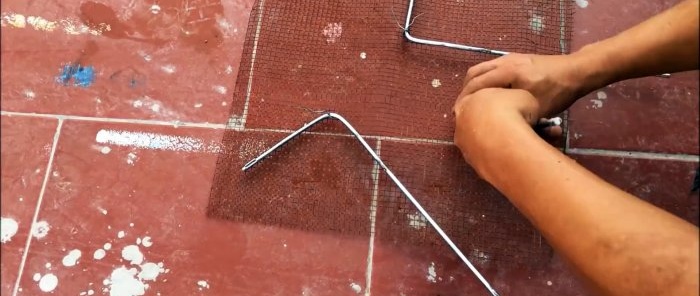
Next, you need to bend the reinforcement with the letter “G” to reinforce the tubes from the inside. The bent rods are tied to meshes that will reinforce the bottom of the fountain bowls.
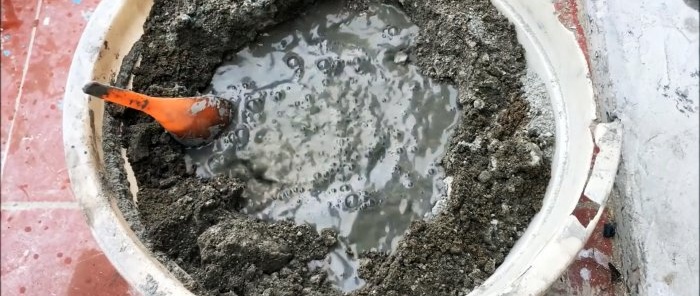
Liquid concrete is prepared from sand and cement.
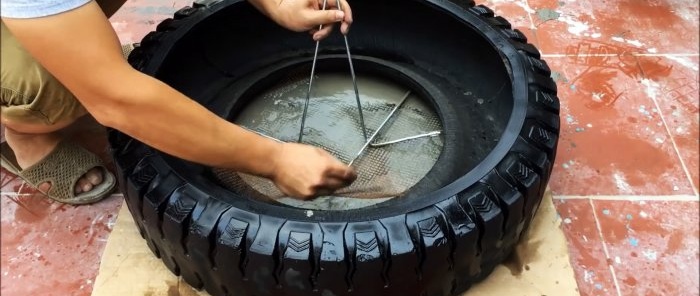
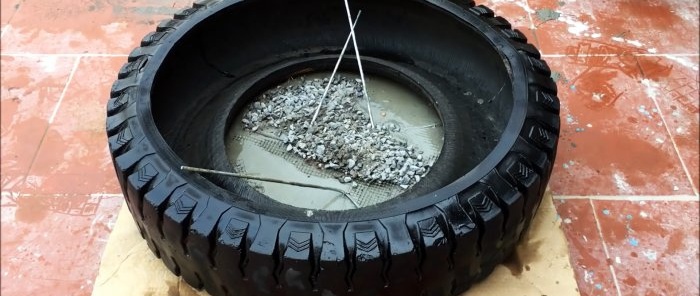
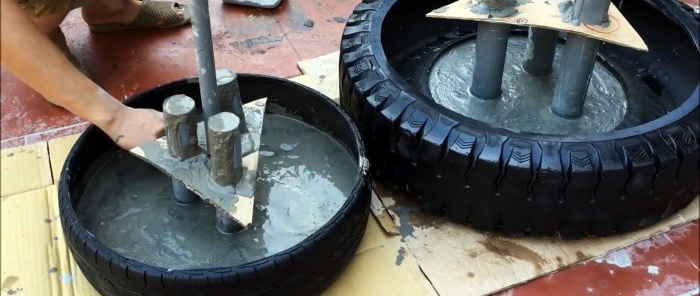
A large tire is laid flat, with cardboard placed underneath it. Then concrete is poured to the middle of its side, and a mesh with reinforcement is embedded in it.
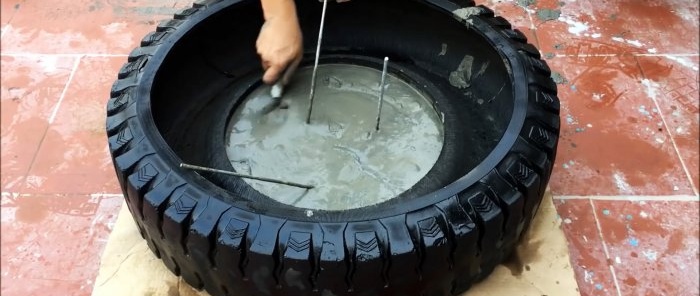
It is sprinkled with crushed stone on top. A little concrete is poured on top of the stone and the pipe is exposed. To support them, a cardboard template is put on. The concrete level should reach the edge of the tire bead.
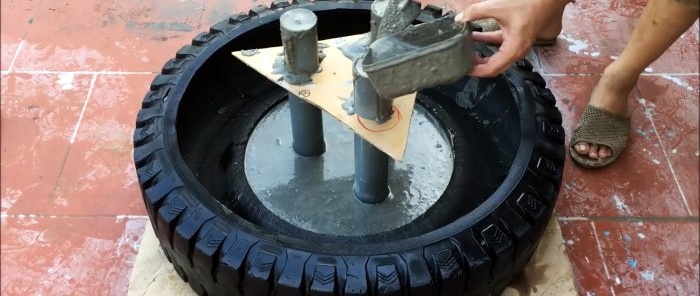
After leveling, the solution is poured into the tubes.
The average tire is concreted in almost the same way. However, in addition to the racks, it uses a 25 mm central pipe. It must pass through concrete and reinforcing mesh. You need to provide a hole for it in the template. In the middle tire, concrete is poured inside.
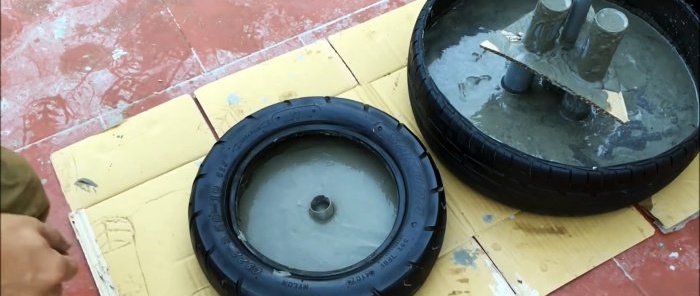
The last tire is filled with concrete without reinforcement. After leveling, a 32 mm tube is inserted through the center of its bottom. Then the tires are left until the cement hardens. To prevent the concrete from cracking, after the initial setting, a little water is poured onto it.
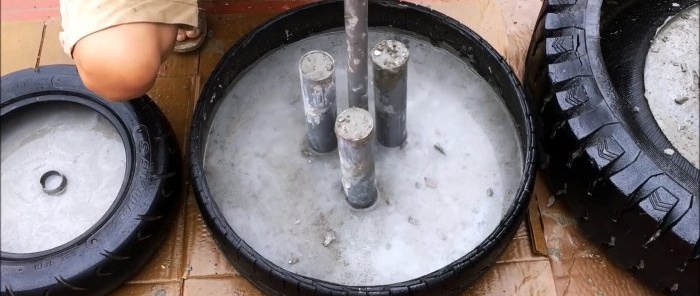
After a day, the cardboard templates are removed and the racks are washed from concrete stains. The 25mm and 32mm center tubes are knocked out. This will not be difficult, since liquid concrete will shrink significantly.This leaves holes in the bottom of the small and medium bowls.
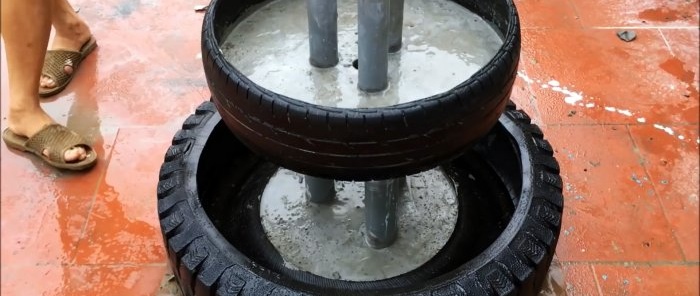
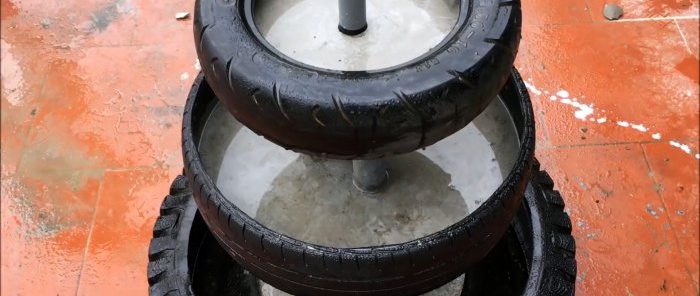
The middle bowl is installed on the top one. After this, a 25 mm tube is inserted through its central hole. To make it tight, it needs to be wrapped with electrical tape. It is important that the bottom of the tube should not rest against the bottom of the lower bowl.
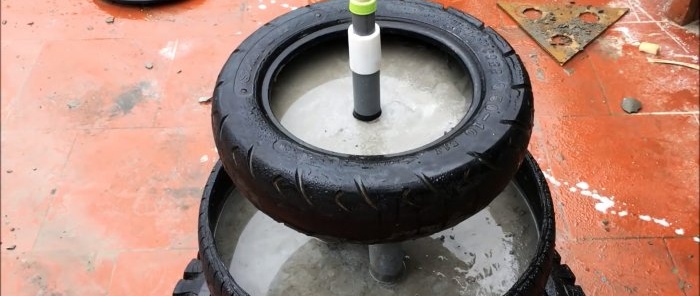
A small bowl with a 32 mm tube pressed in with winding is installed on top. It should fit onto the 25 mm central pipe.
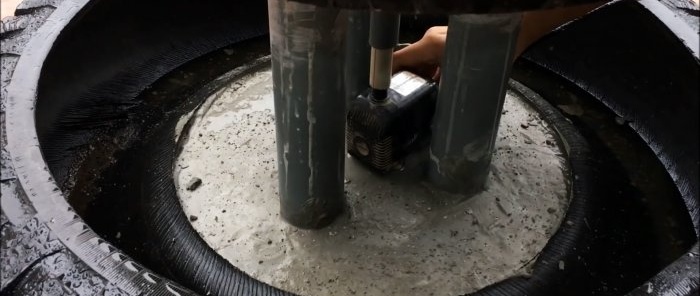
Next, a 20 mm tube is passed through the central pipes of the fountain.
From below, near the lower bowl, it is connected to the aquarium pump.
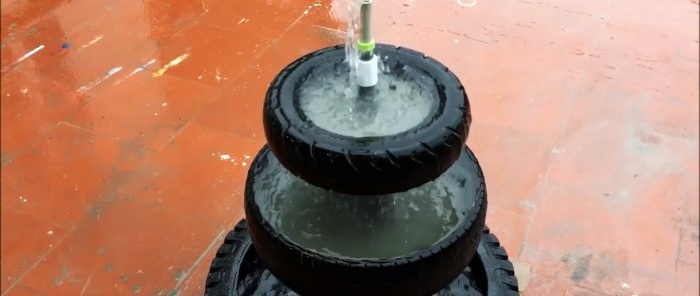
The top of the pipes can be refined. After this, water is poured into the lower bowl so that the pump is completely covered. The middle and upper bowls are also filled, after which the fountain turns on. The liquid level in it must be periodically raised, adding water as it evaporates. If desired, the fountain can be painted.
Materials:
- tires of different sizes 3 pcs.;
- plastic pipes 75 mm, 50 mm, 32 mm, 25 mm, 20 mm;
- steel reinforcement 6 mm;
- dense plaster mesh;
- cement, sand, gravel;
- corrugated cardboard;
- aquarium pump.
Fountain manufacturing process
For medium and larger tires, you need to cut off the sidewall on one side. To do this, they need to be washed and lubricated along the cut line with oil.
Cutting in a circle is done with a mounting knife with a thin blade dipped in oil. The bead of a large tire needs to be cut enough so that a medium tire can fit inside it with clearance. Also, the smaller tire should fit into the middle one.
Next you need to make 3 racks for a medium and a small tire. You can use sewer pipes for this.
The racks for the medium tire will be concreted into the large one, and for the small one into the medium one. Their height is calculated taking into account the width of the tires and the desired gap between the tiers of the fountain. For the lower racks you can use a 75 mm pipe, and for the upper racks 50 mm.
The tubes will be placed in a triangle. To prevent them from falling during concreting, you will need to make a template from corrugated cardboard with holes for them.
Next, you need to bend the reinforcement with the letter “G” to reinforce the tubes from the inside. The bent rods are tied to meshes that will reinforce the bottom of the fountain bowls.
Liquid concrete is prepared from sand and cement.
A large tire is laid flat, with cardboard placed underneath it. Then concrete is poured to the middle of its side, and a mesh with reinforcement is embedded in it.
It is sprinkled with crushed stone on top. A little concrete is poured on top of the stone and the pipe is exposed. To support them, a cardboard template is put on. The concrete level should reach the edge of the tire bead.
After leveling, the solution is poured into the tubes.
The average tire is concreted in almost the same way. However, in addition to the racks, it uses a 25 mm central pipe. It must pass through concrete and reinforcing mesh. You need to provide a hole for it in the template. In the middle tire, concrete is poured inside.
The last tire is filled with concrete without reinforcement. After leveling, a 32 mm tube is inserted through the center of its bottom. Then the tires are left until the cement hardens. To prevent the concrete from cracking, after the initial setting, a little water is poured onto it.
After a day, the cardboard templates are removed and the racks are washed from concrete stains. The 25mm and 32mm center tubes are knocked out. This will not be difficult, since liquid concrete will shrink significantly.This leaves holes in the bottom of the small and medium bowls.
The middle bowl is installed on the top one. After this, a 25 mm tube is inserted through its central hole. To make it tight, it needs to be wrapped with electrical tape. It is important that the bottom of the tube should not rest against the bottom of the lower bowl.
A small bowl with a 32 mm tube pressed in with winding is installed on top. It should fit onto the 25 mm central pipe.
Next, a 20 mm tube is passed through the central pipes of the fountain.
From below, near the lower bowl, it is connected to the aquarium pump.
The top of the pipes can be refined. After this, water is poured into the lower bowl so that the pump is completely covered. The middle and upper bowls are also filled, after which the fountain turns on. The liquid level in it must be periodically raised, adding water as it evaporates. If desired, the fountain can be painted.
Watch the video
Similar master classes
Particularly interesting
Comments (0)

