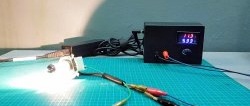
How to Make a Rechargeable Powerful Emergency Light
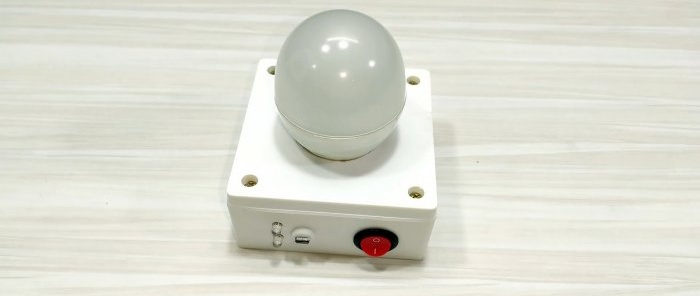
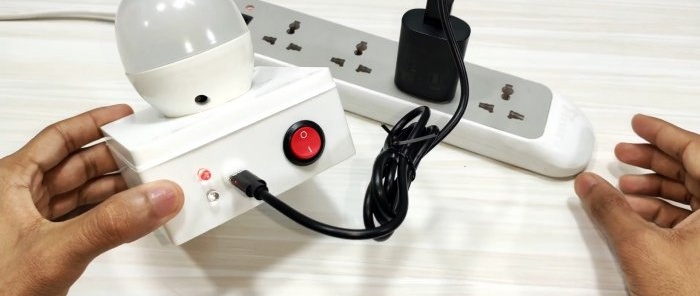
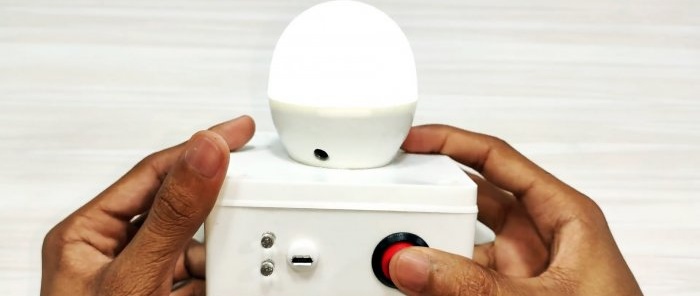
A powerful LED lamp will be an excellent helper in difficult situations during a power outage. It can be assembled simply and cheaply from ready-made modules. The built-in, rechargeable batteries are enough for several hours of continuous operation, and the 10 Watt LED lamp will provide excellent light to the whole room.
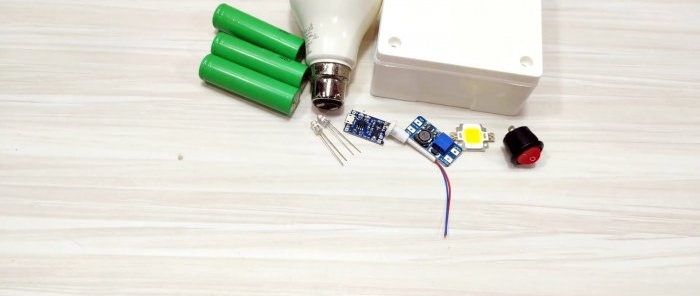
Will need
- 18650 batteries - http://alii.pub/5becfz
- 2 LED - http://alii.pub/5lag4f
- Charging module for li-ion 3.7 V TP4056 -
- Boost converter MT3608 - http://alii.pub/5nl0lm
- LED Matrix 10 W 12 V - http://alii.pub/5nl3pf
- Built-in Micro USB connector - http://alii.pub/5nl4a1
- Two-component adhesive - http://alii.pub/5nl4g9
- Thermal conductive paste - http://alii.pub/5nl4l4
- Heat-shrink tubing - http://alii.pub/5nl4o8
- LED lamp not working.
- Junction box.
We make a high-power battery emergency flashlight
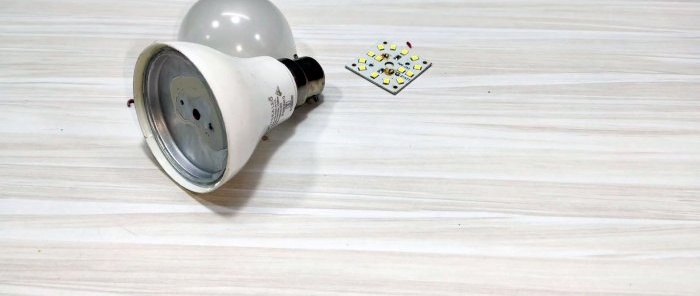
We take a non-working LED lamp. Carefully remove the frosted flask. Unscrew the board with LEDs. Remove the internal driver. All you need is the lamp body itself.
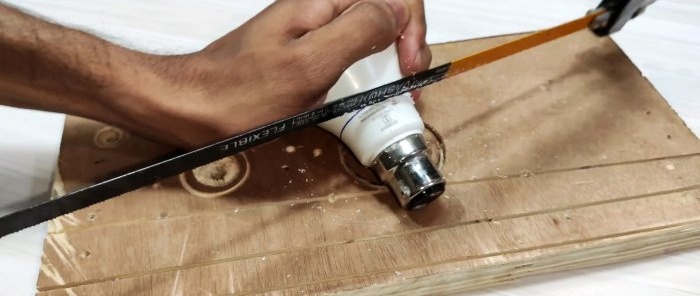
Use a hacksaw to saw off the lamp base with an allowance of 1 cm.
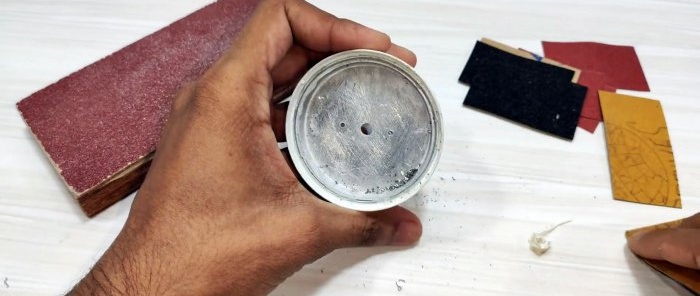
We clean the internal aluminum radiator from old dried thermal paste.
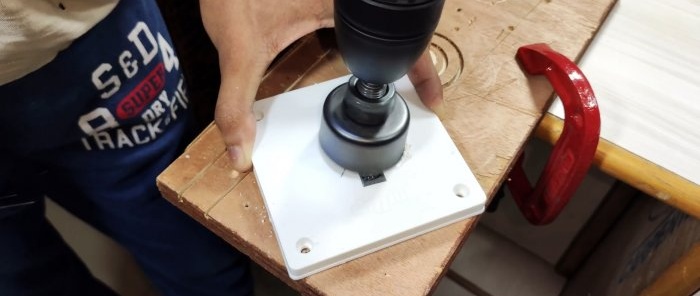
In the cover of the junction box we drill a hole for the lamp body.
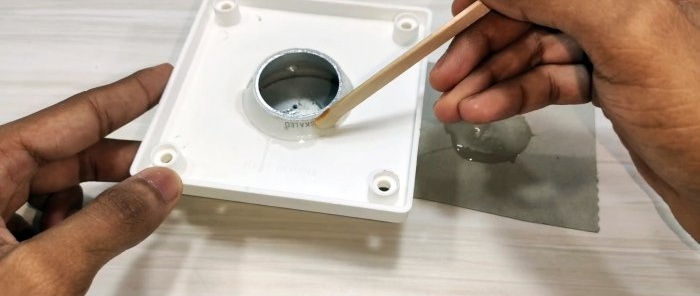
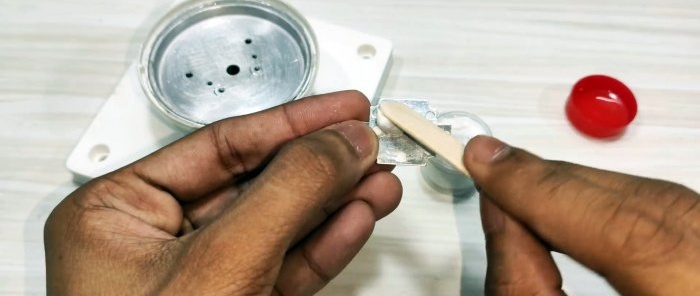
We glue the lamp with two-component glue.
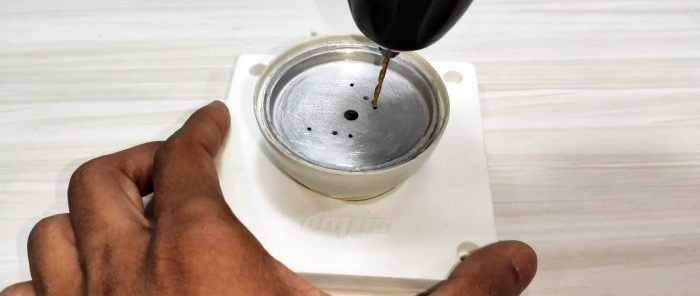
We drill holes in the lamp radiator for a new one. Light-emitting diode.
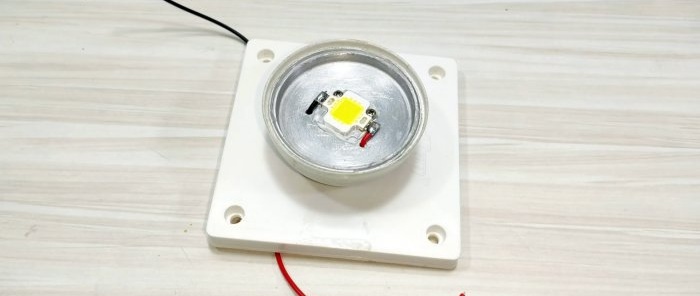
We lubricate the LED matrix with heat-conducting paste and install it on the radiator. We fix it with self-tapping screws. Solder the wires.
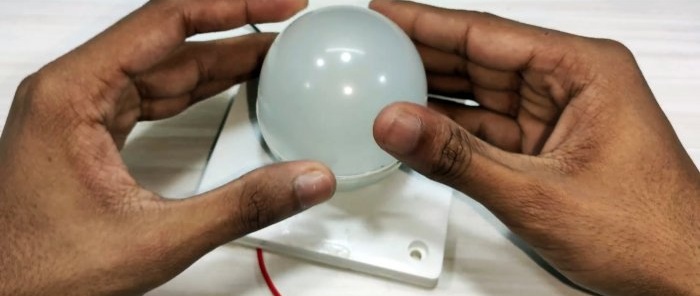
Close the lamp bulb.
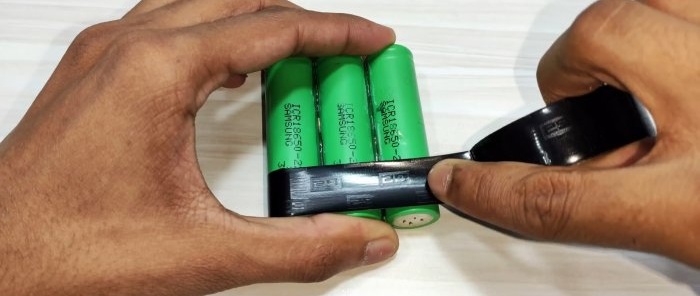
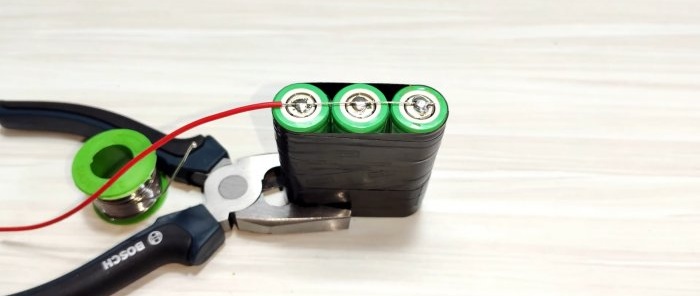
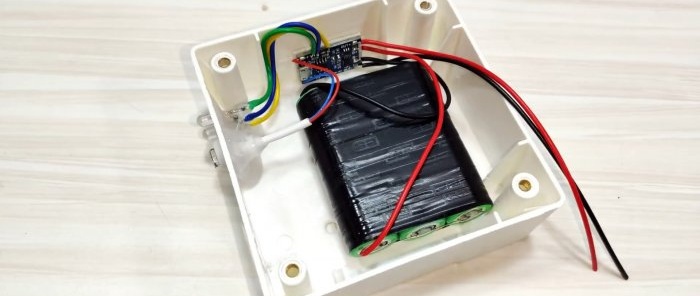
We tie 3 batteries with electrical tape.
We connect them in parallel to each other into a single battery.
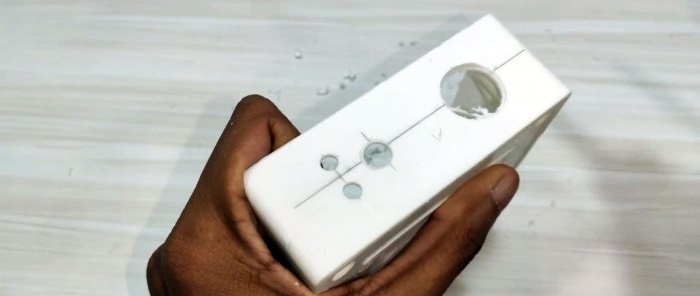
In the body of the junction box we drill holes for: switch, 2 LED, power connector.
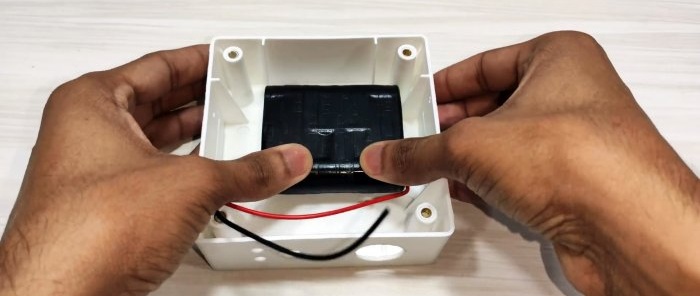
We glue the batteries with double-sided tape.
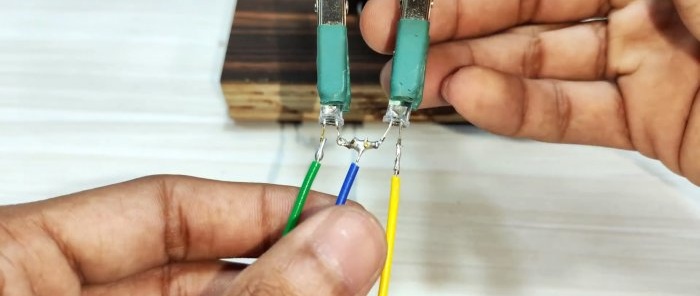
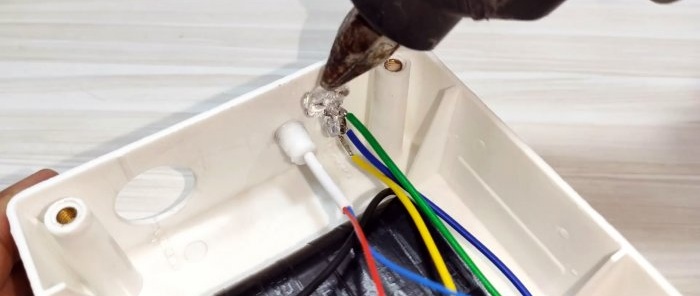
We solder wires to two LEDs.
We glue them into the body using hot glue.
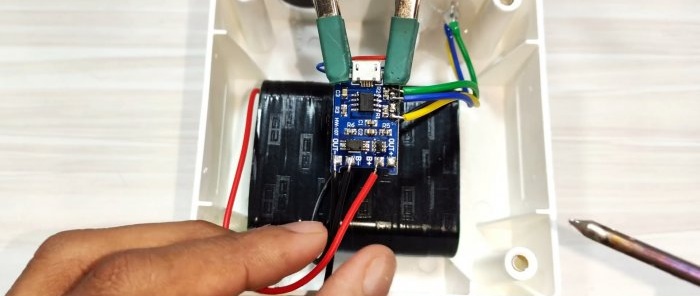
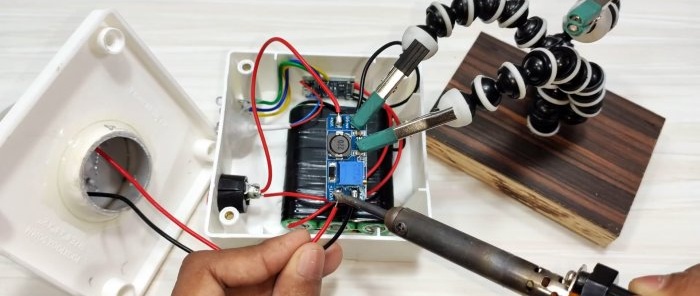
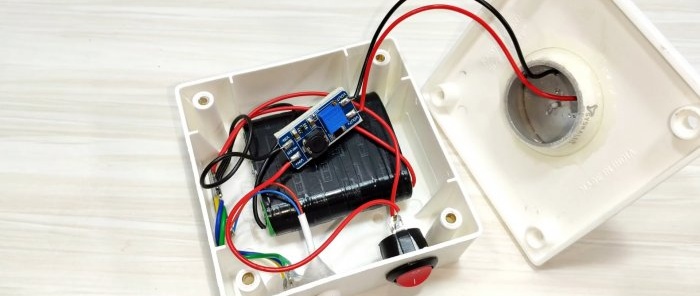
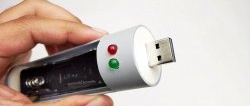
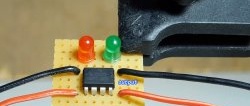
We solder the wires from the battery to the charging module. Solder the chipLEDs and in their place we solder the wires from LEDs located on the panel. Solder the power connector.
We glue the board with double-sided tape.
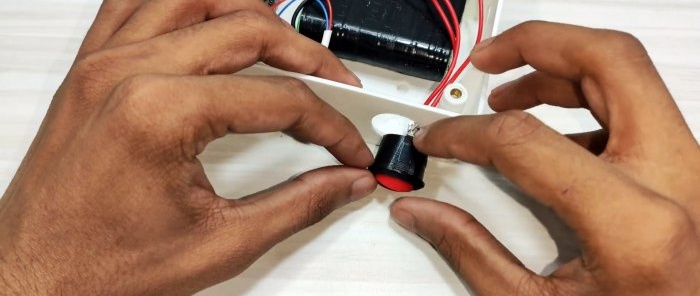
We install the switch, solder the wires to it coming from the output of the charging module.
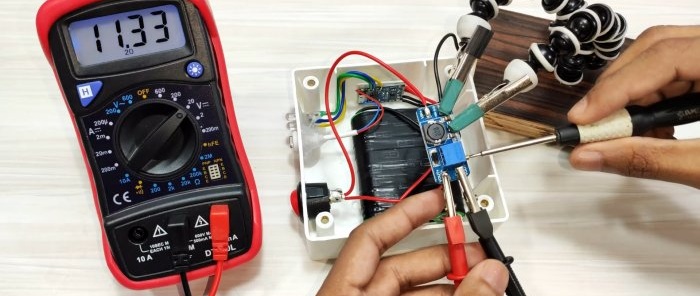
We solder the wires coming from the charging module, through the switch, to the converter. We configure the converter for an output voltage of 12 V.
Solder the wires from the lamp to the output. We glue the converter to the wall of the box with tape.
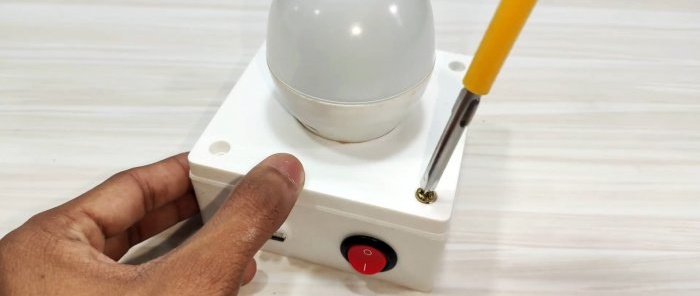
We assemble the box and secure it with screws.
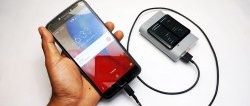
We put the flashlight on charge. Cell phone charger.
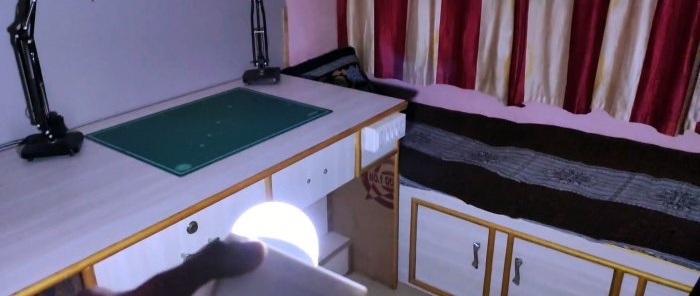
We check the work.
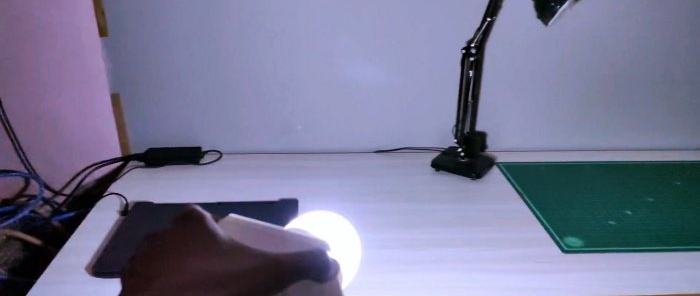
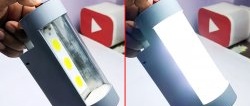
It shines great.
In any difficult situation, the light of a 10 Watt flashlight is more than enough.

