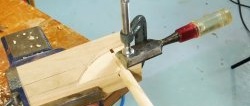
How to install a dowel “tightly”
If you are assembling a wooden knot on dowels and are sure in the future that you will not disassemble it, then there is a good option to add even more reliability and strength to such a connection by installing the dowels “tightly”.
This life hack is also great when the dowel becomes loose in its seat.
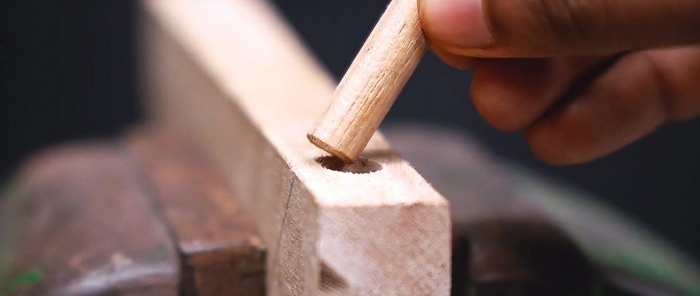
We install wooden dowels forever
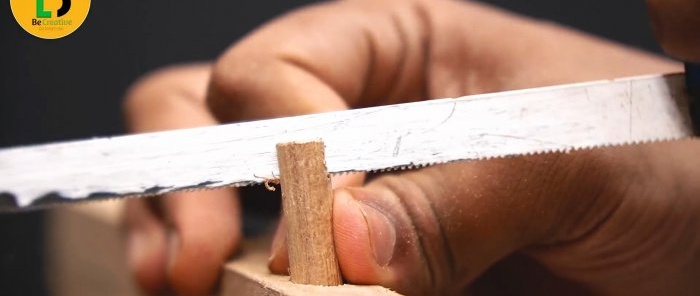
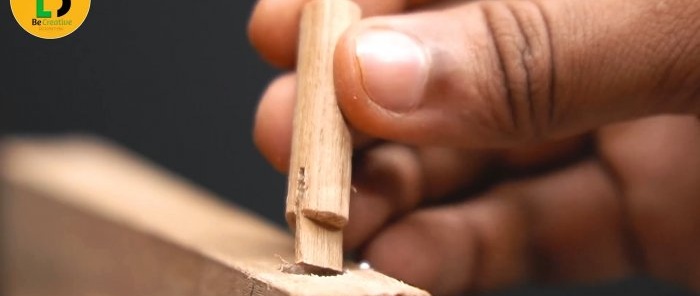
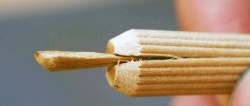
We pre-drill a hole and prepare the wooden dowels ourselves. Next, we saw one side of the dowel lengthwise with a hacksaw to a length of approximately 1 cm.
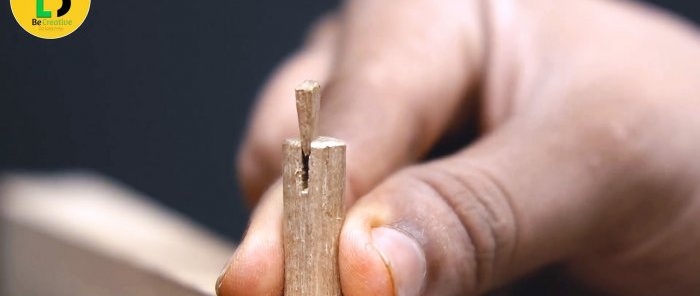
Cut a small wedge out of the board in width.
We install the wedge in the slot and hammer it a little so that it does not fly out.
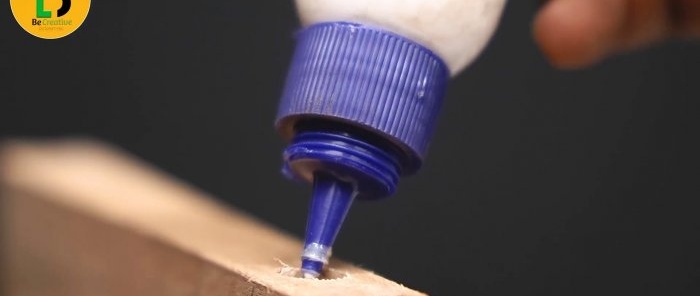
Pour wood glue into the installation hole.
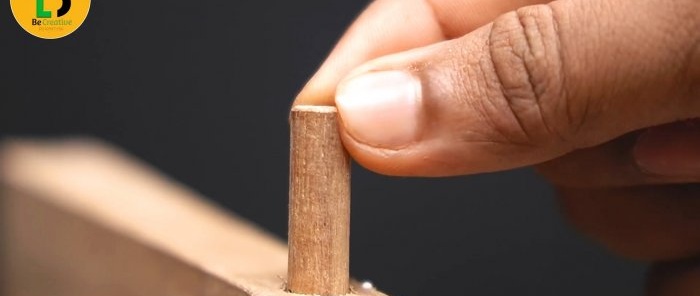
Now we turn the dowel with a wedge over and carefully hammer it in with a hammer.
Excess glue will squeeze out through the cracks. The wedge will enter the body of the dowel and open it, as a result of which it will be impossible to disassemble such a connection in the future. If you just drill it out.
For a completely non-separable unit, the installed dowel is also sawn through on the other side, a wedge is installed and the unit is assembled.
The only thing is that the second cut in the dowel should be as perpendicular to the first as possible, so that its body does not crack along its entire length.
Watch the video
In the video below you will find 2 more interesting carpentry life hacks.

