How to make a 40V 10A DC motor speed controller with reverse based on a Chinese module
Very often, home-made workers, when building drills or miniature drills for circuit boards, use DC electric motors. It’s just not very convenient to use such tools, even with an regulated power source. Since it is still possible to adjust the shaft rotation speed, but to change the direction of rotation you will have to switch the wires, which is extremely inconvenient.
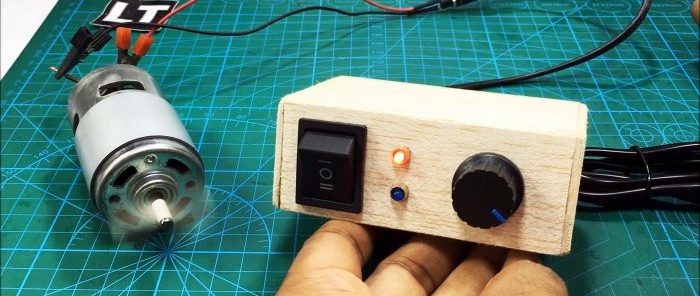
To facilitate the use of hand tools and make work comfortable, you can easily assemble a control regulator from a Chinese PWM module. This device will help you very smoothly regulate the speed and its direction. It will also show the direction visually using multi-colored LEDs.
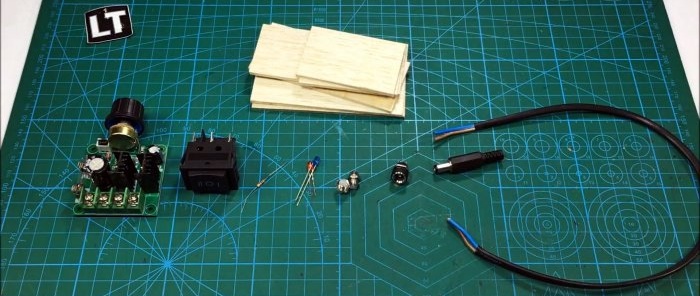
Will need
- Regulator module 12V-40V, 10A - http://alii.pub/5xia5e
- Forward and reverse switch, 3 positions, 6 contacts - http://alii.pub/5xia4m
- Resistor 1 kOhm - http://alii.pub/5h6ouv
- LEDs: Red and blue - http://alii.pub/5lag4f
- Holder LED 3 mm - http://alii.pub/5xiaan
- DC Jack - http://alii.pub/5xiabm
- Plug connector - http://alii.pub/5xiabm
- Two-core wire.
- Wooden panels.
In this example, we use a PWM module with a current of 10 A and a maximum voltage of 40 V, since this is quite enough for our tasks. But if this is not enough for you, then Ali Express has modules with any current and voltage; choosing the right one will not be difficult.
Manufacturing a regulator with reverse for an electric motor
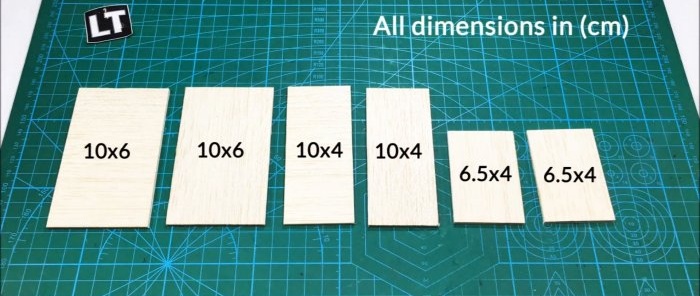
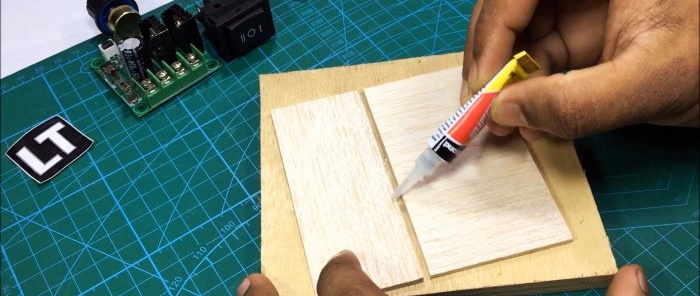
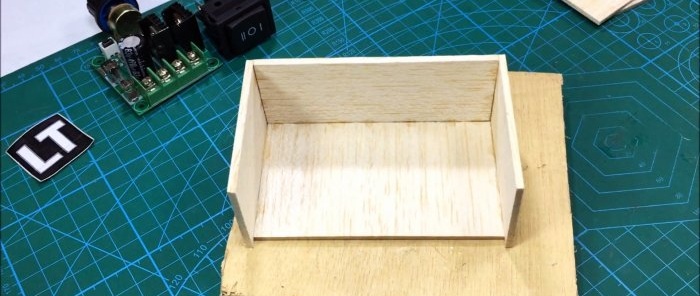
The body is made of thin wood. The advantage of this choice is that the wood adheres very well and reliably. But you can always choose a different material for the case; this is not prohibited. Below are the body details with dimensions:
Using superglue, glue the body together.
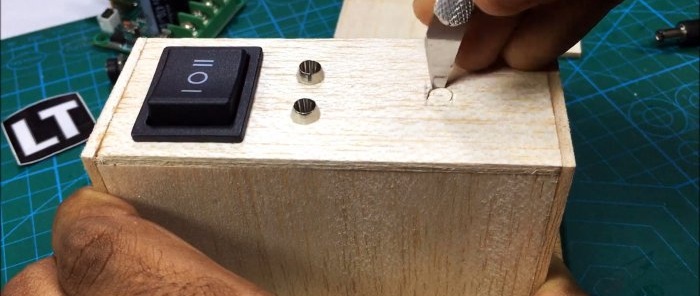
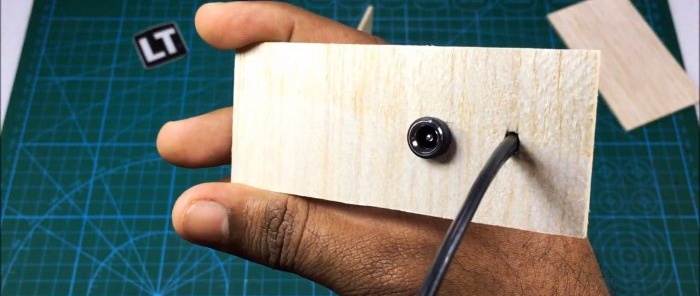
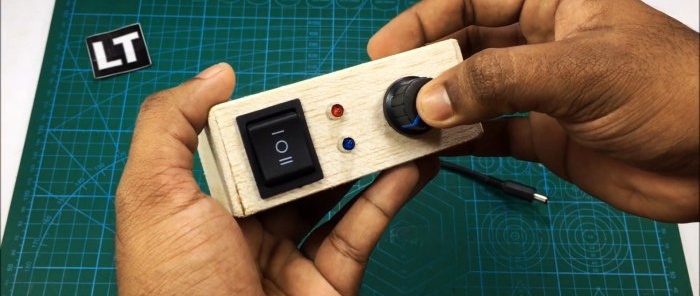
In the front panel, using a sharp scalpel, we make windows for the switch, LEDs, module variable resistor.
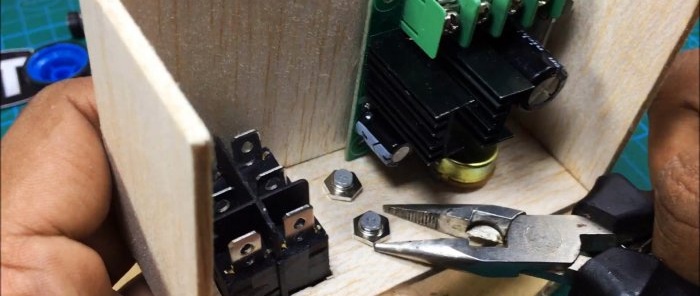
We secure the display and control organs.
On the back wall we make a slot for the wire and power socket.
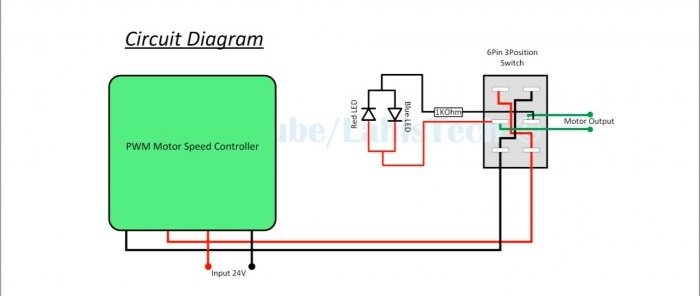
The diagram of the entire device looks like this:
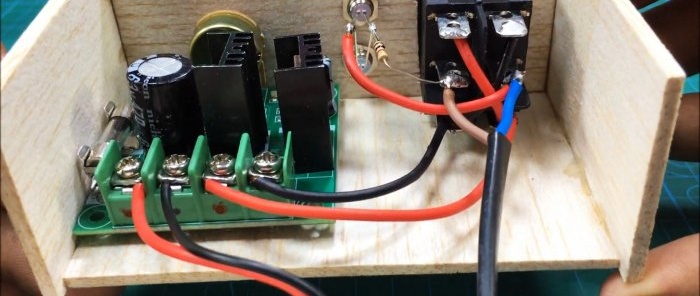
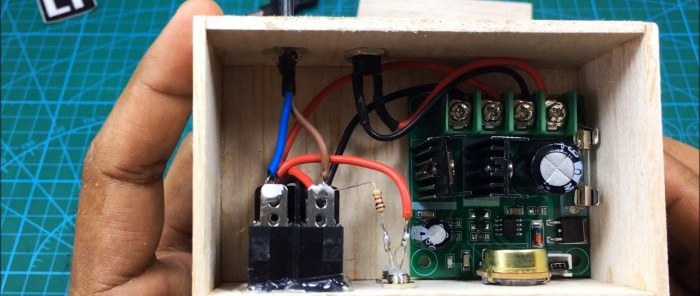
We assemble the circuit and insulate the contacts with heat shrink.
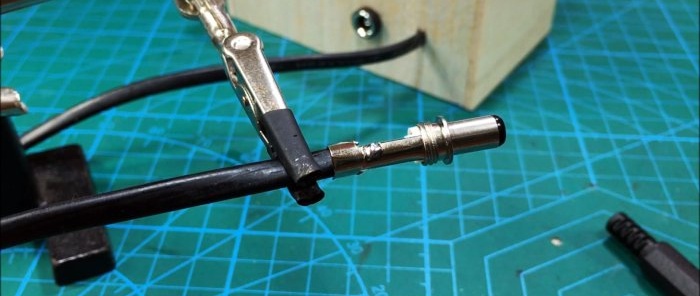
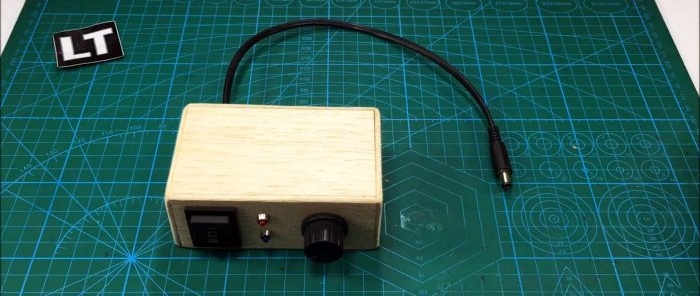
Close the lid. A plug is soldered to the end of the wire.
Irregularities in the body can be removed with sandpaper.
A rotation handle is placed on the variable resistor motor.
The regulator is ready for use.
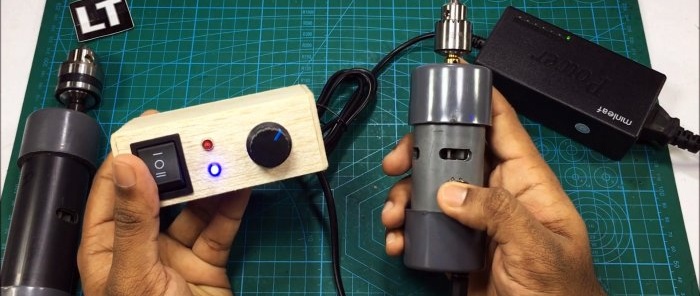
It is connected to the gap between the DC source and the desired tool.
Now you can very smoothly adjust the speed and direction of rotation.
And thanks to the use of a switch with three positions, you can not only reverse, but also turn off the tool.
Watch the video
- How to assemble a cheap cordless drill - https://home.washerhouse.com/en/5962-kak-sobrat-deshevuju-akkumuljatornuju-bormashinu.html
- DIY cordless grinder - https://home.washerhouse.com/en/5931-akkumuljatornaja-bolgarka-svoimi-rukami.html
- Do-it-yourself powerful cordless drill made from PVC pipe - https://home.washerhouse.com/en/7896-moschnaja-akkumuljatornaja-bormashinka-iz-pvh-truby-svoimi-rukami.html
Similar master classes
