Dressing room in the attic
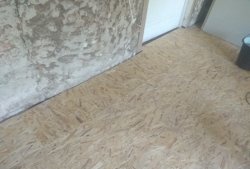
When building the attic floor, I paid attention to the unused space, the pockets in the attic space. I figured that future furniture cabinets in the room layout would not be entirely convenient and would be too expensive. Therefore, to expand the space of the main room, I started construction dressing room.
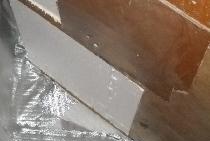
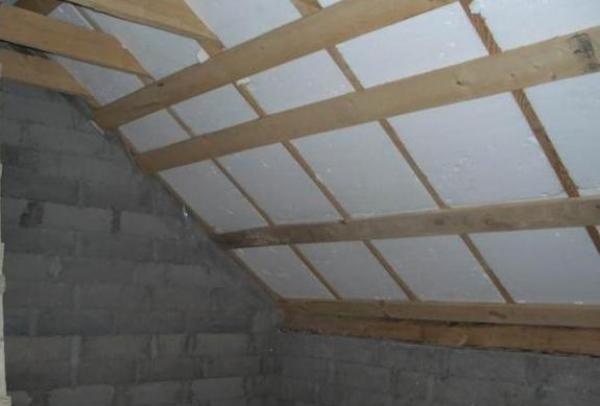
I started with insulating the walls and roof, and produced it using the standard multi-layer method. To do this, I used 5-10 mm Izospan, then partially 10 cm polystyrene foam and in some places glass wool mats 50 mm thick.
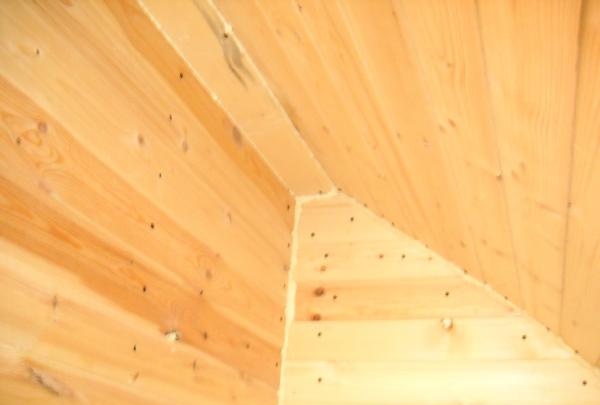
I mounted the wall partitions as follows, I wrapped the racks of 50 x 150 mm timber with chipboard left over from the old one. furniture. I sealed all the cracks with polyurethane foam. For the dressing room finishing material I chose natural pine lining. This is a more environmentally friendly material, with good thermal conductivity and moisture absorption.
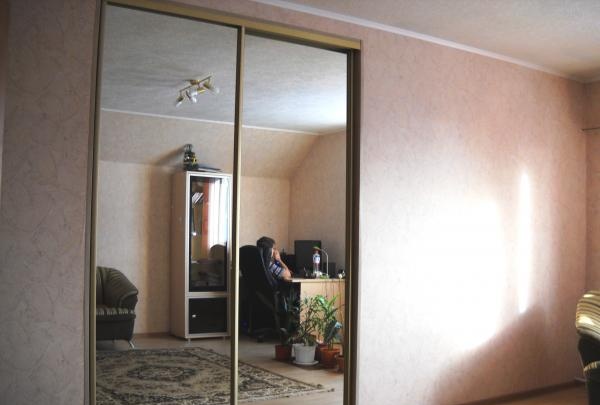
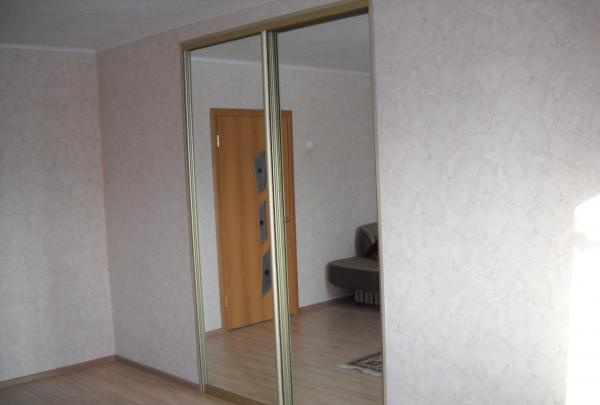
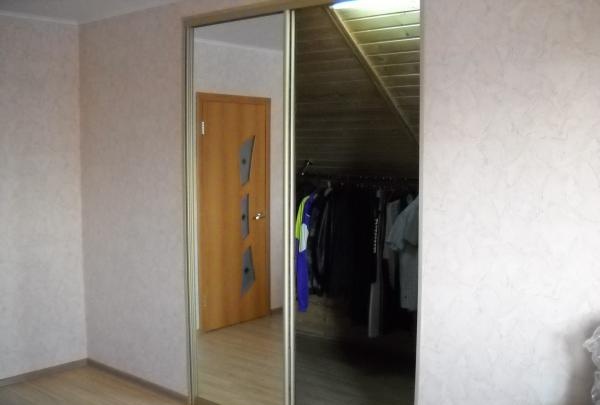
I used a practical and original design move to install the doorway - a compartment mechanism with mirrored doors. The width of the passage is 1.65, and the height is 2.45 meters almost to the ceiling; these parameters are due to the installation of two compartment doors.With a given width, each door is about 0.85 meters and when moving one, it frees up the most optimal passage, and with a large door height to the ceiling, the appearance improves and the space of the room increases.
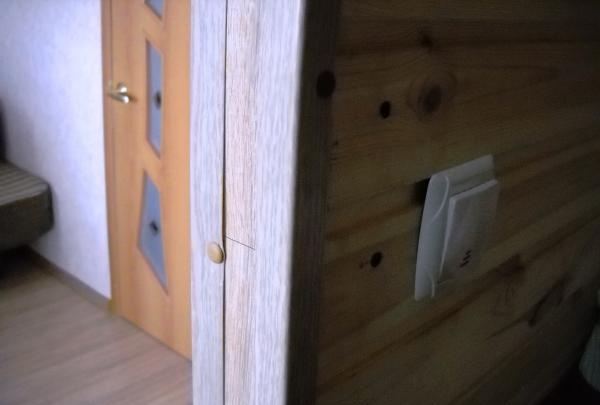
I finished the ends of the passage walls with the remains of laminated flooring and a plastic corner, securing them with self-tapping screws with plugs.
On both sides of the dressing room I made shelves for clothes and other things from laminated chipboard sheets.
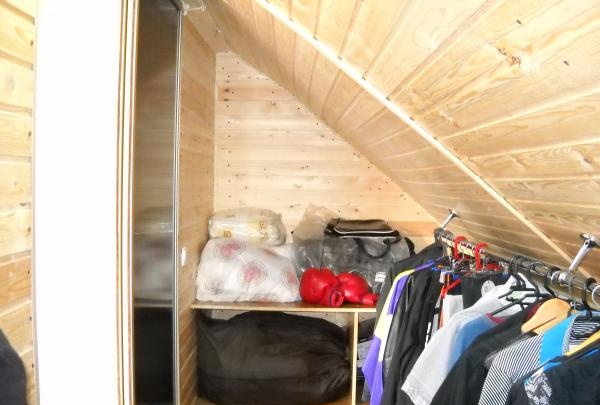
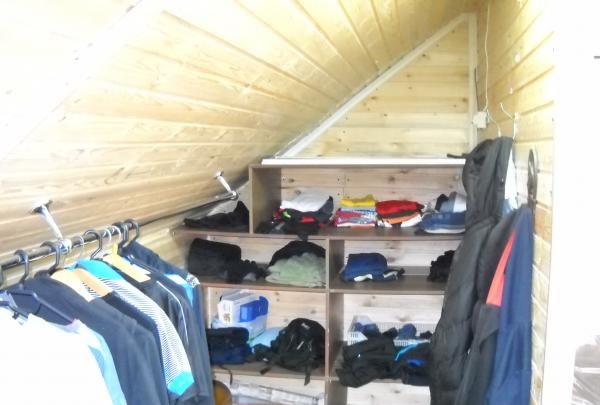
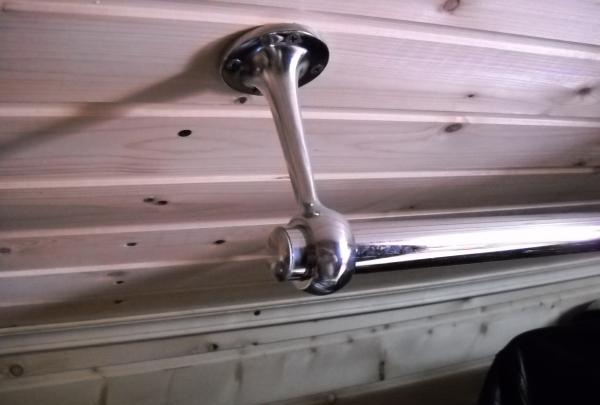
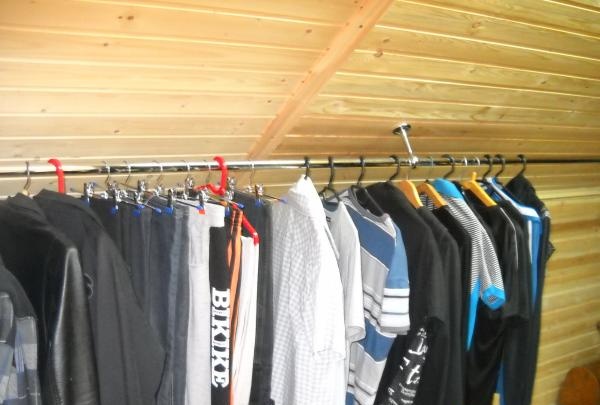
To place the clothes, I used the installation of furniture rails on special mounts, which were well suited for the sloping ceiling of the room.
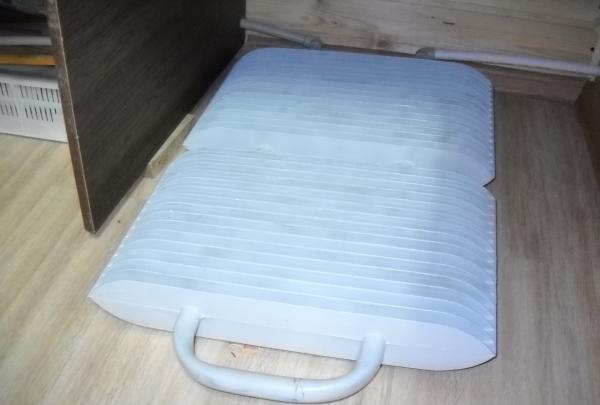
The dressing room turned out to be 8.5 square meters in area, so I provided for the installation of heating and a radiator in it. The radiator is installed horizontally and if there is a need to dry your shoes a little, just put it on top.
The dressing room turned out to be spacious, functional and, thanks to the mirror design, expanding the space of the main room.


I started with insulating the walls and roof, and produced it using the standard multi-layer method. To do this, I used 5-10 mm Izospan, then partially 10 cm polystyrene foam and in some places glass wool mats 50 mm thick.

I mounted the wall partitions as follows, I wrapped the racks of 50 x 150 mm timber with chipboard left over from the old one. furniture. I sealed all the cracks with polyurethane foam. For the dressing room finishing material I chose natural pine lining. This is a more environmentally friendly material, with good thermal conductivity and moisture absorption.

I used a practical and original design move to install the doorway - a compartment mechanism with mirrored doors. The width of the passage is 1.65, and the height is 2.45 meters almost to the ceiling; these parameters are due to the installation of two compartment doors.With a given width, each door is about 0.85 meters and when moving one, it frees up the most optimal passage, and with a large door height to the ceiling, the appearance improves and the space of the room increases.

I finished the ends of the passage walls with the remains of laminated flooring and a plastic corner, securing them with self-tapping screws with plugs.

On both sides of the dressing room I made shelves for clothes and other things from laminated chipboard sheets.


To place the clothes, I used the installation of furniture rails on special mounts, which were well suited for the sloping ceiling of the room.

The dressing room turned out to be 8.5 square meters in area, so I provided for the installation of heating and a radiator in it. The radiator is installed horizontally and if there is a need to dry your shoes a little, just put it on top.

The dressing room turned out to be spacious, functional and, thanks to the mirror design, expanding the space of the main room.

Similar master classes
Particularly interesting
Comments (3)

