How to restore a burnt-out car muffler without welding
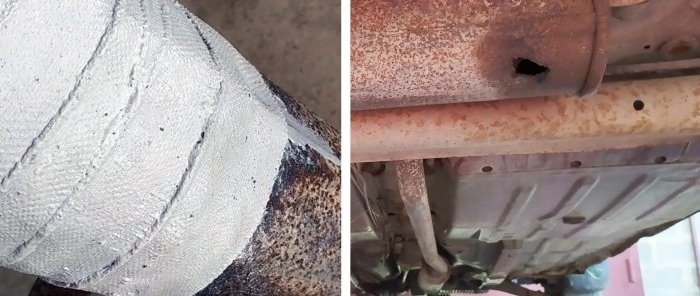
There are plenty of signs of a burnt-out muffler: from a changed sound to exhaust gases escaping from under the bottom of the car, which may end up inside the cabin, thereby making travel in the car impossible.
It is easier to install a new purchased product instead of an old one, but it is not cheap, especially for modern cars. For budget and not entirely new cars, such as the Tavria, it is not easy to find a muffler, but even one found by chance most often turns out to be an outright fake, made of very thin metal, which will burn out again very quickly. Therefore, it is better to try to restore the muffler yourself and save a lot of money.
Restoring a muffler without welding
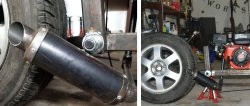
It is more convenient to remove a burnt-out muffler in a pit or use a lift, otherwise you will have to dismantle it lying under the car, first lifting the car, and use safety supports for safety.
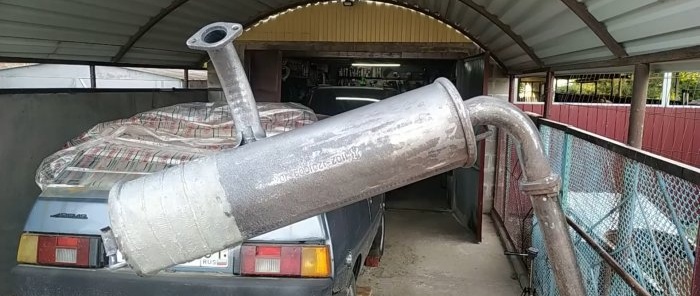
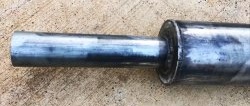
To remove the muffler, we mainly use a wrench with appropriate sockets. We disconnect it from the rubber pads and pull it out from under the car.The feasibility of restoring the unit is confirmed by its internal integrity and good metal thickness.
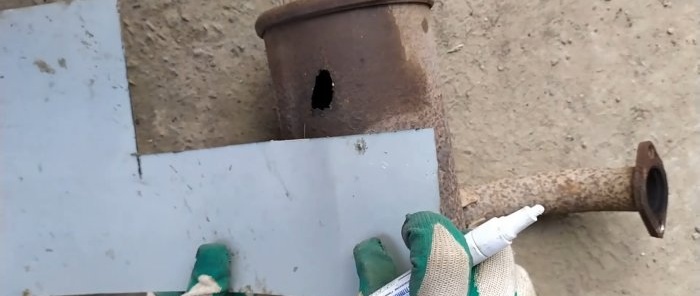
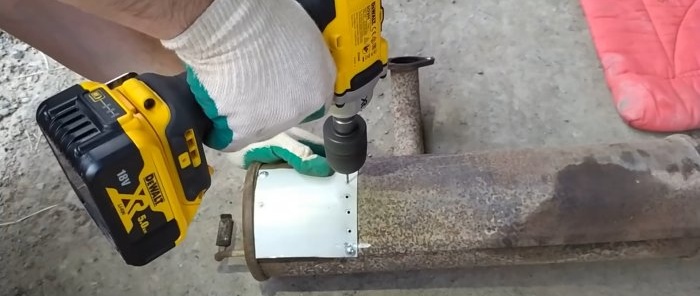
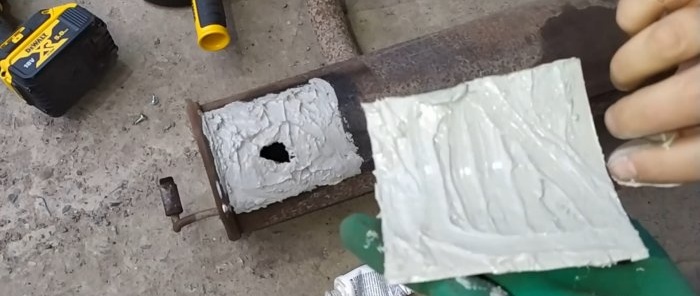
From the remains of a tin sheet, the thickness of which is 0.8 mm, we separate a patch of suitable size, apply it to the surface of the muffler in the burnt-out area, bend it, fasten it at opposite corners and make a system of holes around the perimeter for tightening screws.
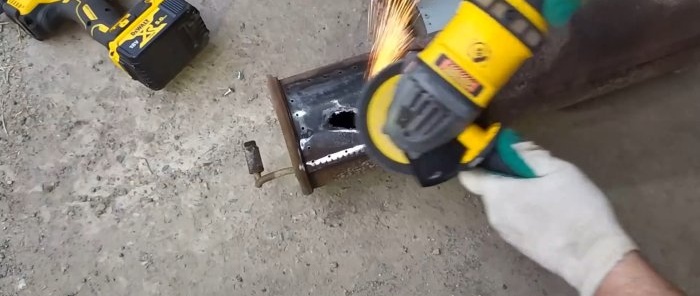
We clean the surface of the muffler under the patch using a grinder with an appropriate disc. Apply to the underside of the patch ceramic sealant for repair and installation of exhaust systems. For reliability, we also apply sealant to the surface of the muffler.
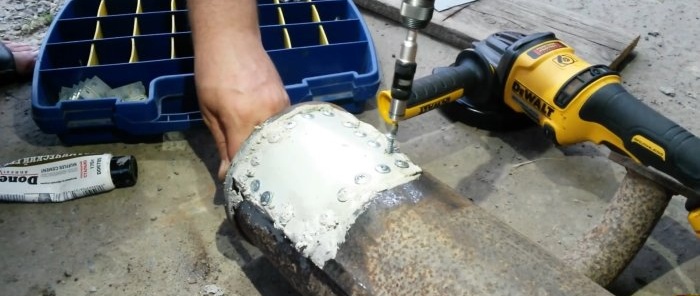
While the sealant has not set, we press the patch to the damaged area and screw in the screws.
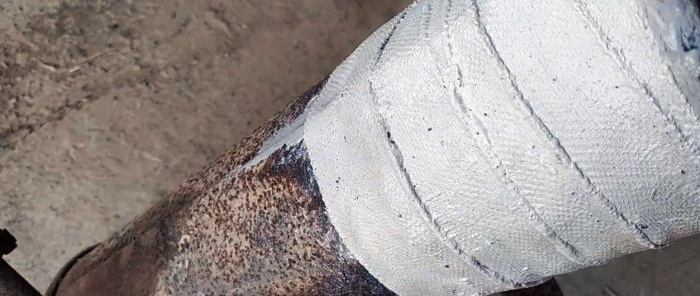
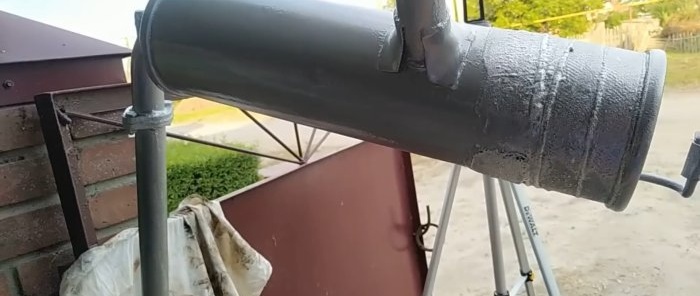
Next, rub the squeezed out from under the patch sealant and wrap the repair area with high-temperature ceramic tape used for restoring mufflers.
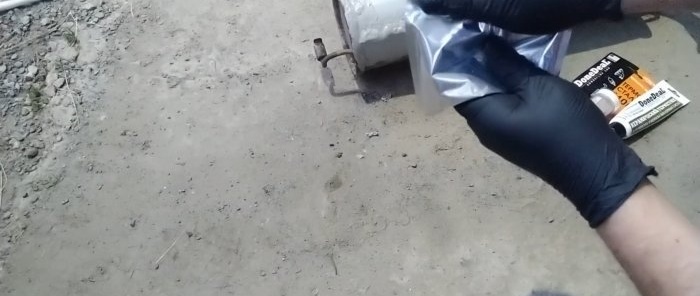
To do this, take the tape out of the packaging, place it in water for 60 seconds, knead it thoroughly to completely saturate the tape with moisture and trigger the appropriate reaction. Next, we use the tape to wrap the damaged area and do not touch the repaired unit for one hour. During this time, the materials used to restore the unit harden to the state of stone.
We clean off rust and carbon deposits from the surface of the muffler, treat it with a rust converter and tint it with heat-resistant paint. We degrease the gaskets and connecting parts to increase their tightness, cover the rubber cushions with silicone to make them softer and better resist deformation, and screw the muffler into place.
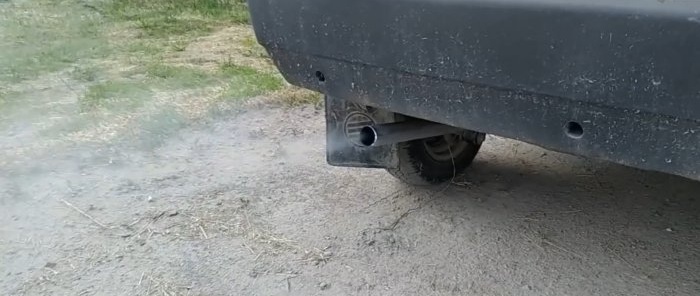
We start the engine, and by the sound that has changed for the better, the absence of smoke from under the car and the absence of a specific smell, we are convinced of the tightness of the restored muffler and the entire exhaust system.

