Shambhala bracelet
Every day more and more new trends come into fashion, which can easily make your style more original and unique. One such fashionable entry is the Shambhala bracelet. Only after appearing on the covers of glamor magazines, in photographs with world stars, did this bracelet find its calling among the rest of the population. You may think that this is just a coincidence, because every fashionista just follows her own style and wants to give her look a new look, but this is not entirely true. The tradition of wearing this type of bracelet dates back to ancient times. The Shambhala bracelet is like a type of amulet and amulet that protects its wearer from various evil spirits and guides them to success. The most important thing is that you can make this wonderful bracelet yourself.
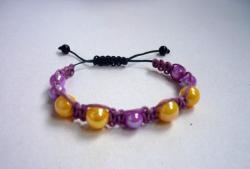
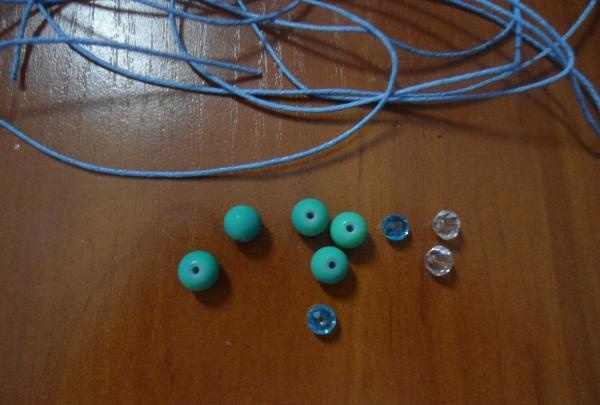
If you decide to take the path of success and make a Shambhala bracelet, then stock up on such materials as: waxed thread 1.5 - 2 meters, 5 beads of one color, 2 beads of a different color and 2 more beads of a third color or just a slightly smaller different shade, than the previous ones, so that in the end there will be 9 beads.
Now we take our waxed thread and cut off the base for the bracelet itself.To measure the base correctly, simply wrap the thread around your hand in its widest place, that is, on the bones of the hand, but leave a centimeter or even two in reserve on both sides.
We secure this thread with tape or place something heavy on it, leaving 4 or 5 centimeters. We cut off 10 centimeters of thread, fold the remaining waxed thread in half and apply it to our base thread in the middle, making a knot.
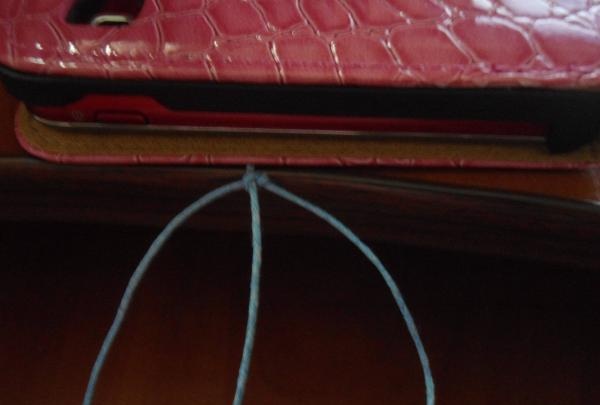
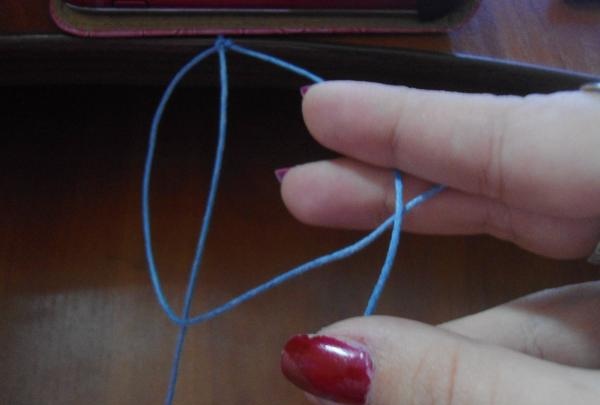
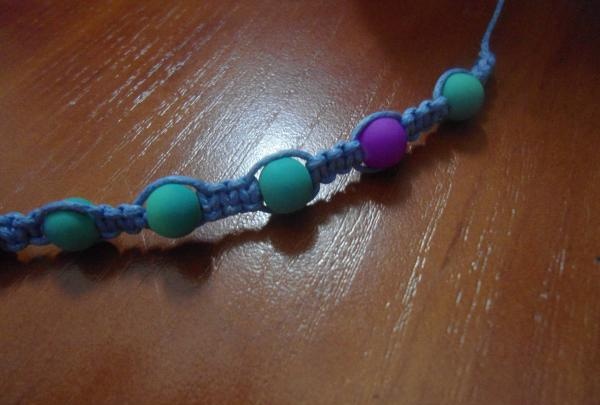
The most difficult thing about this bracelet is learning how to make the knots correctly. We put the left thread under the right one, and we put the right thread under the warp and let it out through the left one. Tighten the knot tightly. We make the next knot according to the same pattern, only instead of the left thread we start with the right one.
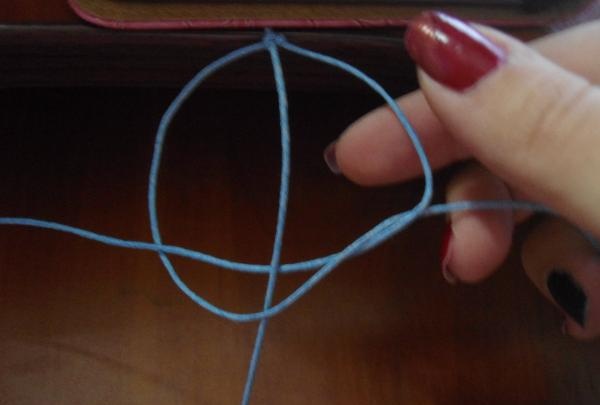
We weave 4 more rows of these, or simply make 4 knots, just fasten them on different sides. Now is the time to string the first bead.
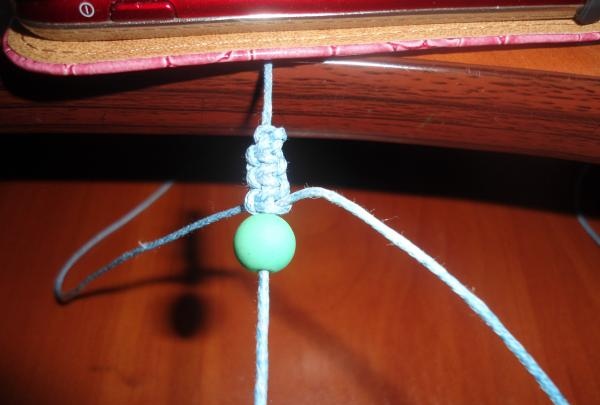
When you have already strung the first bead, we secure it with the same knots as before. After we have secured the bead, we need to weave 4 more rows. And we put on a bead of a different color or shade.
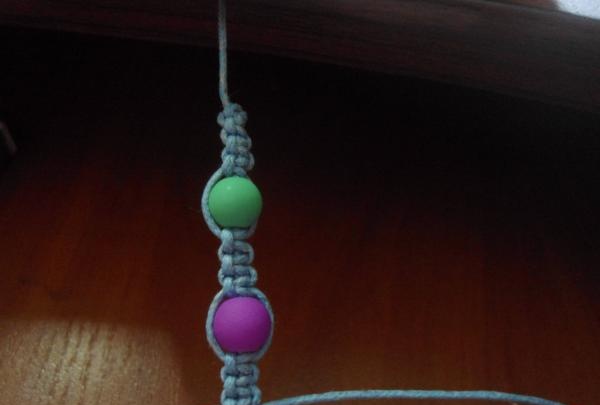
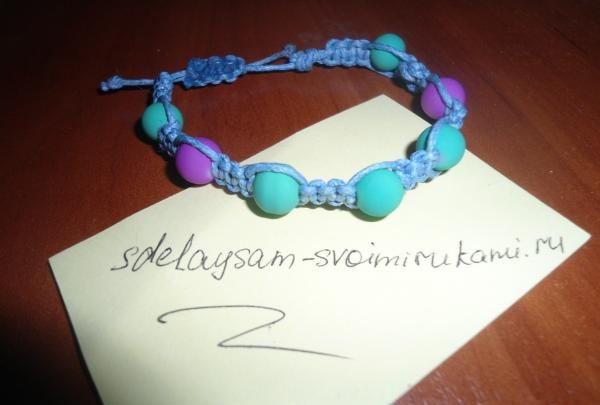
Then we weave the same way as the previous rows. We make sure that the distance of our beads is approximately the same. After the second bead, we weave three more beads like the first color, and then add a bead of the second color and secure with the first color. After the last bead we weave 4 rows and make a knot.
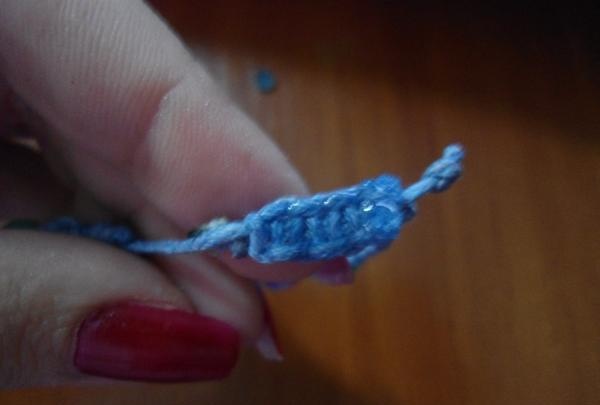
The last thing we had to do was the clasp. At the ends of the bracelet we put a bead smaller than the previous ones, cross the ends of the threads and weave several rows of thread, which we cut off 10 centimeters. You can glue the fastener on the inside.
If you decide to take the path of success and make a Shambhala bracelet, then stock up on such materials as: waxed thread 1.5 - 2 meters, 5 beads of one color, 2 beads of a different color and 2 more beads of a third color or just a slightly smaller different shade, than the previous ones, so that in the end there will be 9 beads.

Now we take our waxed thread and cut off the base for the bracelet itself.To measure the base correctly, simply wrap the thread around your hand in its widest place, that is, on the bones of the hand, but leave a centimeter or even two in reserve on both sides.
We secure this thread with tape or place something heavy on it, leaving 4 or 5 centimeters. We cut off 10 centimeters of thread, fold the remaining waxed thread in half and apply it to our base thread in the middle, making a knot.

The most difficult thing about this bracelet is learning how to make the knots correctly. We put the left thread under the right one, and we put the right thread under the warp and let it out through the left one. Tighten the knot tightly. We make the next knot according to the same pattern, only instead of the left thread we start with the right one.


We weave 4 more rows of these, or simply make 4 knots, just fasten them on different sides. Now is the time to string the first bead.

When you have already strung the first bead, we secure it with the same knots as before. After we have secured the bead, we need to weave 4 more rows. And we put on a bead of a different color or shade.

Then we weave the same way as the previous rows. We make sure that the distance of our beads is approximately the same. After the second bead, we weave three more beads like the first color, and then add a bead of the second color and secure with the first color. After the last bead we weave 4 rows and make a knot.

The last thing we had to do was the clasp. At the ends of the bracelet we put a bead smaller than the previous ones, cross the ends of the threads and weave several rows of thread, which we cut off 10 centimeters. You can glue the fastener on the inside.


Similar master classes
Particularly interesting
Comments (0)


