How to make a bracelet from pins
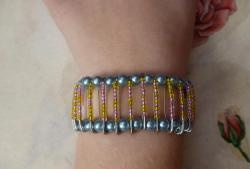
When gray cloudy days come, you really want to cheer up, and at least with bright flowers in your decorations! A bright, sun-yellow, multi-colored bracelet - it immediately makes you come to life and smile. Moreover, it is not at all difficult to do and does not take long - you can do it in the evening.
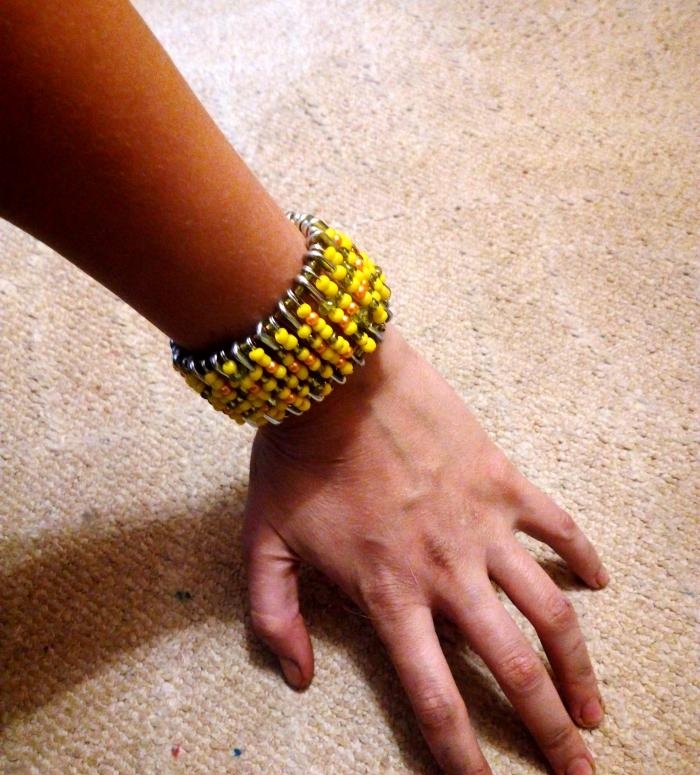
You will need:
Pins - 35-40 pcs. (these are 4 sets) 3.5 cm long - the smallest;
Elastic thread;
Large beads of 2 colors: yellow opaque and green translucent and medium-sized orange beads.
1) We measure the elastic thread - its length should be double the circumference of the wrist plus 3 cm on each side for the ties.
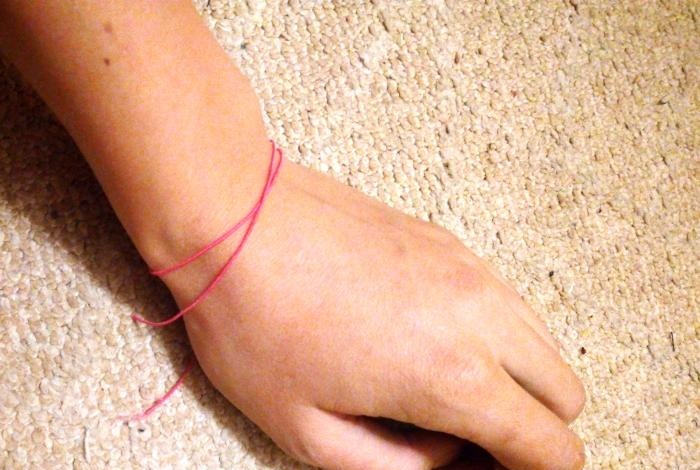
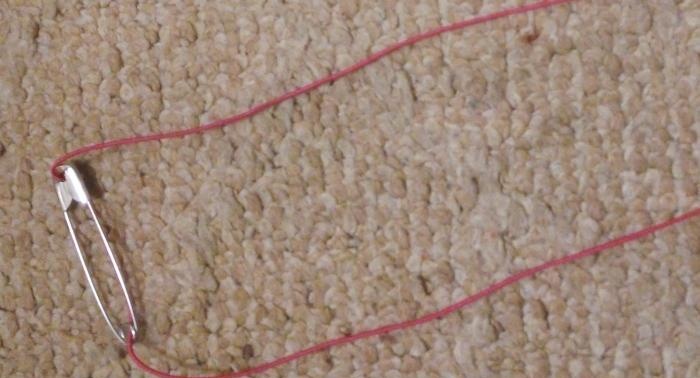
2) We begin assembling the bracelet. To do this, string a pin onto an elastic thread, leaving equal ends of the elastic thread on both sides.
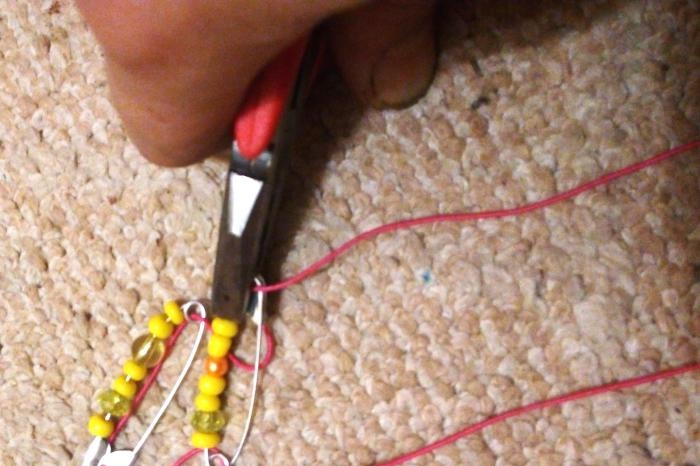
3) String beads and beads onto pins, alternating colors. Then use pliers to compress the pin latch so that the needle does not jump out while wearing the bracelet.
We string a pin, then string a bead on each side and then a pin again. The bracelet will be more beautiful if you alternate the pin latches on different sides of the bracelet, as can be seen in the photo.
4) We complete our bracelet.To do this, we pass the ends of the elastic thread from the last pin through the holes of the first pin and tie them with two knots.
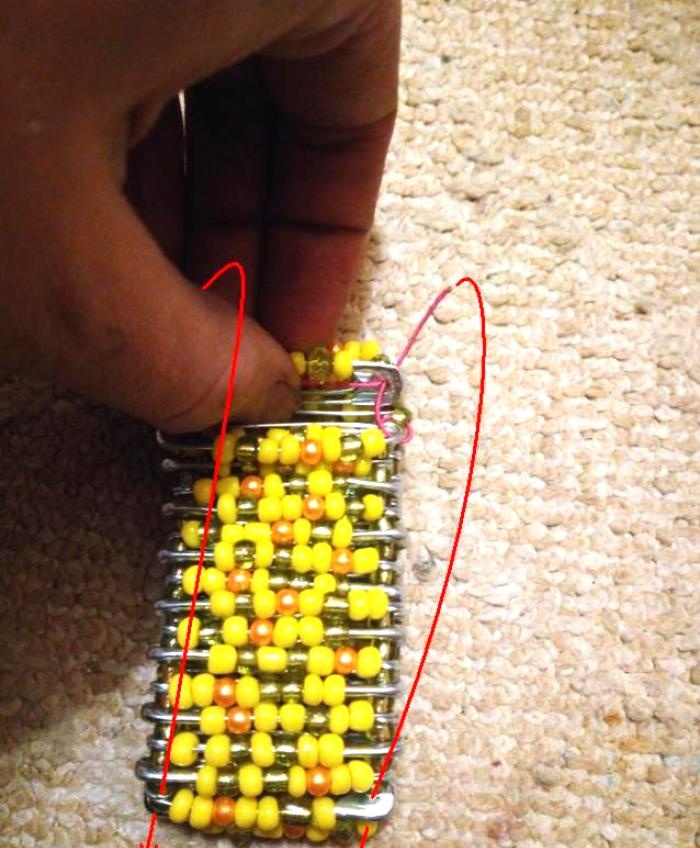
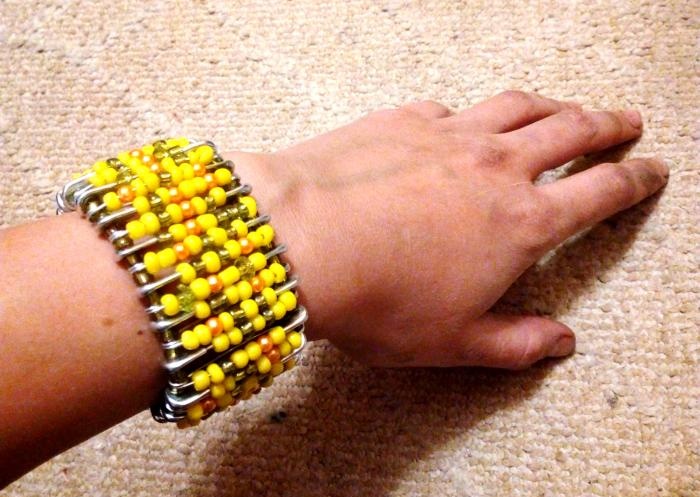
5) Try it on your hand and make sure that the bracelet fits snugly on your hand without gaps or holes, and does not creep around your wrist. If there are not enough pins, untie the bracelet, add pins and finally fix it with 3 knots. Also, for greater reliability of the bracelet, you can thread a wide elastic band of 2.5-3 cm inside the bracelet between the pins and sew its ends.

You will need:
Pins - 35-40 pcs. (these are 4 sets) 3.5 cm long - the smallest;
Elastic thread;
Large beads of 2 colors: yellow opaque and green translucent and medium-sized orange beads.
1) We measure the elastic thread - its length should be double the circumference of the wrist plus 3 cm on each side for the ties.

2) We begin assembling the bracelet. To do this, string a pin onto an elastic thread, leaving equal ends of the elastic thread on both sides.

3) String beads and beads onto pins, alternating colors. Then use pliers to compress the pin latch so that the needle does not jump out while wearing the bracelet.
We string a pin, then string a bead on each side and then a pin again. The bracelet will be more beautiful if you alternate the pin latches on different sides of the bracelet, as can be seen in the photo.

4) We complete our bracelet.To do this, we pass the ends of the elastic thread from the last pin through the holes of the first pin and tie them with two knots.

5) Try it on your hand and make sure that the bracelet fits snugly on your hand without gaps or holes, and does not creep around your wrist. If there are not enough pins, untie the bracelet, add pins and finally fix it with 3 knots. Also, for greater reliability of the bracelet, you can thread a wide elastic band of 2.5-3 cm inside the bracelet between the pins and sew its ends.

Similar master classes
Particularly interesting
Comments (0)


