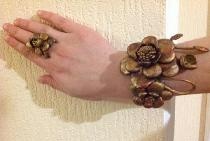
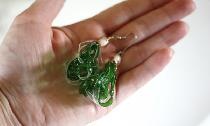
Ball for decoration
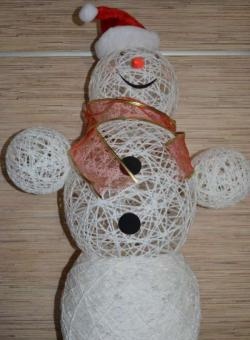
New Year is a time of dreams and magic, not only for children, but also for adults. For this holiday, many strive to decorate their home, office, and even cars. The classic shape of New Year's toys is considered to be a ball. This craft is in the shape of a ball, light and airy. It is very easy to make, so children should also be interested in creativity.
To make it you will need:
1) Any colored braid (not too thick)
2) Balloon
3) PVA glue
4) Various beads, rhinestones, etc.
5) Thread and needle.
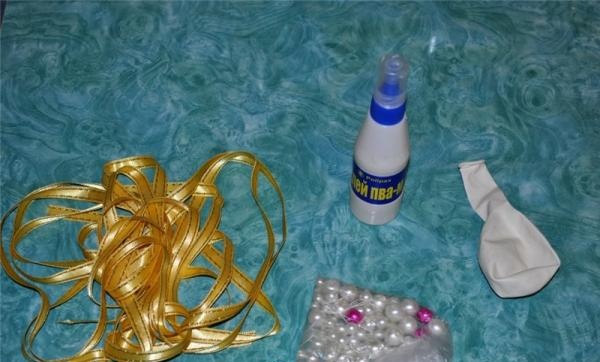
We make the frame of the toy: we inflate a balloon, the size can be made as desired. It is advisable to first lightly lubricate the ball with any cream (so that after the glue has dried, it is easy to remove the frame). Then generously apply PVA glue to the ball and wrap the braid. Here, too, you can use your imagination at your own discretion. After the braid is glued, hang the ball for the glue to dry (it is better to do this overnight).
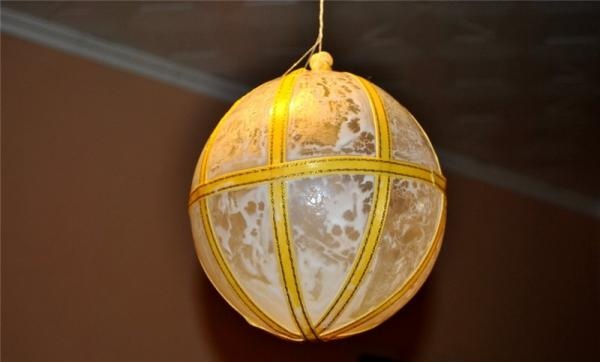
When the glue is completely dry, carefully make a small cut on the ball and slowly release the air. We take out the ball, and what remains is the frame of the toy.
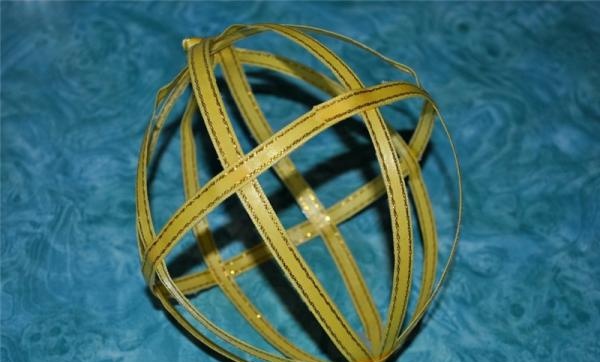
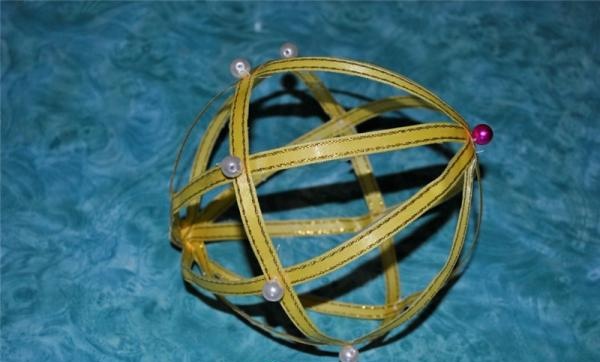
We decorate the toy: sew or glue beads along the entire frame of the toy.It is advisable that the beads be light so as not to weigh down the finished toy.
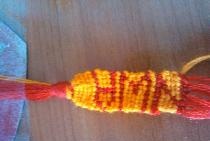
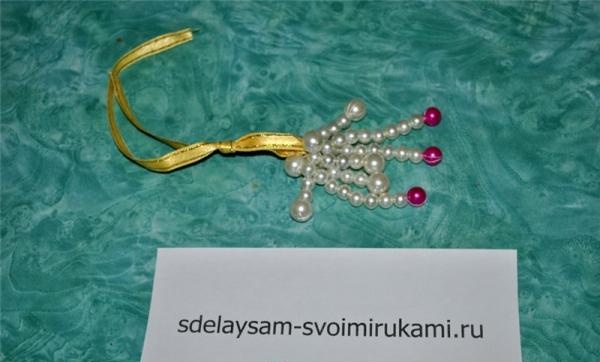
Making the core of the toy: in the presented version, the beads are strung in random order.
We connect the main frame of the toy and the core. You can make a loop on top, or just leave “tails”.
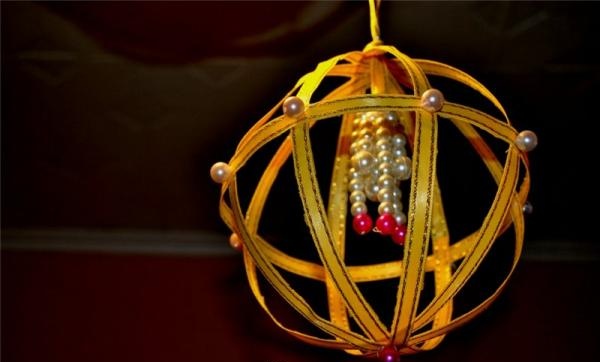
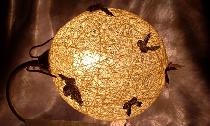
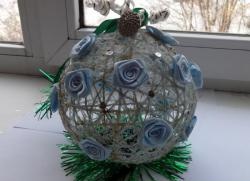
The finished toy can be hung on a Christmas tree, decorated with a ceiling or chandelier, or hung in a car. Here is one of the options for a New Year's toy that can be made in this way. Since this is done very simply, you can fantasize endlessly. Happy New Year!
To make it you will need:
1) Any colored braid (not too thick)
2) Balloon
3) PVA glue
4) Various beads, rhinestones, etc.
5) Thread and needle.

We make the frame of the toy: we inflate a balloon, the size can be made as desired. It is advisable to first lightly lubricate the ball with any cream (so that after the glue has dried, it is easy to remove the frame). Then generously apply PVA glue to the ball and wrap the braid. Here, too, you can use your imagination at your own discretion. After the braid is glued, hang the ball for the glue to dry (it is better to do this overnight).

When the glue is completely dry, carefully make a small cut on the ball and slowly release the air. We take out the ball, and what remains is the frame of the toy.

We decorate the toy: sew or glue beads along the entire frame of the toy.It is advisable that the beads be light so as not to weigh down the finished toy.

Making the core of the toy: in the presented version, the beads are strung in random order.

We connect the main frame of the toy and the core. You can make a loop on top, or just leave “tails”.

The finished toy can be hung on a Christmas tree, decorated with a ceiling or chandelier, or hung in a car. Here is one of the options for a New Year's toy that can be made in this way. Since this is done very simply, you can fantasize endlessly. Happy New Year!
Similar master classes
Particularly interesting
Comments (0)

