Master class on creating a New Year's toy, a ball made from CDs.
New Year's celebration awaits us all, it is better to prepare for it in advance. Let's create New Year's toys ourselves from available materials. A ball of disks will be a wonderful decoration for a New Year tree or fir branches in a vase. Or you can decorate your house with these balls: put them on tinsel and hang them on the walls.
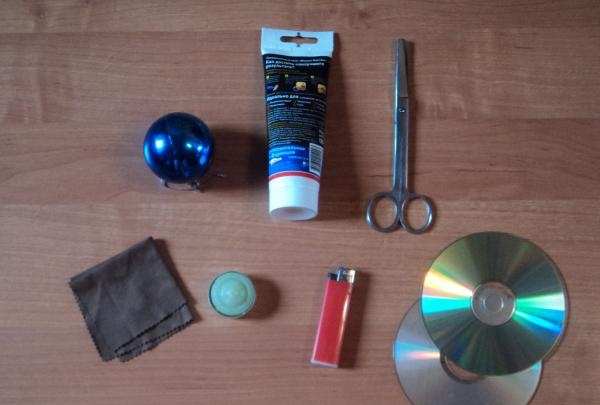
For work we will need:
- Christmas ball toy.
- Discs.
- Lighter.
- Candle.
- Garden shears or metal scissors.
- Glue moment “liquid nails”.
- A piece of rag.
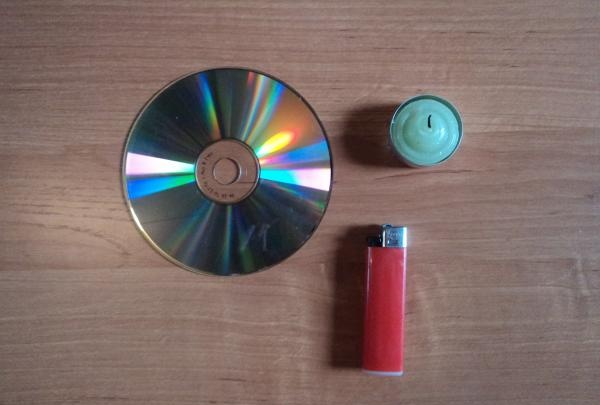
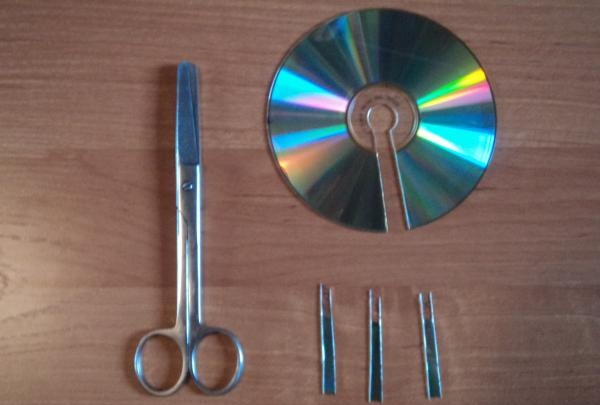
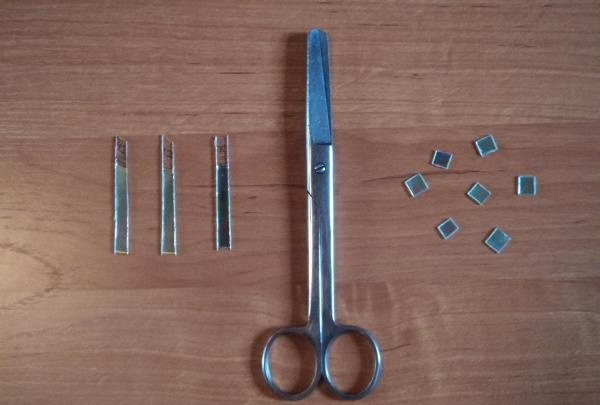
Using small garden shears or tin snips, cut out squares from the disks. Before cutting, heat the cut area on the disk with a candle or lighter so that the shiny coating of the disk does not peel off when cutting. Use tweezers to avoid getting burned. You can also hold the disc in hot water for a while, it will have the same effect as when heated with a lighter.
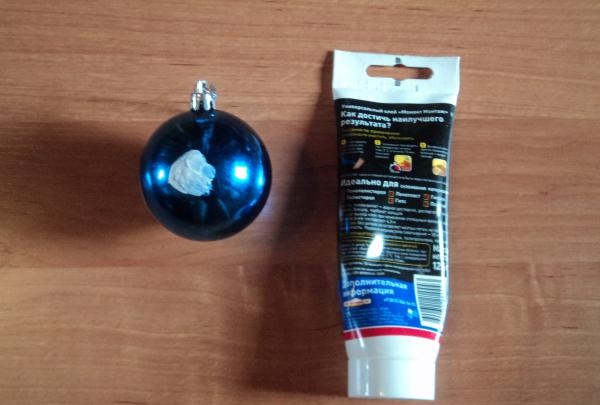
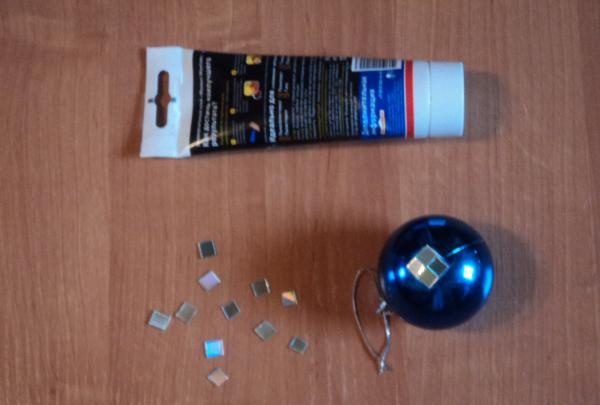
Next, glue the squares onto the ball toy using glue. There are two ways to stick disk pieces onto a toy:
- The first way. Paste from top to bottom, moving in a circle.
- Second method.We start gluing from the middle of the ball, in a circle. Then we move up or down. But with this method it is better to cut the disk not into squares, but into rectangles.
It is better to use a silver or white ball, then the “openings” between the squares will not be so noticeable. We used Liquid Nails adhesive in white or clear colors.
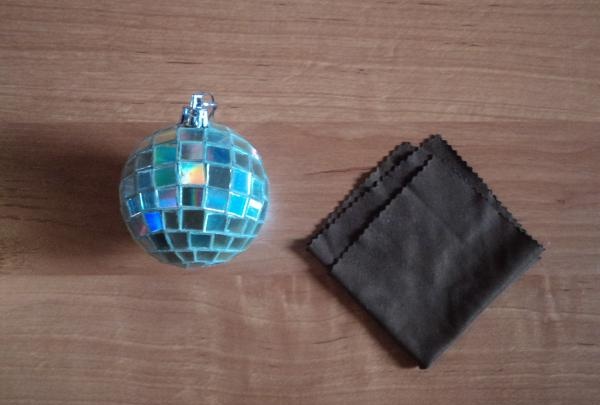
On the finished ball, remove traces of glue mechanically and rub the ball with a cloth to make it shine.
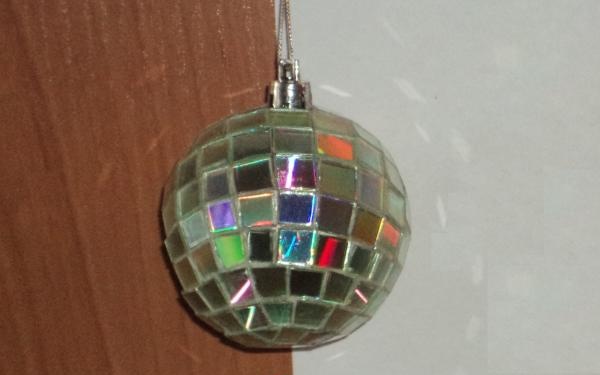
The toy is ready.
Disco balls are made using this principle. By directing a beam of light at such a ball in a dark room, the room will be filled with sunbeams. Only to make a disco ball you need to use a larger base ball, experiment.

For work we will need:
- Christmas ball toy.
- Discs.
- Lighter.
- Candle.
- Garden shears or metal scissors.
- Glue moment “liquid nails”.
- A piece of rag.


Using small garden shears or tin snips, cut out squares from the disks. Before cutting, heat the cut area on the disk with a candle or lighter so that the shiny coating of the disk does not peel off when cutting. Use tweezers to avoid getting burned. You can also hold the disc in hot water for a while, it will have the same effect as when heated with a lighter.


Next, glue the squares onto the ball toy using glue. There are two ways to stick disk pieces onto a toy:
- The first way. Paste from top to bottom, moving in a circle.
- Second method.We start gluing from the middle of the ball, in a circle. Then we move up or down. But with this method it is better to cut the disk not into squares, but into rectangles.
It is better to use a silver or white ball, then the “openings” between the squares will not be so noticeable. We used Liquid Nails adhesive in white or clear colors.

On the finished ball, remove traces of glue mechanically and rub the ball with a cloth to make it shine.

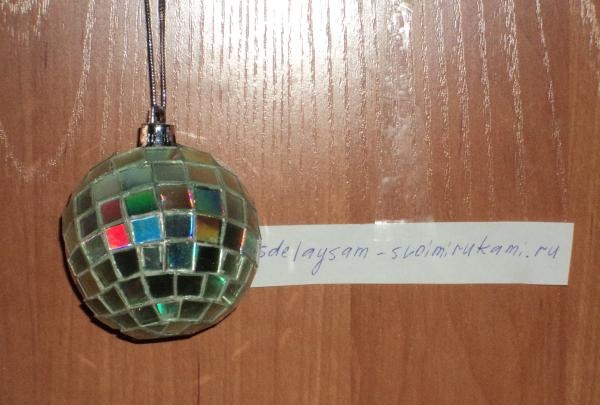
The toy is ready.
Disco balls are made using this principle. By directing a beam of light at such a ball in a dark room, the room will be filled with sunbeams. Only to make a disco ball you need to use a larger base ball, experiment.

Similar master classes
Particularly interesting
Comments (0)

