Restoration of an old wardrobe
Very often old furniture is so deeply rooted in our lives that there is practically no possibility of parting with it. This is exactly the situation that happened with an old wardrobe from the beginning of the last century. The world around him had changed, the apartment acquired a modern look, and the closet stubbornly stood in its place, not wanting to give up its place to its modern counterparts.
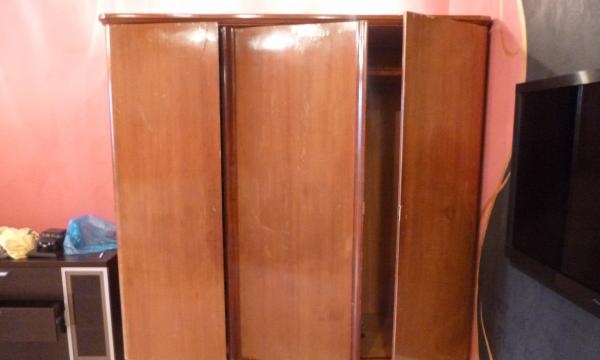
The old wardrobe did not correspond at all to the overall style of the room, did not fit in with the surrounding furniture and had a dull reddish color.
But still, a bold decision was made - to restore the old man and leave it in its original place.
A quick inspection revealed a lot of cracks, chips and gouges.
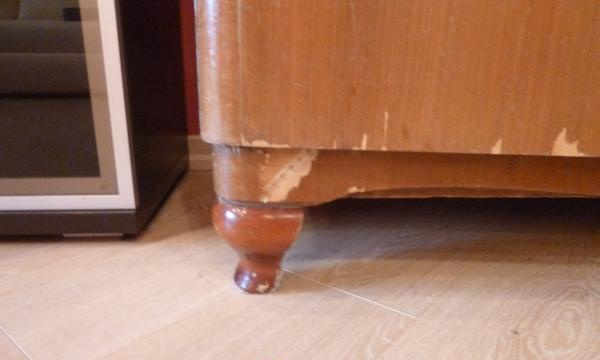
The first stage of restoration work is always the removal of all loose elements and old varnish, if any.
In order for the old varnish to completely come off, it is necessary to apply a special remover for varnishes and paints to the entire surface of the cabinet. The wash is applied with a brush or steel spatula. After 20-30 minutes, the remover will dissolve the old varnish. After this, you need to thoroughly clean the surface with a spatula and then hard sanding paper. The cabinet surface is now uniformly clean, dry and rough.
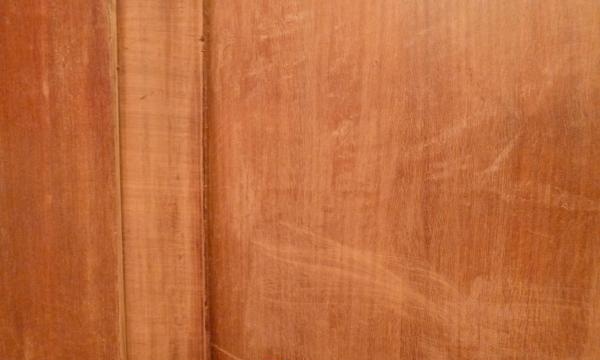
Now you need to painstakingly and carefully “heal” all the cracks and scratches on the surface of the wood. To do this we need a special wood putty and a soft rubber spatula. All defects are rubbed over with putty and, as they dry, sanded with fine sanding paper.
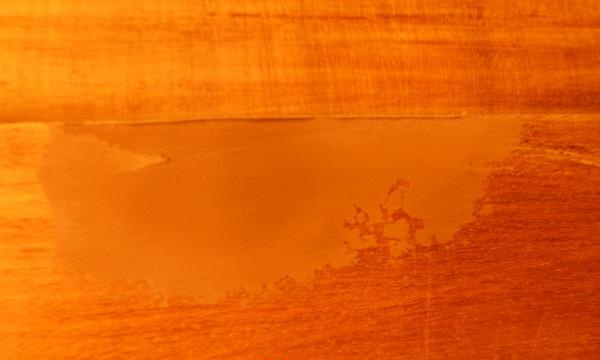
Next, cover all surfaces with liquid tinted stain.
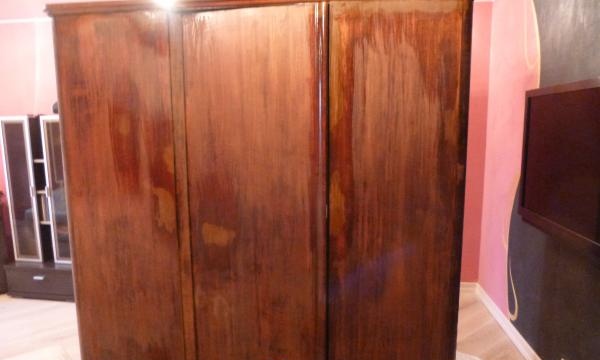
To achieve a uniform effect, you will need 3-4 layers with intermediate drying for 2 hours. After the final layer of stain, it is necessary to dry the wood for 20-30 hours at room temperature. Now you can begin the initial varnish coating. For this, it is best to use modern water-based acrylic varnish. Apply varnish evenly to all surfaces of the cabinet.
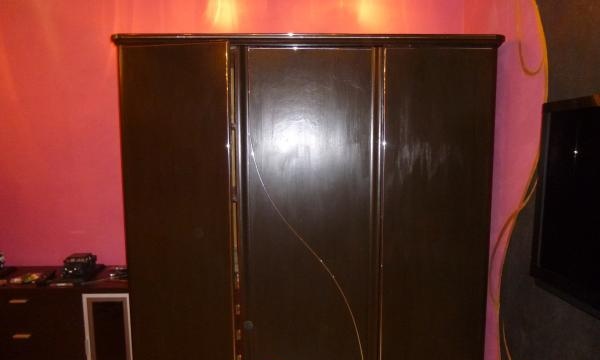
The varnish is applied to the surface using a special brush with hard natural bristles. The direction of movement of the brush should be from top to bottom, and never vice versa.
Once the varnish has dried, you can begin decorating the cabinet. To do this, we need a self-adhesive furniture edging with a “gold” effect. With this edging we decorate the side walls of the cabinet, the facade and especially the central door of the cabinet.
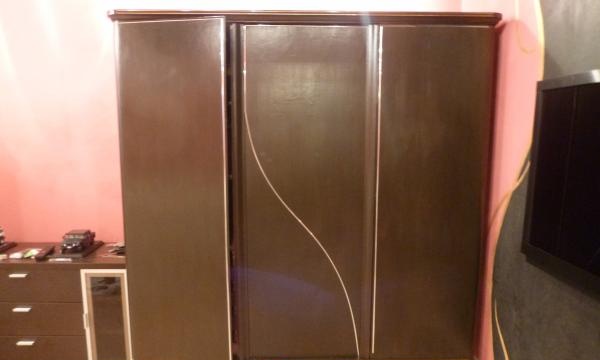
If necessary, you can replace the inner outerwear tire. In modern stores you can choose a metal or wooden tire and fasteners for it.
Now we begin the final varnishing. For this purpose, a special ultra-glossy varnish in an aerosol can is used. This varnish is applied very easily and evenly and gives the product newness and chic.
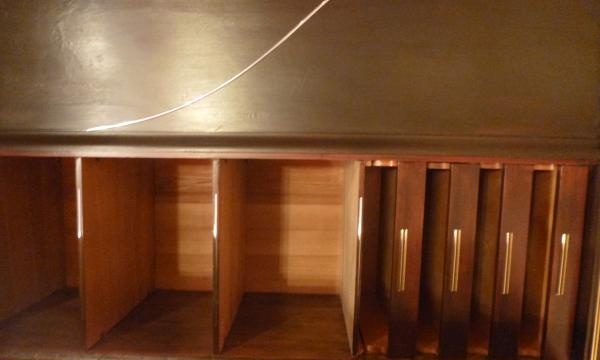
Furniture edging scraps can be used to decorate interior drawers and shelves.
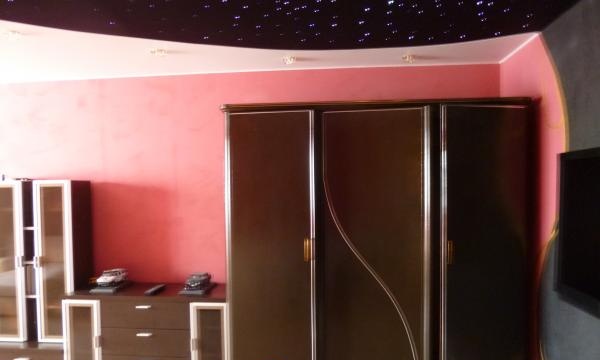
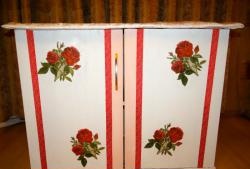
It only takes 3-4 days to do all these pleasant chores, but now my great-grandmother’s old closet has found a second life and fits perfectly into the modern interior.
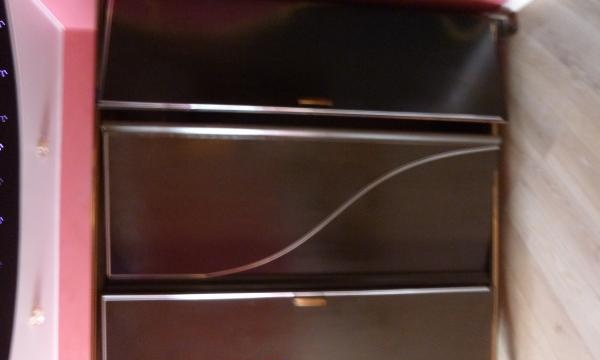

The old wardrobe did not correspond at all to the overall style of the room, did not fit in with the surrounding furniture and had a dull reddish color.
But still, a bold decision was made - to restore the old man and leave it in its original place.
A quick inspection revealed a lot of cracks, chips and gouges.

The first stage of restoration work is always the removal of all loose elements and old varnish, if any.
In order for the old varnish to completely come off, it is necessary to apply a special remover for varnishes and paints to the entire surface of the cabinet. The wash is applied with a brush or steel spatula. After 20-30 minutes, the remover will dissolve the old varnish. After this, you need to thoroughly clean the surface with a spatula and then hard sanding paper. The cabinet surface is now uniformly clean, dry and rough.

Now you need to painstakingly and carefully “heal” all the cracks and scratches on the surface of the wood. To do this we need a special wood putty and a soft rubber spatula. All defects are rubbed over with putty and, as they dry, sanded with fine sanding paper.

Next, cover all surfaces with liquid tinted stain.

To achieve a uniform effect, you will need 3-4 layers with intermediate drying for 2 hours. After the final layer of stain, it is necessary to dry the wood for 20-30 hours at room temperature. Now you can begin the initial varnish coating. For this, it is best to use modern water-based acrylic varnish. Apply varnish evenly to all surfaces of the cabinet.

The varnish is applied to the surface using a special brush with hard natural bristles. The direction of movement of the brush should be from top to bottom, and never vice versa.
Once the varnish has dried, you can begin decorating the cabinet. To do this, we need a self-adhesive furniture edging with a “gold” effect. With this edging we decorate the side walls of the cabinet, the facade and especially the central door of the cabinet.

If necessary, you can replace the inner outerwear tire. In modern stores you can choose a metal or wooden tire and fasteners for it.
Now we begin the final varnishing. For this purpose, a special ultra-glossy varnish in an aerosol can is used. This varnish is applied very easily and evenly and gives the product newness and chic.

Furniture edging scraps can be used to decorate interior drawers and shelves.

It only takes 3-4 days to do all these pleasant chores, but now my great-grandmother’s old closet has found a second life and fits perfectly into the modern interior.

Similar master classes
Particularly interesting
Comments (5)

