Bracelet - stylish metal
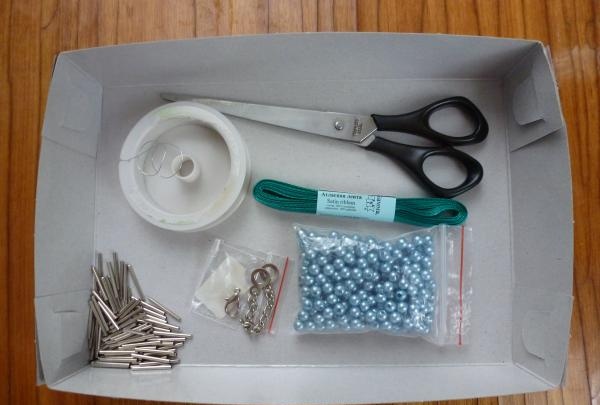
Every fashionista should have an accessory that combines brutality and elegance in her arsenal. Typically, this effect can be achieved by mixing rough elements such as leather or metal with lightweight materials and beads. One of them is this bracelet. To create it, I needed metal hollow tubes, a narrow satin ribbon, wire, scissors, beads and fittings for attaching the lock.
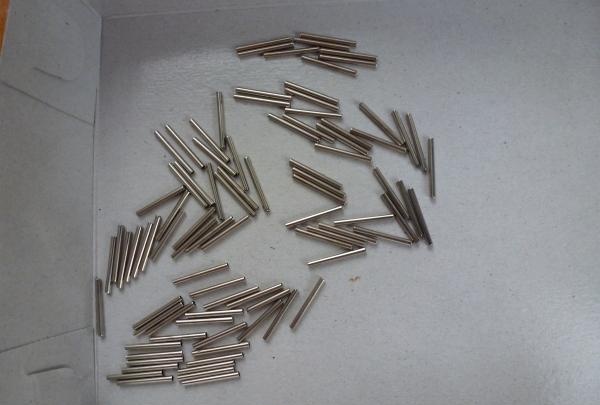
I accidentally saw my metal tubes in a craft store. For some reason I liked them, although I had absolutely no idea where to use them.
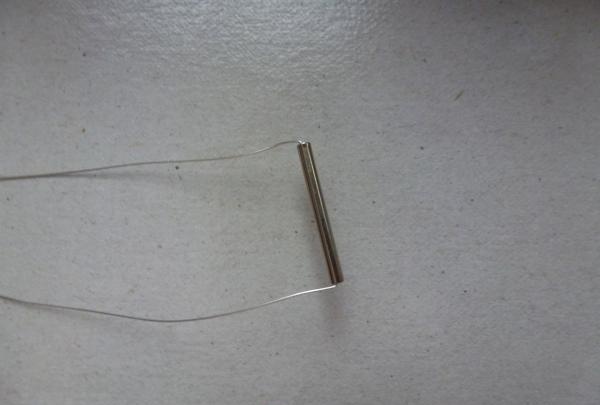
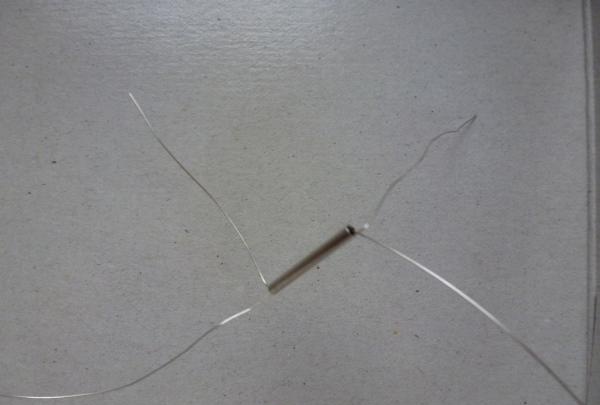
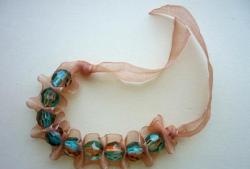
First of all, you need to measure a piece of wire approximately equal to 70 cm. You need to thread one tube into its middle.
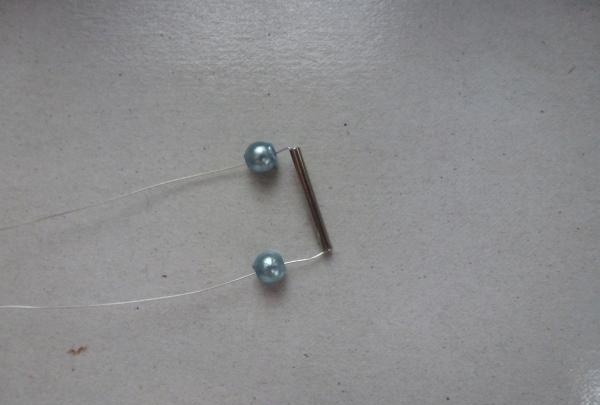
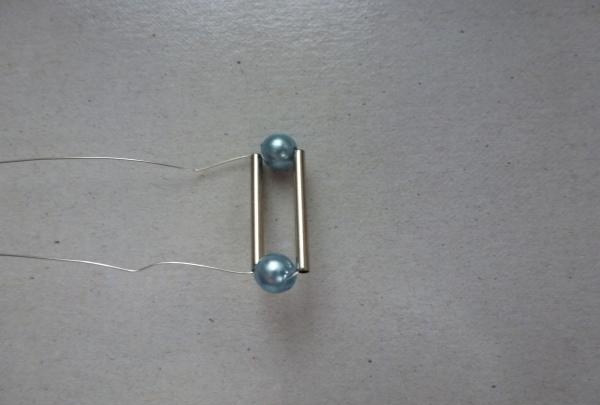
Now, string one bead onto each tail.
It is better to secure the link in this way.
To do this, we pass the ends of the wire through the tube towards each other. The end result is something like this.
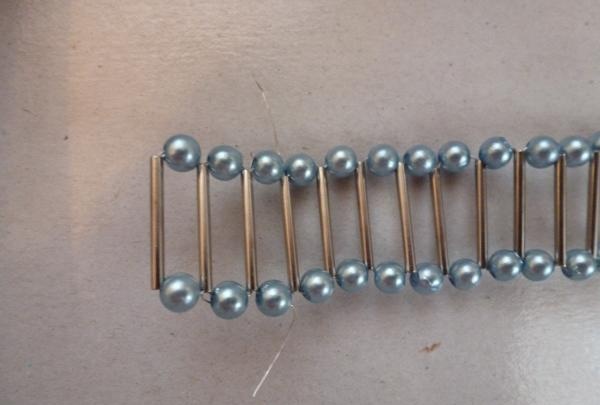
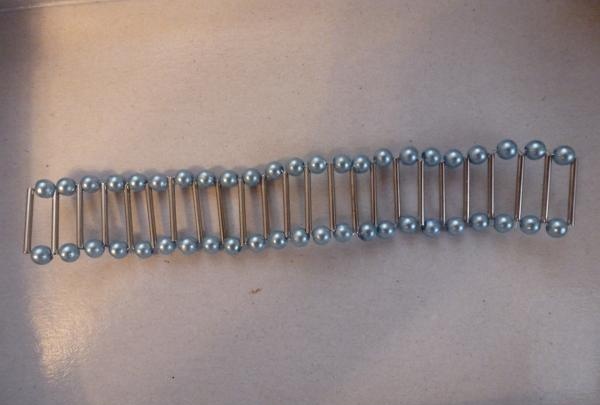
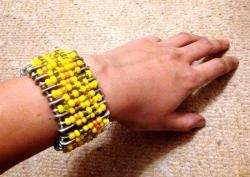
For the bracelet on my wrist I had to make 23 links.
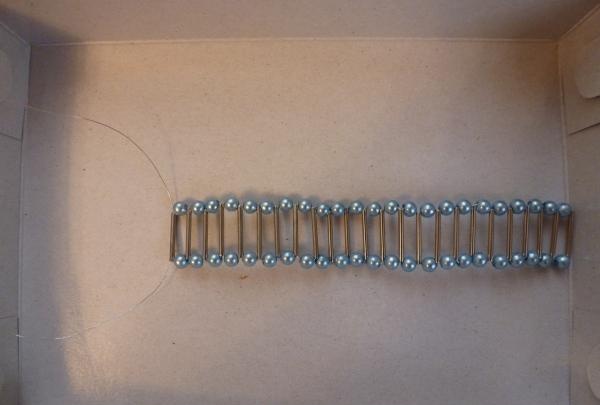
To prevent the wire from coming apart when worn, we hide the remaining ends by passing them along the reverse route for several links.
Well, half the work is done.
Let's start decorating.
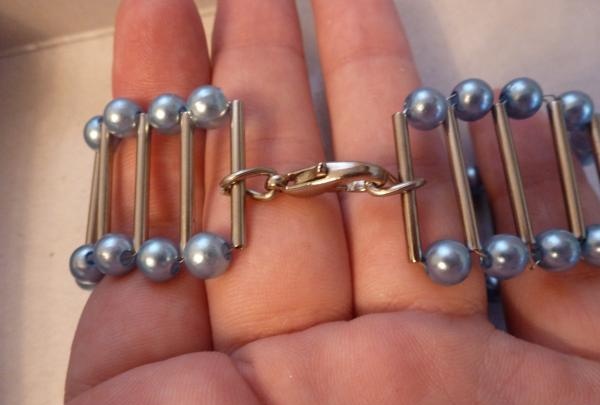
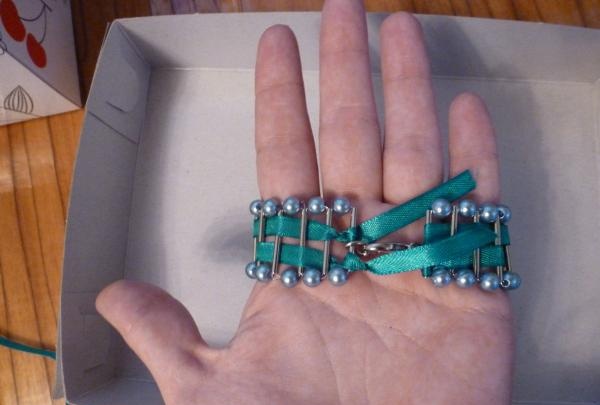
To begin with, using pliers, we attach two rings from a metal chain and a carabiner to the outer edges.
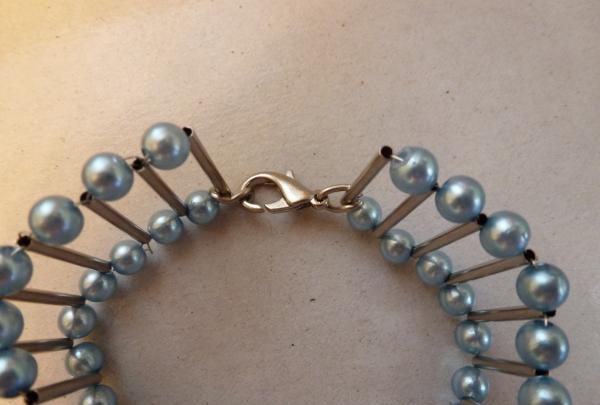
It is important to pay attention to the position of the hook. So that it does not cause inconvenience, it is better to position it this way.
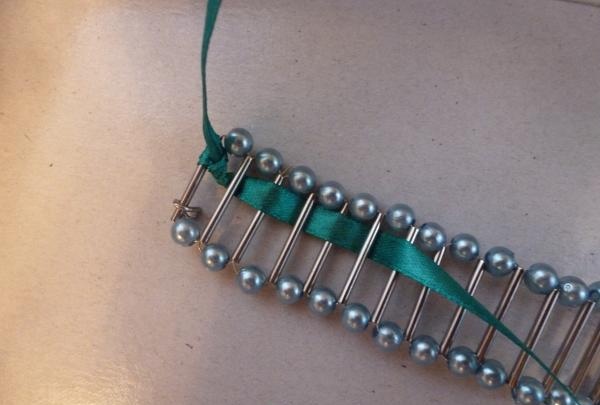
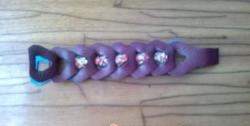
We begin to braid with ribbon. To do this, tie a ribbon in one corner using a regular double knot.

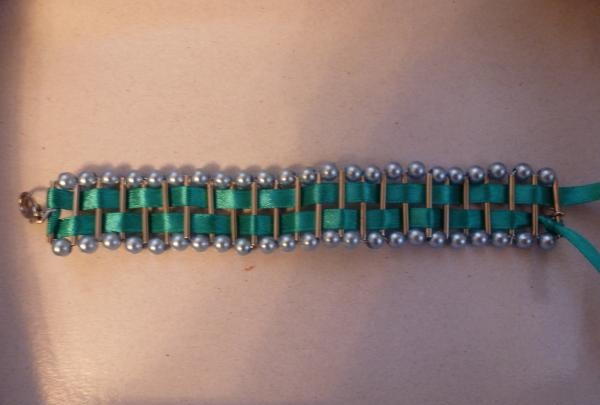
Now we pass the tape through the tubes in this way.
When I reached the other end, I wrapped tape around the two cuts on the outermost tube and moved in the opposite direction. Having finished the turns, we tie another knot.
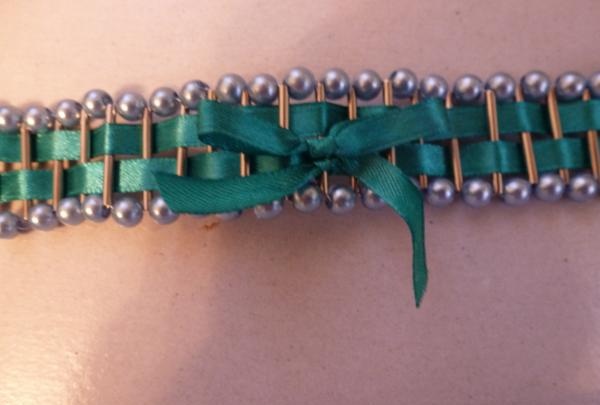
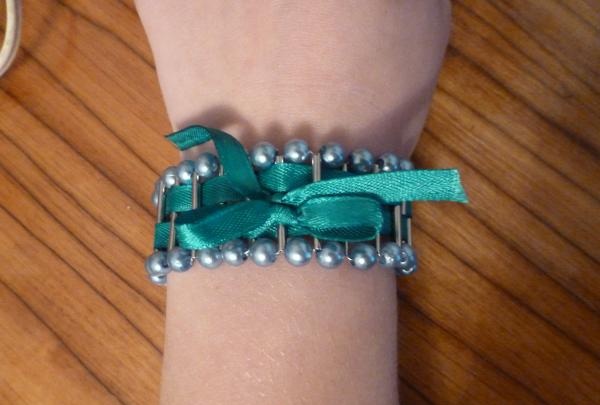
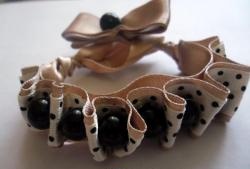
Approximately in the middle of the bracelet, on one of the tubes we tie a small piece of ribbon with a bow, having previously melted the ends with a lighter.
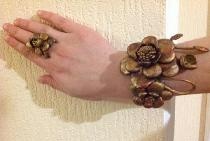
In the end, this is what we got.
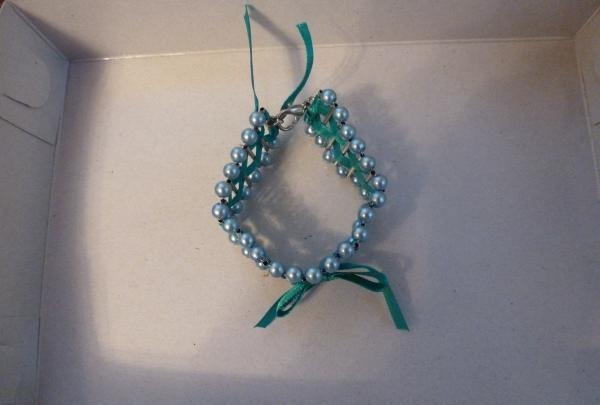
The accessory is ready.

I accidentally saw my metal tubes in a craft store. For some reason I liked them, although I had absolutely no idea where to use them.
First of all, you need to measure a piece of wire approximately equal to 70 cm. You need to thread one tube into its middle.
Now, string one bead onto each tail.
It is better to secure the link in this way.
To do this, we pass the ends of the wire through the tube towards each other. The end result is something like this.
For the bracelet on my wrist I had to make 23 links.
To prevent the wire from coming apart when worn, we hide the remaining ends by passing them along the reverse route for several links.
Well, half the work is done.
Let's start decorating.
To begin with, using pliers, we attach two rings from a metal chain and a carabiner to the outer edges.
It is important to pay attention to the position of the hook. So that it does not cause inconvenience, it is better to position it this way.
We begin to braid with ribbon. To do this, tie a ribbon in one corner using a regular double knot.
Now we pass the tape through the tubes in this way.
When I reached the other end, I wrapped tape around the two cuts on the outermost tube and moved in the opposite direction. Having finished the turns, we tie another knot.
Approximately in the middle of the bracelet, on one of the tubes we tie a small piece of ribbon with a bow, having previously melted the ends with a lighter.
In the end, this is what we got.
The accessory is ready.
Similar master classes


Particularly interesting

Comments (0)
