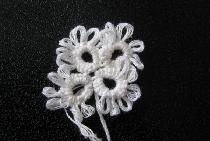
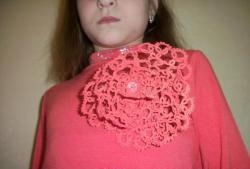
Rose from simple motifs
And Italian guipure, and light French lace, and tatting - all these needleworks belong to the shuttle type of lace, which since ancient times has been very common in various countries around the world.
Art historians believe that this technique of lace knitting was created in Ancient Egypt. And only in the 17th century it found its spread in Italy and France, and then throughout Europe. This type of needlework came to Russia like French lace - tatting.
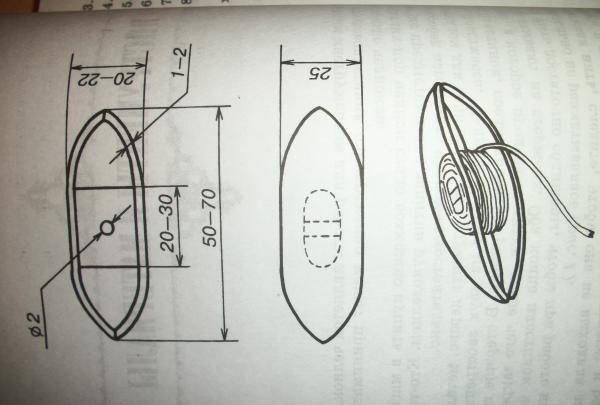
For weaving, any cotton threads No. 10, 20, 30 are used. It is woven with shuttles - you can see them in the photo. These are two plates curved into crescents, between which there is a jumper on which the thread is wound. The ends of the plates should be bent so that the thread, when wound around the jumper, does not slip past, being held in place until the lacemaker pulls it out. A diagram of what the shuttle should be like is shown in the photo.
The entire weaving technique is based on the tatting knot. The double tatting knot consists of straight and reverse loops. This is the most difficult element in this technique. So, having mastered it, you will easily master all the techniques and you will be able to weave wonderful products.
I suggest you make a decorative brooch - a rose from simple motifs woven using this technique.

For work we will need: 2 shuttles, scissors, crochet hook No. 1, darning needle for untangling knots, Iris threads, pin.
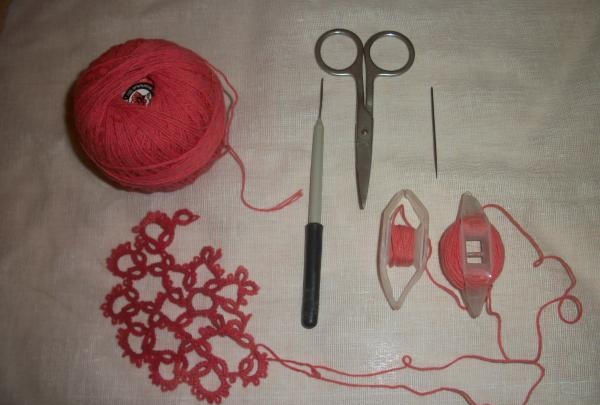
In order to make such a rose brooch, you need to weave five motifs from the threads you have chosen. I have this thread poppy.
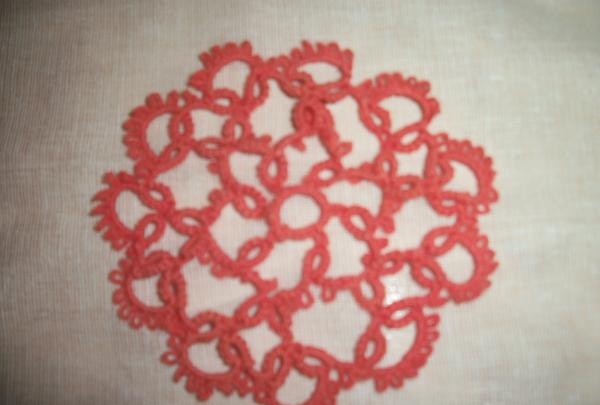
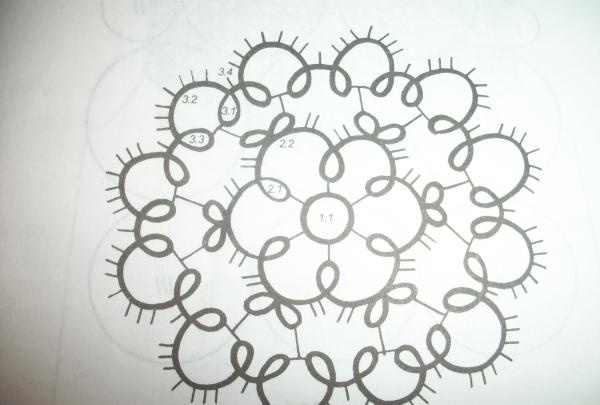
In order to understand the pattern (rapport) of weaving the tatting technique, you need to know the following designations: K - ring, PC - half ring, P - picot, D - arc. So, let's proceed directly to weaving our petals.
Rapport of motive
1.1 – k (4p5p5p5p5p5p1).
2.1 – k (5p5).
2.2 – d [2п2п2(5п5)(5п5)2п2п2].
3.1, 3.3 – k (5p5).
3.2 – d((2p)7 2).
3.4 – (2p2).
After this, it will be enough to weave the last, sixth motif without finishing the third row. It will be the middle of our rose.
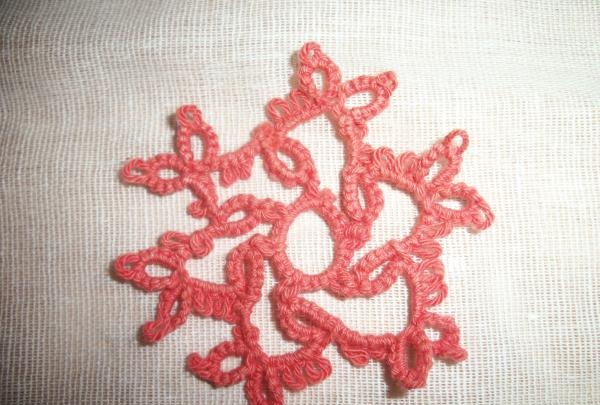
I soaked all the finished elements in gelatin for this purpose. So that they are rigid enough and keep their shape.
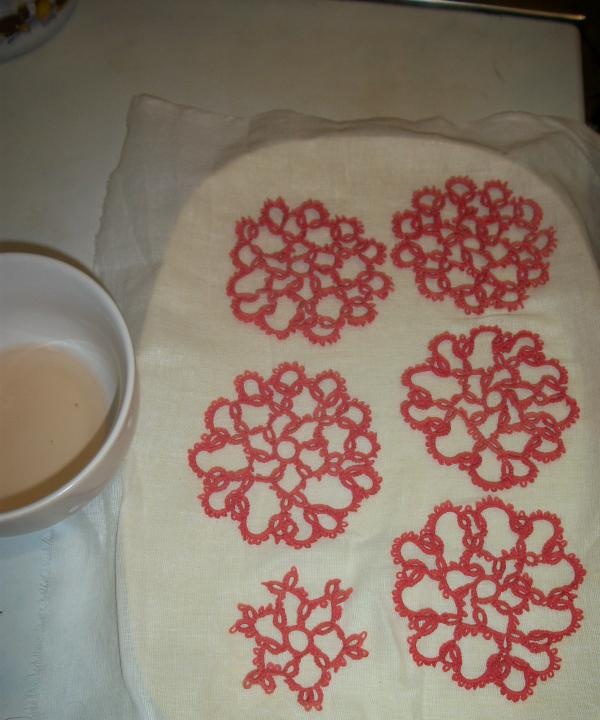
Now let's start collecting our flower by petals. To do this, we twist the last sixth, smallest element into a tube, thereby grabbing it with a thread.
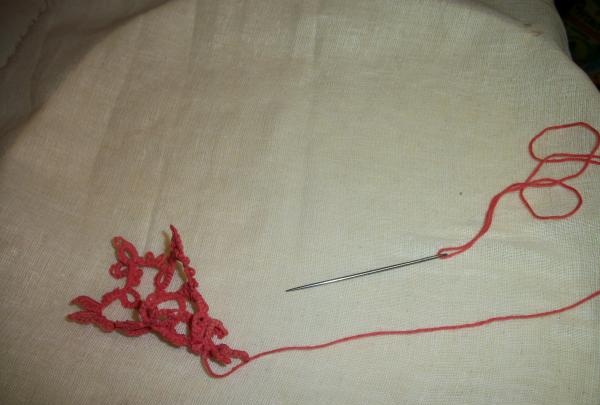
To this element we add the other five one by one, also fastening them with a needle and thread.
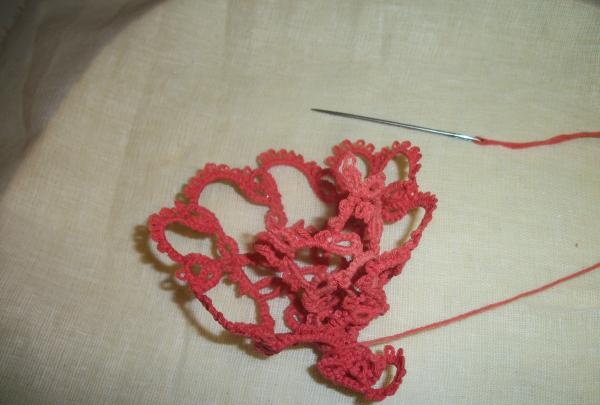
We should get a rose like this.
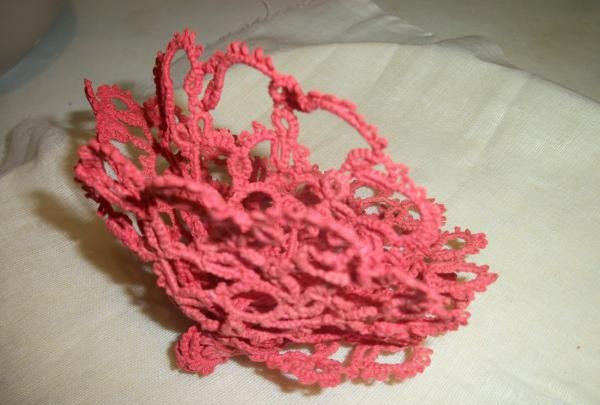
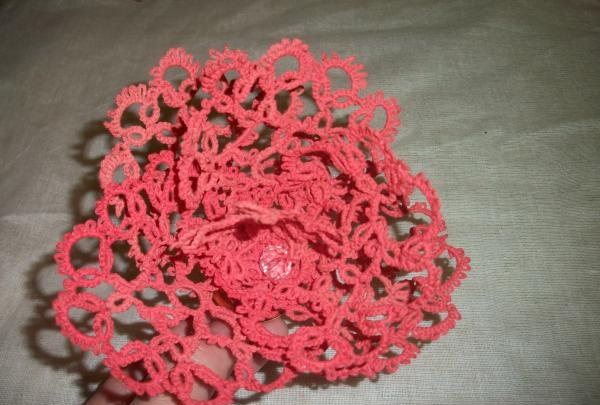
I decorated the middle of the flower with a bead so that it would sparkle romantically.
I bought a pin at a sewing store to make our brooch.
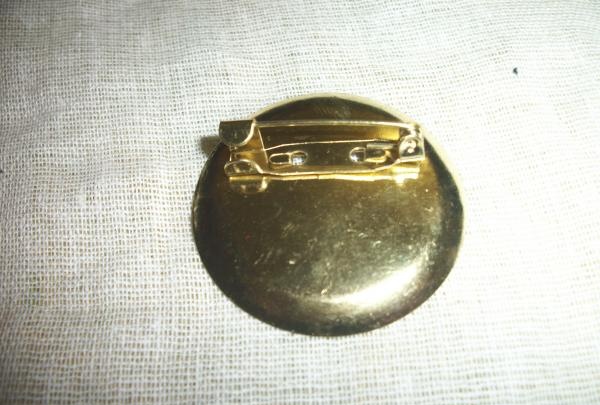
All we have to do is attach our finished flower to this pin. I did this again using thread and a needle - I sewed the rose to the base.
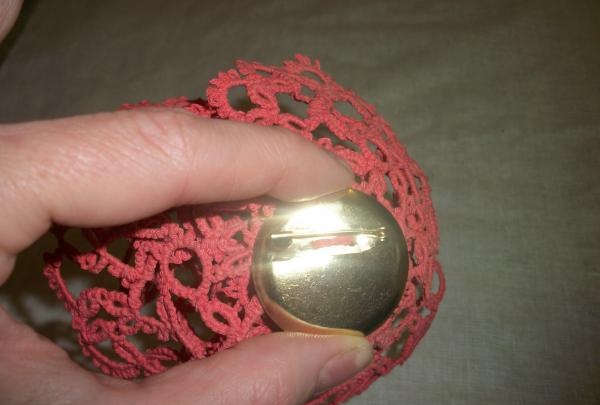
Our brooch is ready! You can safely pin it.
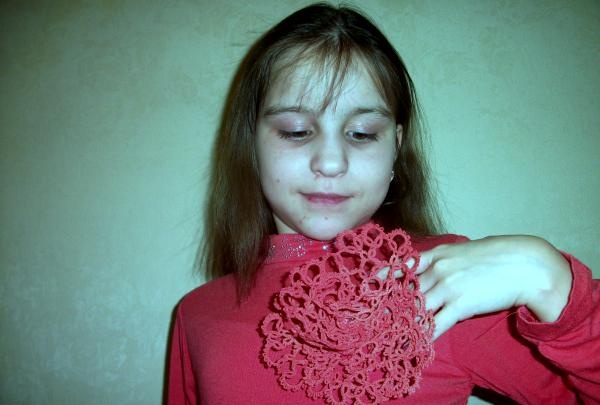
Over time, if the rose becomes limp and becomes less tough, it will be enough to starch it with an aerosol. They are now sold in household chemical stores.And then iron the petals. This rose will not leave you without attention!
Art historians believe that this technique of lace knitting was created in Ancient Egypt. And only in the 17th century it found its spread in Italy and France, and then throughout Europe. This type of needlework came to Russia like French lace - tatting.
For weaving, any cotton threads No. 10, 20, 30 are used. It is woven with shuttles - you can see them in the photo. These are two plates curved into crescents, between which there is a jumper on which the thread is wound. The ends of the plates should be bent so that the thread, when wound around the jumper, does not slip past, being held in place until the lacemaker pulls it out. A diagram of what the shuttle should be like is shown in the photo.

The entire weaving technique is based on the tatting knot. The double tatting knot consists of straight and reverse loops. This is the most difficult element in this technique. So, having mastered it, you will easily master all the techniques and you will be able to weave wonderful products.
I suggest you make a decorative brooch - a rose from simple motifs woven using this technique.

For work we will need: 2 shuttles, scissors, crochet hook No. 1, darning needle for untangling knots, Iris threads, pin.

In order to make such a rose brooch, you need to weave five motifs from the threads you have chosen. I have this thread poppy.

In order to understand the pattern (rapport) of weaving the tatting technique, you need to know the following designations: K - ring, PC - half ring, P - picot, D - arc. So, let's proceed directly to weaving our petals.
Rapport of motive
1.1 – k (4p5p5p5p5p5p1).
2.1 – k (5p5).
2.2 – d [2п2п2(5п5)(5п5)2п2п2].
3.1, 3.3 – k (5p5).
3.2 – d((2p)7 2).
3.4 – (2p2).

After this, it will be enough to weave the last, sixth motif without finishing the third row. It will be the middle of our rose.

I soaked all the finished elements in gelatin for this purpose. So that they are rigid enough and keep their shape.

Now let's start collecting our flower by petals. To do this, we twist the last sixth, smallest element into a tube, thereby grabbing it with a thread.

To this element we add the other five one by one, also fastening them with a needle and thread.

We should get a rose like this.

I decorated the middle of the flower with a bead so that it would sparkle romantically.

I bought a pin at a sewing store to make our brooch.

All we have to do is attach our finished flower to this pin. I did this again using thread and a needle - I sewed the rose to the base.

Our brooch is ready! You can safely pin it.

Over time, if the rose becomes limp and becomes less tough, it will be enough to starch it with an aerosol. They are now sold in household chemical stores.And then iron the petals. This rose will not leave you without attention!
Similar master classes
Particularly interesting
Comments (0)

