Craft box
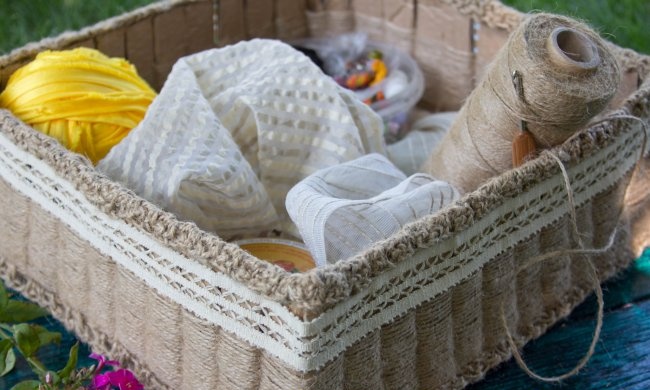
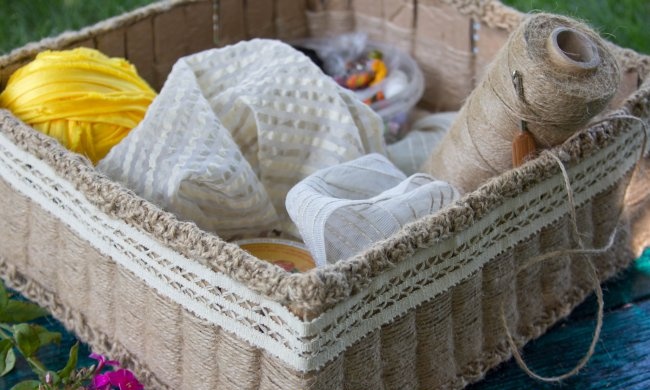
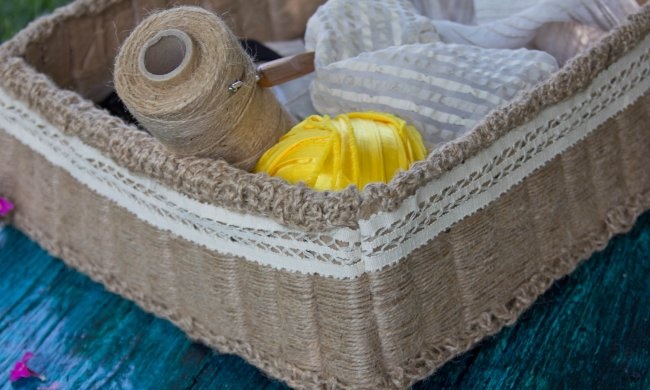
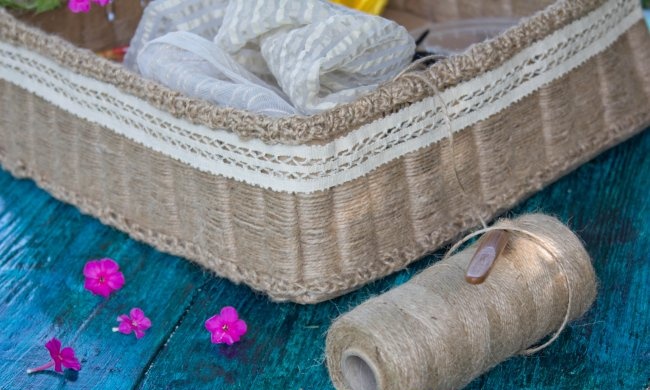
Even from the simplest things, which we do not pay attention to and consider garbage, we can make something worthwhile, unlike anything else. If, for example, you combine an ordinary cardboard box that was already going on a trip to the trash can with jute rope and old lace, then you may well get a nice box for needlework. Weaving with jute twine is so simple that you can master it in 2 minutes.
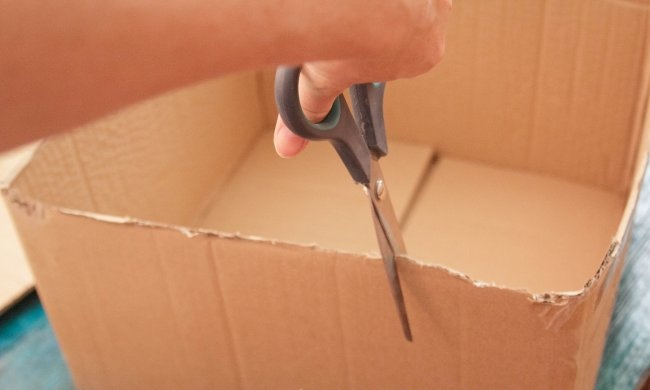
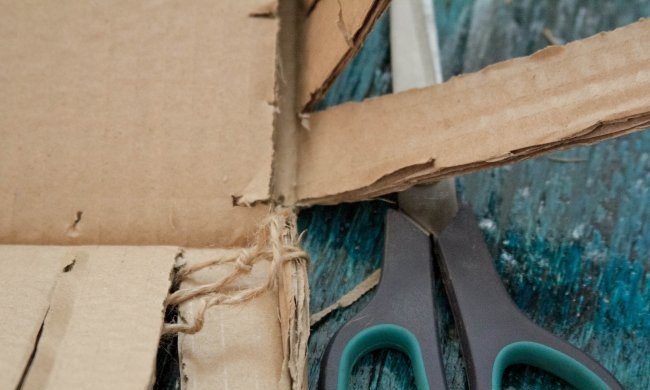
1. We make cuts on the sides of our box. When cut, you should get strips 1.5 cm thick. The cut should not be made exactly on the corner part. You should cut to the very bottom.
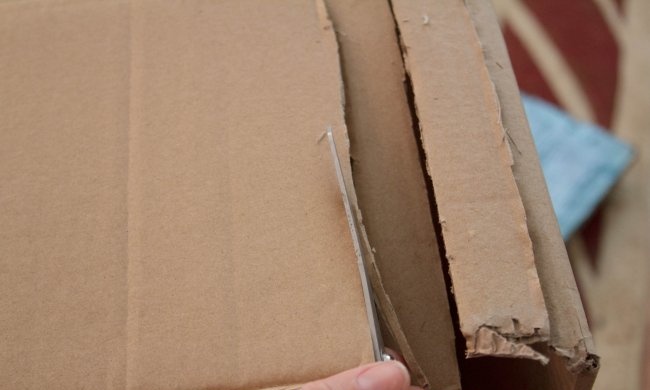
2. We cut the resulting strips a little more on the sides so that there is a gap of 5-6 millimeters between them.
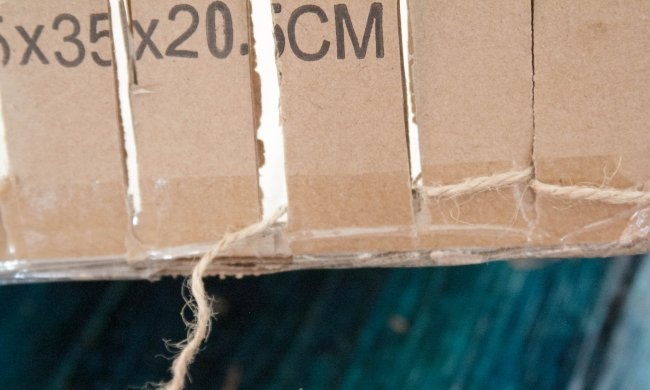
3. We tie a thread to the corner strip. This will be the beginning of our weaving.
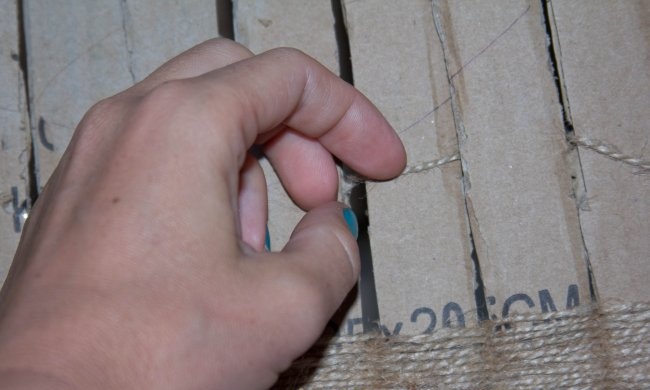
4. We thread the thread in a circle so that the thread alternates between the front and the back of the strips. After completing the first round of jute, the next row should begin. Now, where the thread passed in the front, it should go from the back, and where the jute was threaded through the back, we pass it from the front.
5. With this alternation, we make the required number of rows. We carefully lower each next row down by hand so that the jute rows lie tightly on top of each other.
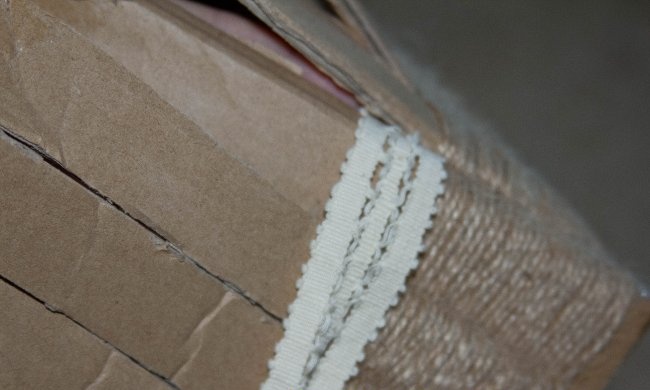
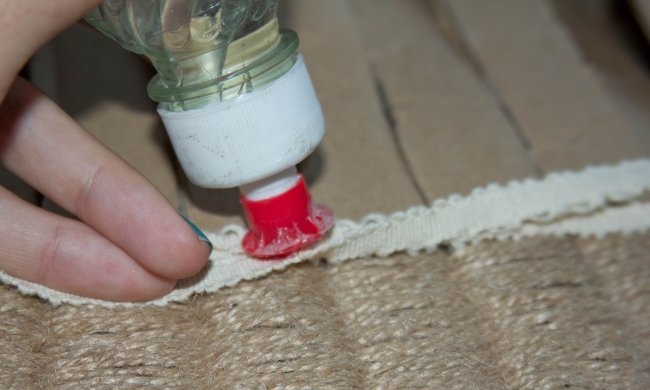
6. Now fasten the edge of the lace, pinching it between the strips in the corner part. Glue it with glue.
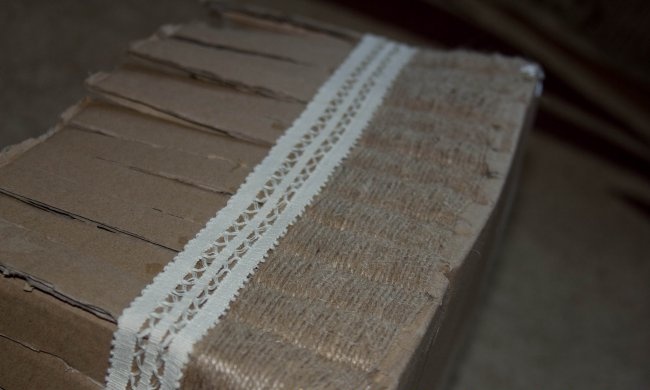
7. Fix the lace around the entire perimeter with glue.
8. Cut the strips evenly, leaving 0.8 mm of free edge.
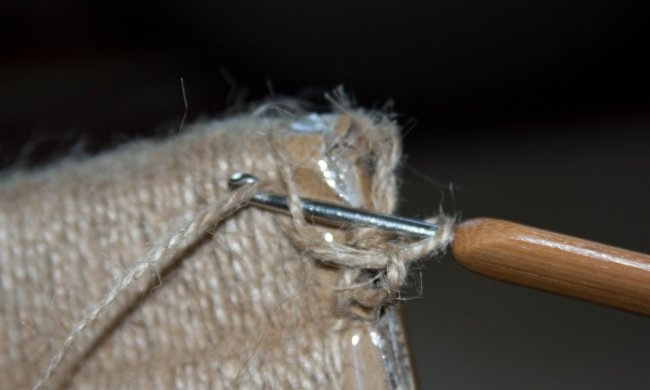
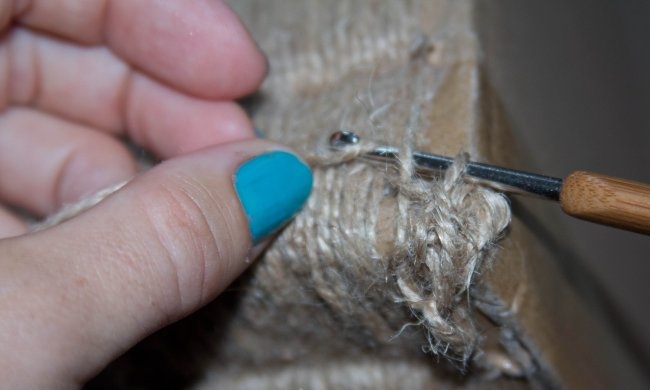
9. We tie the bottom edge of the box in order to cover the cardboard pieces that peek out from below. To do this, we simply knit the loops in any order, clinging with loops to the bottom row of jute. Such chaotic knitting only adds beauty to the product.
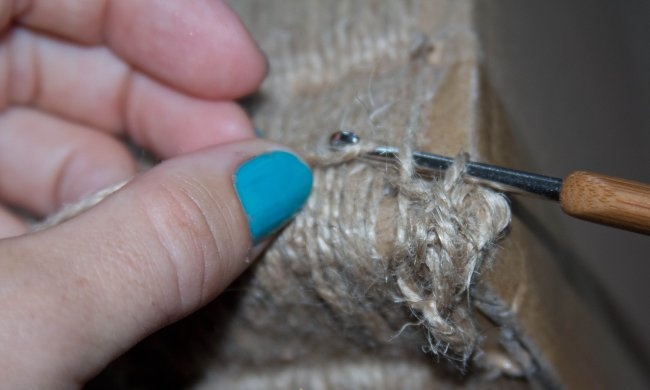
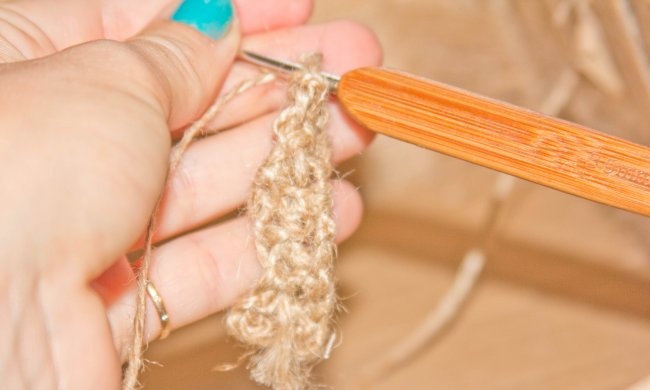
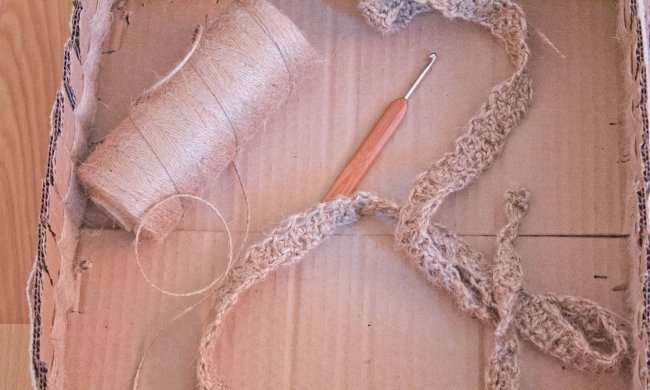
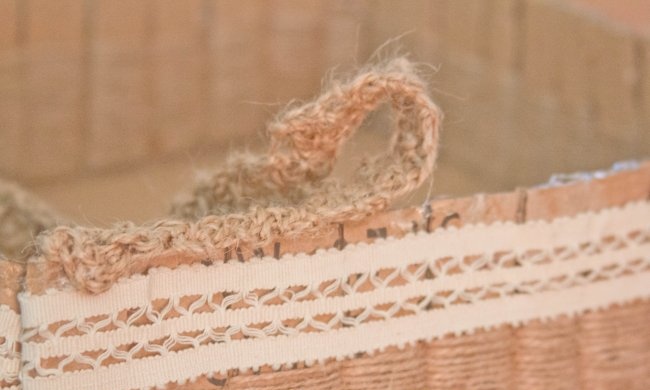
10. To close the top row we knit a strip of jute. It should consist of single crochets. There should be 4 single crochets in one row. You can make more columns. The thickness of the strip should be enough to carefully close the top edge of the box. The length of the strip should be such that it is enough to cover the paper strips.
11. You can line the inside of the box with fabric, or you can leave it in its original form.
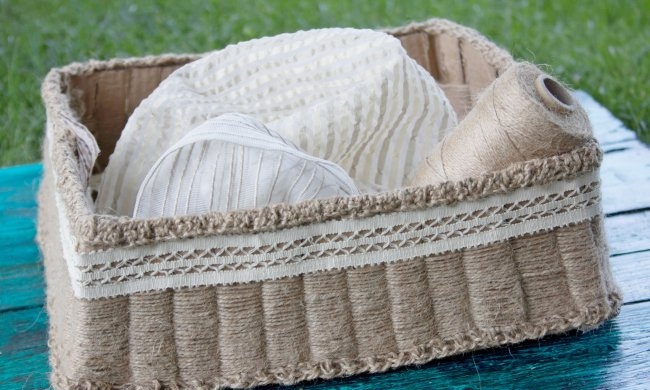
12. DIY craft box is ready!
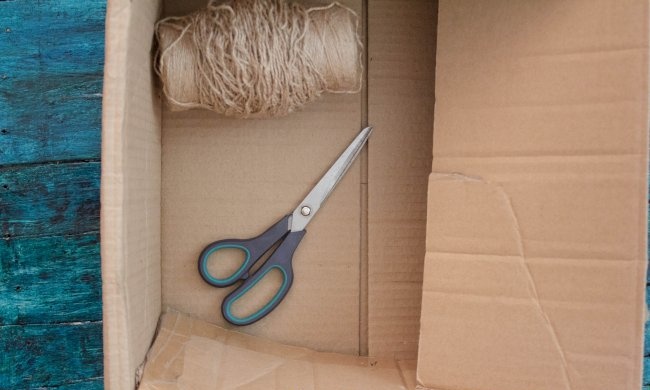
To create such a box we will need:
- - jute rope (about 3 mm thick);
- - cardboard box of suitable size;
- - scissors;
- - lace (its length should be equal to the perimeter of the box);
- - Crochet hook;
- - large sharp scissors.
Handmade boxes are made like this:
1. We make cuts on the sides of our box. When cut, you should get strips 1.5 cm thick. The cut should not be made exactly on the corner part. You should cut to the very bottom.
2. We cut the resulting strips a little more on the sides so that there is a gap of 5-6 millimeters between them.
3. We tie a thread to the corner strip. This will be the beginning of our weaving.
4. We thread the thread in a circle so that the thread alternates between the front and the back of the strips. After completing the first round of jute, the next row should begin. Now, where the thread passed in the front, it should go from the back, and where the jute was threaded through the back, we pass it from the front.
5. With this alternation, we make the required number of rows. We carefully lower each next row down by hand so that the jute rows lie tightly on top of each other.
6. Now fasten the edge of the lace, pinching it between the strips in the corner part. Glue it with glue.
7. Fix the lace around the entire perimeter with glue.
8. Cut the strips evenly, leaving 0.8 mm of free edge.
9. We tie the bottom edge of the box in order to cover the cardboard pieces that peek out from below. To do this, we simply knit the loops in any order, clinging with loops to the bottom row of jute. Such chaotic knitting only adds beauty to the product.
10. To close the top row we knit a strip of jute. It should consist of single crochets. There should be 4 single crochets in one row. You can make more columns. The thickness of the strip should be enough to carefully close the top edge of the box. The length of the strip should be such that it is enough to cover the paper strips.
11. You can line the inside of the box with fabric, or you can leave it in its original form.
12. DIY craft box is ready!
Similar master classes
Particularly interesting
Comments (0)

