Remote control repair
With prolonged and intensive use, radio remote controls begin to develop a characteristic malfunction. The remote control buttons stop responding to pressing. This happens due to contamination of the contact pads of the board and rubber buttons, or due to wear of the conductive coating of the buttons. To restore the operation of the remote control, you can carefully disassemble the remote control, clean the pads and buttons with a damp cloth, and apply a little conductive glue to the buttons. But there is another way to restore the remote control. This is to use pieces of foil glued to conductive rubber bands.
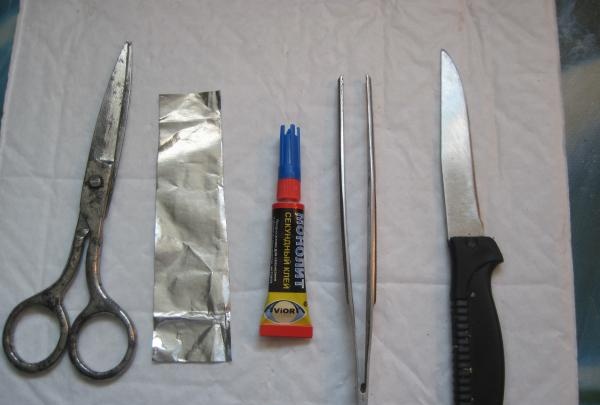
To repair the remote control, we will need scissors, a knife, tweezers, Monolith glue and cigarette foil.
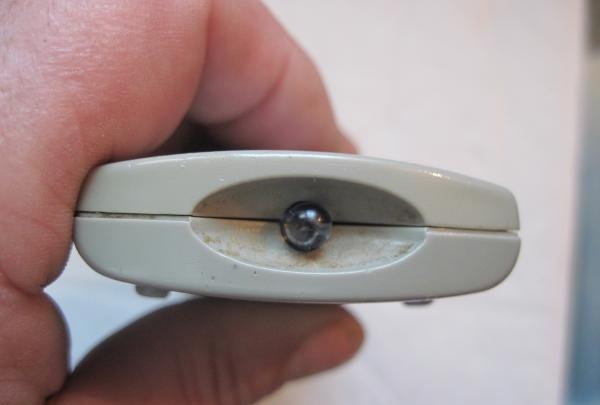
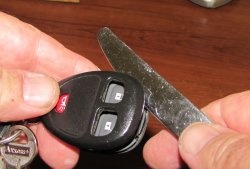
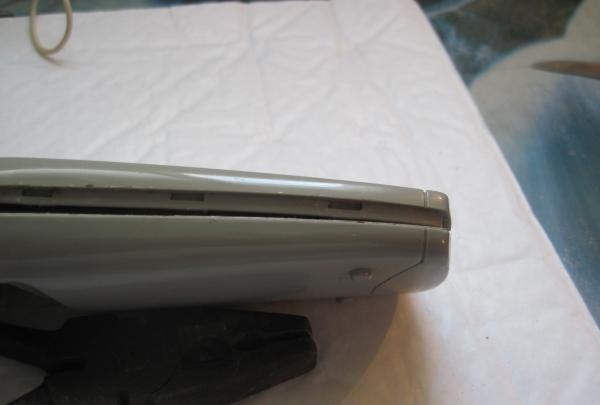
Remove the batteries from the remote control. Use a knife to carefully separate the remote control into two halves. The halves of the remote control are usually fixed with latches like this.
Next, remove the board and the block of rubber buttons. Use a damp cloth to remove dirt.
We cut squares from foil to the size of the contact pads.
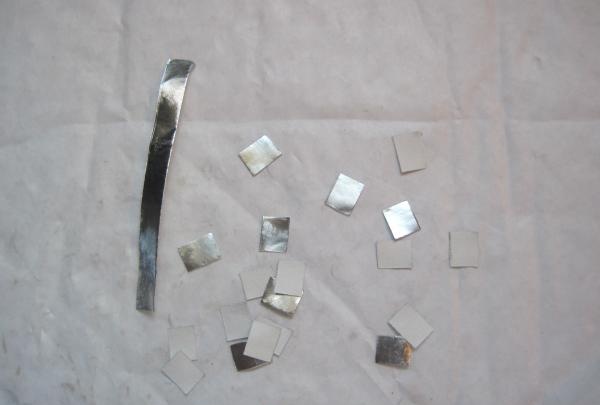
Drop a little glue onto the conductive coating and, taking the square with tweezers, glue it.
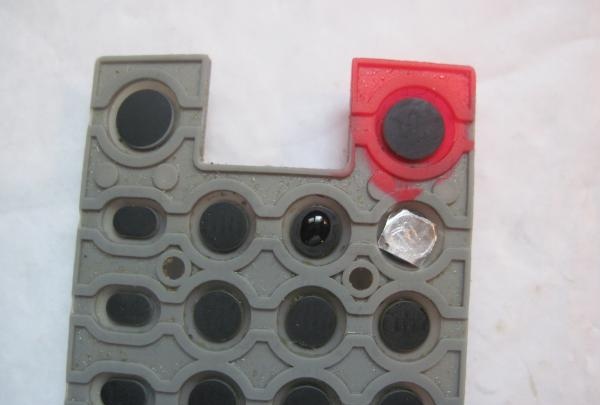
Our remote control has five buttons that are not used. Therefore, it is not necessary to glue foil on them.
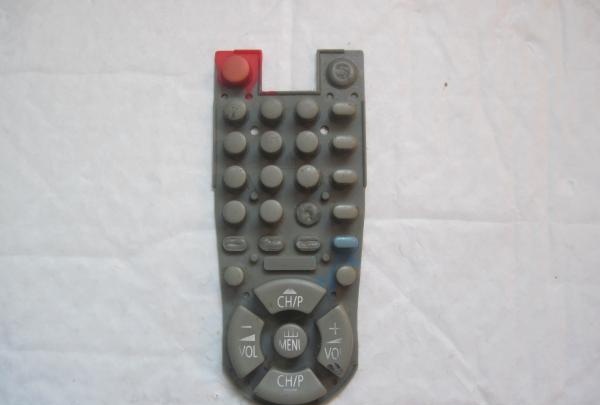
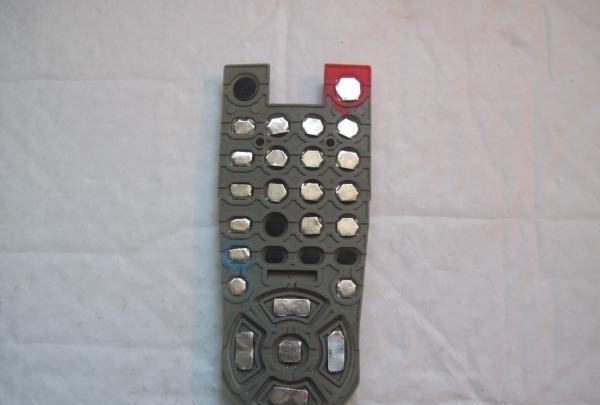
Next, we assemble the remote control. We insert the batteries, observing the polarity, and check the operation of all buttons.
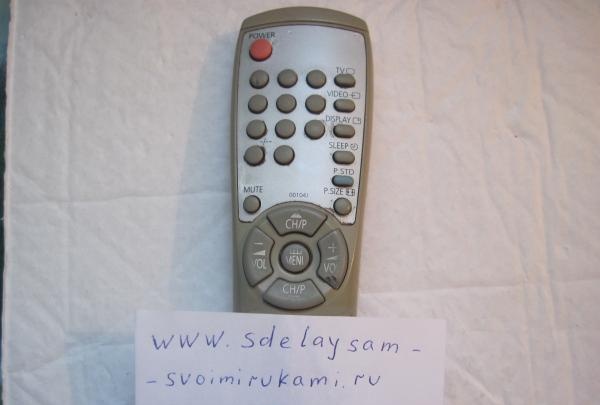
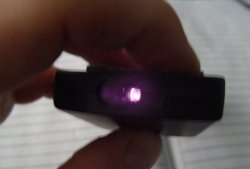
This method restored the functionality of many remote controls of various radio equipment. A repeated defect appears after about a year. You can restore the operation of the buttons again by tearing off the old foil and gluing a new one. And one more piece of advice. To check the operation of the remote control, you need to point the lens of any digital camera at the infrared Light-emitting diode remote control and press any button. If Light-emitting diode blinks, then we can assume with great confidence that the remote control is working properly.
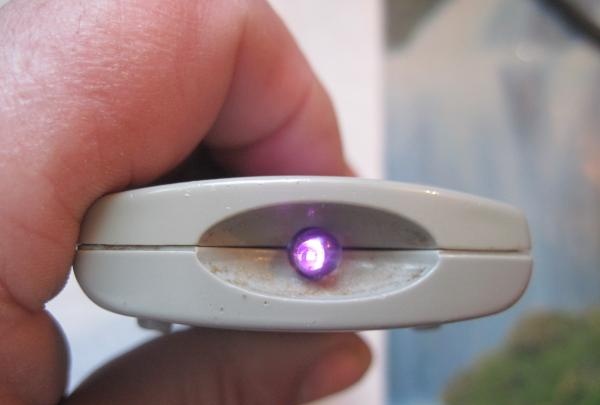
If we don’t see blinking, then the remote control is faulty.
