Play complex for cats
When purchasing a small purring pet, future owners spend a lot of money to create comfortable conditions for it - beds, mattresses, scratching posts, toys, etc. One of the best solutions for such improvement is a gaming complex. Pet stores offer models of different sizes, configurations and colors, all you have to do is choose and buy. True, a large and beautiful complex is quite expensive, and delivery to the region can cost as much as the complex itself, and it is not always possible to find what you want. In this case, you should arm yourself with the simplest tools, materials, patience and imagination, and create a complex with your own hands.
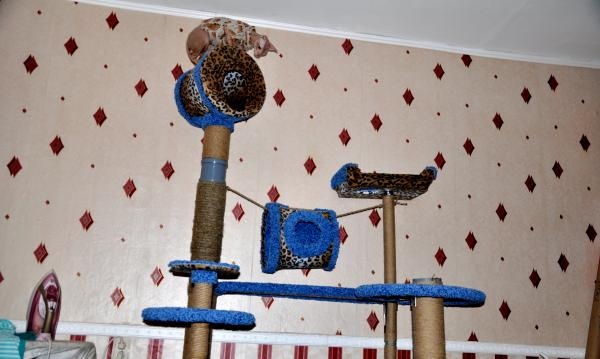
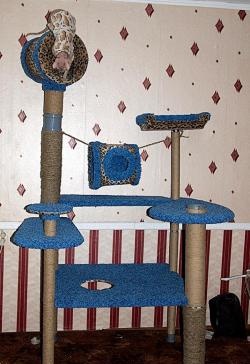
Let's consider an example of creating such a complex. We were thinking about a complex for the Don Sphynx, an active kitten who loves to climb curtains and furniture, so the complex had to be made large enough, stable and as functional as possible. For this purpose, we purchased: two plastic plumbing pipes, two 2 m in diameter with a diameter of 10 cm, and two pipes with a diameter of 5 cm (2 m and 1 m). Two skeins of hemp rope, 10 m each, jute twine in 3 strands, several spools. Plywood 10 mm, two sheets 0.8 x 1.2 m.Carpeting with a long cut pile 1m wide 4m, carpeting with looped pile were not considered, the material is quite traumatic for cat claws. Metal consoles 10cm x 15cm, self-tapping screws, packaging. Glue Moment Joiner - 3 pieces. Metal angles, plates, screws and nuts were purchased as necessary during the work process. Leopard print fleece 3m x 4m. Furniture stapler and staples. A 20 liter bucket became the basis for a house under the ceiling, a 15 liter paint bucket became a play pipe.
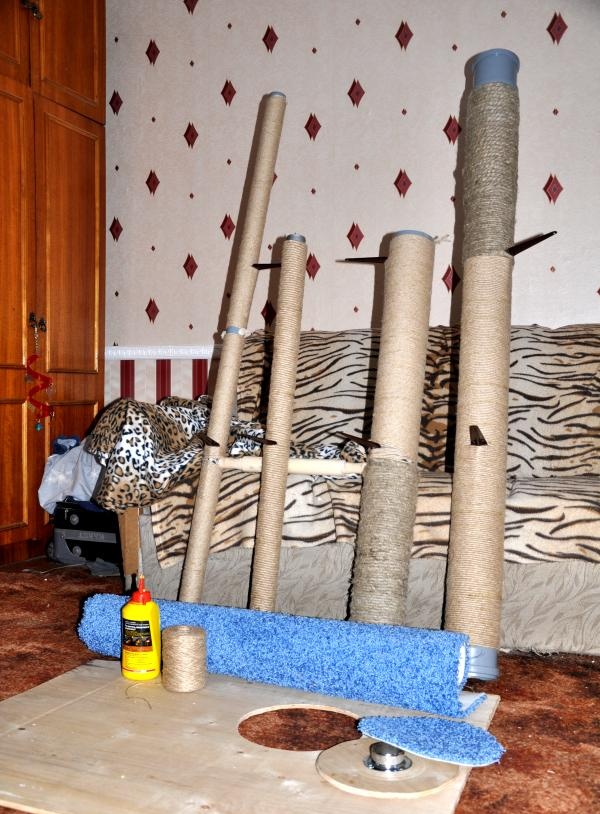
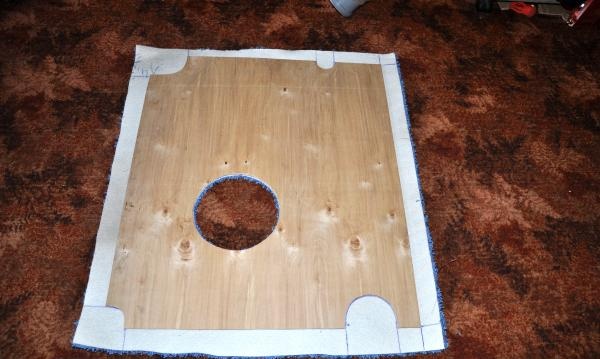
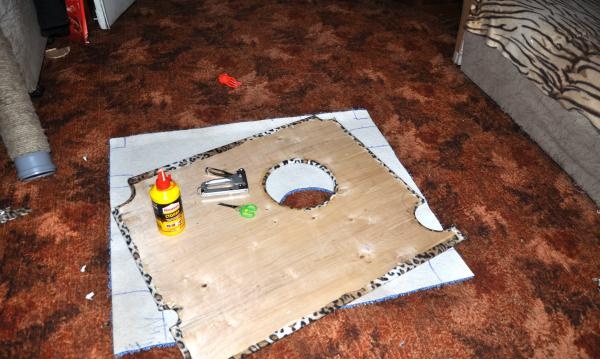
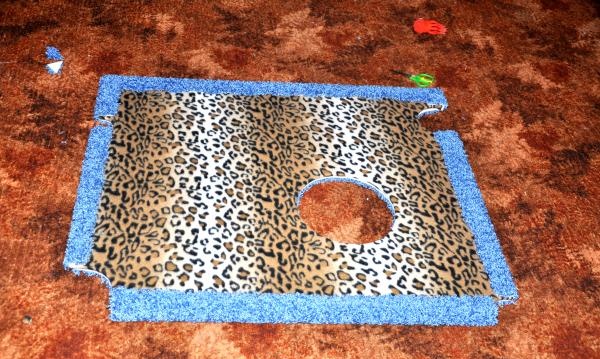
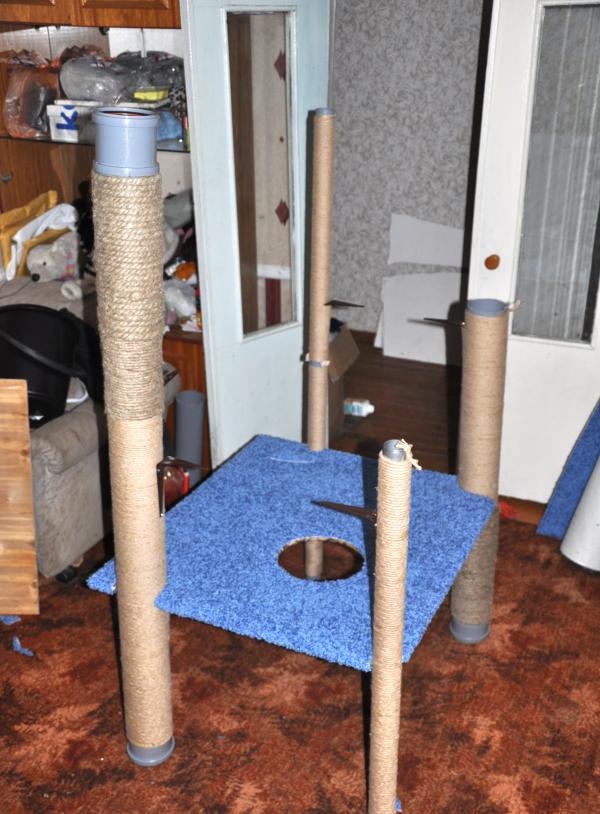
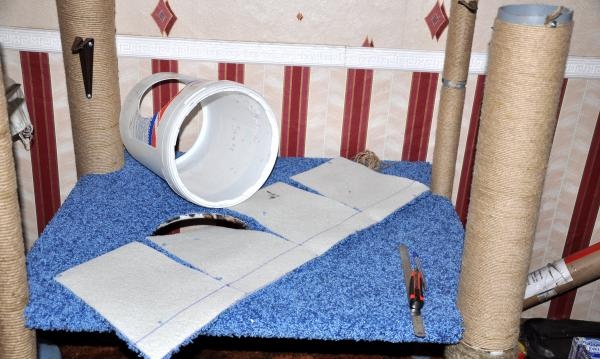
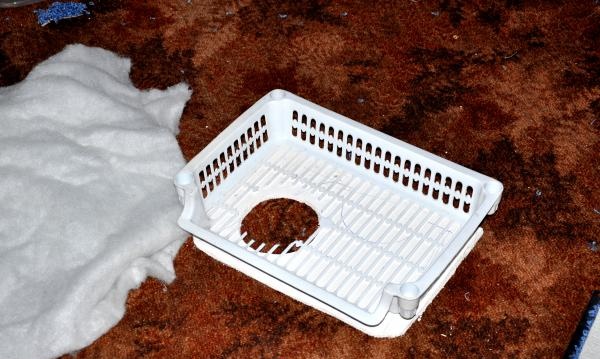
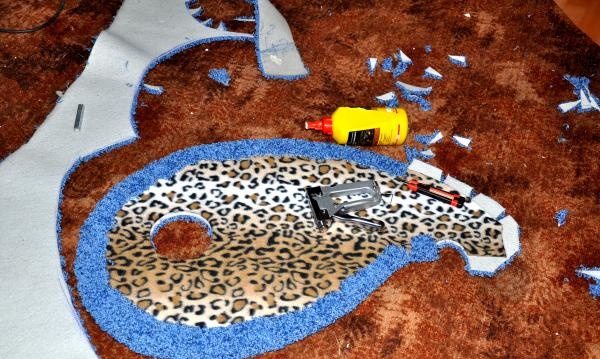
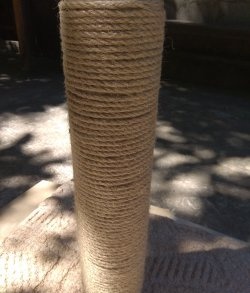
First you need to mark at what level the shelves will be, and attach the consoles according to the markings. The next stage is the longest and most labor-intensive - wrapping the pipes with hemp and jute rope. We tie a knot at the end of the rope, twist a self-tapping screw through the knot, then coat the pipe with glue and wrap it with rope, after a few turns we tap it with a hammer, knocking the turns together more tightly. We leave the finished pipes to dry, while we prepare the shelves. We cut out shelves of the required size and shape from plywood. On one side of the shelf we wrap it in fleece, secure the edges with glue, on the other side we fix the carpet with glue and a furniture stapler. We cover the buckets with fleece; it is better to insert a carpet inside. We install the finished shelves on the console and screw them onto the screws.
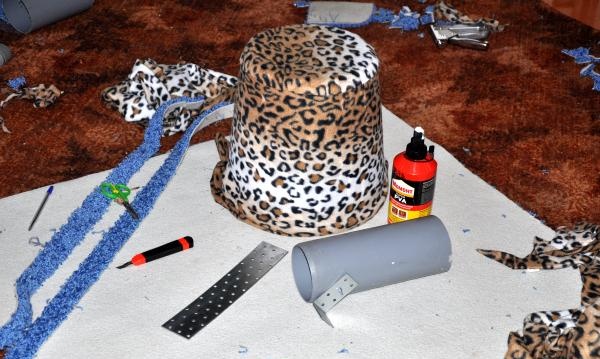
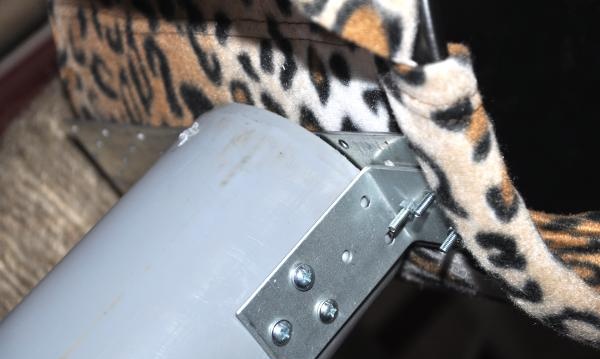
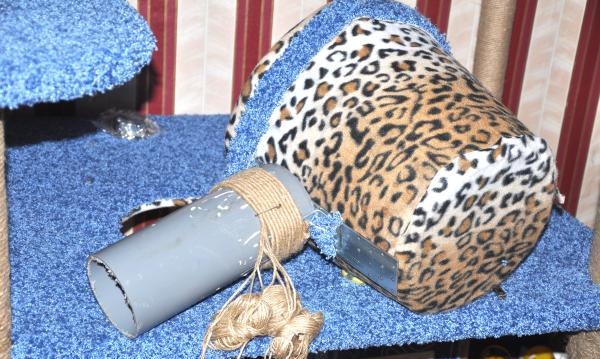
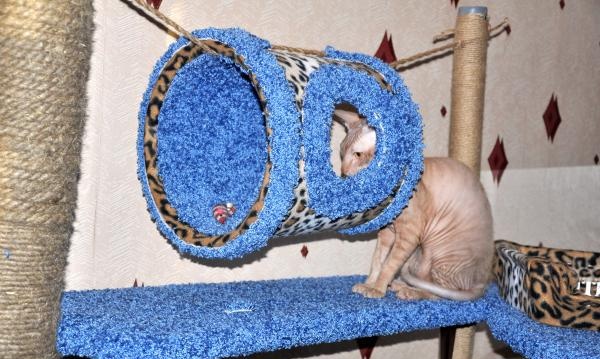
We place two shelves that are installed on thin pipes on metal flanges and put them on the pipes. We hang the playing tube on twine above the shelf. The most difficult connection is the connection of the upper bucket-house to the pipe, where we use a plate, angles and screws + nuts. It is better to cover all joints and nodes with pieces of carpet; the complex will be more elegant. The design turned out to be strong, but somewhat shaky, so it is advisable to attach the shelves adjacent to the wall to the wall on consoles or corners.The cottage is ready, there is still room for future updates: you can add toys, ladders, hammocks, beds, etc.
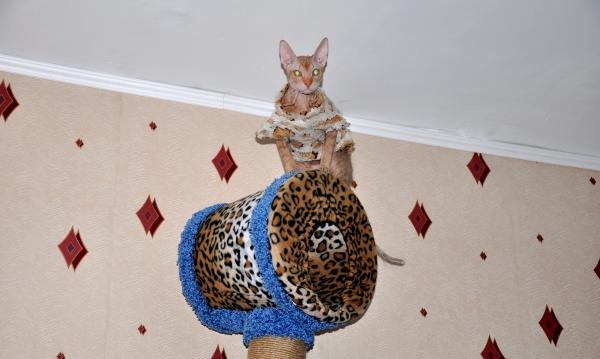
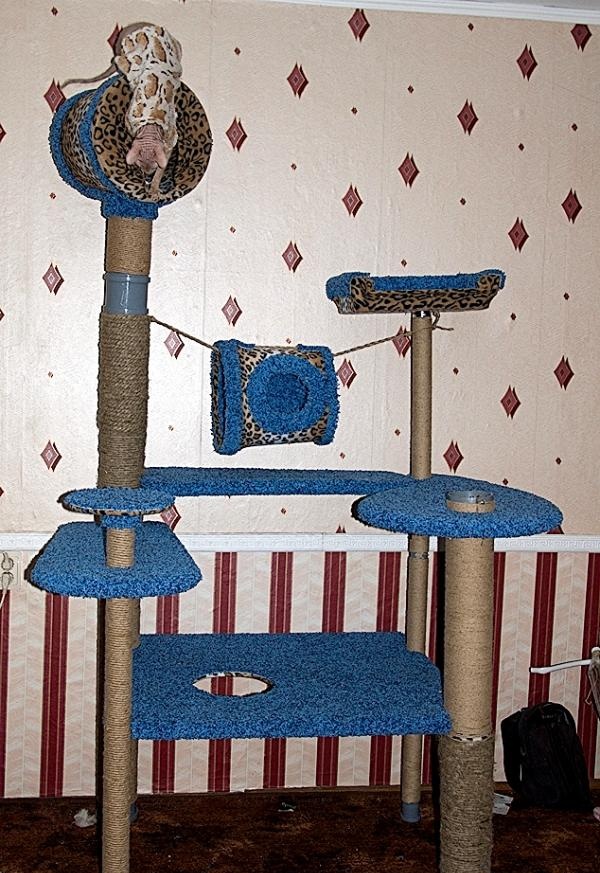

Let's consider an example of creating such a complex. We were thinking about a complex for the Don Sphynx, an active kitten who loves to climb curtains and furniture, so the complex had to be made large enough, stable and as functional as possible. For this purpose, we purchased: two plastic plumbing pipes, two 2 m in diameter with a diameter of 10 cm, and two pipes with a diameter of 5 cm (2 m and 1 m). Two skeins of hemp rope, 10 m each, jute twine in 3 strands, several spools. Plywood 10 mm, two sheets 0.8 x 1.2 m.Carpeting with a long cut pile 1m wide 4m, carpeting with looped pile were not considered, the material is quite traumatic for cat claws. Metal consoles 10cm x 15cm, self-tapping screws, packaging. Glue Moment Joiner - 3 pieces. Metal angles, plates, screws and nuts were purchased as necessary during the work process. Leopard print fleece 3m x 4m. Furniture stapler and staples. A 20 liter bucket became the basis for a house under the ceiling, a 15 liter paint bucket became a play pipe.


First you need to mark at what level the shelves will be, and attach the consoles according to the markings. The next stage is the longest and most labor-intensive - wrapping the pipes with hemp and jute rope. We tie a knot at the end of the rope, twist a self-tapping screw through the knot, then coat the pipe with glue and wrap it with rope, after a few turns we tap it with a hammer, knocking the turns together more tightly. We leave the finished pipes to dry, while we prepare the shelves. We cut out shelves of the required size and shape from plywood. On one side of the shelf we wrap it in fleece, secure the edges with glue, on the other side we fix the carpet with glue and a furniture stapler. We cover the buckets with fleece; it is better to insert a carpet inside. We install the finished shelves on the console and screw them onto the screws.


We place two shelves that are installed on thin pipes on metal flanges and put them on the pipes. We hang the playing tube on twine above the shelf. The most difficult connection is the connection of the upper bucket-house to the pipe, where we use a plate, angles and screws + nuts. It is better to cover all joints and nodes with pieces of carpet; the complex will be more elegant. The design turned out to be strong, but somewhat shaky, so it is advisable to attach the shelves adjacent to the wall to the wall on consoles or corners.The cottage is ready, there is still room for future updates: you can add toys, ladders, hammocks, beds, etc.


Similar master classes
Particularly interesting
Comments (5)

