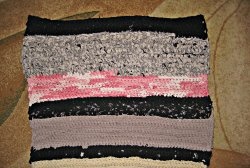
Massage Mat
Taking the first steps, the child learns to walk. Then, when the basics of walking are fixed in him, and he boldly begins to run, the question arises about the correct gait and the formation of the foot. Today, almost half of children have problems with their legs. Clubfoot, flat feet and other serious foot diseases can cause serious problems for the baby's health in the future. Therefore, at the first signs and alarm bells, parents need to consult an orthopedist.
To avoid flat feet, it is very important to carry out its prevention in a timely and regular manner. A massage mat created with your own hands can turn boring exercises into an exciting game. My daughter herself asks to unroll the rug for her so that she can walk on it.
Let's start the master class.
To create a developmental mat you need:
1) Dense narrow and long fabric. Old carpet runners are ideal. I used a car cover cut into stripes as a basis.
2) Tubes,
3) lids from plastic bottles and baby food jars,
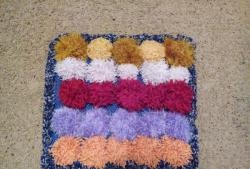
4) old washcloths,
5) Christmas beads,
6) mat,
7) fabric from which the bag is sewn and the sponge is filled with cereal,
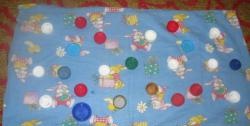
8) Footprints (I cut them out of white fabric)
9) A box from a box of chocolates.
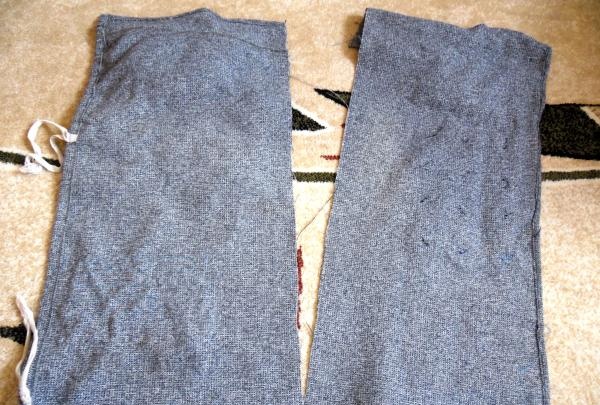
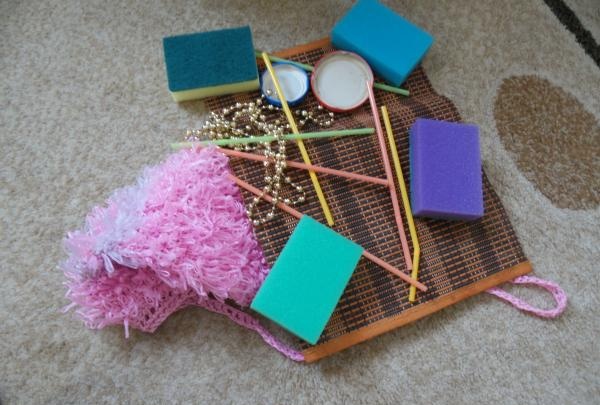
The list can be extended depending on what you find in the house. I didn’t buy anything special, but just took what was on the farm.
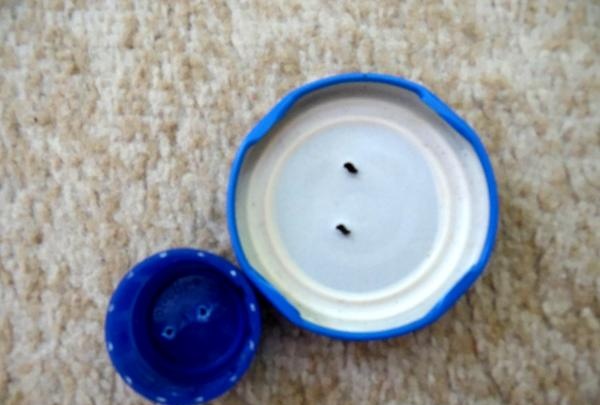
1) First, we prepare all the covers: using a nail and a hammer, we press 2 holes in each cover so that they can be sewn to the base.
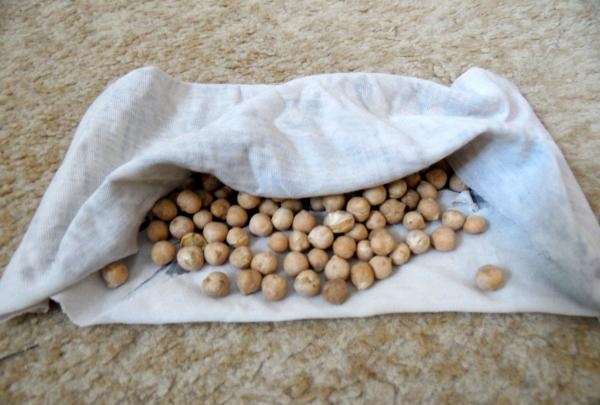
2) Then you need to sew or find a small bag to put the cereal into. I chose chickpeas (chickpeas), they are large and dense, ideally massaging the feet.
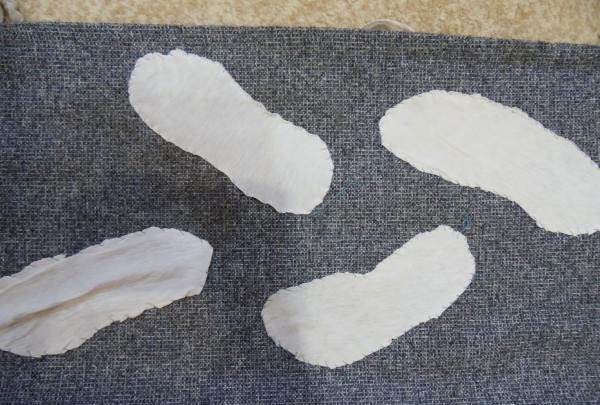
3) The next step is cutting out a trace from a simple cotton fabric. I cut out 4 leg marks and think that's enough. Of course, you can cut out more if the path is longer than mine.
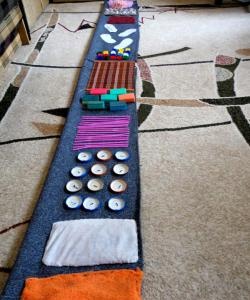
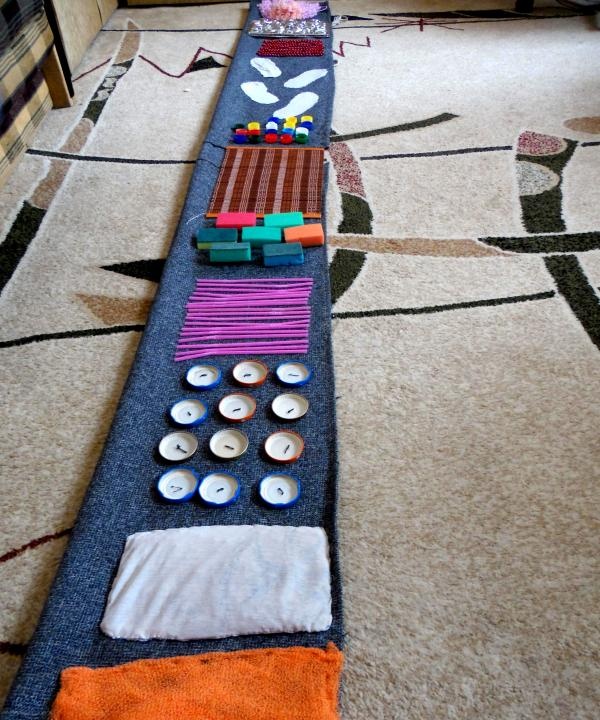
4) Now you can begin to gradually sew all the prepared elements to the track. My first item is a shower washcloth. Next is a bag of chickpeas, after that baby food lids, then tubes (each tube had to be sewn separately in three places for strength, because the daughter immediately tried to grab them).
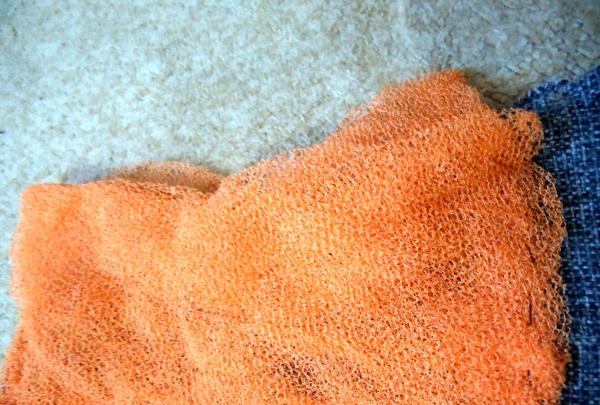
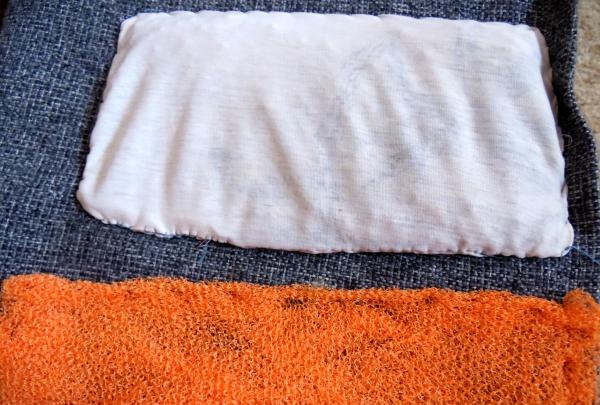
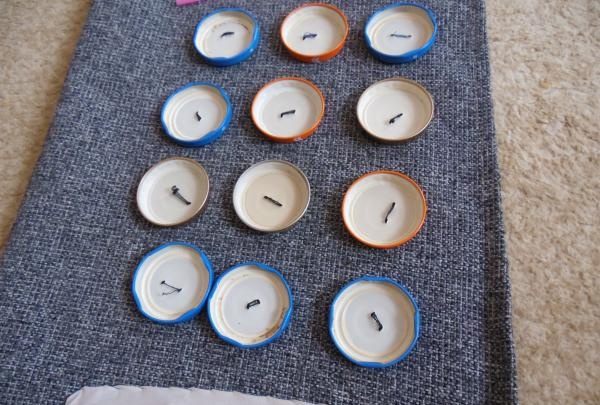
After the tubes, I sewed the sponges with the hard side up, and then the mat.
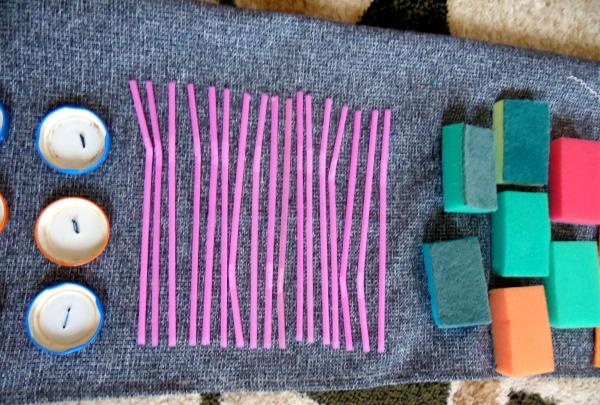
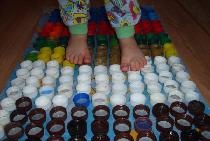
The next step is plastic bottle caps. I searched and collected them for a long time, but it was worth it. They are an excellent massager. The more there are, the better. After the lids follow the same traces of fabric.
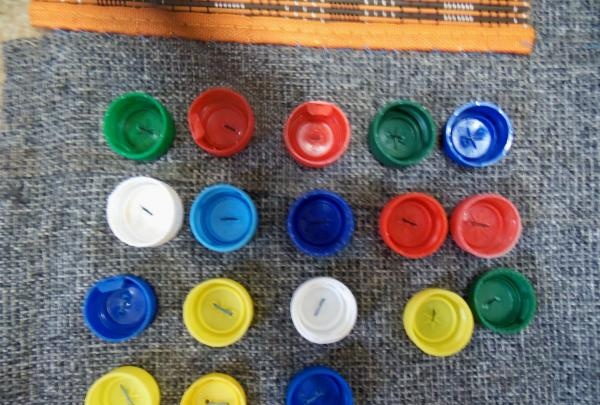
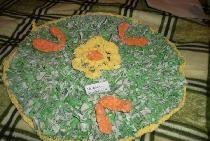
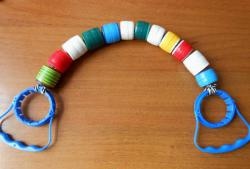
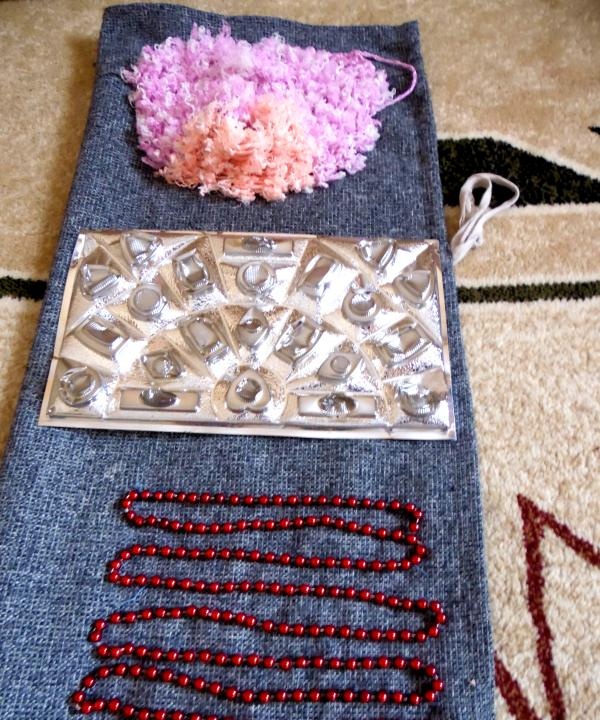
The path is completed with beads, a candy container on the back and an old washcloth.
This is the massage mat I got.
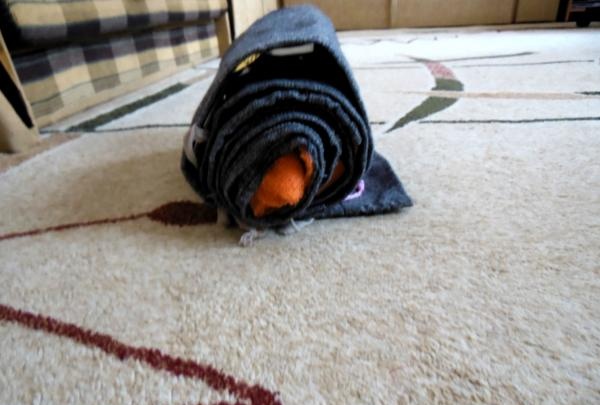
My daughter loves it. It unfolds and collapses easily and takes up little space.
Every parent can make such a rug for their child. There are a lot of benefits from it, and the costs are simply minimal. Of course, you will have to spend a little time, but the result is worth it. Good luck in your endeavors!
To avoid flat feet, it is very important to carry out its prevention in a timely and regular manner. A massage mat created with your own hands can turn boring exercises into an exciting game. My daughter herself asks to unroll the rug for her so that she can walk on it.
Let's start the master class.
To create a developmental mat you need:
1) Dense narrow and long fabric. Old carpet runners are ideal. I used a car cover cut into stripes as a basis.
2) Tubes,
3) lids from plastic bottles and baby food jars,
4) old washcloths,
5) Christmas beads,
6) mat,
7) fabric from which the bag is sewn and the sponge is filled with cereal,
8) Footprints (I cut them out of white fabric)
9) A box from a box of chocolates.


The list can be extended depending on what you find in the house. I didn’t buy anything special, but just took what was on the farm.
1) First, we prepare all the covers: using a nail and a hammer, we press 2 holes in each cover so that they can be sewn to the base.

2) Then you need to sew or find a small bag to put the cereal into. I chose chickpeas (chickpeas), they are large and dense, ideally massaging the feet.

3) The next step is cutting out a trace from a simple cotton fabric. I cut out 4 leg marks and think that's enough. Of course, you can cut out more if the path is longer than mine.
4) Now you can begin to gradually sew all the prepared elements to the track. My first item is a shower washcloth. Next is a bag of chickpeas, after that baby food lids, then tubes (each tube had to be sewn separately in three places for strength, because the daughter immediately tried to grab them).


After the tubes, I sewed the sponges with the hard side up, and then the mat.

The next step is plastic bottle caps. I searched and collected them for a long time, but it was worth it. They are an excellent massager. The more there are, the better. After the lids follow the same traces of fabric.


The path is completed with beads, a candy container on the back and an old washcloth.

This is the massage mat I got.

My daughter loves it. It unfolds and collapses easily and takes up little space.

Every parent can make such a rug for their child. There are a lot of benefits from it, and the costs are simply minimal. Of course, you will have to spend a little time, but the result is worth it. Good luck in your endeavors!
Similar master classes
Particularly interesting
Comments (0)

