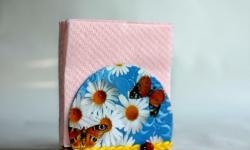
Openwork napkin holder
A napkin holder is an indispensable thing both at the festive table and during a quick snack. It would also be appropriate to place a napkin holder on the desktop, at which very often you not only have to work, but sometimes also have a quick meal. This master class will tell you how to make a beautiful small openwork napkin holder, which, due to its miniature size, will take up little space on your desktop, and due to its elegance, will be a wonderful addition to the formal table.
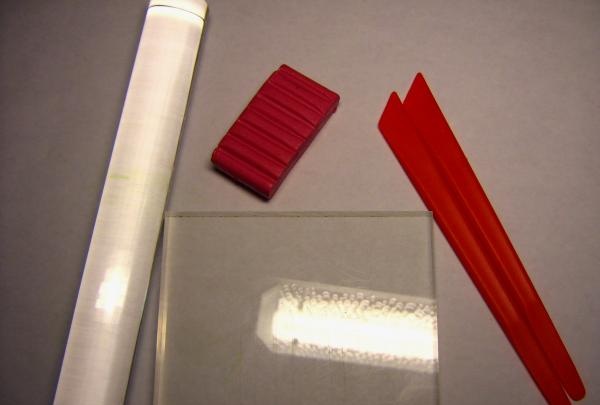
To work, you need to purchase plastic of any color that the performer prefers, in this case it is raspberry-colored plastic. The tools we will need are:
• plastic knives;
• rolling plate and rolling pin;
• foil.
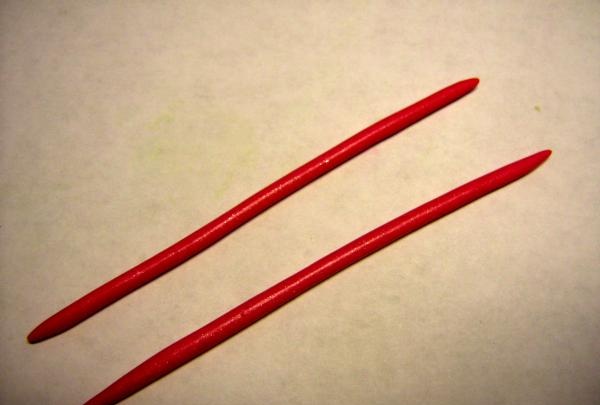
We knead the plastic. We pinch off a small piece, which we divide into two equal parts. From each part we roll out a sausage with a diameter of 2-3 mm and a length of 4 cm.
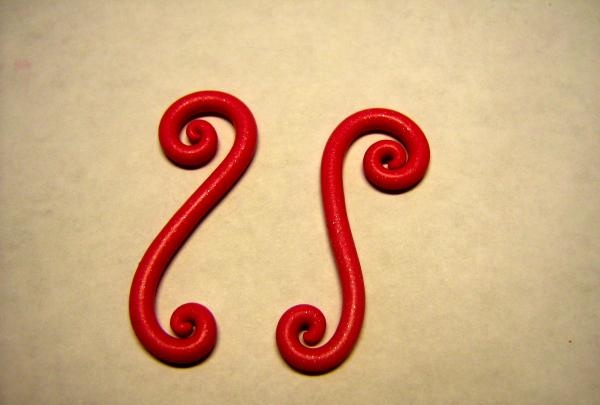
We bend each sausage symmetrically, forming curls at the edges. We send the pieces to bake for 10 minutes at the minimum temperature.
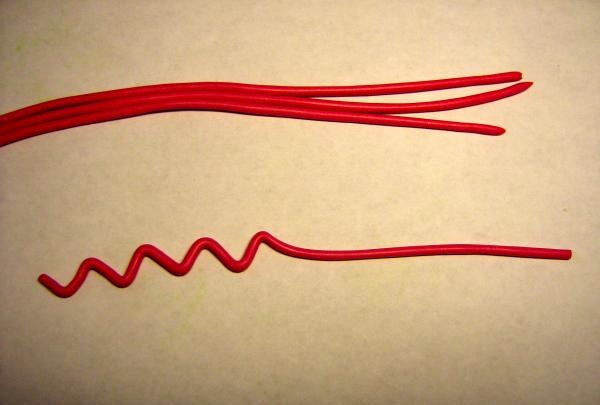
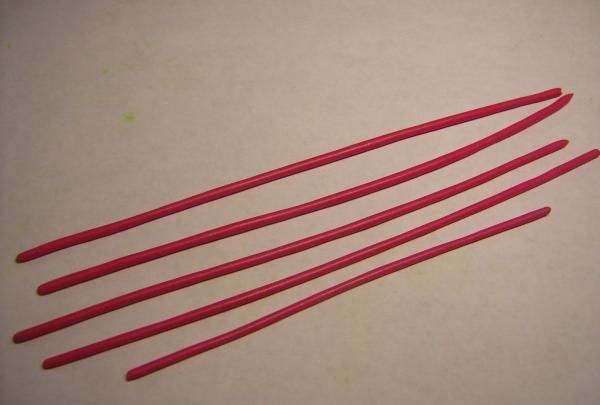
While the curls are baking, make 5 more sausages 20 cm long.

Four sausages will make up the main openwork part of the napkin holder, so you need to make them zigzag.We begin to form the teeth.
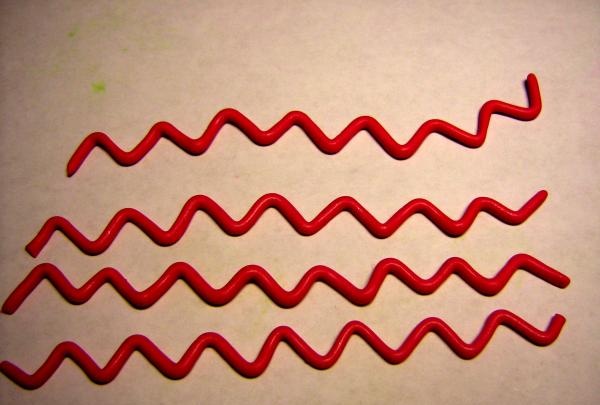
The formation of the teeth is carried out using plastic knives, which are brought from above and below the sausage: holding the lower knife at an angle of 45° to the sausage, with the upper one we press the sausage against the blade of the lower knife. We do the same thing, moving a little to the right and turning the lower knife in the other direction - a tooth is formed. We continue to perform the above steps, moving further along the sausage.
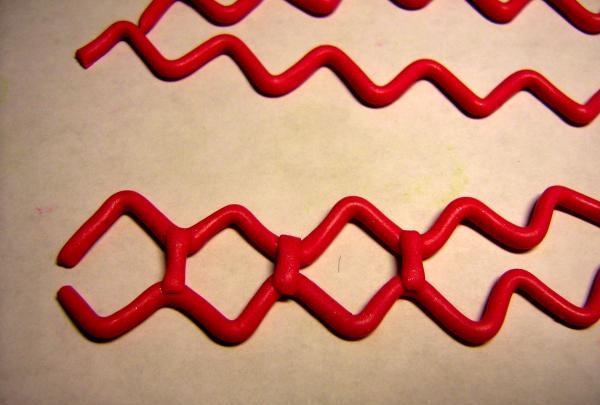
Having finished forming the teeth on the first sausage, we make zigzags on the remaining three sausages. We make sure that the teeth are approximately the same.
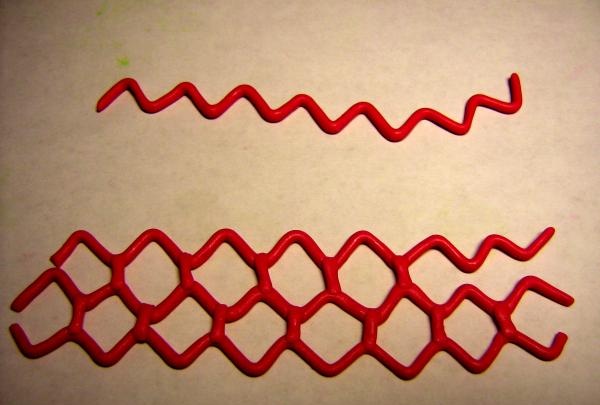
We cut the fifth sausage into elements 5 mm long. We place the zigzags with teeth facing each other and connect their tops with the resulting elements.
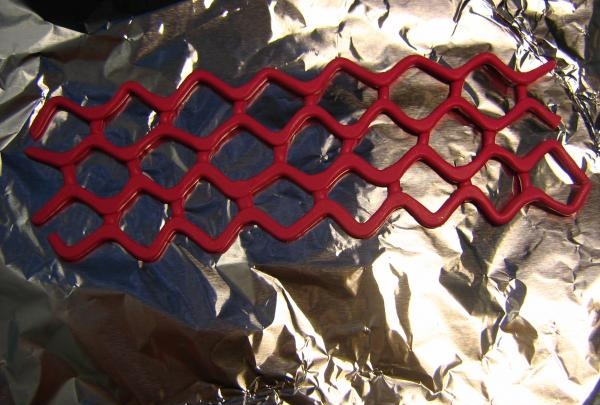
We continue to connect the zigzag elements together, which, due to their waviness, form an openwork weave.
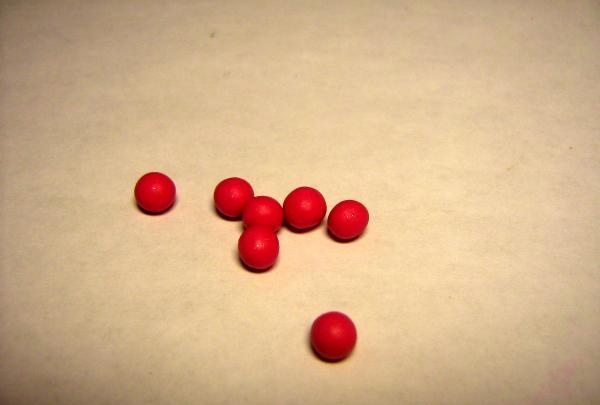
The teeth of the uppermost wavy element must be decorated. For this purpose, we roll out several balls with a diameter of 3 mm, the number of which is equal to the number of teeth of the upper zigzag.
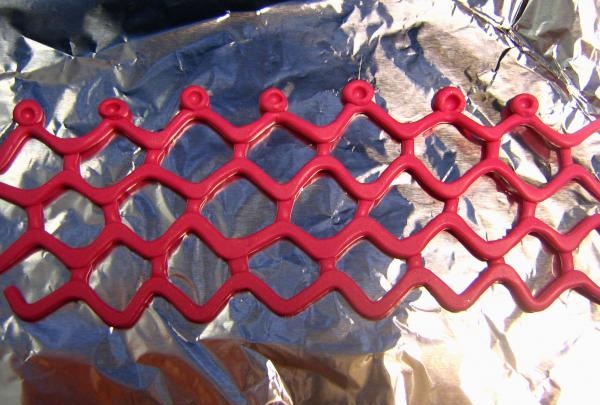
We place the openwork workpiece on a rolling plate and roll it with a rolling pin - now all the elements are firmly connected to each other and the workpiece can be laid out on foil for shaping and further baking.
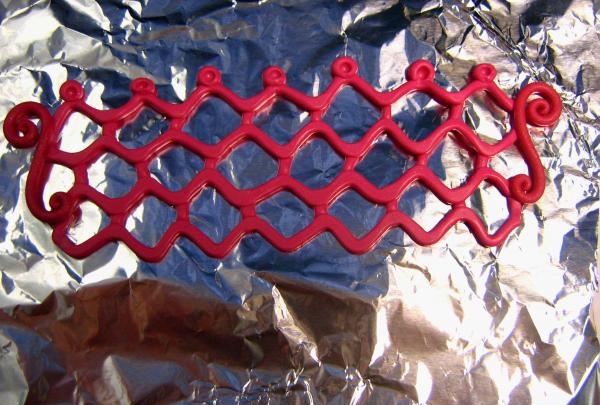
However, first we will finish decorating the upper teeth: we place the balls on the tips of the teeth and press them in the middle with any object that has a rounded end, for example, a brush or a pen.
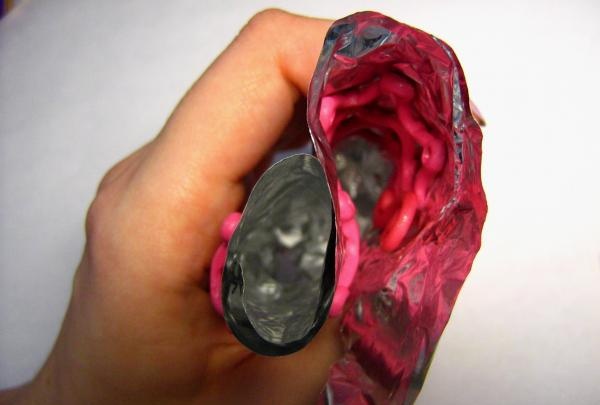
Our curl elements have long been baked and cooled - we place them along the edges of the openwork blank and cut off the excess plastic (protruding beyond the curls) from it.
We twist our workpiece along with the foil, as if forming a figure eight.
We bake the product, which, thanks to the use of foil, will hold the resulting shape until it hardens in the oven. After cooling completely, remove the foil
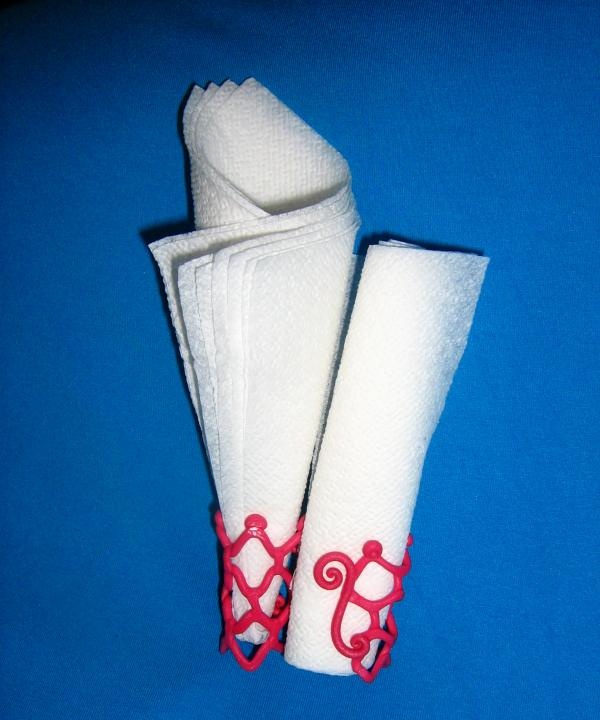
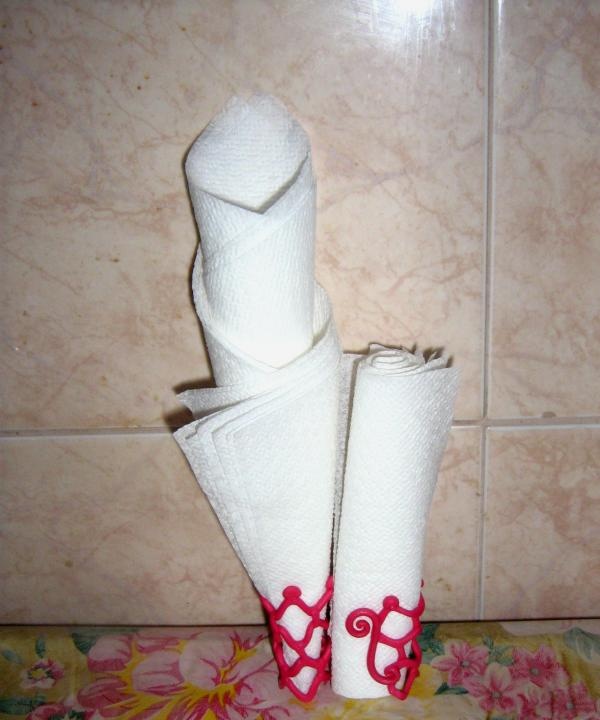
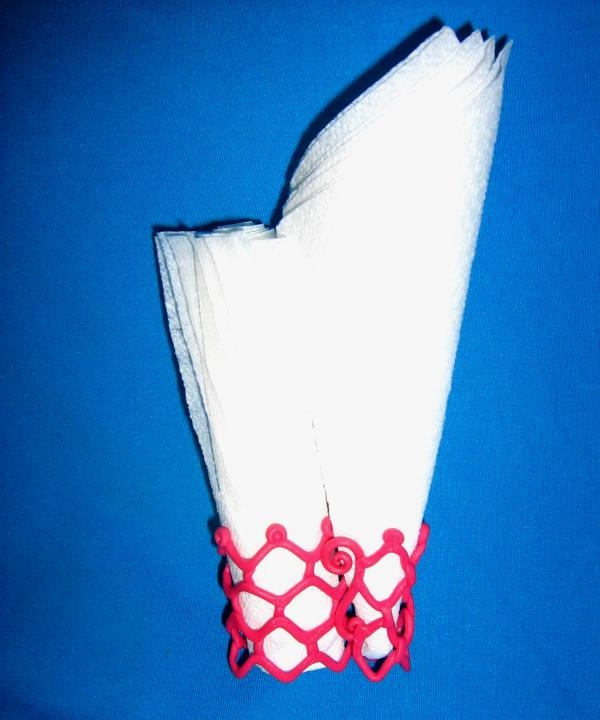
A beautiful and useful decoration for the table - a mini napkin holder - is ready!


To work, you need to purchase plastic of any color that the performer prefers, in this case it is raspberry-colored plastic. The tools we will need are:
• plastic knives;
• rolling plate and rolling pin;
• foil.

We knead the plastic. We pinch off a small piece, which we divide into two equal parts. From each part we roll out a sausage with a diameter of 2-3 mm and a length of 4 cm.

We bend each sausage symmetrically, forming curls at the edges. We send the pieces to bake for 10 minutes at the minimum temperature.

While the curls are baking, make 5 more sausages 20 cm long.

Four sausages will make up the main openwork part of the napkin holder, so you need to make them zigzag.We begin to form the teeth.

The formation of the teeth is carried out using plastic knives, which are brought from above and below the sausage: holding the lower knife at an angle of 45° to the sausage, with the upper one we press the sausage against the blade of the lower knife. We do the same thing, moving a little to the right and turning the lower knife in the other direction - a tooth is formed. We continue to perform the above steps, moving further along the sausage.

Having finished forming the teeth on the first sausage, we make zigzags on the remaining three sausages. We make sure that the teeth are approximately the same.

We cut the fifth sausage into elements 5 mm long. We place the zigzags with teeth facing each other and connect their tops with the resulting elements.

We continue to connect the zigzag elements together, which, due to their waviness, form an openwork weave.

The teeth of the uppermost wavy element must be decorated. For this purpose, we roll out several balls with a diameter of 3 mm, the number of which is equal to the number of teeth of the upper zigzag.

We place the openwork workpiece on a rolling plate and roll it with a rolling pin - now all the elements are firmly connected to each other and the workpiece can be laid out on foil for shaping and further baking.

However, first we will finish decorating the upper teeth: we place the balls on the tips of the teeth and press them in the middle with any object that has a rounded end, for example, a brush or a pen.

Our curl elements have long been baked and cooled - we place them along the edges of the openwork blank and cut off the excess plastic (protruding beyond the curls) from it.

We twist our workpiece along with the foil, as if forming a figure eight.
We bake the product, which, thanks to the use of foil, will hold the resulting shape until it hardens in the oven. After cooling completely, remove the foil

A beautiful and useful decoration for the table - a mini napkin holder - is ready!


Similar master classes
Particularly interesting
Comments (0)

