Author's paper
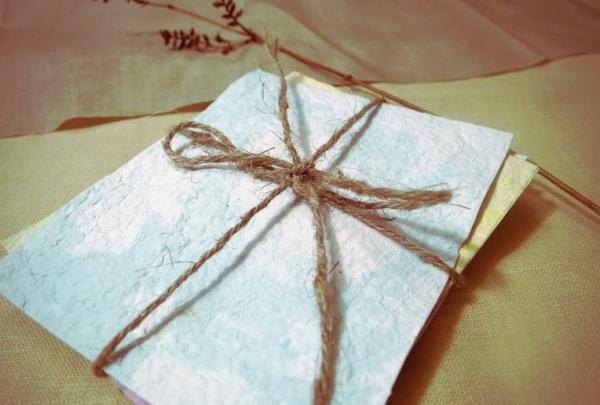
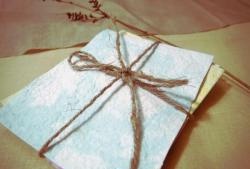
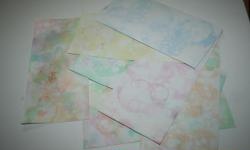
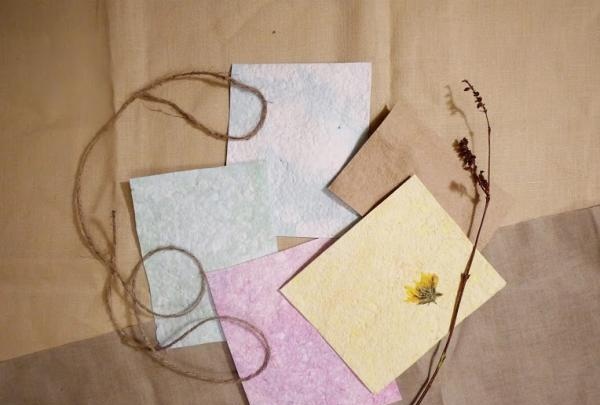
Making handmade paper is a very creative and exciting process. The peculiarity of this master class is that to create your own custom paper you will not need any special equipment or materials; you can find everything you need at home. The result is beautiful textured paper that you can use as you wish: for scrapbooking, cardmaking, various crafts, making gift boxes, business cards, tags for your work, drawings, etc.
Pros of handmade paper:
• Uniqueness and originality of each sheet;
• Pleasant texture and appearance of the paper;
• Creative and exciting process (opportunity to do together with children);
• Many options for fillers;
• Recycling of paper waste;
Materials:
- Napkins, printer paper, paper packaging, egg cartons, etc. (I do not recommend using newspapers, since the printing ink they contain will turn the paper gray) - you can use one material or combine them as you wish;
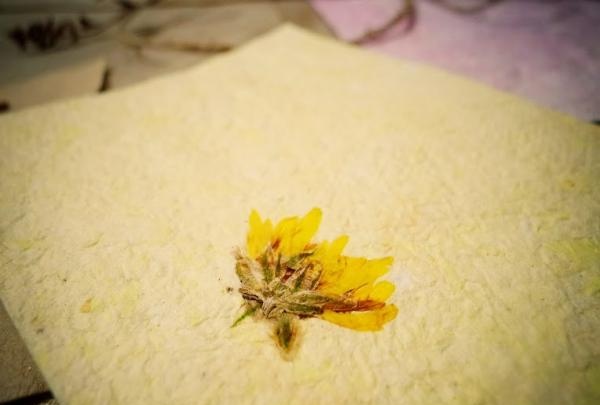
- Various fillers (dried inflorescences, flower petals, confetti, pieces of colored paper, glitter, pieces of thread, seasonings, natural or artificial dyes, watercolors, you can even flavor your paper). PVA glue (optional).
- Scissors (shredder), board (tray/tray/baking sheet), sponge, iron, towels, rolling pin, blender (if possible and desired), press.

Step 1:
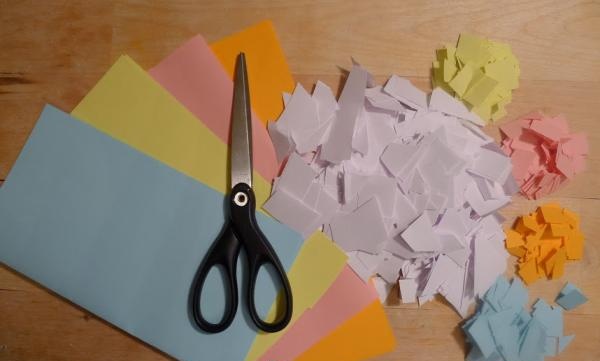
First of all, let's shred the paper; to do this, use scissors/shredder or tear it into medium-sized pieces with your hands.
Step 2:
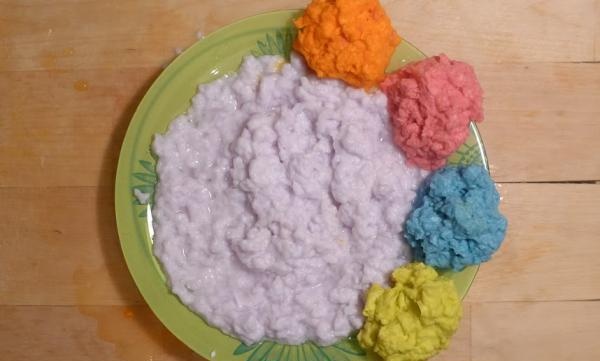
Fill the paper with water and grind it to a mushy state. To do this, use a blender, and if this is not possible, then leave the paper to soak for a day, periodically rubbing it with your hands to the desired consistency. In order to make the paper more durable, you can add a little PVA glue to it.
Step 3:
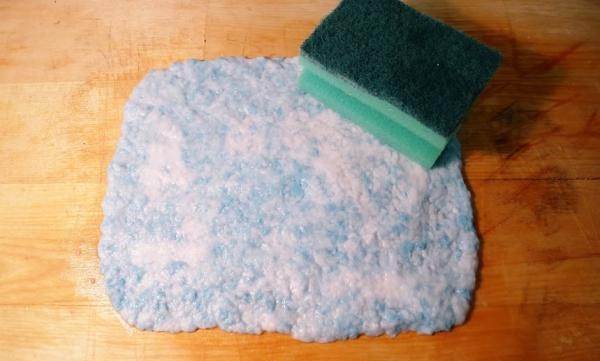
Take part of the resulting mass and form a sheet with a rolling pin on a board (tray/baking sheet), you can add a little water during the process to make the paper mass more flexible. At this stage, you yourself determine the thickness of the future sheet. Next is the most exciting stage, since here you can mix paper pulps of various colors, add all kinds of fillers, dyes, flavors and everything that your imagination allows. Now, using a regular sponge, gently blot the paper several times to remove all excess moisture.
Step 4:
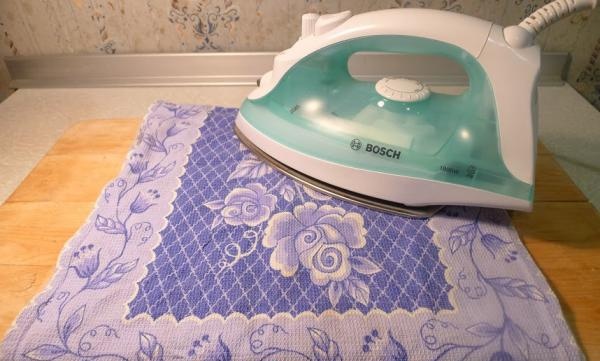
Next, cover the paper with a towel (I used regular waffle towels) and dry the sheet with a hot iron until the paper can be easily removed from the board. Be extremely careful, because... Until the paper is completely dry, it is very fragile and you can easily damage it.
Now the paper must be left to dry overnight under something heavy. And in the morning you will already rejoice at the result of your labors. Happy creativity!
Similar master classes
Particularly interesting
Comments (1)

