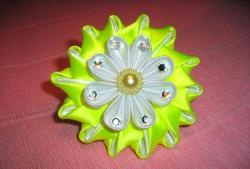
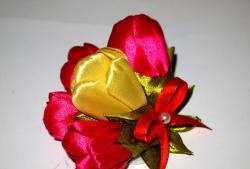
Hair scrunchie in coffee tones
This elastic band is suitable for both a little girl and her beautiful outfits, and for an adult girl. You can decorate your hair with a flower in such strict colors for school or office.
For creativity we will need:
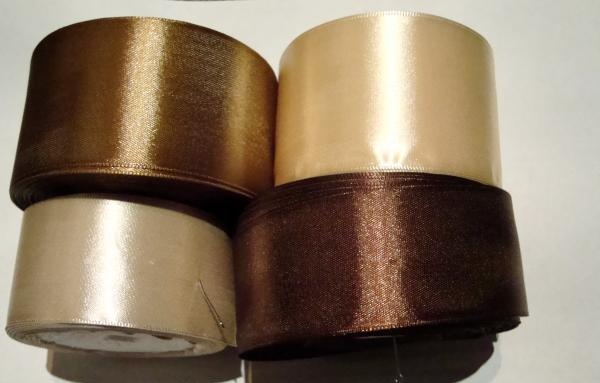
- satin ribbons: two colors 5 cm wide and two more colors 4 cm wide;
- cautery on wood;
- glass as a working panel;
- metal ruler;
- tweezers;
- hot glue (gun with rods);
- needle and thread;
- a beautiful rhinestone in the middle of the flower;
- scrunchy.
When preparing satin ribbons, you need to take into account that the colors will vary, light and dark tones, so wide ribbons (5cm) should be light and rich in tone, narrower ribbons (4cm) should be similarly light and dark.
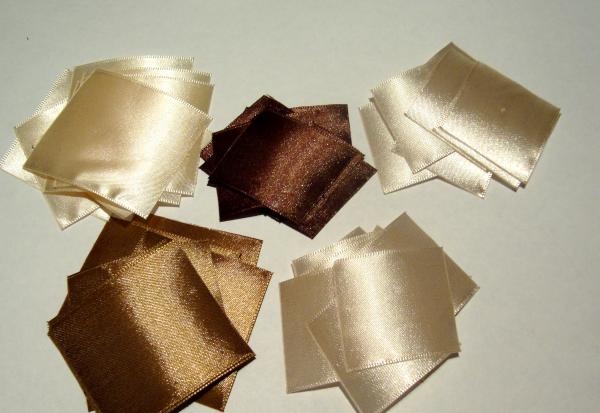
We cut the ribbons into squares 5 by 5 cm and 4 by 4 cm. The number of blanks is equal to the number of petals, and there are eight of them, which means there are 8 squares of all colors. From a 4 cm light ribbon, cut 8 more blanks for inserts between the petals.
For a beautiful petal you need to follow the rule of contrast.
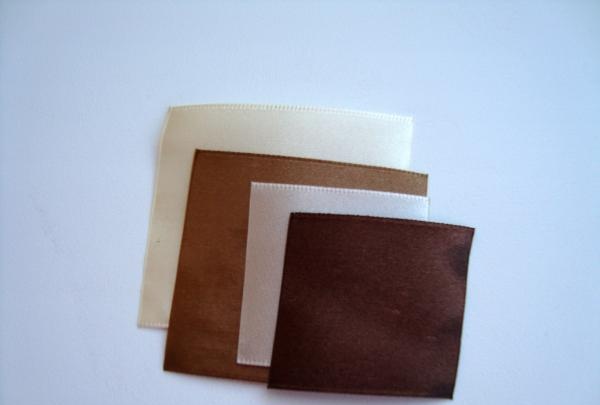
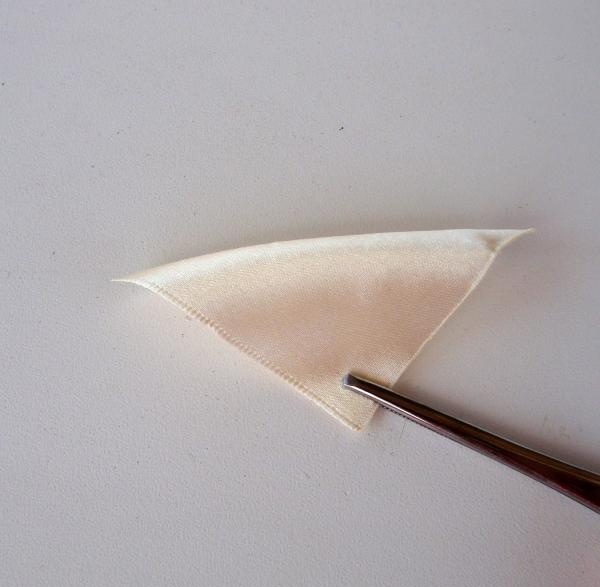
Let's start making the petal. To do this, bend a larger light-colored square diagonally, as shown in the photo.
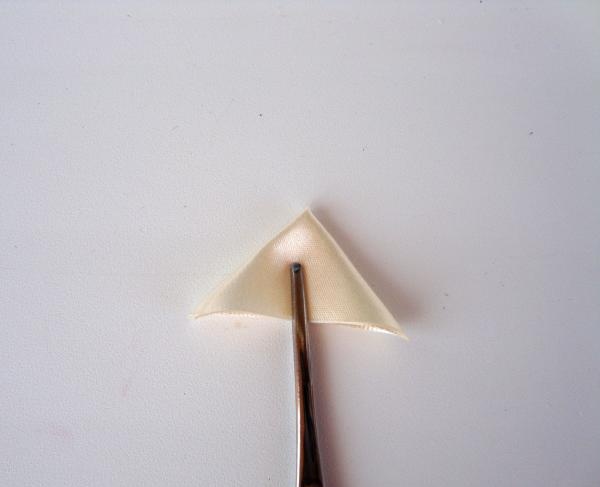
Then, we bend it again. You should get an equilateral triangle.
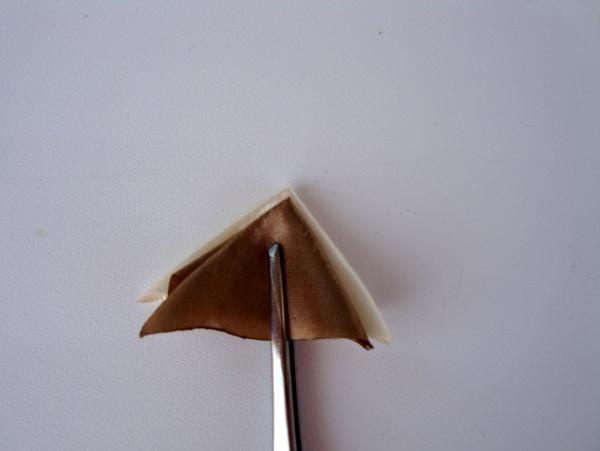
We perform similar actions with a brown blank, which measures 5 by 5 cm. Place it on top of the first triangle.
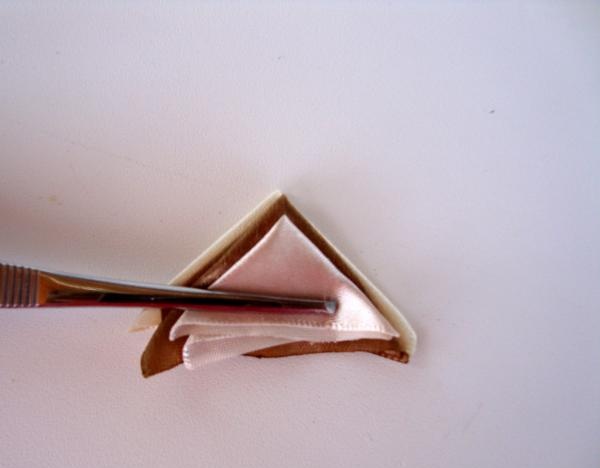
Then we take a light piece of smaller size and form a triangle. Apply it to the first two layers. The distance between the indents of the triangles should not be more than a millimeter.
We perform similar actions with the last square, the most saturated in color. It is this color that accents the flower.
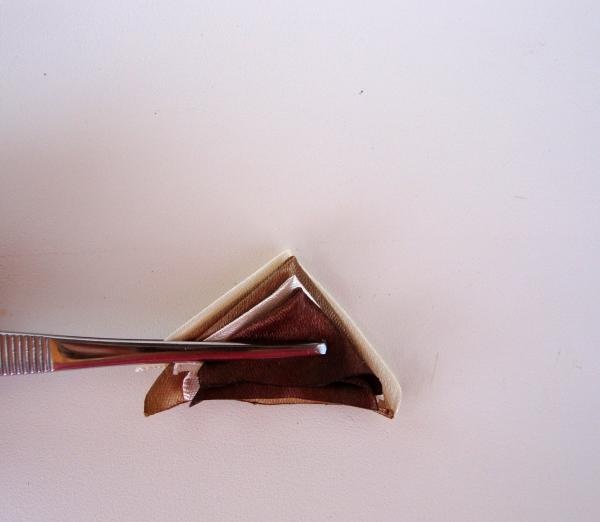
Once again we check the distance between the layers and fix it firmly.
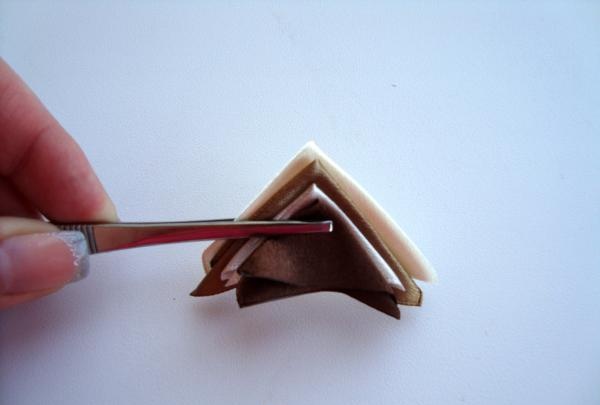
We bend our workpiece exactly in the center.
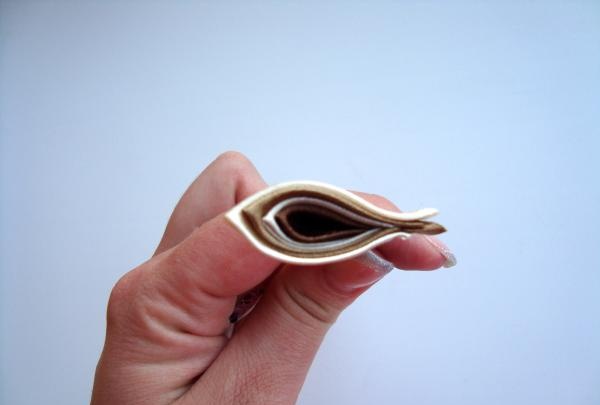
We cut off the base of the petal and its bottom with a very hot burner. During all manipulations, we hold the folded petal tightly with a metal ruler. We make eight such petals.
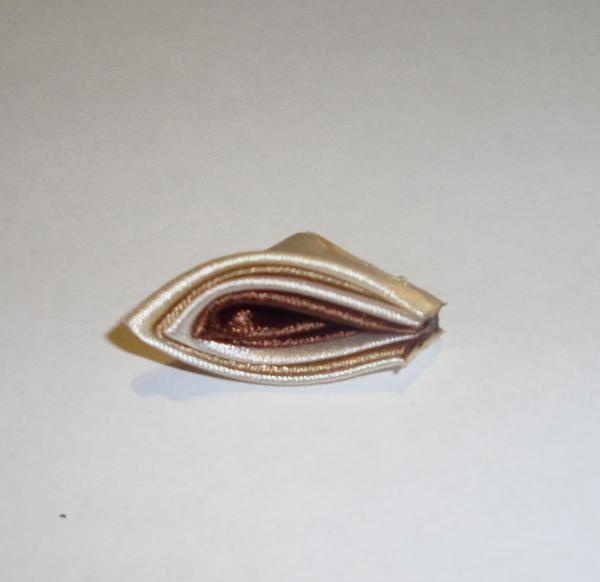
This is exactly the cut line you should get. If the line is uneven, then the petals in the flower will not be positioned correctly.
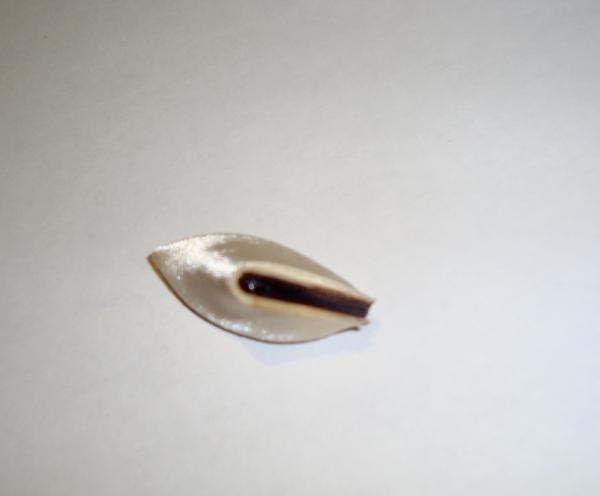
Now let's start forming a single-layer petal for the inserts. Fold the 4x4 square diagonally and bend the edges to the middle of the base, as in the photo.
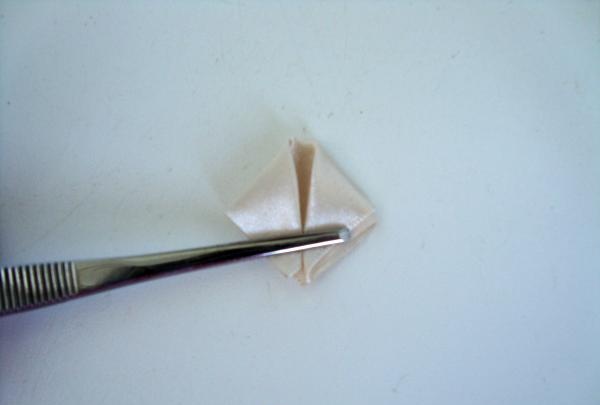
We bend it in half.
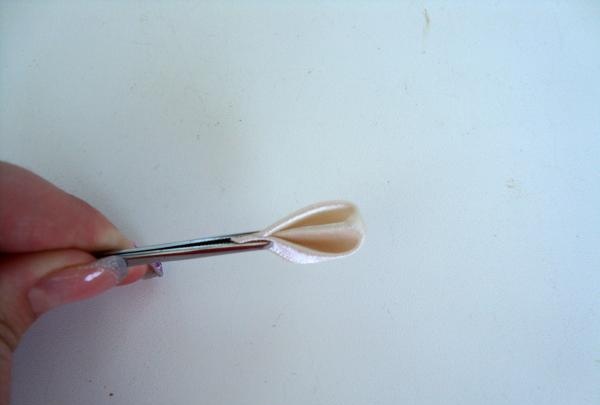
Use a burner to cut the base, it should look like a petal.

The petals are ready and let's start assembling.
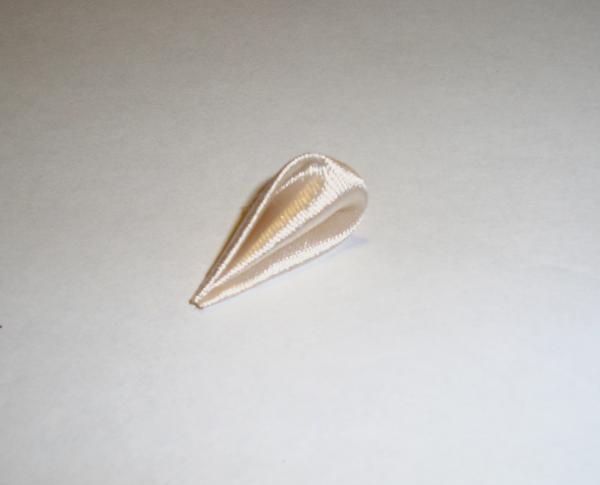
We sew eight multi-layered petals into one flower with thread.
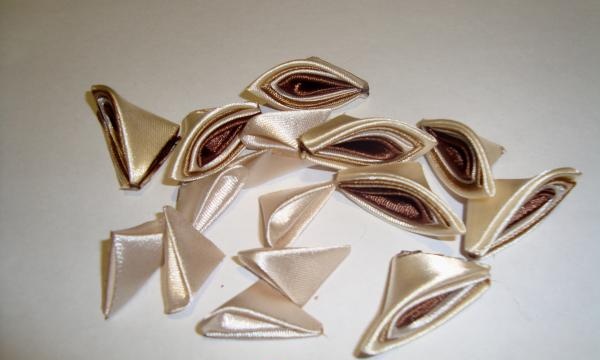
We glue a circle of satin ribbon with a diameter of 2 cm to the base of the flower. Now we glue a single-color petal between the multi-tiered petals. Use hot glue; it will securely fix all parts of the product.
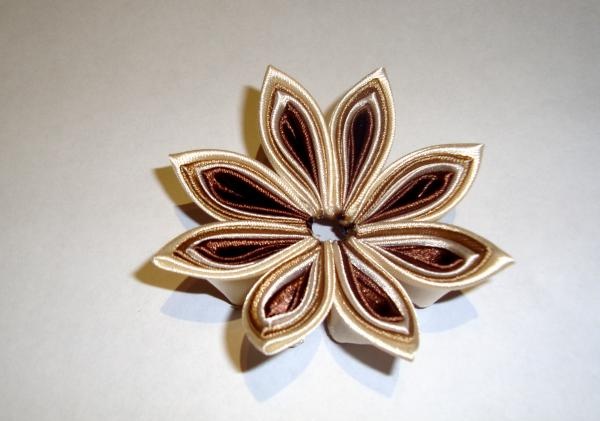
When choosing the middle, you can try on many options. It is difficult to guess in advance which middle will fit perfectly.
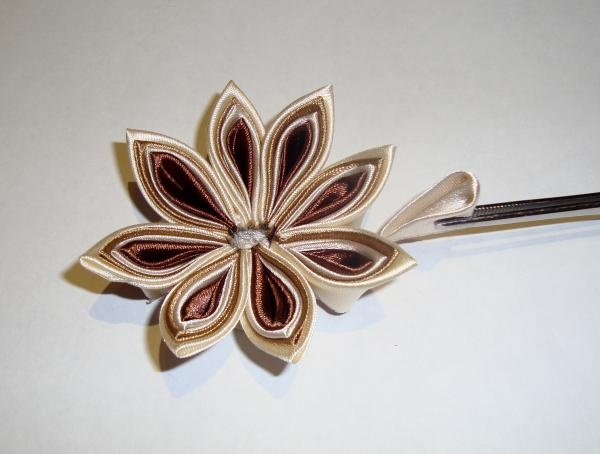
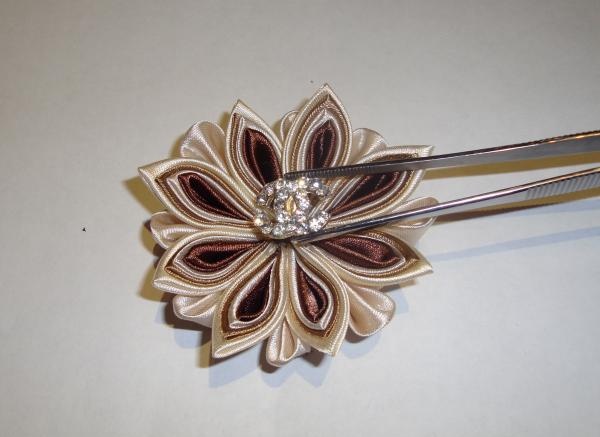
Using glue, fix the middle in the center of the flower. Use tweezers, then the movements will be more precise and the flower will not get dirty with glue.
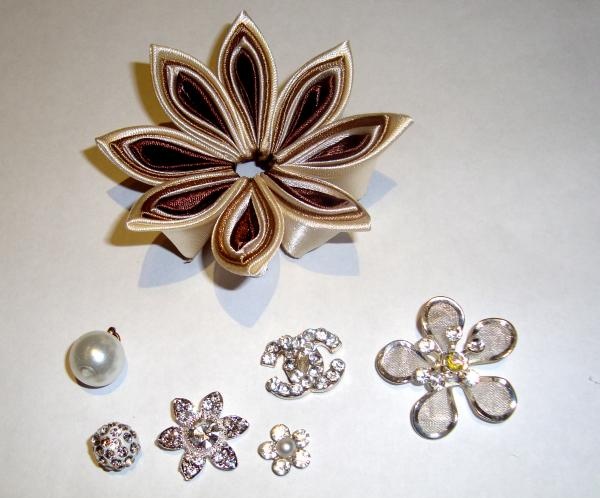
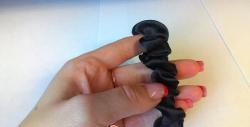
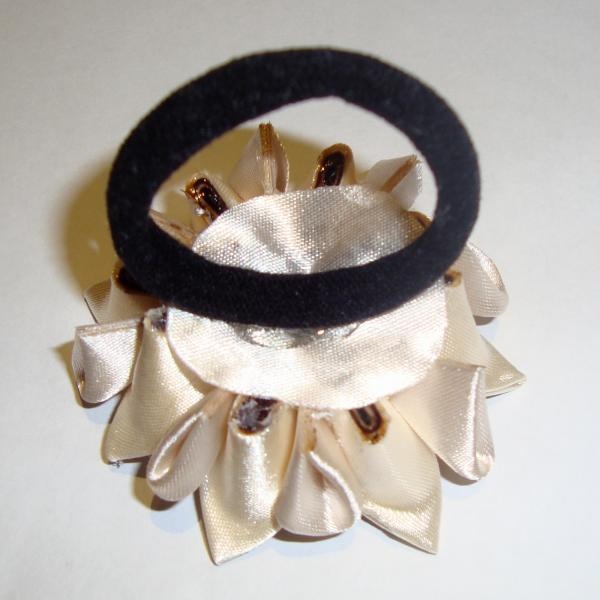
Turn the work over and glue a hair tie to the base.
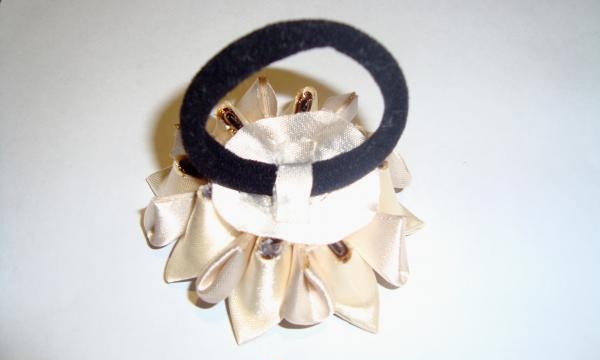
It is better to secure the elastic band with a piece of tape, gluing it across.
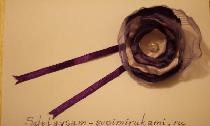
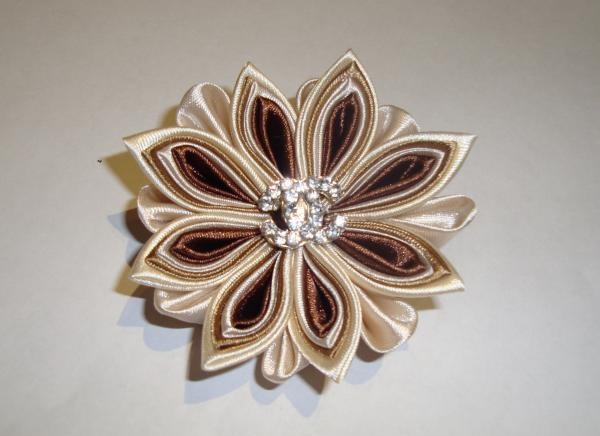
A beautiful hair tie in coffee tones is ready. After 10 minutes the glue will dry and you can decorate your hair with it.
For creativity we will need:
- satin ribbons: two colors 5 cm wide and two more colors 4 cm wide;
- cautery on wood;
- glass as a working panel;
- metal ruler;
- tweezers;
- hot glue (gun with rods);
- needle and thread;
- a beautiful rhinestone in the middle of the flower;
- scrunchy.
When preparing satin ribbons, you need to take into account that the colors will vary, light and dark tones, so wide ribbons (5cm) should be light and rich in tone, narrower ribbons (4cm) should be similarly light and dark.

We cut the ribbons into squares 5 by 5 cm and 4 by 4 cm. The number of blanks is equal to the number of petals, and there are eight of them, which means there are 8 squares of all colors. From a 4 cm light ribbon, cut 8 more blanks for inserts between the petals.

For a beautiful petal you need to follow the rule of contrast.

Let's start making the petal. To do this, bend a larger light-colored square diagonally, as shown in the photo.

Then, we bend it again. You should get an equilateral triangle.

We perform similar actions with a brown blank, which measures 5 by 5 cm. Place it on top of the first triangle.

Then we take a light piece of smaller size and form a triangle. Apply it to the first two layers. The distance between the indents of the triangles should not be more than a millimeter.

We perform similar actions with the last square, the most saturated in color. It is this color that accents the flower.

Once again we check the distance between the layers and fix it firmly.

We bend our workpiece exactly in the center.

We cut off the base of the petal and its bottom with a very hot burner. During all manipulations, we hold the folded petal tightly with a metal ruler. We make eight such petals.

This is exactly the cut line you should get. If the line is uneven, then the petals in the flower will not be positioned correctly.

Now let's start forming a single-layer petal for the inserts. Fold the 4x4 square diagonally and bend the edges to the middle of the base, as in the photo.

We bend it in half.

Use a burner to cut the base, it should look like a petal.

The petals are ready and let's start assembling.

We sew eight multi-layered petals into one flower with thread.

We glue a circle of satin ribbon with a diameter of 2 cm to the base of the flower. Now we glue a single-color petal between the multi-tiered petals. Use hot glue; it will securely fix all parts of the product.

When choosing the middle, you can try on many options. It is difficult to guess in advance which middle will fit perfectly.

Using glue, fix the middle in the center of the flower. Use tweezers, then the movements will be more precise and the flower will not get dirty with glue.

Turn the work over and glue a hair tie to the base.

It is better to secure the elastic band with a piece of tape, gluing it across.

A beautiful hair tie in coffee tones is ready. After 10 minutes the glue will dry and you can decorate your hair with it.


Similar master classes
Particularly interesting
Comments (1)

