Warm headband
Winter is approaching, and with it the time to choose warm hats. If hats don't appeal to you, feel free to give preference to knitted headbands. They will not only protect your ears from frost, but also keep your hair in its original form. In addition, if you wear a ponytail or a bun, then hats are contraindicated for you.
Unfortunately, the supply of warm and at the same time beautiful headbands is quite limited. Today on the market for such goods there are identical specimens of not very good quality. Moreover, to purchase such a copy you will have to pay at least 500 rubles.
Why pay that kind of money when you can buy excellent yarn for 100-150 rubles and knit what’s right for you in one evening.
To work, you will need a ball of thread (part of it) and a hook. If necessary, you can stock up on various beads, artificial stones, rhinestones, ribbons, etc.
Measure the circumference of your head - this will be the length of the product. Keep in mind that the finished product should fit tightly on your head, so it is better to make it 1 centimeter smaller (in any case, the knitted item will stretch a little). The width of the bandage depends solely on your own wishes.But since it is intended to create a winter headdress, the headband needs to cover the ears. Based on this, the most optimal width is 7-13 centimeters.
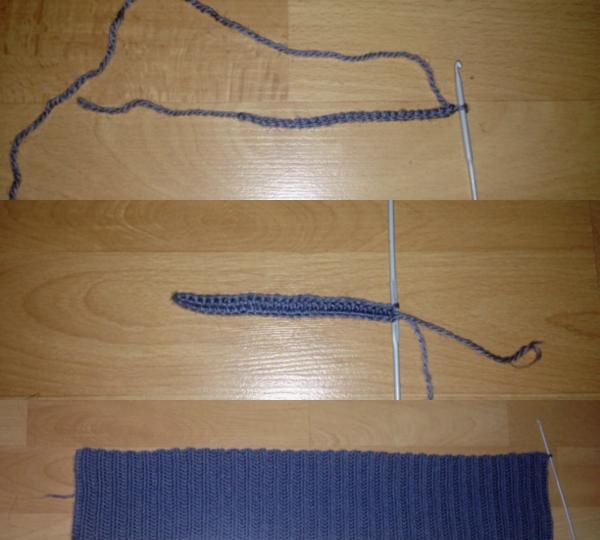
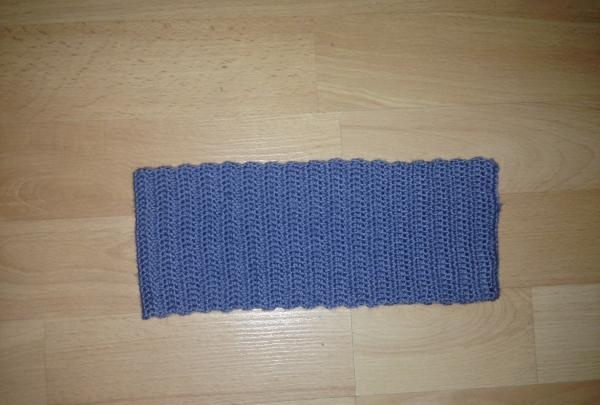
Cast on 28 chain stitches and start knitting the first row. The entire bandage will be made from single crochet stitches. This pattern will make it quite dense and at the same time allow it to perfectly conform to the shape of the head.
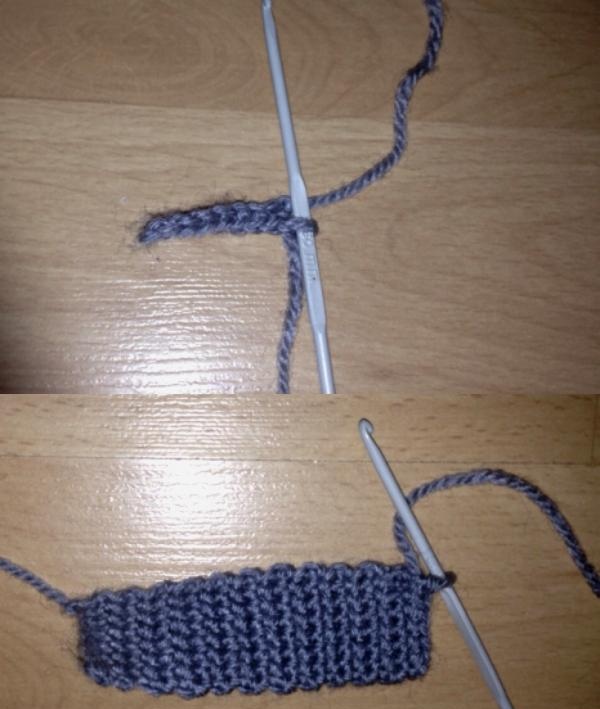
Once the required length is reached, connect the beginning and end. Turn the product inside out.
Now you need to make a ring that will tighten the bandage in the center. On the model it will be located strictly above the forehead.
To do this, knit 7-10 chain stitches and continue with single crochets. There should be about 10 rows in total.
Attach the resulting part to the bandage and close it with connecting posts.
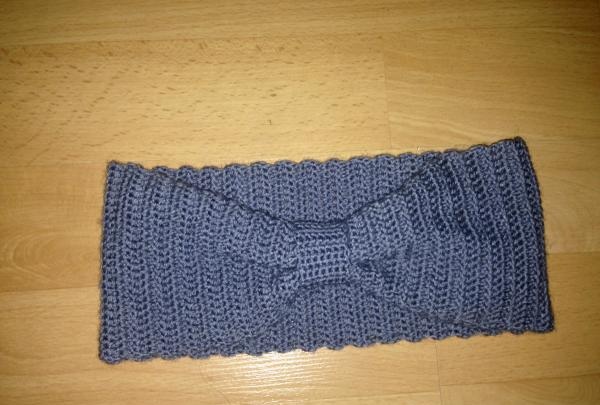
The bandage is ready!
If you want to get a more elegant option, then the ring can be decorated with large-sized sew-on rhinestones.


Now you are not afraid of any cold weather. Wear it with pleasure!
Unfortunately, the supply of warm and at the same time beautiful headbands is quite limited. Today on the market for such goods there are identical specimens of not very good quality. Moreover, to purchase such a copy you will have to pay at least 500 rubles.
Why pay that kind of money when you can buy excellent yarn for 100-150 rubles and knit what’s right for you in one evening.
To work, you will need a ball of thread (part of it) and a hook. If necessary, you can stock up on various beads, artificial stones, rhinestones, ribbons, etc.
Measure the circumference of your head - this will be the length of the product. Keep in mind that the finished product should fit tightly on your head, so it is better to make it 1 centimeter smaller (in any case, the knitted item will stretch a little). The width of the bandage depends solely on your own wishes.But since it is intended to create a winter headdress, the headband needs to cover the ears. Based on this, the most optimal width is 7-13 centimeters.


Cast on 28 chain stitches and start knitting the first row. The entire bandage will be made from single crochet stitches. This pattern will make it quite dense and at the same time allow it to perfectly conform to the shape of the head.

Once the required length is reached, connect the beginning and end. Turn the product inside out.
Now you need to make a ring that will tighten the bandage in the center. On the model it will be located strictly above the forehead.
To do this, knit 7-10 chain stitches and continue with single crochets. There should be about 10 rows in total.
Attach the resulting part to the bandage and close it with connecting posts.

The bandage is ready!
If you want to get a more elegant option, then the ring can be decorated with large-sized sew-on rhinestones.


Now you are not afraid of any cold weather. Wear it with pleasure!
Similar master classes
Particularly interesting
Comments (0)

