Bigfoot doll
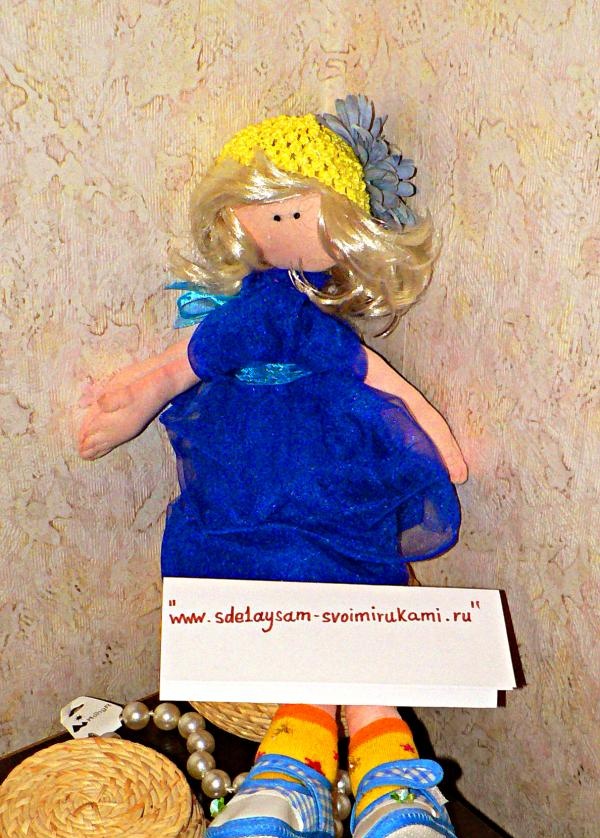
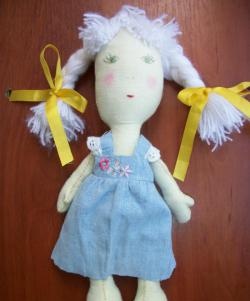
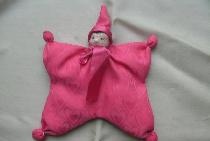
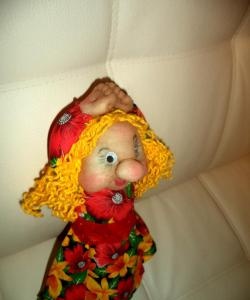
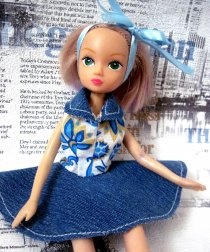
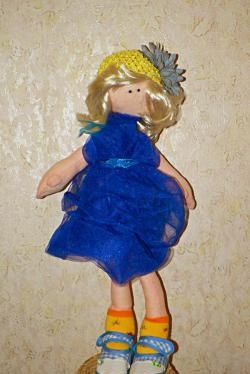
Textile dolls have conquered the world - needlewomen who sew their Big Legs with love and without rest have no doubt about this. This type of textile interior dolls is also called Snow girls - very often they are dressed in winter fur outfits, ethnic sweaters and hats with large fur pompoms. These dolls can have different heights - from 25 cm and above, but they all have the same proportions: a large head and large legs, small eyes in the center of the round face. Be sure to decorate the doll with various buttons and flowers, wear shoes, socks or knee socks, a hat or headband.
Let's start sewing our wonderful Big Leg.
We will need a piece of flesh-colored cotton fabric for sewing the body and any fabric for sewing clothes.
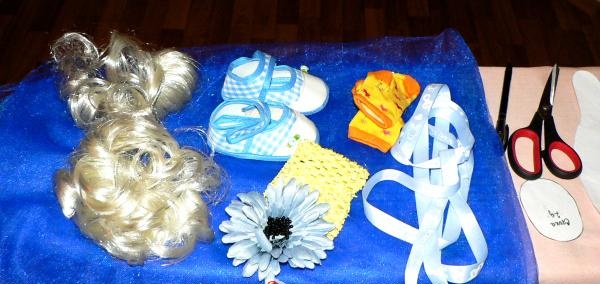
Our set of materials and tools is as follows:
- patterns of Big Legs, downloaded from the Internet and a pen to trace them on the fabric;
- flesh-colored fabric (calico, you need to fold it in half, since the parts are stitched in such a way that you can turn them inside out and stuff them with padding polyester);
- mesh fabric for dresses;
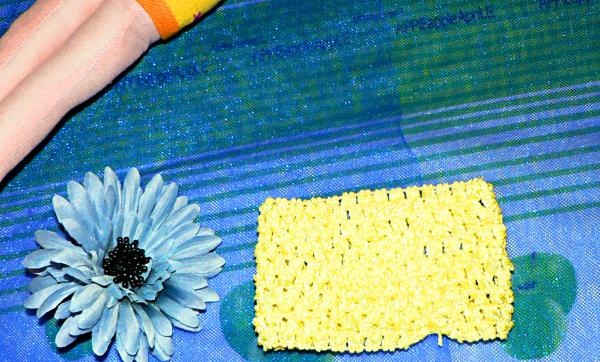
- headband and artificial flower;
- doll socks and sandals purchased at a children's store;
- artificial tresses (you can make hair from mohair);
- braid for decorating the dress;
- a sewing machine (you can sew by hand), scissors and threads to match the color of the fabric, needles;
- black beads for eyes (you can embroider eyes with black threads).
We fold the flesh fabric in half and apply the patterns, outline them directly along the contour, the feet (two) and the patterns for the head (there are three), trace them on a single fabric.
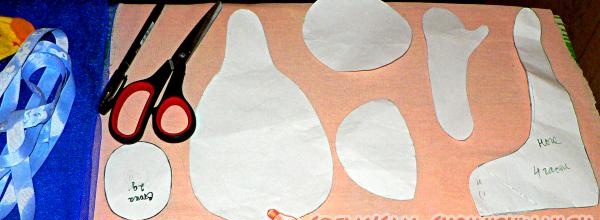
We sew every detail, except for the parts of the head, leaving a centimeter and a half free for further stuffing (we don’t sew on the feet on the legs, so we will connect them with the “soles”), we cut out the parts with a seam allowance of five millimeters, we sew the edges so as not to split.
We sew the back parts of the head vertically, then we sew the resulting part in a circle with the large part of the head, also leaving room for stuffing.
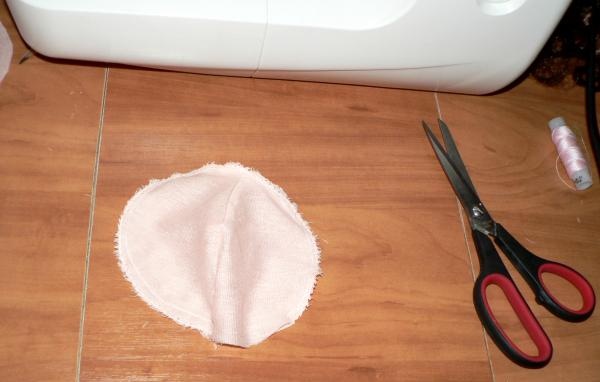
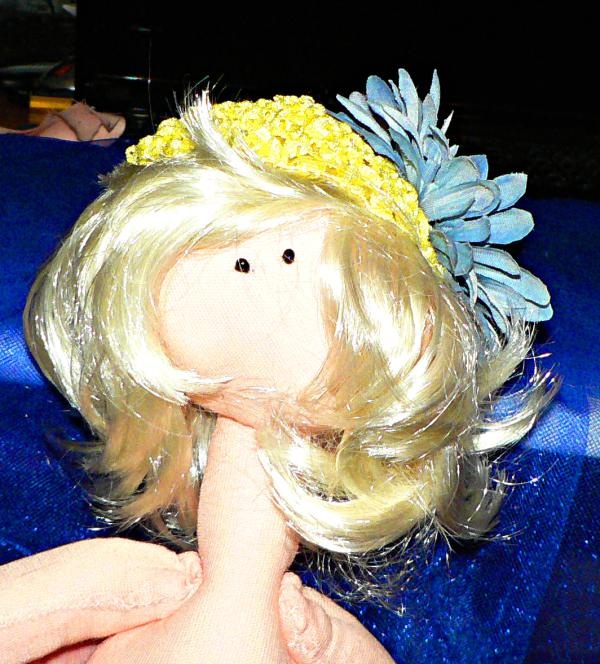
We turn the parts right side out and stuff them with padding polyester. We manually sew up the slits for stuffing, insert the legs into the body, and only then sew up the slits. We sew the feet to the legs and stuff the legs. We sew the parts together, the doll is almost ready. You can sew bead eyes and attach hair to the head to imagine what a beauty she will soon become.
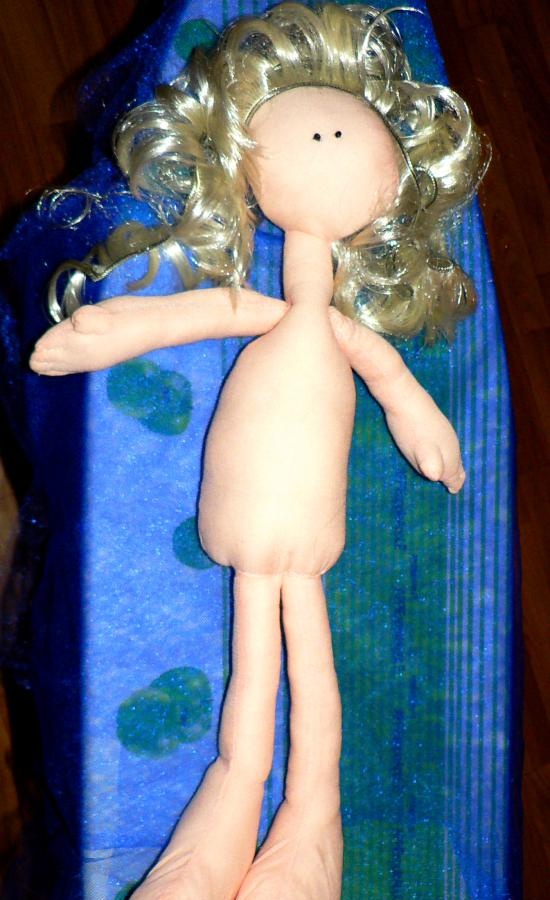
We begin to sew the tresses around the forehead, moving the tresses back and raising them in a spiral above the first line by two centimeters.
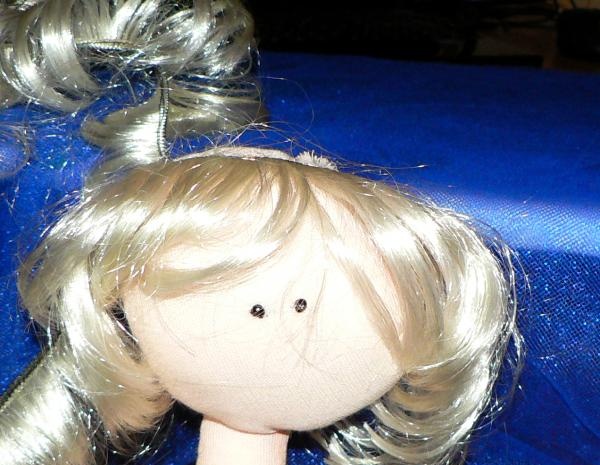
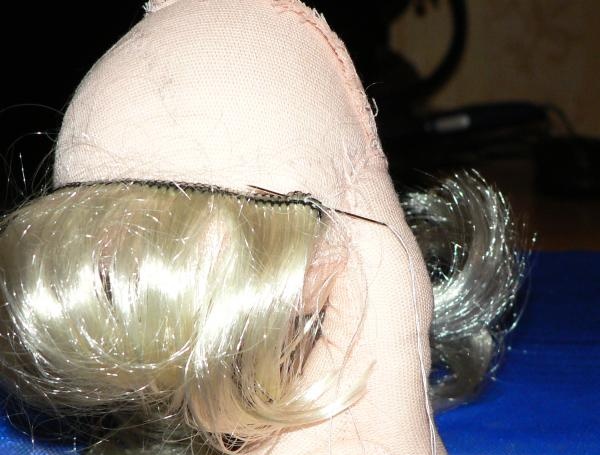
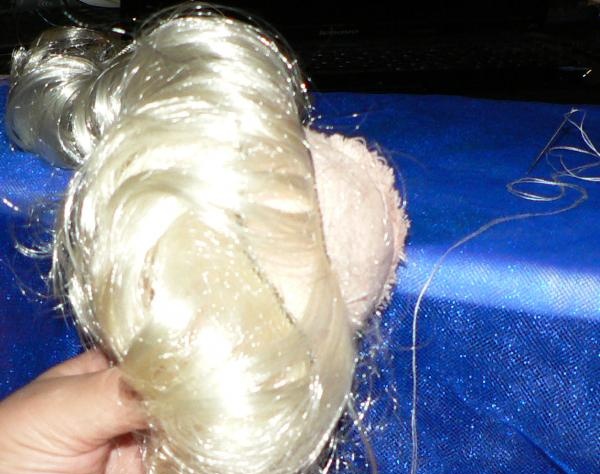
Well, the hair is ready and the doll even got shoes.
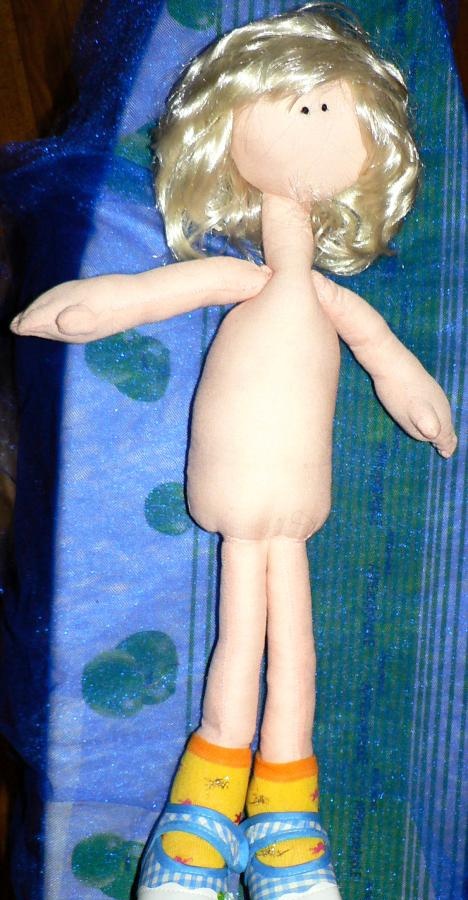
Now let’s decorate the hairstyle: sew the headband at the top in a circle (from the inside out), pull the thread, turn it inside out and sew a flower to it. Secure the headband by stitching around the circumference.
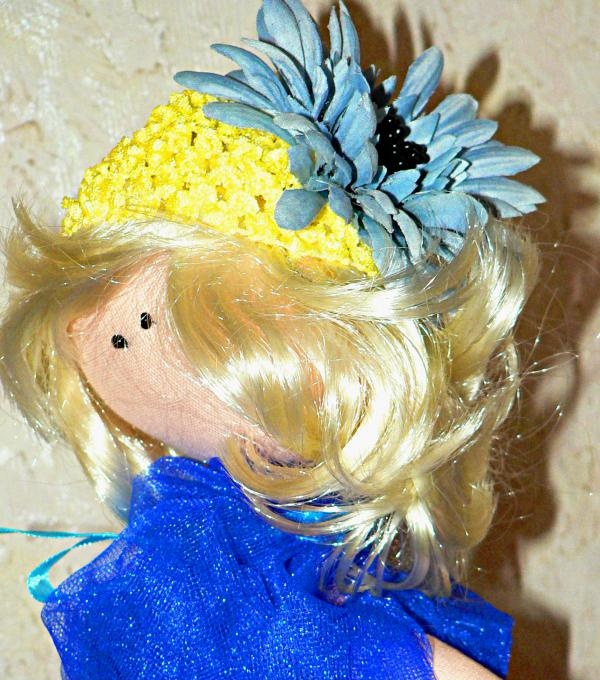
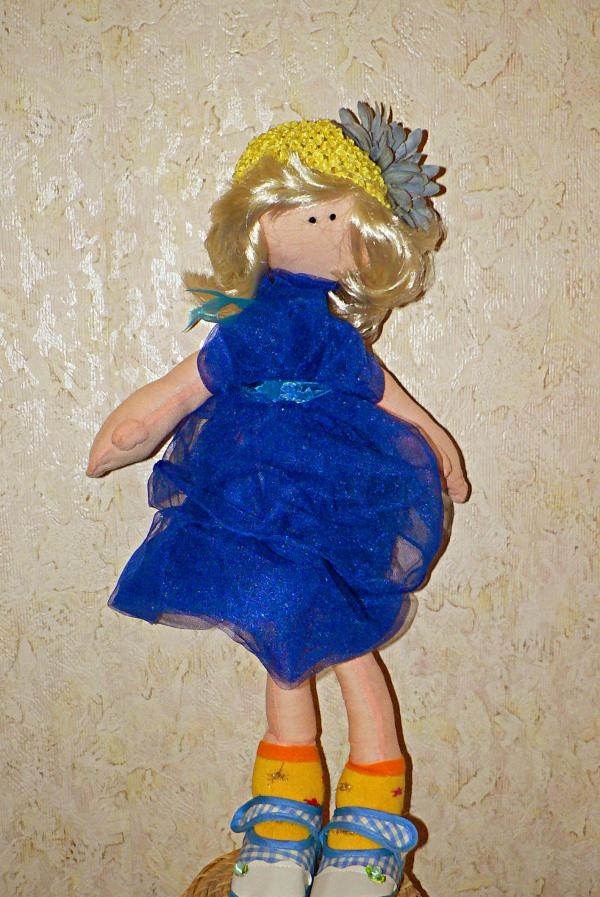
We make the simplest dress - we fold the fabric in half, stitch it along the edge, we get a “bag”, which we put on the doll and gather it in the neck area, decorating it with a ribbon here and along the waist. The doll is ready! Isn't that right, honey? And most importantly, made with your own hands.
Similar master classes
Particularly interesting
Comments (10)

