Animal hats for kids
To please your baby with a new hat, you will need very little time and a little patience. And also one skein of yarn in the main color and a certain amount of thread that may have remained from your past works. To decorate the product, you will need sewing threads, a needle, buttons, beads and ready-made eyes bought in a store.
Before starting work, you need to decide on the size of the hat by measuring the circumference of your child’s head.
1. We collect a chain of air loops, close it into a ring;
2. Next we knit according to the pattern.
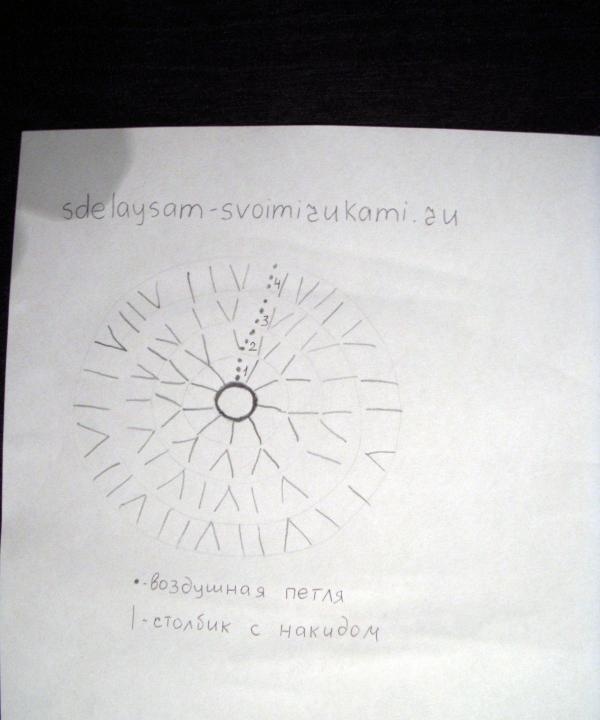
1st row: we tie a chain of chain loops with double crochets (there will be 5-8 of them, depending on the thickness of the yarn);
2nd row: in each column of the previous row we knit 2 double crochets.
In each subsequent row, we gradually reduce the number of additions until the desired diameter of the bottom of the cap is reached.
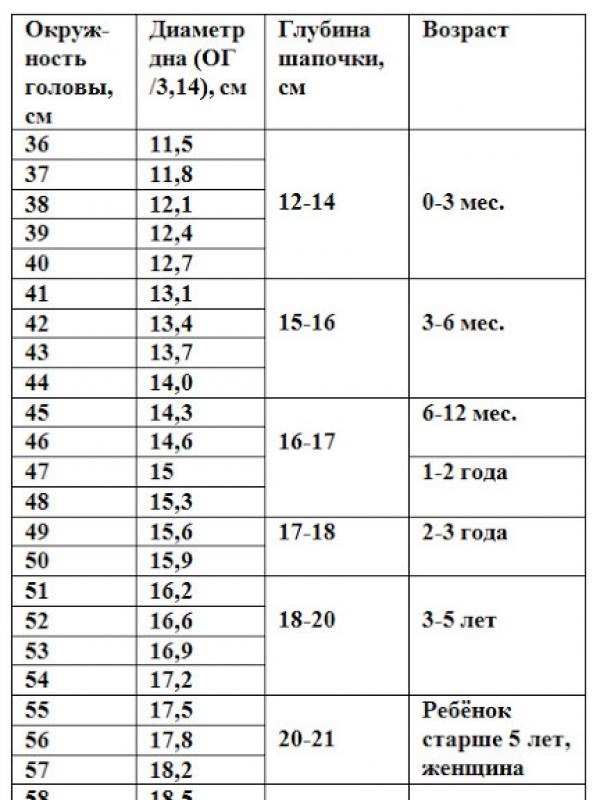
Knowing the girth of the child’s head or his age, you can easily determine the diameter of the product from the table;
3. After this, you need to knit without additions: each column of the previous row corresponds to a column of the new row;
4. Using the same table, you can determine what depth of the cap is needed in your case.
The hat can be made straight or with ears knitted on it. They can be simply decorative, or they can be voluminous, created specifically for insulating a knitted product. To make ears, you should mark their locations with bright threads (after knitting, remove the bright threads). And gradually reduce the number of loops when knitting rows.
You can reduce the number of loops in two ways: systematically skip one of the loops of the previous row, or combine the last two loops of each row.
The hat can be additionally insulated. For example, sew small fleece linings into the ears, or make a solid lining, as I did in one of the hats. This is a very soft material that is perfect for children's products.
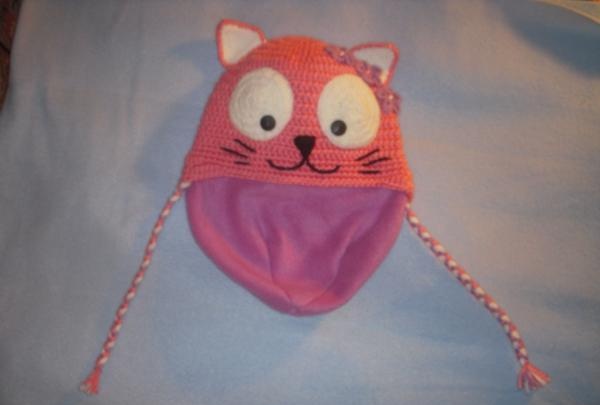
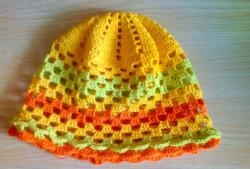
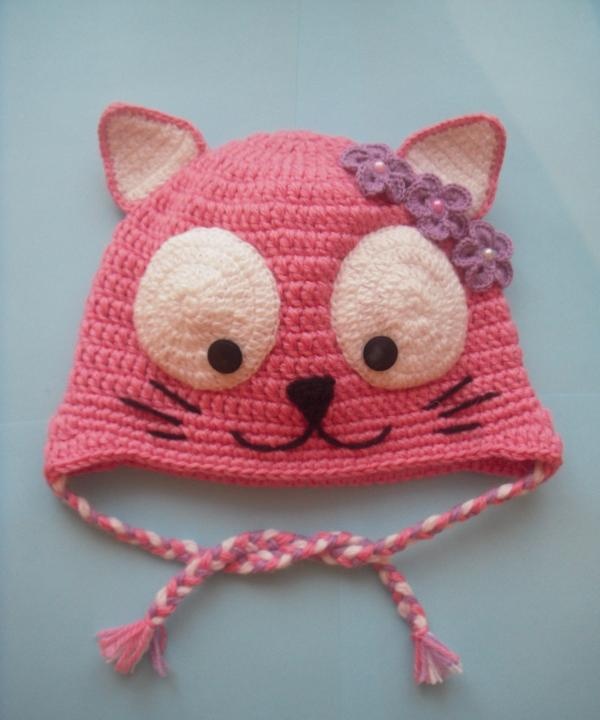
You can decorate the finished product in a huge number of ways. In this case, I made animal hats.
To complete the look of the panda, you need to make black ears and contours for the eyes. They should be knitted according to the pattern
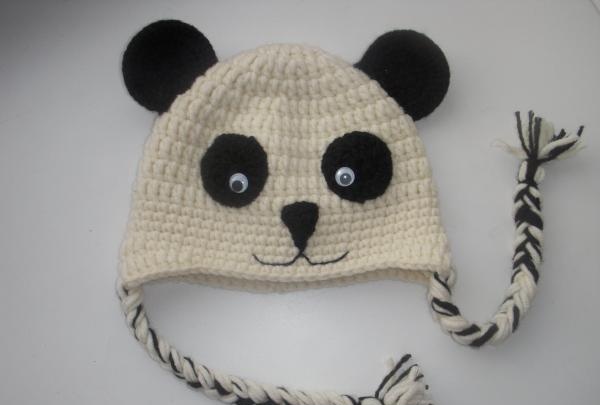
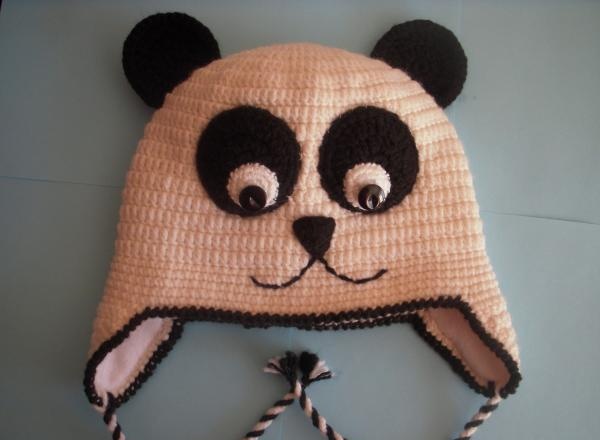
just use single crochets rather than double crochets. Knit the nose in the same way as the ears, gradually reducing the number of stitches in the row. Carefully sew everything to the hat. For the eyes themselves, you can use buttons or ready-made eyes.
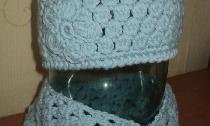
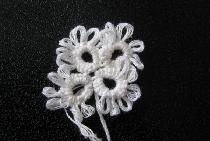
For the image of the cat, flowers with beads were additionally made and antennae were embroidered.
The mouse had a knitted muzzle. To make the image more impressive, I inserted a small amount of fleece between the circle created for the muzzle and the hat.
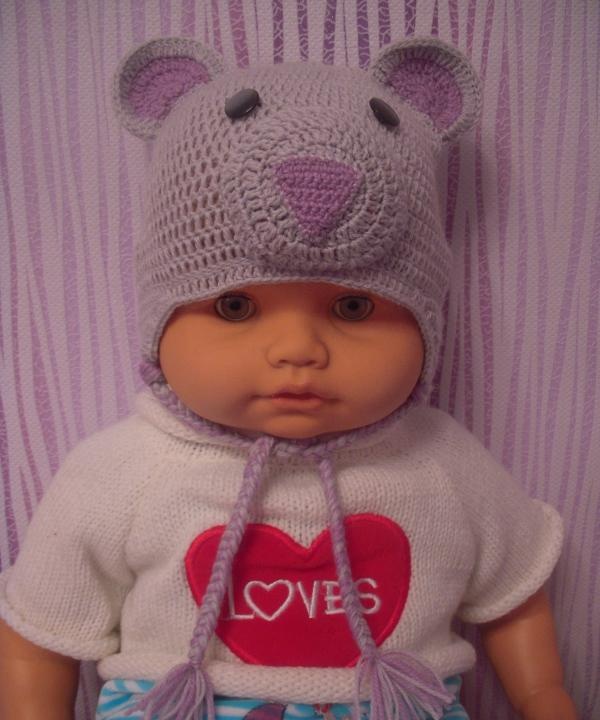
Multi-colored braids or strands are a great idea for ties.From the remaining yarn, cut threads of the same length, thread them between the posts in the area of the ears and weave a braid or strand.
This handmade hat is sure to become your baby's favorite thing.
Before starting work, you need to decide on the size of the hat by measuring the circumference of your child’s head.
1. We collect a chain of air loops, close it into a ring;
2. Next we knit according to the pattern.

1st row: we tie a chain of chain loops with double crochets (there will be 5-8 of them, depending on the thickness of the yarn);
2nd row: in each column of the previous row we knit 2 double crochets.
In each subsequent row, we gradually reduce the number of additions until the desired diameter of the bottom of the cap is reached.
Knowing the girth of the child’s head or his age, you can easily determine the diameter of the product from the table;
3. After this, you need to knit without additions: each column of the previous row corresponds to a column of the new row;
4. Using the same table, you can determine what depth of the cap is needed in your case.

The hat can be made straight or with ears knitted on it. They can be simply decorative, or they can be voluminous, created specifically for insulating a knitted product. To make ears, you should mark their locations with bright threads (after knitting, remove the bright threads). And gradually reduce the number of loops when knitting rows.
You can reduce the number of loops in two ways: systematically skip one of the loops of the previous row, or combine the last two loops of each row.
The hat can be additionally insulated. For example, sew small fleece linings into the ears, or make a solid lining, as I did in one of the hats. This is a very soft material that is perfect for children's products.

You can decorate the finished product in a huge number of ways. In this case, I made animal hats.
To complete the look of the panda, you need to make black ears and contours for the eyes. They should be knitted according to the pattern


just use single crochets rather than double crochets. Knit the nose in the same way as the ears, gradually reducing the number of stitches in the row. Carefully sew everything to the hat. For the eyes themselves, you can use buttons or ready-made eyes.
For the image of the cat, flowers with beads were additionally made and antennae were embroidered.

The mouse had a knitted muzzle. To make the image more impressive, I inserted a small amount of fleece between the circle created for the muzzle and the hat.

Multi-colored braids or strands are a great idea for ties.From the remaining yarn, cut threads of the same length, thread them between the posts in the area of the ears and weave a braid or strand.
This handmade hat is sure to become your baby's favorite thing.
Similar master classes
Particularly interesting
Comments (0)

