Headband “Blue wave”
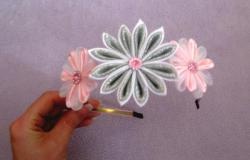
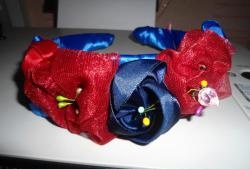
Technique kanzashi is unique, because thanks to it you can create endlessly and every time you get new flowers. You can choose a combination of color and shape for yourself, from large lapis flowers to a neat harmonious bouquet. If you value discreet beauty, you can create a headband that associates a blue wave.
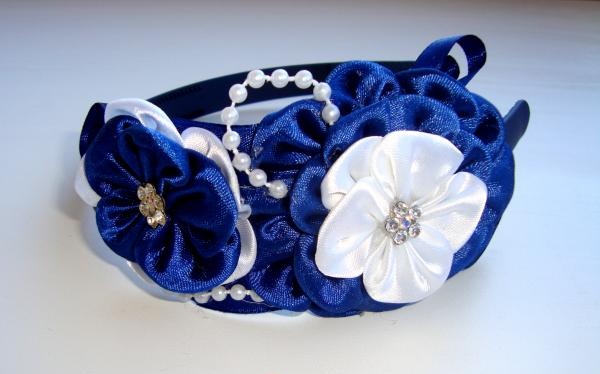
To create a headband, stock up on:
- dark blue satin ribbon. Its width is 5 cm and its length is about a meter.
- white satin ribbon. Its width is also 5 cm, and its length is half a meter.
- rhinestone flowers 2 pcs.
- fishing line with beads.
- hot glue.
- a thin blue ribbon, its length is about a meter, but its width is 3-4 mm.
- blue rim, preferably rubber, because... it doesn't slip out of your hair.
- a set for working in the kanzashi technique: a wood burner, an iron ruler and glass as a working panel.
All the beauty can be created with a simple first step - cutting pieces of ribbon. Each petal is created from a square, since we use a tape 5 cm wide, the second side of the square is 5 cm. It is convenient to cut the flaps with a hot burner, and you need to fix the tape with a metal ruler, at the same time the lines will be even.
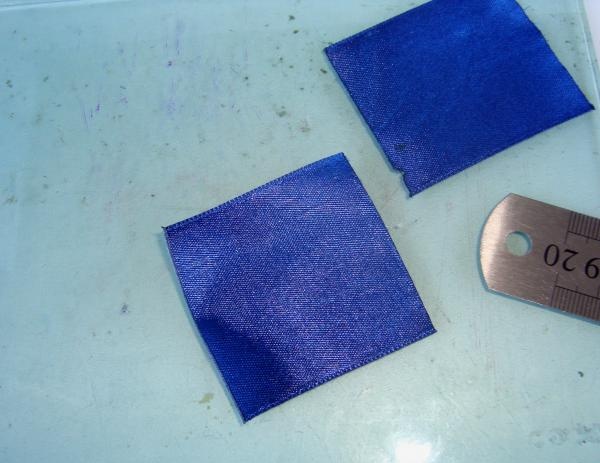
Each workpiece must be bent diagonally, but exactly in the middle, that is, the upper corner overlaps the lower corner.
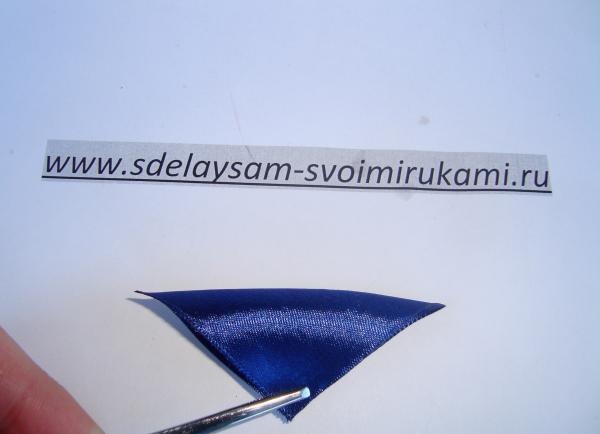
The flower arrangement consists of round petals in a fold. To create such petals, you need to collect two folds on one side.
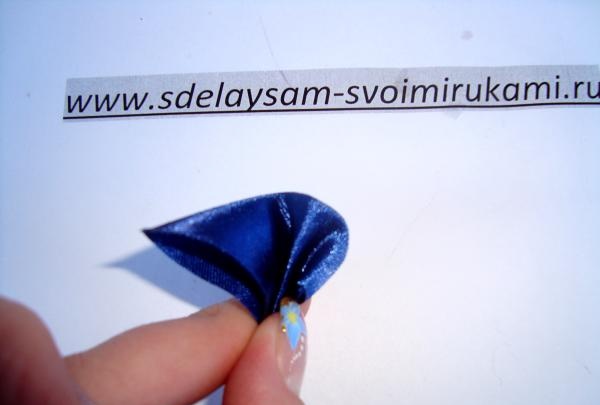
And then two more folds on the other side. Try to keep all folding lines symmetrical to the center. Fix everything tightly with your fingers or metal tweezers (which surgeons use in their work).
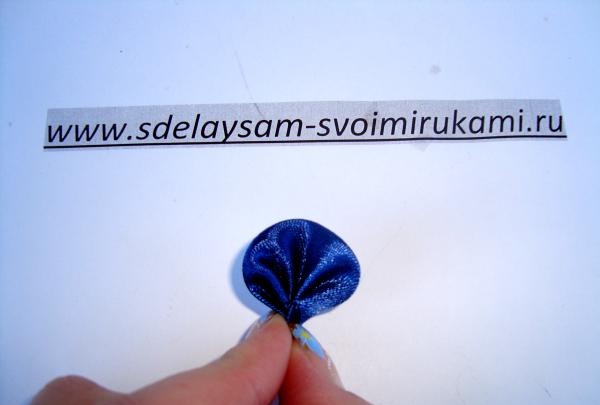
Place a ruler at the base of the petal where all the folds meet. Now draw a line with a hot burner, lightly press on the material, as you need to cut off the extra tails.
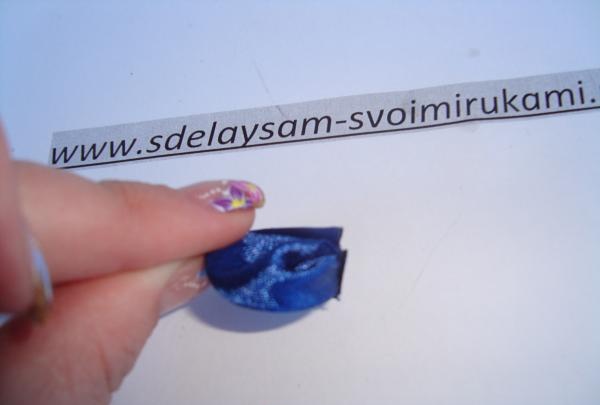
Such a petal has a voluminous base; it will be difficult to lay it flat to create a flower, so trim the protruding parts of the folds on the underside of the petal.
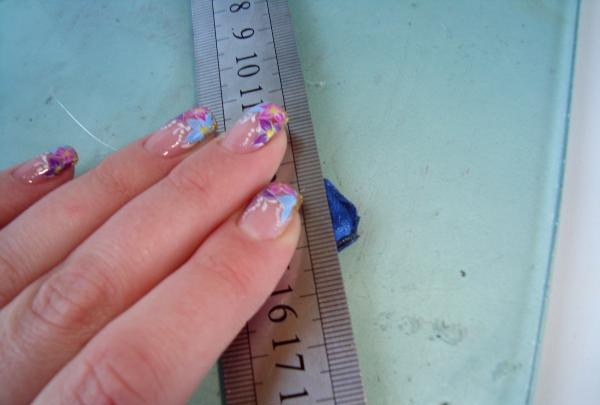
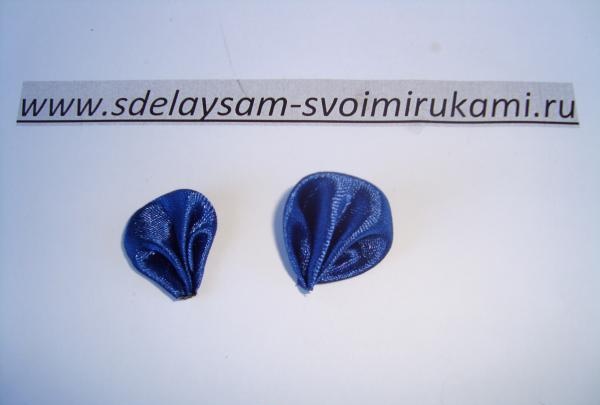
You should get petals like this. Make 10 white and 24 blue petals.
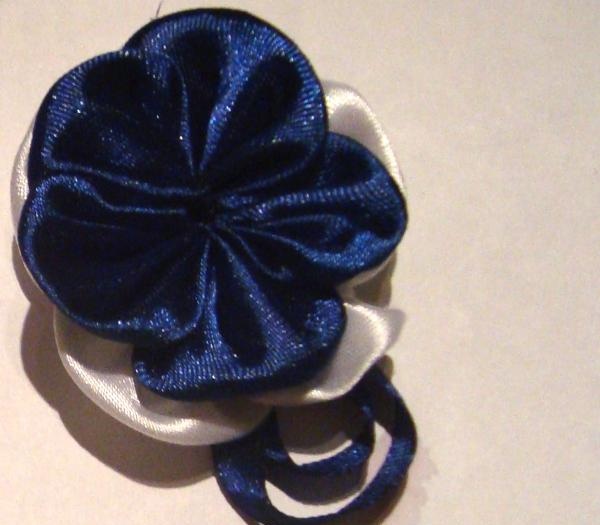
Glue the small flower together with hot glue. The first row has 6 white petals, and the second row has 5 blue petals. Add waves from a thin ribbon.
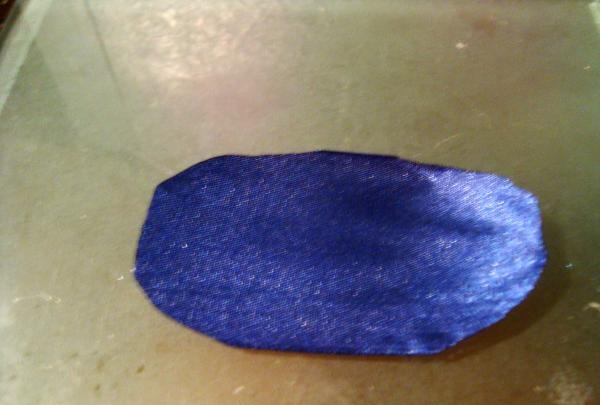
Cut out a large oval from the ribbon - it will be the basis for the flowers. Don't forget to melt the edges with a lighter or candle flame.
Having made a similar small flower, but changing the colors in the rows, try attaching it to the base. It seemed to me that the size of the flower was not sufficient.
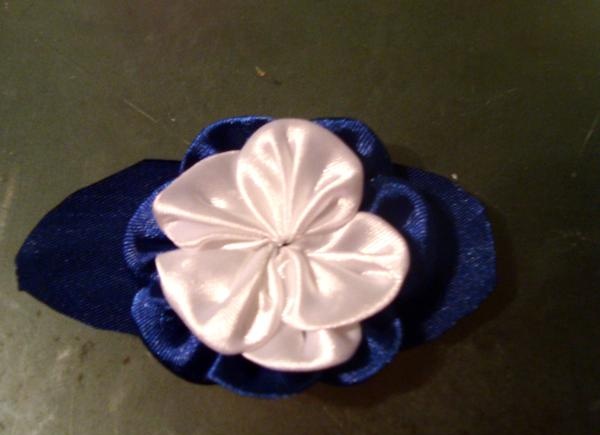
To increase the volume and size of the flower, I glued another large row of dark blue petals directly onto the base and glued the flower on top.
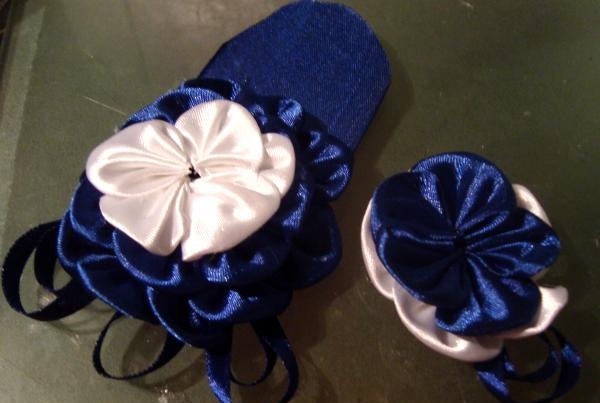
Glue a second flower next to it, be sure to decorate the centers. I found two flowers that used to be attached to hairpins. White beads imitating pearls will add tenderness to the headband and bring harmony.Complete the composition with such beads; you can glue them in any order: around the flowers, between them or on top of the outer row.
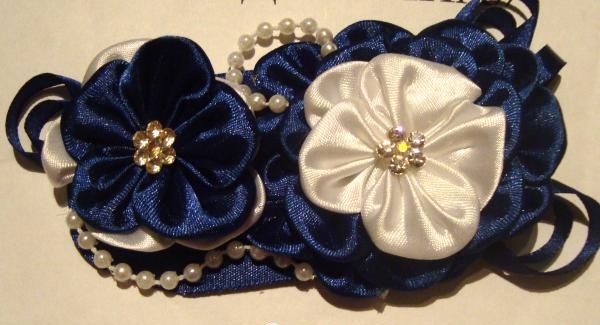
Now glue the entire composition to the side of the rim. In order not to miss the placement of the flower, first try it on dry and determine in which part of the rim it looks more appropriate for you.
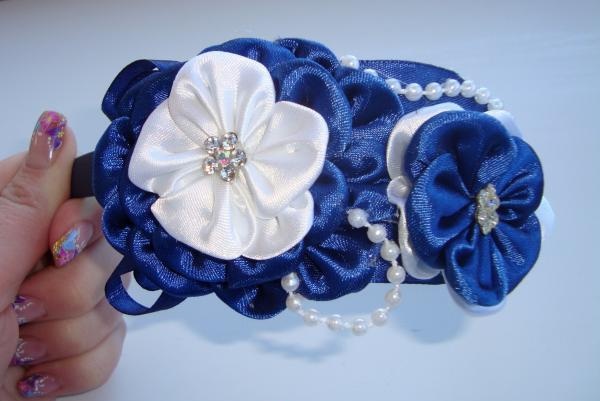
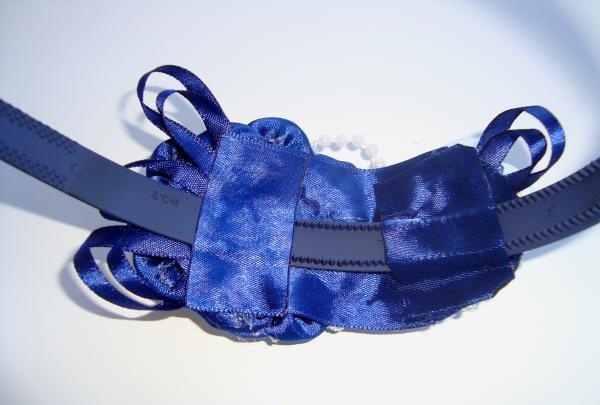
Glue on rubber does not secure the tape very well, so additional tapes must be secured on the back side so that their edges lie on the base of the flowers, then the work will be fixed forever.

To create a headband, stock up on:
- dark blue satin ribbon. Its width is 5 cm and its length is about a meter.
- white satin ribbon. Its width is also 5 cm, and its length is half a meter.
- rhinestone flowers 2 pcs.
- fishing line with beads.
- hot glue.
- a thin blue ribbon, its length is about a meter, but its width is 3-4 mm.
- blue rim, preferably rubber, because... it doesn't slip out of your hair.
- a set for working in the kanzashi technique: a wood burner, an iron ruler and glass as a working panel.
All the beauty can be created with a simple first step - cutting pieces of ribbon. Each petal is created from a square, since we use a tape 5 cm wide, the second side of the square is 5 cm. It is convenient to cut the flaps with a hot burner, and you need to fix the tape with a metal ruler, at the same time the lines will be even.

Each workpiece must be bent diagonally, but exactly in the middle, that is, the upper corner overlaps the lower corner.

The flower arrangement consists of round petals in a fold. To create such petals, you need to collect two folds on one side.

And then two more folds on the other side. Try to keep all folding lines symmetrical to the center. Fix everything tightly with your fingers or metal tweezers (which surgeons use in their work).

Place a ruler at the base of the petal where all the folds meet. Now draw a line with a hot burner, lightly press on the material, as you need to cut off the extra tails.

Such a petal has a voluminous base; it will be difficult to lay it flat to create a flower, so trim the protruding parts of the folds on the underside of the petal.

You should get petals like this. Make 10 white and 24 blue petals.

Glue the small flower together with hot glue. The first row has 6 white petals, and the second row has 5 blue petals. Add waves from a thin ribbon.

Cut out a large oval from the ribbon - it will be the basis for the flowers. Don't forget to melt the edges with a lighter or candle flame.

Having made a similar small flower, but changing the colors in the rows, try attaching it to the base. It seemed to me that the size of the flower was not sufficient.

To increase the volume and size of the flower, I glued another large row of dark blue petals directly onto the base and glued the flower on top.

Glue a second flower next to it, be sure to decorate the centers. I found two flowers that used to be attached to hairpins. White beads imitating pearls will add tenderness to the headband and bring harmony.Complete the composition with such beads; you can glue them in any order: around the flowers, between them or on top of the outer row.

Now glue the entire composition to the side of the rim. In order not to miss the placement of the flower, first try it on dry and determine in which part of the rim it looks more appropriate for you.

Glue on rubber does not secure the tape very well, so additional tapes must be secured on the back side so that their edges lie on the base of the flowers, then the work will be fixed forever.

Similar master classes
Particularly interesting
Comments (2)


