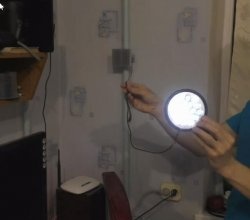
Home generator for 5 and 12 volts
Has anyone ever encountered a situation where a smartphone curses because the battery is low, and as luck would have it, the lights were turned off? I think many. Or is it the same story with your favorite netbook, which has 12 volt power? Or do you need an autonomous light source, as independent as possible from the presence or absence of voltage in the network? Unfortunately, the civil war that was going on almost on my doorstep made me think about creating such a device.
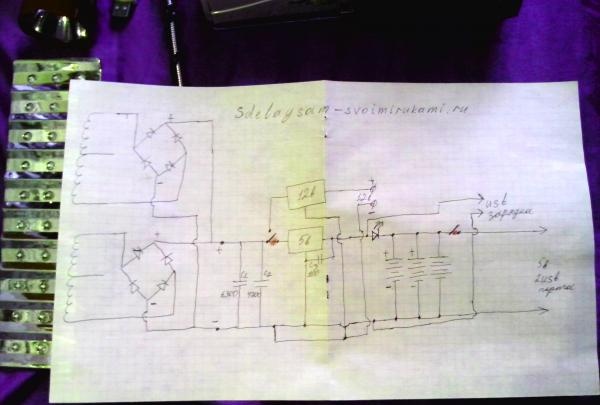
Thank God, I know how to use a soldering iron, in the closet there is a whole box of electronic junk that has nowhere to put, and it’s a pity to throw it away, and then a video came across the Internet with a similar man-made miracle, from which toggle switches, bolts and contacts were sticking out in all directions. But it worked, and it worked great! This, I think, is exactly what is needed. The author of the video did not specifically reveal the scheme, but it is not too complicated. I apologize, I’m not an artist from the word “bad”.
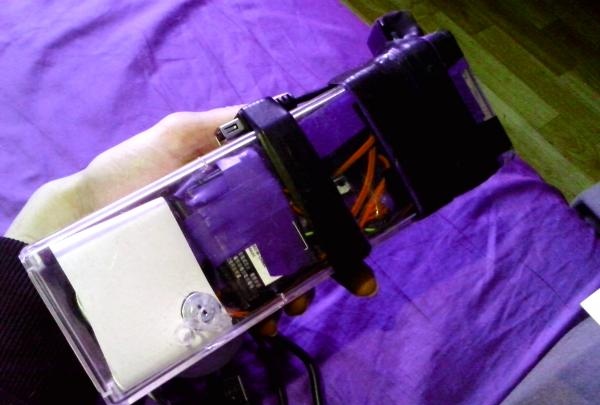
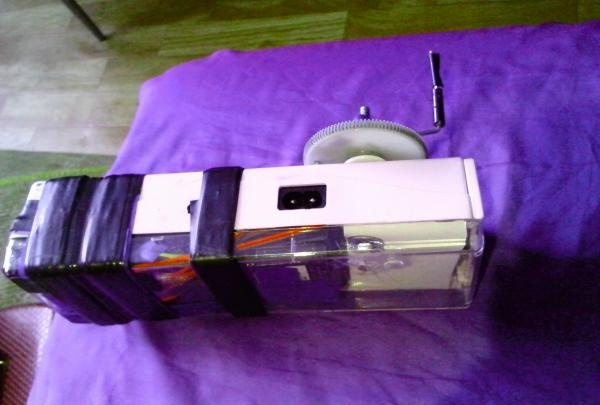
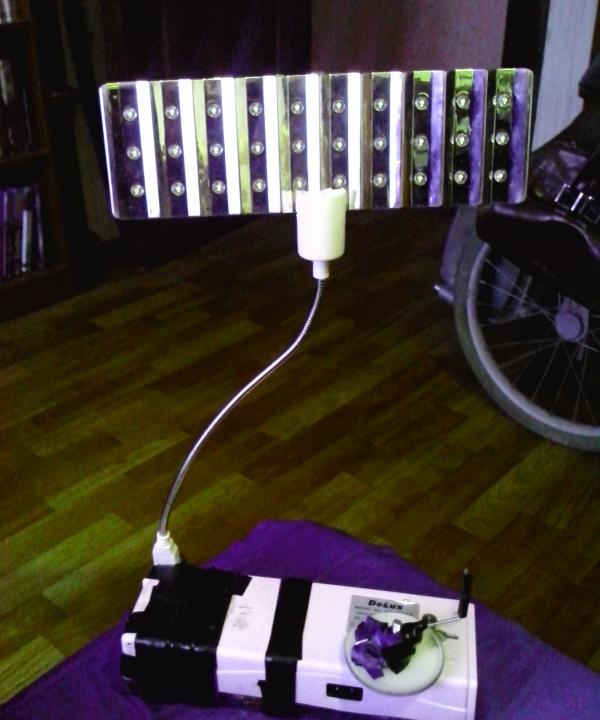
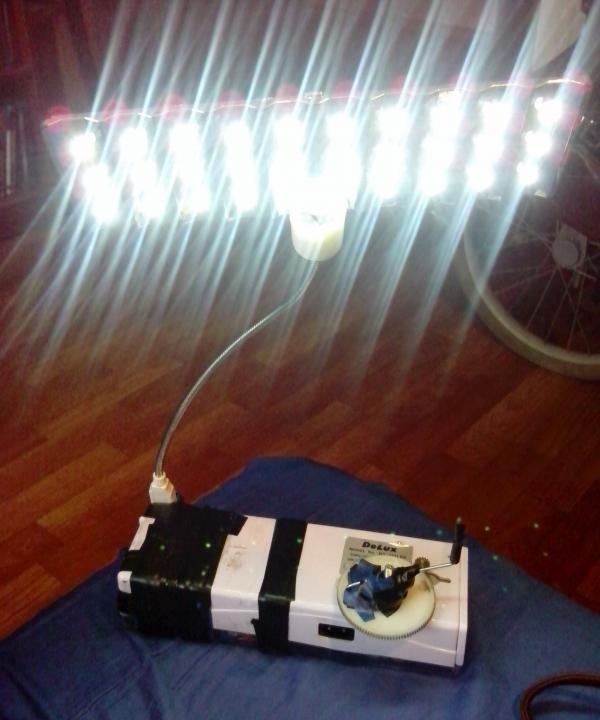
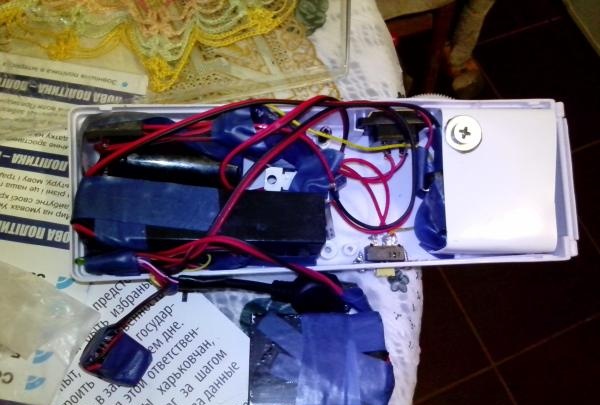
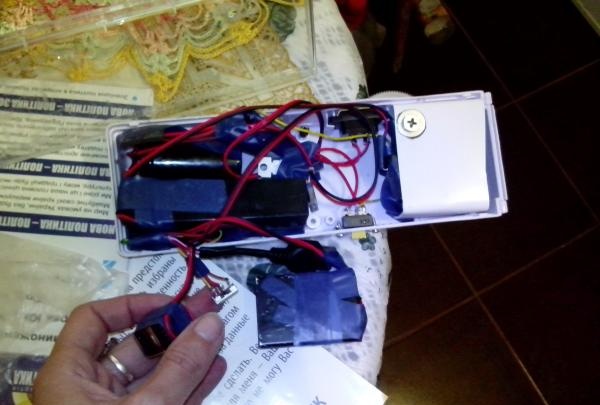
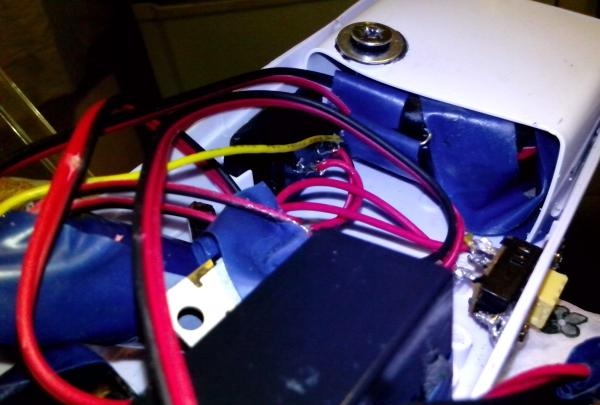
As a body, I used a Chinese Delux REL 500LED lamp, which had been killed by two years of use.


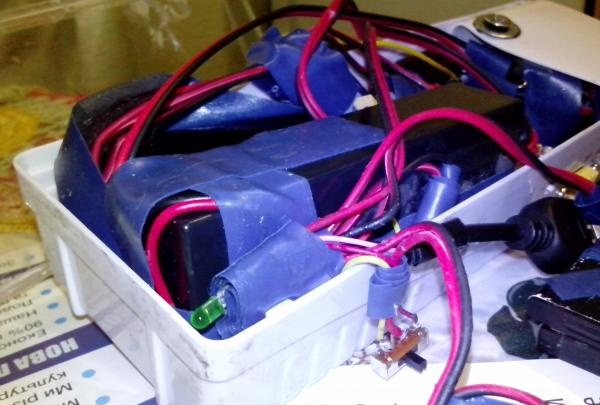
The battery there, instead of the standard 4 hours, lasted a maximum of 15 minutes, but out of natural female hamsterism, I decided not to throw it away, but to supplement it with two batteries from dead mobile phones. The result was a sufficiently capacious battery to operate as a night light all night. A stepper motor from an old dot matrix printer was found at the bottom of the box. The diode bridges could be assembled independently from Schottky 5818 diodes, or torn out from old flashlights, but I used ready-made assemblies in one 2W10 package. The only thing I had to buy were two capacitors with a total capacity of 11,000 microfarads and voltage stabilizers 7805 and 142EN8B; I couldn’t find such parts in my flea market. Capacitor C3 was taken from an old charger. I also needed two three-way switches, one of which was kindly provided by a gutted lamp, and the other borrowed from an old flashlight, and a couple of meters of thin two-color wire. What I didn't have was a drill. One of the relatives took it “for temporary use” and never returned it. But the need for invention is cunning; in the presence of self-tapping screws, a soldering iron and a sea of duct tape, the matter was solved without it.
All. It was just a matter of design and implementation.
From the very beginning I didn’t want to attach the lantern to the body. There's not much space there anyway, but LEDs They also warm up. Therefore, I decided to output 5 volts to the USB port and lamps on the corresponding plugs. By the way, we found a use for the removed LED panel and it turned out to be a bright lamp.
One drawback - after 40 minutes the panel drains the battery by half. I also made a night light and a regular lantern on flexible legs. I adapted the 12 volt output to the connector from which the lamp power supply was powered in a previous life.The stepper motor shaft fit perfectly into the hole for the nail, slightly widened with a knife (the thrifty Chinese planned to hang the lamp on the wall), but the hole for the pin of the transmission mechanism had to be melted with a soldering iron, simultaneously scolding forgetful relatives. No problem, I did it. And I made the lever for the gear wheel from a piece of a bicycle spoke and a piece of thin plastic tube.
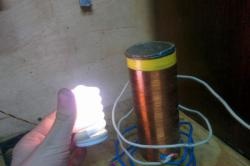
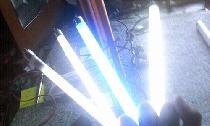
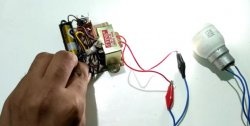
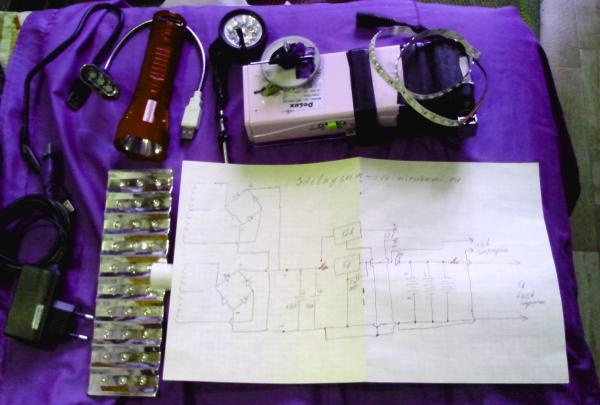
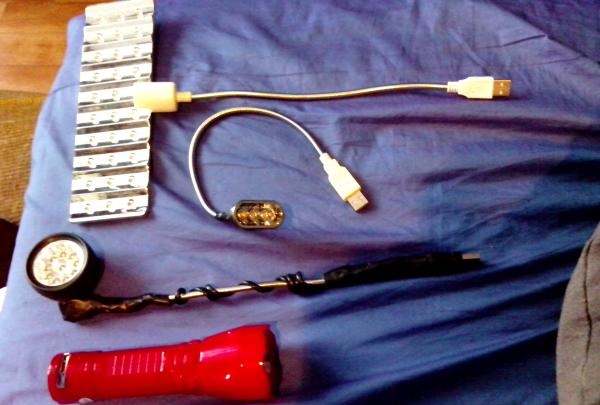
The lamp and charger worked properly, the battery from the engine was charging quite happily, as indicated by the green LED. By the way, it not only signals charging, but also prevents capacitors from “pulling” from the battery. And then I became lazy to turn the handle for half an hour every time. Having disassembled my monster, I soldered in another USB port, taken from an extension cord chewed by a cat, and soldered a USB plug from the same cord to an old mobile phone charger. And it charges the device perfectly if there is 220 volts in the network. The only condition is that the “5v - 12v” switch must be in the neutral position. These photos show a generator, a charger, a circuit and a set of lamps “for all occasions,” including a 12-volt LED strip.
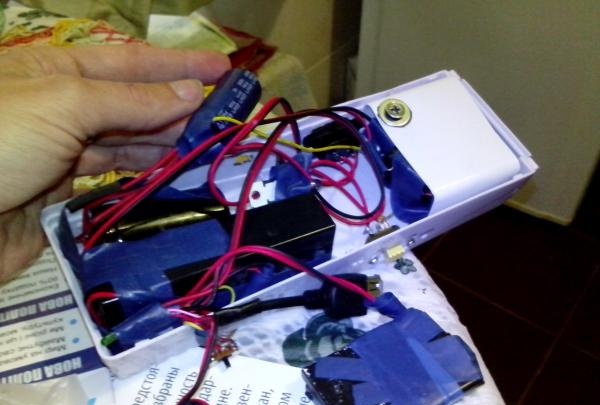
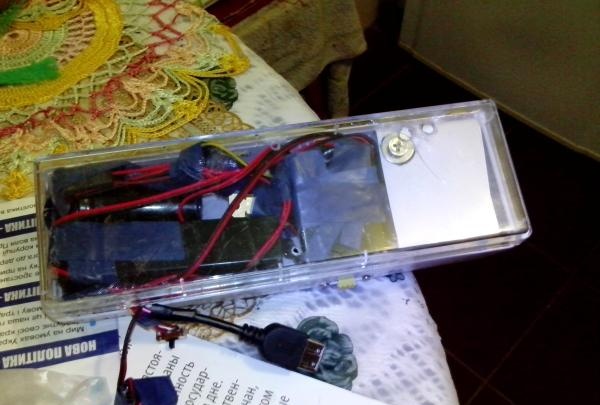
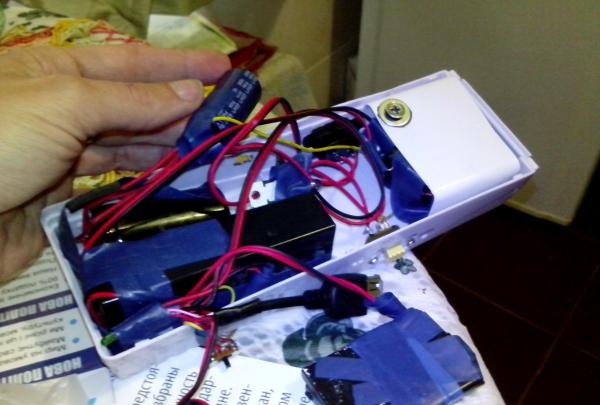
In addition, a fully working Chinese rechargeable flashlight with recharging from the mains was taken out of the box. “As if” - because the plug was clearly assembled by a blind Chinese man on the night shift: in principle, these stumps did not reach any socket. I threw the plug, capacitor and diode bridge into the treasured junk drawer; they will come in handy again; I soldered the USB port directly to the battery and stuck it in place of the plug. It charges both from a generator and from the mains, and it does a good job of charging mobile phones with a battery of no more than 1300 milliamps/hour.It really shines for 8 hours, although the Chinese didn’t deceive us here...
There are plans to assemble an external 12 volt battery, but that will be a completely different story... :)
Thank God, I know how to use a soldering iron, in the closet there is a whole box of electronic junk that has nowhere to put, and it’s a pity to throw it away, and then a video came across the Internet with a similar man-made miracle, from which toggle switches, bolts and contacts were sticking out in all directions. But it worked, and it worked great! This, I think, is exactly what is needed. The author of the video did not specifically reveal the scheme, but it is not too complicated. I apologize, I’m not an artist from the word “bad”.


As a body, I used a Chinese Delux REL 500LED lamp, which had been killed by two years of use.


The battery there, instead of the standard 4 hours, lasted a maximum of 15 minutes, but out of natural female hamsterism, I decided not to throw it away, but to supplement it with two batteries from dead mobile phones. The result was a sufficiently capacious battery to operate as a night light all night. A stepper motor from an old dot matrix printer was found at the bottom of the box. The diode bridges could be assembled independently from Schottky 5818 diodes, or torn out from old flashlights, but I used ready-made assemblies in one 2W10 package. The only thing I had to buy were two capacitors with a total capacity of 11,000 microfarads and voltage stabilizers 7805 and 142EN8B; I couldn’t find such parts in my flea market. Capacitor C3 was taken from an old charger. I also needed two three-way switches, one of which was kindly provided by a gutted lamp, and the other borrowed from an old flashlight, and a couple of meters of thin two-color wire. What I didn't have was a drill. One of the relatives took it “for temporary use” and never returned it. But the need for invention is cunning; in the presence of self-tapping screws, a soldering iron and a sea of duct tape, the matter was solved without it.

All. It was just a matter of design and implementation.
From the very beginning I didn’t want to attach the lantern to the body. There's not much space there anyway, but LEDs They also warm up. Therefore, I decided to output 5 volts to the USB port and lamps on the corresponding plugs. By the way, we found a use for the removed LED panel and it turned out to be a bright lamp.


One drawback - after 40 minutes the panel drains the battery by half. I also made a night light and a regular lantern on flexible legs. I adapted the 12 volt output to the connector from which the lamp power supply was powered in a previous life.The stepper motor shaft fit perfectly into the hole for the nail, slightly widened with a knife (the thrifty Chinese planned to hang the lamp on the wall), but the hole for the pin of the transmission mechanism had to be melted with a soldering iron, simultaneously scolding forgetful relatives. No problem, I did it. And I made the lever for the gear wheel from a piece of a bicycle spoke and a piece of thin plastic tube.
The lamp and charger worked properly, the battery from the engine was charging quite happily, as indicated by the green LED. By the way, it not only signals charging, but also prevents capacitors from “pulling” from the battery. And then I became lazy to turn the handle for half an hour every time. Having disassembled my monster, I soldered in another USB port, taken from an extension cord chewed by a cat, and soldered a USB plug from the same cord to an old mobile phone charger. And it charges the device perfectly if there is 220 volts in the network. The only condition is that the “5v - 12v” switch must be in the neutral position. These photos show a generator, a charger, a circuit and a set of lamps “for all occasions,” including a 12-volt LED strip.


In addition, a fully working Chinese rechargeable flashlight with recharging from the mains was taken out of the box. “As if” - because the plug was clearly assembled by a blind Chinese man on the night shift: in principle, these stumps did not reach any socket. I threw the plug, capacitor and diode bridge into the treasured junk drawer; they will come in handy again; I soldered the USB port directly to the battery and stuck it in place of the plug. It charges both from a generator and from the mains, and it does a good job of charging mobile phones with a battery of no more than 1300 milliamps/hour.It really shines for 8 hours, although the Chinese didn’t deceive us here...
There are plans to assemble an external 12 volt battery, but that will be a completely different story... :)
Similar master classes
Particularly interesting
Comments (4)

