Painting made of threads and nails “A couple of cats in love”
Of course, the “string art” technique is so captivating that it is simply impossible to stop at just a few works. I want to create more and more miniature masterpieces. Recently, I came across an interesting picture on the Internet depicting a couple of cats in love, and I decided to use it to make a picture out of threads and nails. I love these animals very much and try to capture them in different techniques so that I can have as many works as possible with the presence of these charming mustachioed pets. If you are also partial to these animals, then I suggest making you a beautiful picture.
To create it, I prepared:
- wooden board (30 cm by 17 cm);
- decorative carnations (two packages of 150 pieces);
- hammer, awl, pliers;
- nylon threads of black, white and red colors;
- a ruler and a simple pencil;
- an image of cats on a piece of paper.
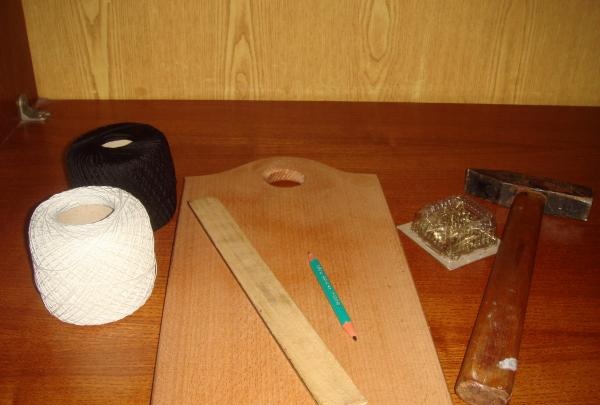
Step 1. For my work, I took a regular wooden cutting board. I was attracted by its shape and the ready-made hole for attaching the picture to the wall.First, I drew the boundaries of the picture on the board using a ruler and pencil. The work will be 25x16 cm in size. To do this, I retreated 0.5 cm from three edges, and 5 cm from the top (from the highest point). I drew a frame around the perimeter of the board and put notches (dots) on the lines at a distance of 1 cm. Then I transferred the image of the cats onto a wooden surface. This is very easy to do by cutting out the design in parts (this makes it easier to trace each individual detail with a pencil). And I also placed notches on all lines at a distance of approximately 1 cm.
Advice! It is necessary to carefully consider the location of the points at the intersections of the drawings; the beauty of the final result will depend on this.
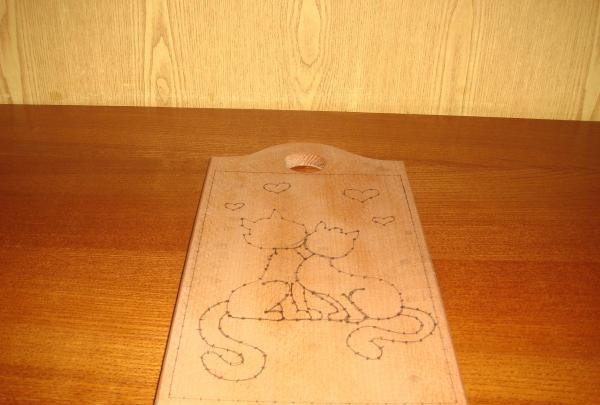
Step 2. Then I needed to drive a nail into each point. To make my work easier, I took an awl and made shallow holes along all the notches. Then I inserted nails into them, held them with pliers and drove them in. It is very convenient to work with pliers; they not only saved my fingers from injury, but also allowed me to drive all the nails to the same depth.
Advice! Try to ensure that they are all hammered evenly and parallel to each other.
Step 3. At this stage, I created the background of the painting using white nylon thread. To do this, I carefully and slowly intertwined the thread through the heads of the nails. At first I grabbed each nail, then after one and then after several.
Advice! The turns can be done in a certain order, but I wove them randomly and it turned out beautiful too. Using black nylon thread, I laid out silhouette images of cats. Here you need to be very careful to ensure that the thread is hooked onto the head of each nail. The more you try in this part of the work, the more beautiful the picture will turn out.And the red thread was needed to create hearts.
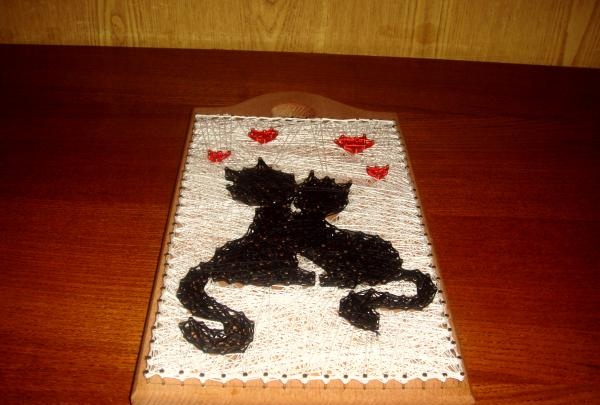
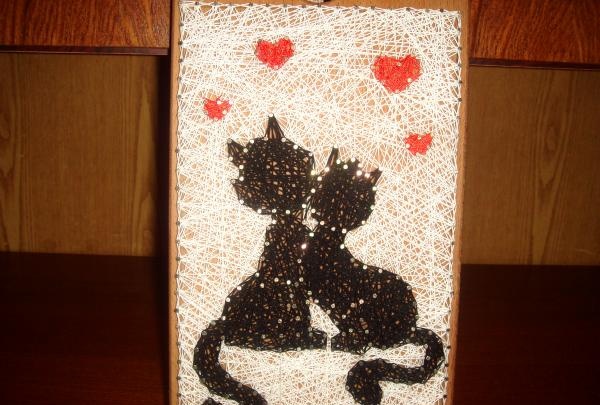
Thus, the result was a beautiful, delicate and original picture.
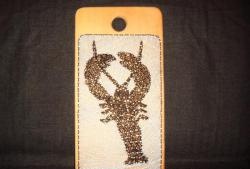
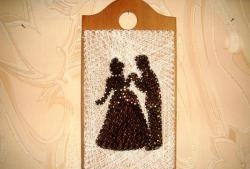
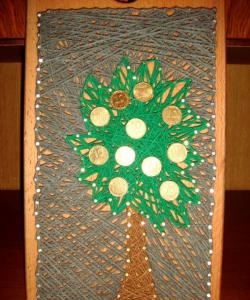
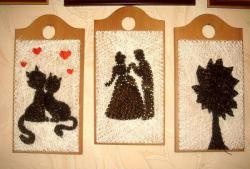
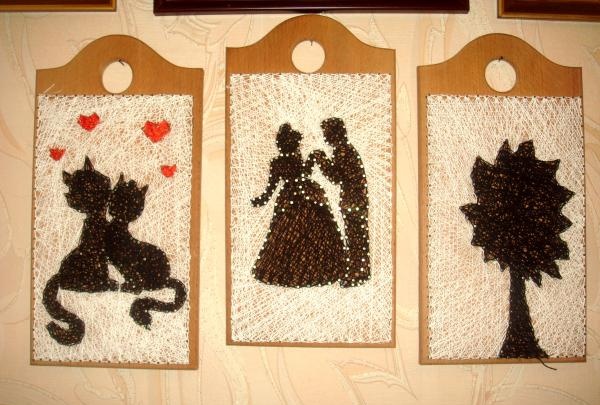
And now the wall of my room is decorated with three works using the “string art” technique: a couple of cats in love, a tree and a man with his lady love.
To create it, I prepared:
- wooden board (30 cm by 17 cm);
- decorative carnations (two packages of 150 pieces);
- hammer, awl, pliers;
- nylon threads of black, white and red colors;
- a ruler and a simple pencil;
- an image of cats on a piece of paper.

Step 1. For my work, I took a regular wooden cutting board. I was attracted by its shape and the ready-made hole for attaching the picture to the wall.First, I drew the boundaries of the picture on the board using a ruler and pencil. The work will be 25x16 cm in size. To do this, I retreated 0.5 cm from three edges, and 5 cm from the top (from the highest point). I drew a frame around the perimeter of the board and put notches (dots) on the lines at a distance of 1 cm. Then I transferred the image of the cats onto a wooden surface. This is very easy to do by cutting out the design in parts (this makes it easier to trace each individual detail with a pencil). And I also placed notches on all lines at a distance of approximately 1 cm.
Advice! It is necessary to carefully consider the location of the points at the intersections of the drawings; the beauty of the final result will depend on this.

Step 2. Then I needed to drive a nail into each point. To make my work easier, I took an awl and made shallow holes along all the notches. Then I inserted nails into them, held them with pliers and drove them in. It is very convenient to work with pliers; they not only saved my fingers from injury, but also allowed me to drive all the nails to the same depth.
Advice! Try to ensure that they are all hammered evenly and parallel to each other.
Step 3. At this stage, I created the background of the painting using white nylon thread. To do this, I carefully and slowly intertwined the thread through the heads of the nails. At first I grabbed each nail, then after one and then after several.
Advice! The turns can be done in a certain order, but I wove them randomly and it turned out beautiful too. Using black nylon thread, I laid out silhouette images of cats. Here you need to be very careful to ensure that the thread is hooked onto the head of each nail. The more you try in this part of the work, the more beautiful the picture will turn out.And the red thread was needed to create hearts.

Thus, the result was a beautiful, delicate and original picture.

And now the wall of my room is decorated with three works using the “string art” technique: a couple of cats in love, a tree and a man with his lady love.

Similar master classes
Particularly interesting
Comments (0)

