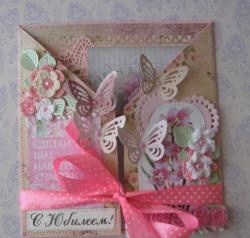
Valentine's card
Very soon we will be visited by the romantic winter holiday Valentine's Day, the full name of this holiday is Valentine's Day. This is a holiday of love, romance and tenderness. On this day, lovers congratulate each other with bright Valentine cards and other gifts. But the most important rule of this holiday is, of course, Valentine. Along with congratulations, guys give flowers, sweets, plush toys, and perfumes. Girls can also give something from perfumes or clothes; it is a little more difficult for them to choose gifts, but, for example, please their loved one with a handmade card that any girl can make on her own. A handmade Valentine will be a special and memorable gift for a loved one, because it will be made with soul and love. You can make such a postcard using the technique scrapbooking, and thanks to this master class we will learn just that.
For the master class we need to take:
• A3 sheet of watercolor paper;
• Scheme;
• Scrappaper in several shades;
• Bright pictures of a bear with a heart, a heart with flowers;
• Curb hole punch;
• Congratulatory inscription and the inscription “Happy Valentine's Day”;
• Red cardboard heart;
• Red satin ribbon with polka dots;
• Pink organza ribbon;
• Red-white and red cabochons, epoxy sticker with flowers;
• White satin ribbon with red hearts;
• Red buttons;
• Red pearl half beads;
• PVA glue;
• Double-sided tape;
• Red cabochon rose made of polymer clay;
• Wide white grosgrain ribbon with hearts;
• Burgundy ink and foam roller;
• Ruler, scissors, pencil;
• Sewing machine;
• Glue gun.
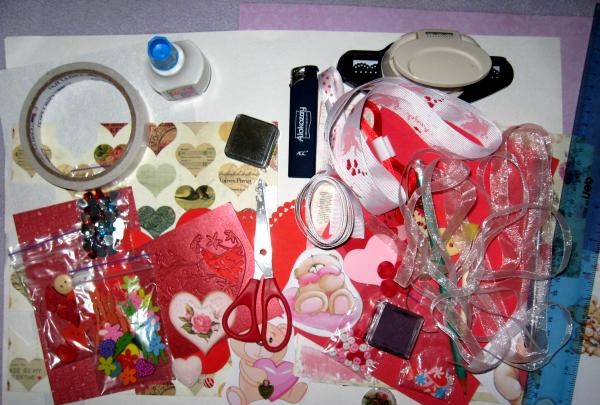
First, we need to prepare an interesting basis for our Valentine’s card. Take a sheet of watercolor, a diagram, a ruler, a pencil and scissors.
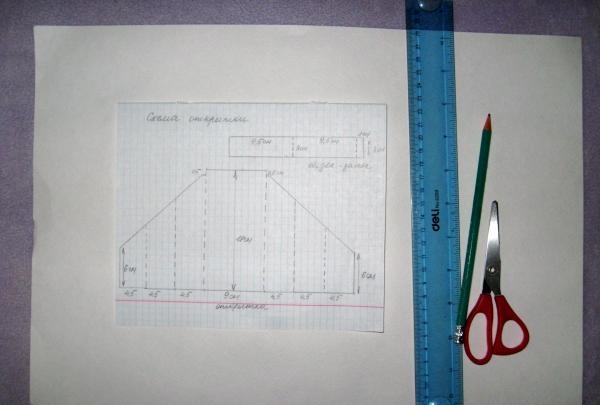
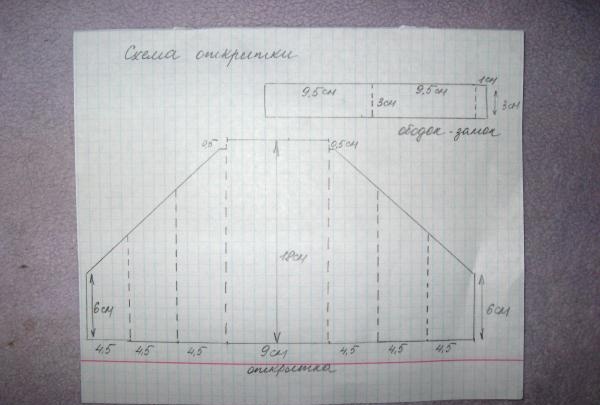
We measure out the base on the watercolor according to the finished diagram. We make a bend line using scissors and draw each line under the ruler. Fold the base along the bend lines inward, then outward. Now we take a border hole punch and make lace, as in the photo below.
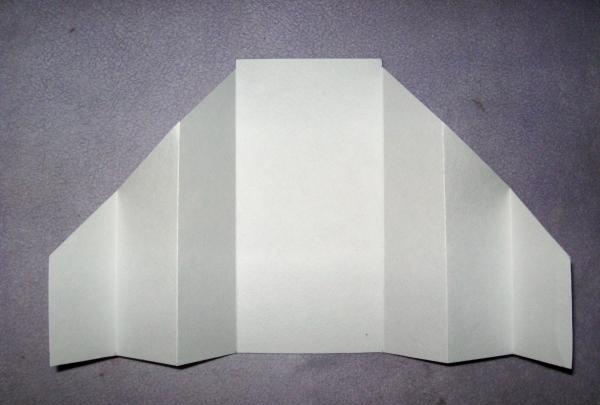
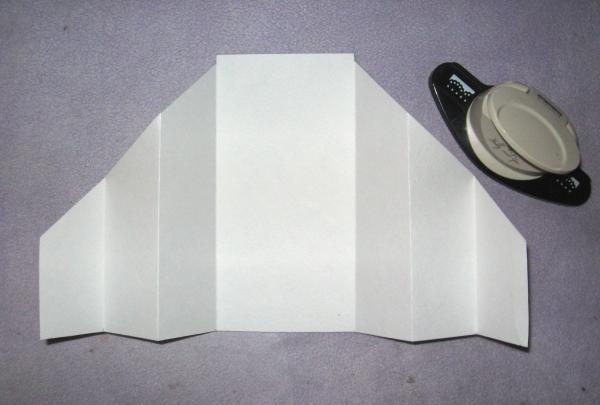
We take a roller with foam rubber, lower it into the ink pad and tint the entire base on top.
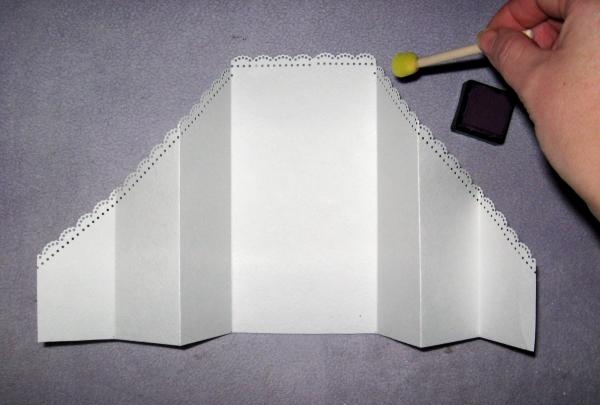
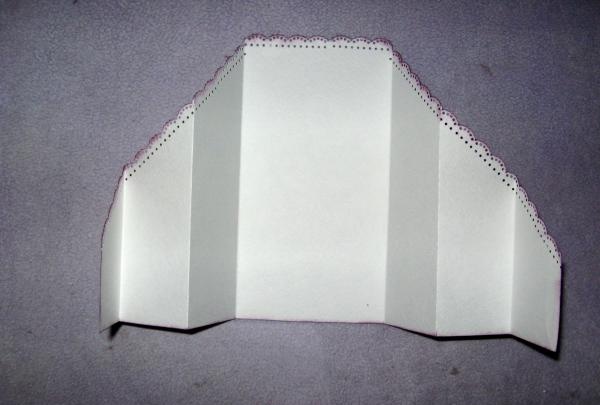
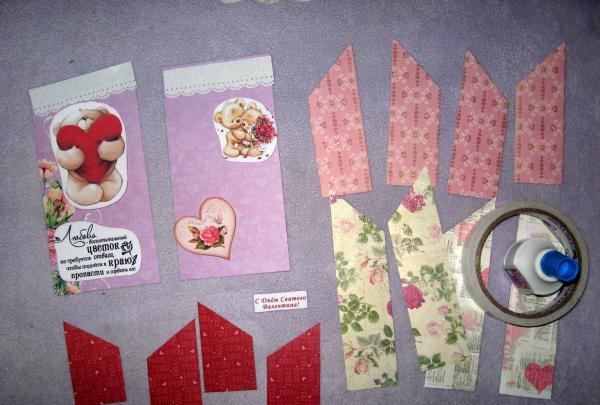
Now we take scrap paper and cut out the following shapes from it, as can be seen in the photo.


We also tint the pictures with a roller and glue them onto scrap blanks. We cut two pieces of satin ribbon into hearts, 15 cm each, and glue them to the back side of the base in the center.
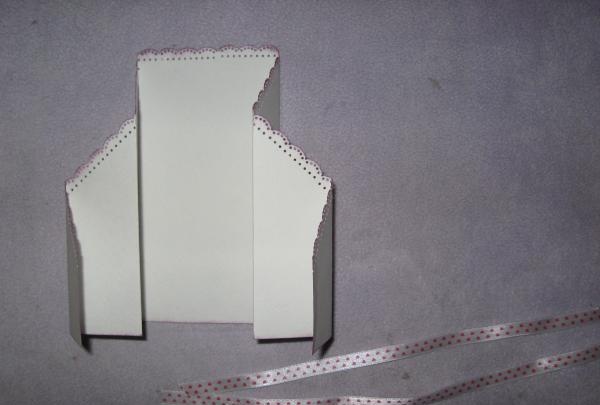
We apply grosgrain ribbon, glue the pictures to the paper and sew each one with a machine.
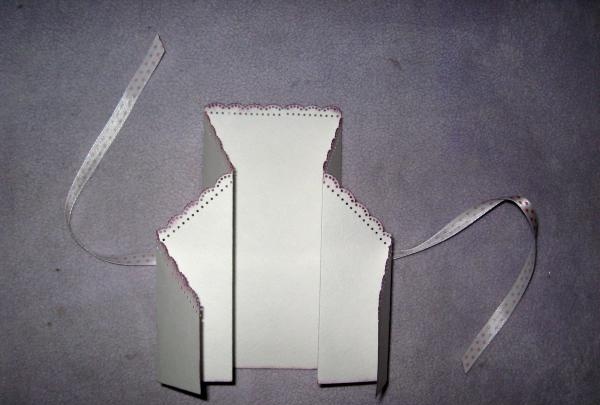
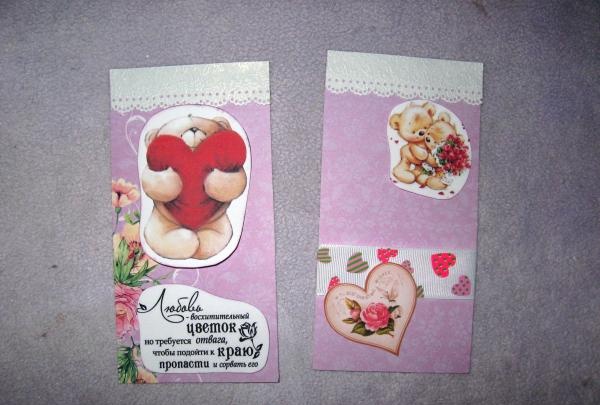
We glue all scrap pieces with double-sided tape onto the base in small strips, then sew each one separately.
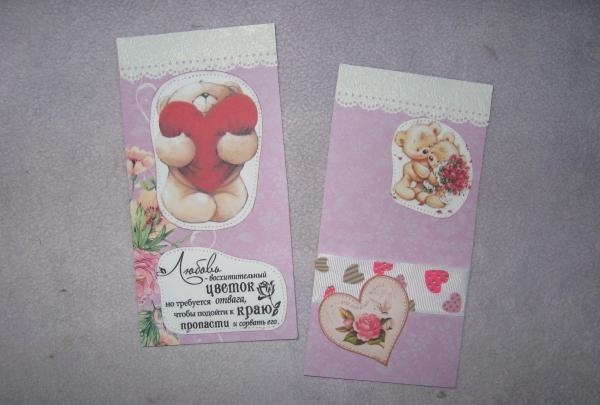
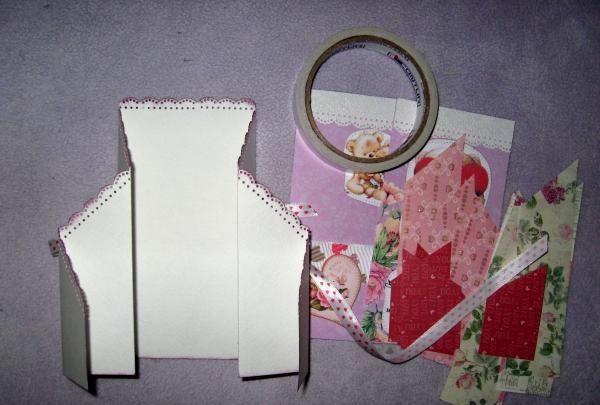
Now let's make the clasp. We cut a strip of 3*20 cm from the watercolor. We make it openwork on both sides, divide it into three parts 9.5*9.5*1 cm, draw bends. We cut out a strip of scrap paper 2*20 cm, glue it to the base and sew it on a machine.We glue the picture with a heart onto a red cardboard heart and sew it on. Glue the heart to the lock strip with PVA glue.
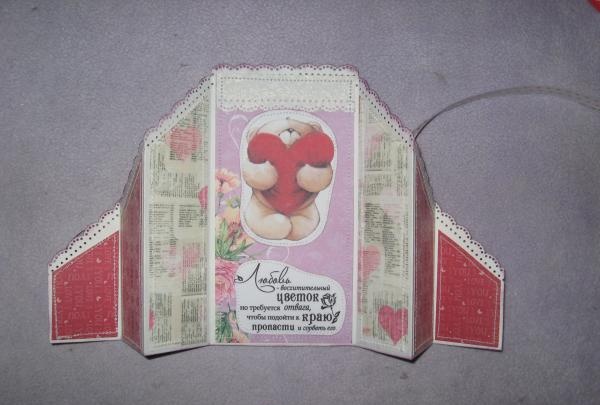
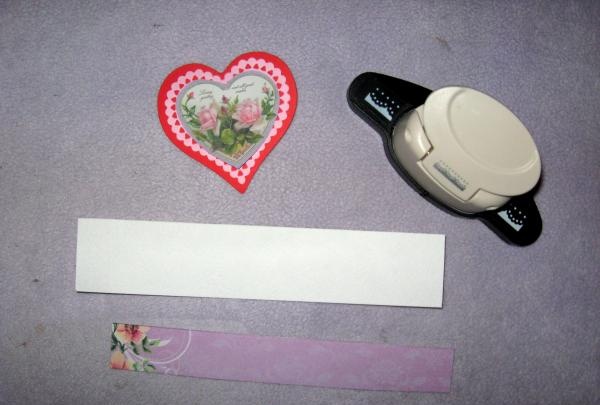
We tie bows, cut out more hearts and glue the decorations onto the card.
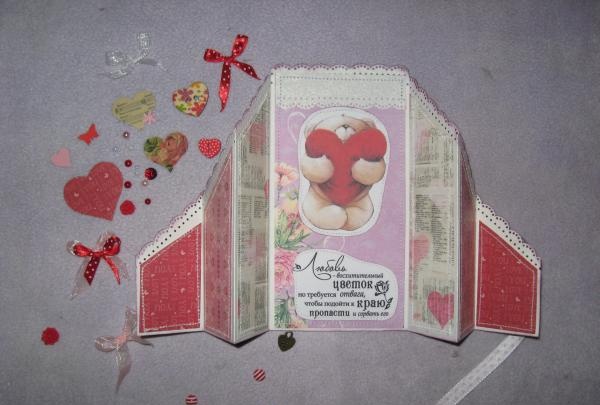

Fold the card, tie it with a bow and put on a clasp with a heart.
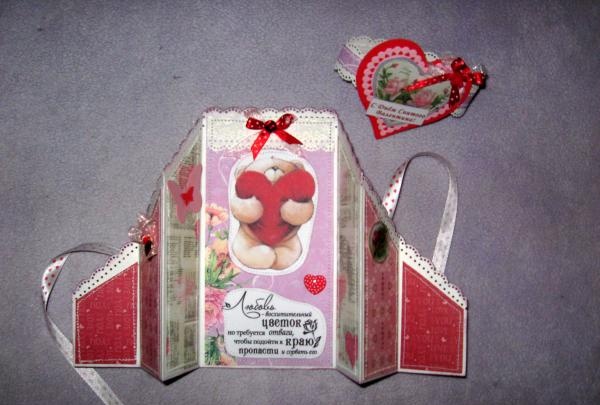
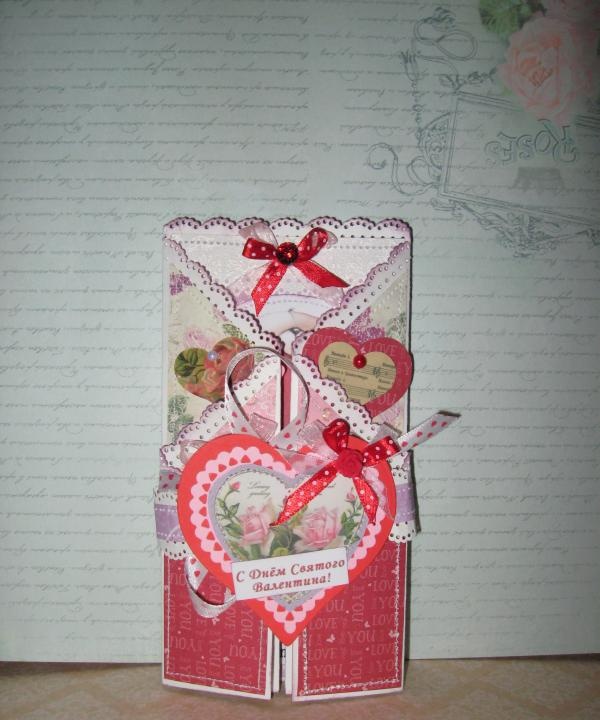
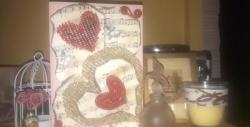
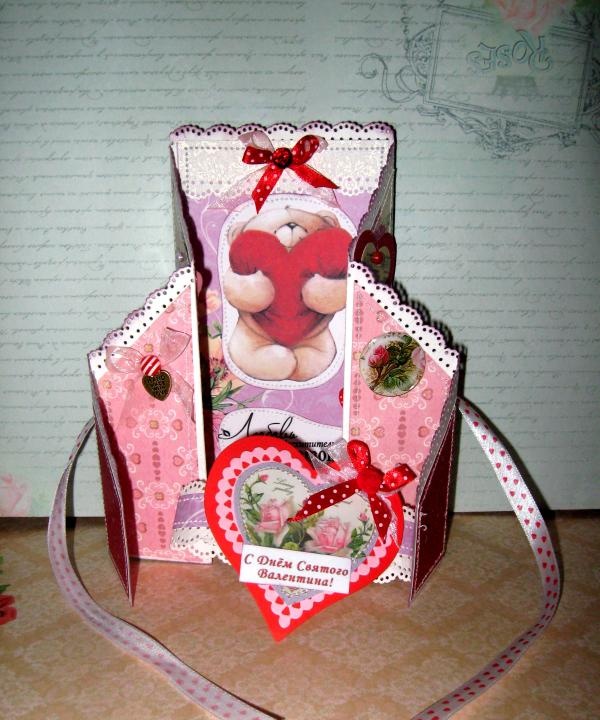
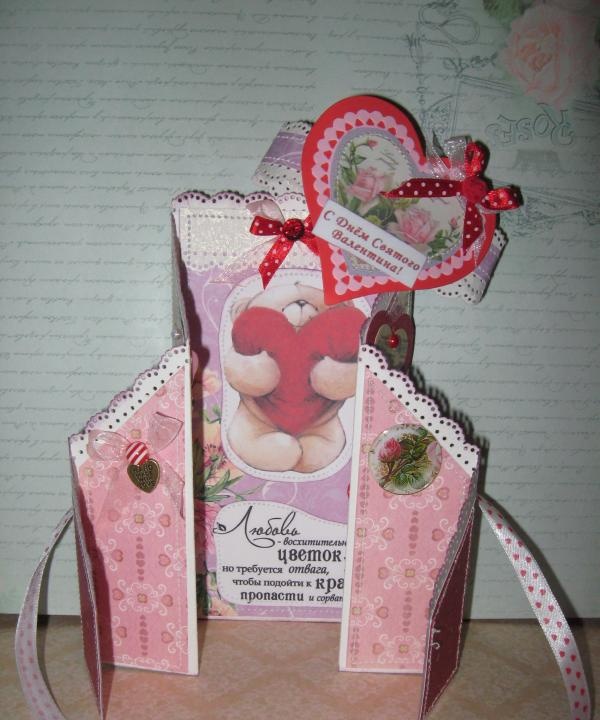
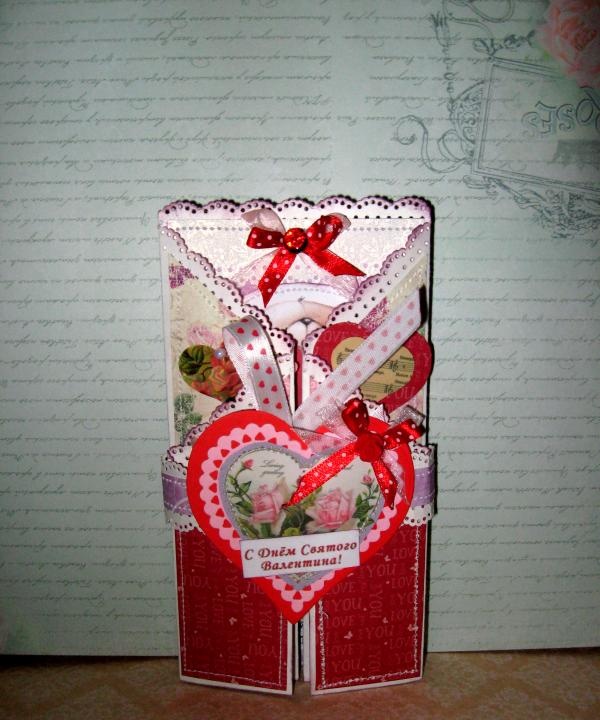
The result was a very bright and romantic card with an interesting shape. Thank you everyone and happy creation!
For the master class we need to take:
• A3 sheet of watercolor paper;
• Scheme;
• Scrappaper in several shades;
• Bright pictures of a bear with a heart, a heart with flowers;
• Curb hole punch;
• Congratulatory inscription and the inscription “Happy Valentine's Day”;
• Red cardboard heart;
• Red satin ribbon with polka dots;
• Pink organza ribbon;
• Red-white and red cabochons, epoxy sticker with flowers;
• White satin ribbon with red hearts;
• Red buttons;
• Red pearl half beads;
• PVA glue;
• Double-sided tape;
• Red cabochon rose made of polymer clay;
• Wide white grosgrain ribbon with hearts;
• Burgundy ink and foam roller;
• Ruler, scissors, pencil;
• Sewing machine;
• Glue gun.


First, we need to prepare an interesting basis for our Valentine’s card. Take a sheet of watercolor, a diagram, a ruler, a pencil and scissors.


We measure out the base on the watercolor according to the finished diagram. We make a bend line using scissors and draw each line under the ruler. Fold the base along the bend lines inward, then outward. Now we take a border hole punch and make lace, as in the photo below.


We take a roller with foam rubber, lower it into the ink pad and tint the entire base on top.


Now we take scrap paper and cut out the following shapes from it, as can be seen in the photo.


We also tint the pictures with a roller and glue them onto scrap blanks. We cut two pieces of satin ribbon into hearts, 15 cm each, and glue them to the back side of the base in the center.


We apply grosgrain ribbon, glue the pictures to the paper and sew each one with a machine.


We glue all scrap pieces with double-sided tape onto the base in small strips, then sew each one separately.


Now let's make the clasp. We cut a strip of 3*20 cm from the watercolor. We make it openwork on both sides, divide it into three parts 9.5*9.5*1 cm, draw bends. We cut out a strip of scrap paper 2*20 cm, glue it to the base and sew it on a machine.We glue the picture with a heart onto a red cardboard heart and sew it on. Glue the heart to the lock strip with PVA glue.


We tie bows, cut out more hearts and glue the decorations onto the card.


Fold the card, tie it with a bow and put on a clasp with a heart.


The result was a very bright and romantic card with an interesting shape. Thank you everyone and happy creation!


Similar master classes
Particularly interesting
Comments (0)

