How to make a cobra using origami technique
One of the large venomous snakes is the king cobra. If danger arises, it raises part of the body and the inflating hood in the neck area is visible. At the same time, the snake hisses and makes menacing lunges towards the enemy. But a cobra made of paper using the technique origami, does not pose any danger. You can create it if you follow the step-by-step photographs given in this master class.
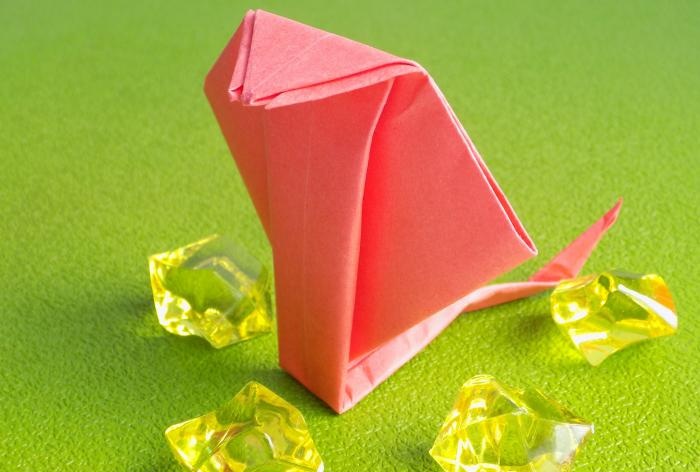
To create it you only need a square of paper. We used a red sheet.
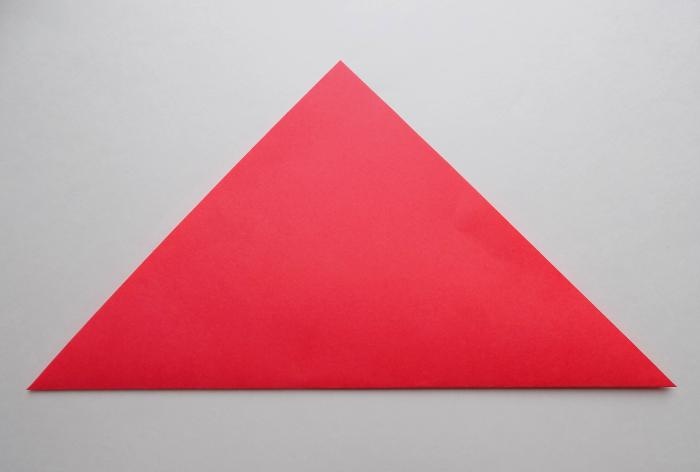
Fold the square diagonally.
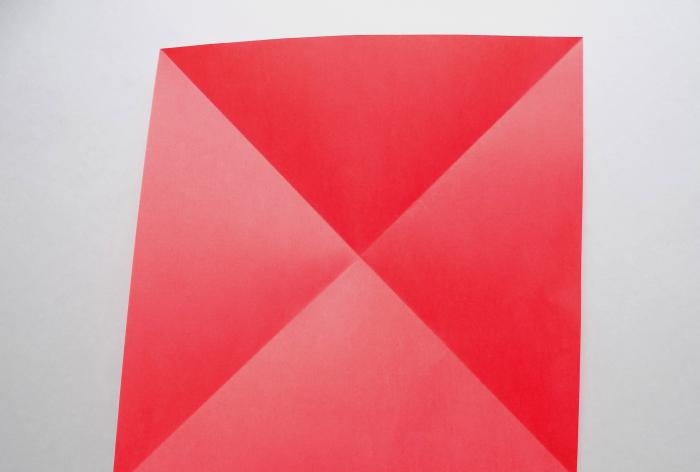
Then we make another fold. This way we outline the center of the workpiece, and the folds made will be useful for further work.
We bend the top corner down (towards the center of the square).
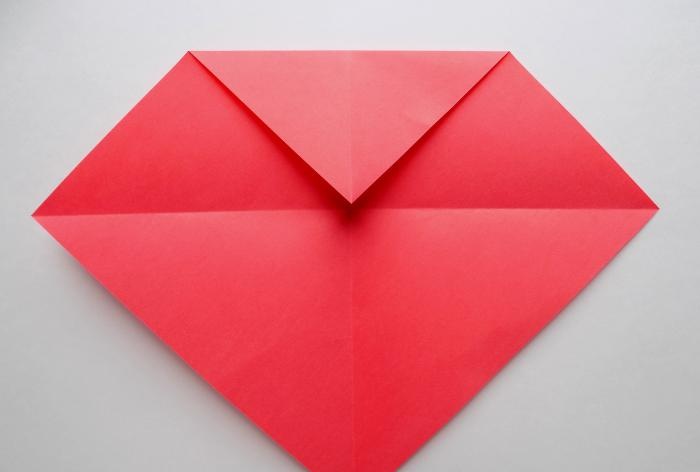
The side corners also need to be bent towards the center.
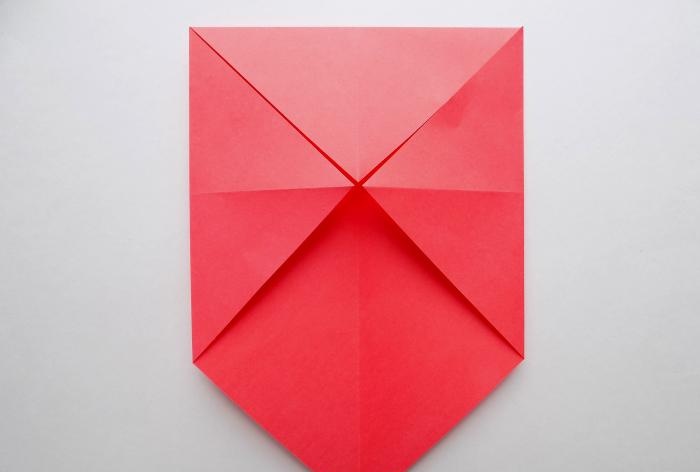
We fold the upper part of the future cobra blank down.
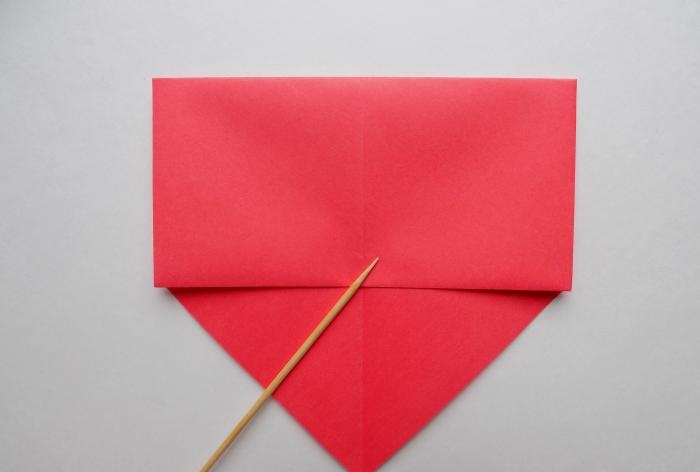
On one side we bend it inwards, forming a fold.
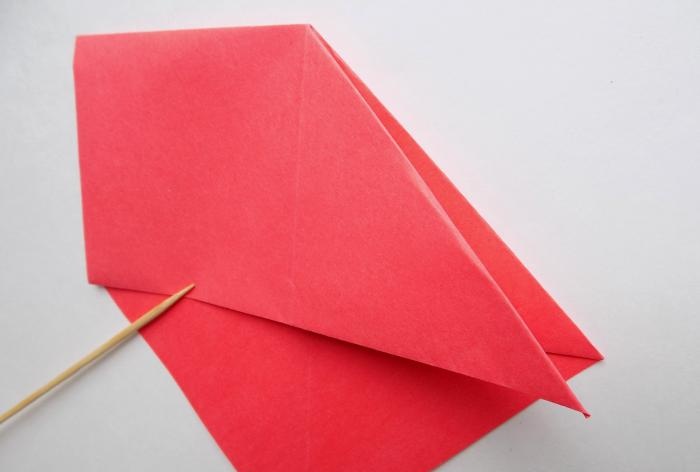
On the left side we do the same. The upper part took on the appearance of a triangle.
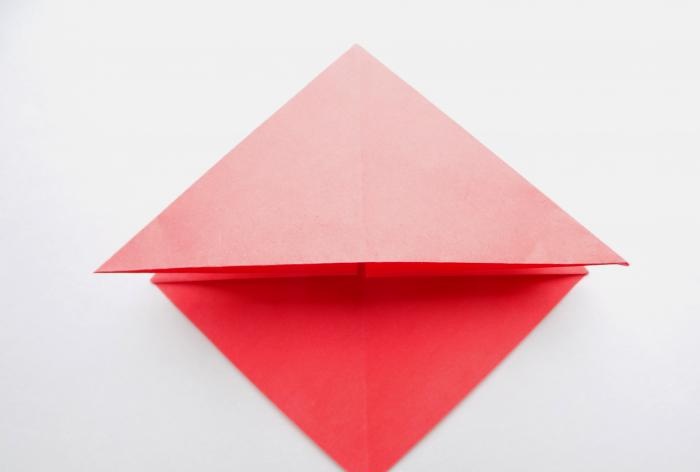
We bend one of the upper folds to the left.
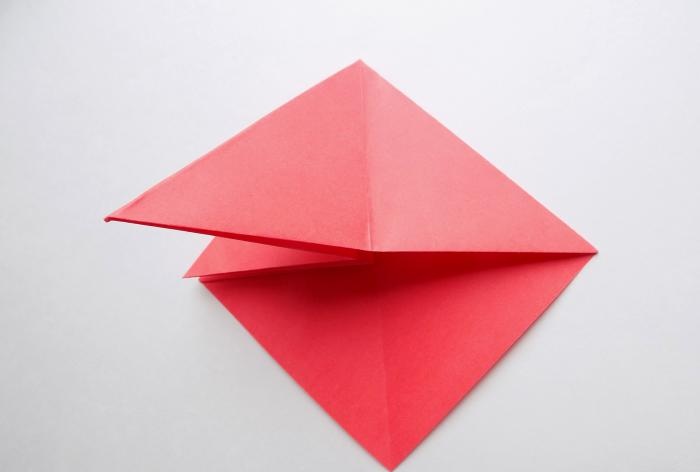
We bend it in the form of a small triangle upward.
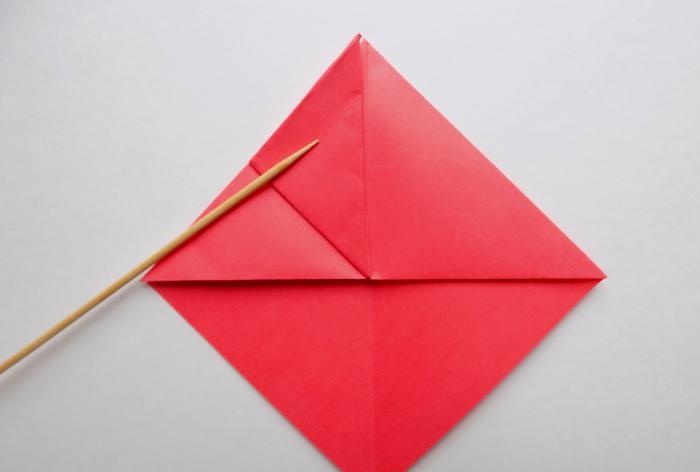
We turn right again.
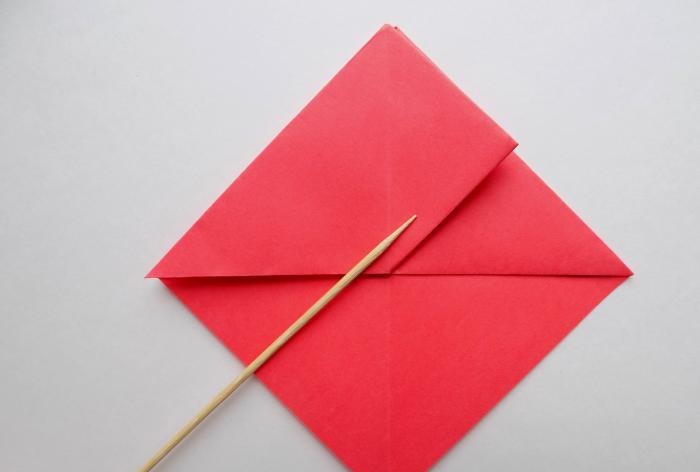
Take another fold and bend it to the right side.
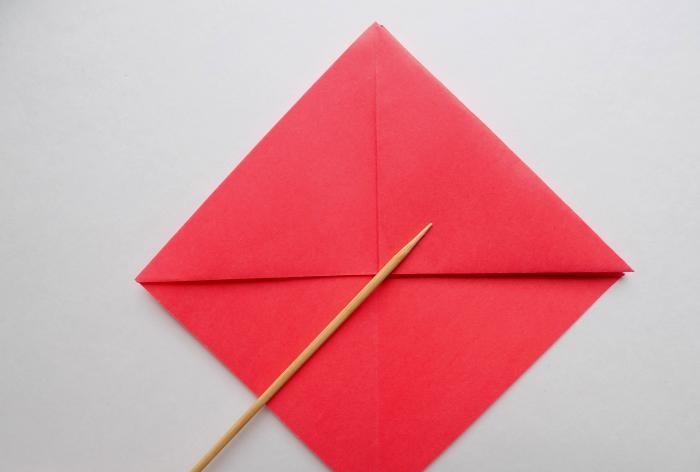
We also make a triangle-shaped fold on it.
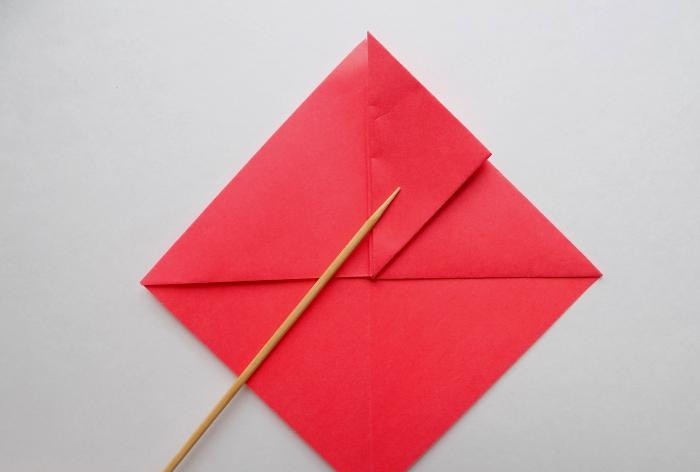
We turn the fold in the opposite direction again. A square has been formed, which will later become the hood of our cobra.
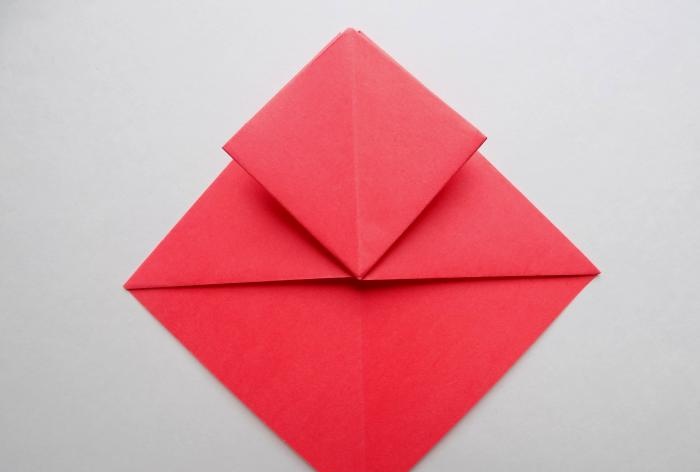
Now let's start shaping the body of the snake. To do this, bend the side corners of the bottom layer towards the middle line.
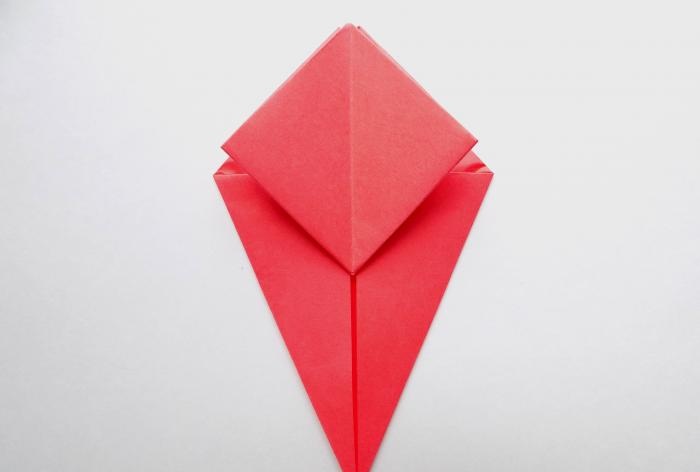
We repeat the same thing, narrowing the lower part of the workpiece.
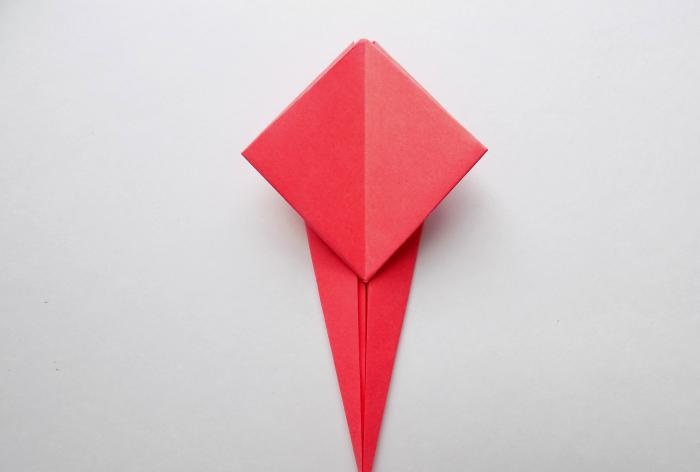
Finally, you need to narrow it again, making folds towards the midline. As a result, we got a narrow cobra body.
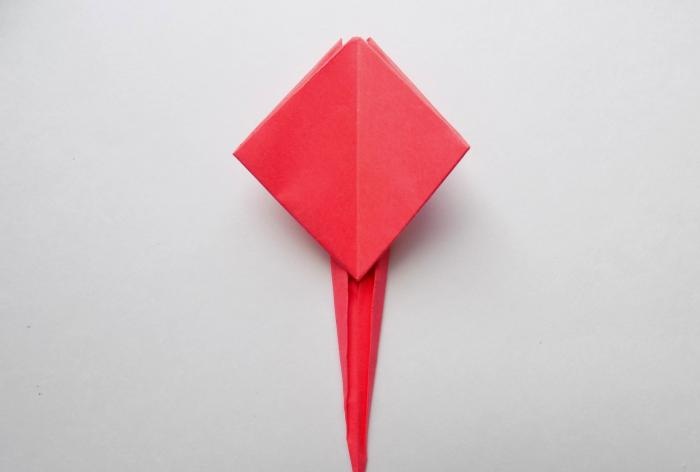
Let's turn the snake blank over to the other side.
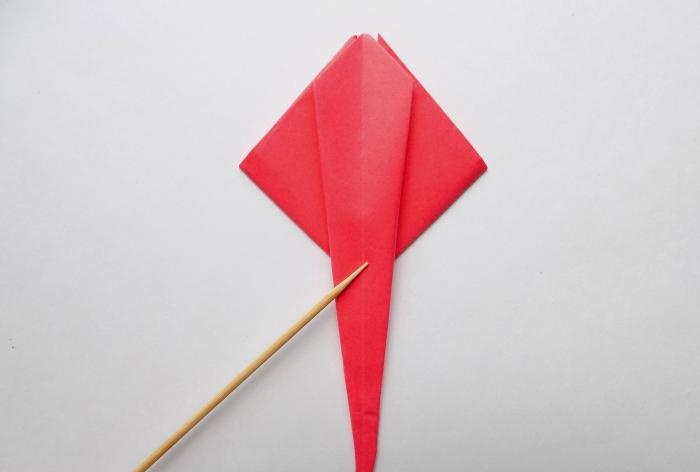
Bend the top corner down, this will be the head of a cobra.
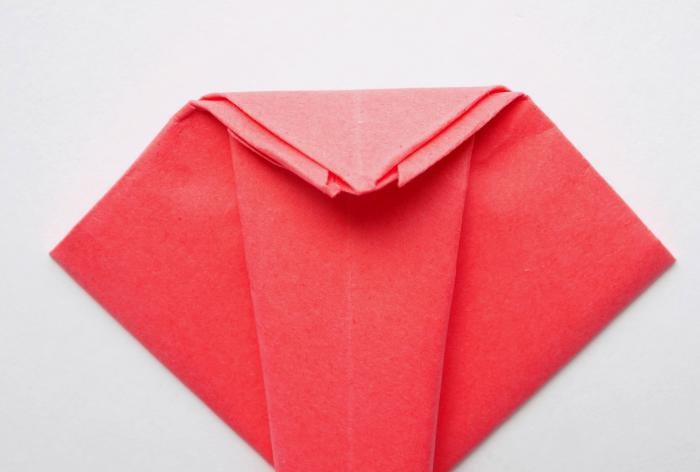
The lower part needs to be bent back.
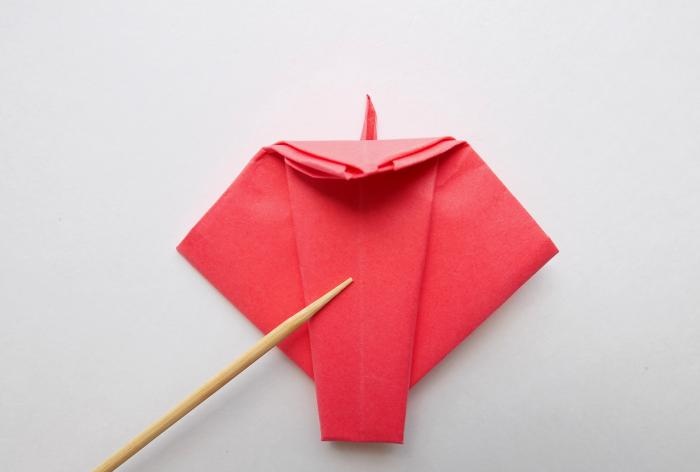
All that remains is to form the tail. To do this, we will make several folds in the lower part. Our paper cobra using the origami technique is ready.

To create it you only need a square of paper. We used a red sheet.

Fold the square diagonally.

Then we make another fold. This way we outline the center of the workpiece, and the folds made will be useful for further work.

We bend the top corner down (towards the center of the square).

The side corners also need to be bent towards the center.

We fold the upper part of the future cobra blank down.

On one side we bend it inwards, forming a fold.

On the left side we do the same. The upper part took on the appearance of a triangle.

We bend one of the upper folds to the left.

We bend it in the form of a small triangle upward.

We turn right again.

Take another fold and bend it to the right side.

We also make a triangle-shaped fold on it.

We turn the fold in the opposite direction again. A square has been formed, which will later become the hood of our cobra.

Now let's start shaping the body of the snake. To do this, bend the side corners of the bottom layer towards the middle line.

We repeat the same thing, narrowing the lower part of the workpiece.

Finally, you need to narrow it again, making folds towards the midline. As a result, we got a narrow cobra body.

Let's turn the snake blank over to the other side.

Bend the top corner down, this will be the head of a cobra.

The lower part needs to be bent back.

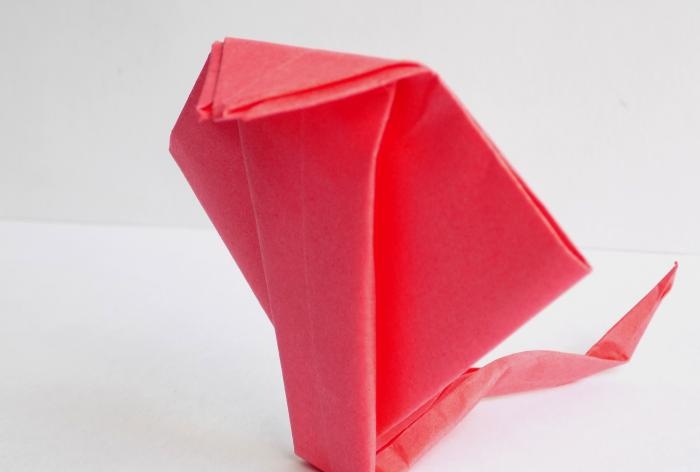
All that remains is to form the tail. To do this, we will make several folds in the lower part. Our paper cobra using the origami technique is ready.

Similar master classes
Particularly interesting
Comments (1)

