We sew a Valentine's cosmetic bag
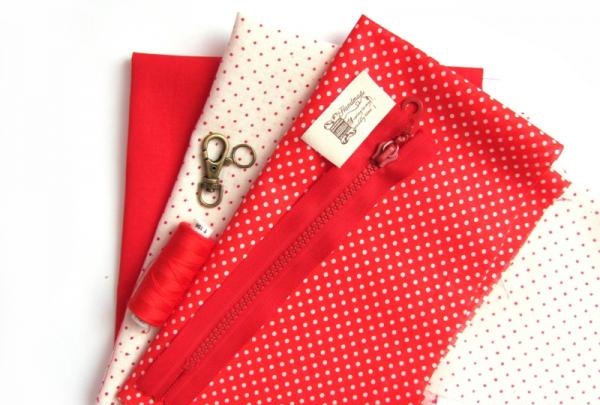
To sew a Valentine cosmetic bag, you need to prepare one piece of red cotton (solid and polka dots) measuring 20x26 for the front side, one piece of white cotton with red polka dots measuring 40x26 cm for the lining, interlining, zipper, bronze carabiner and ring, as well as threads and decorative elements.
Pattern modeling. The first step is to create a pattern. To do this, on a sheet of paper, draw two intersecting circles of the same diameter (purple dotted line).
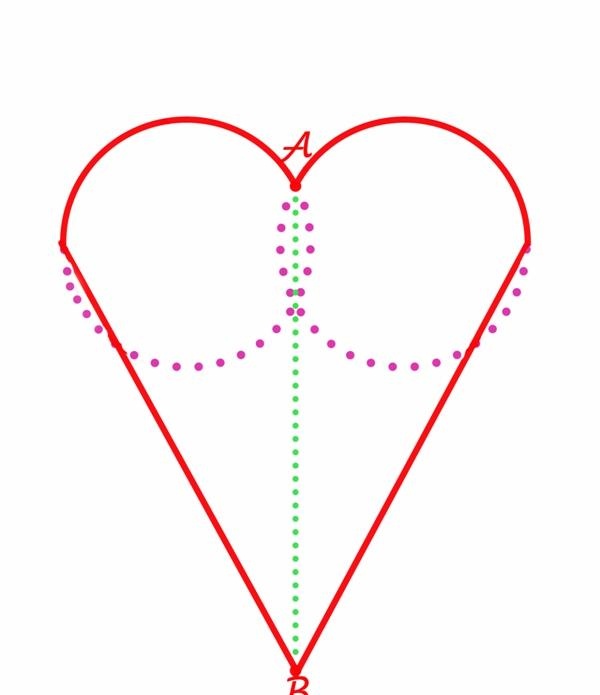
From the top of the intersection of the circles (point “A”), lay down a perpendicular with a length equal to the length of the cosmetic bag (green dotted line). From point “B”, draw straight tangent lines to the outer parts of the circles, thereby completing the construction of the Valentine pattern (red solid lines). The pattern shown in the diagram can be printed on an A4 sheet at a scale of 1:1 and cut out along the red outline.
Preparing parts. Cut out one piece of the cosmetic bag from red cotton, and 2 pieces from white cotton with red polka dots.
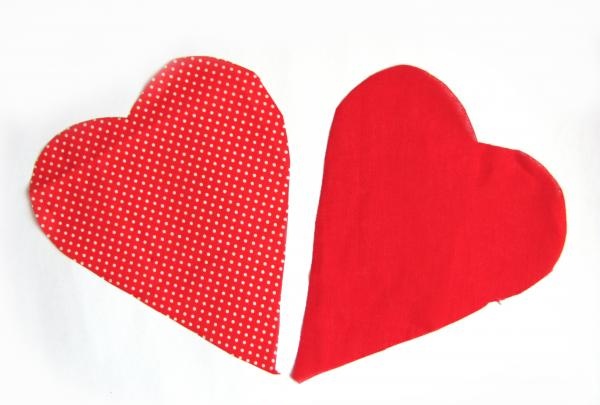
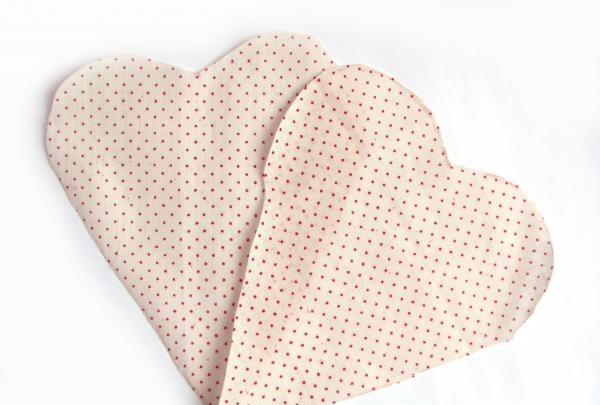
Reinforce red cotton parts on the wrong side with non-woven fabric.
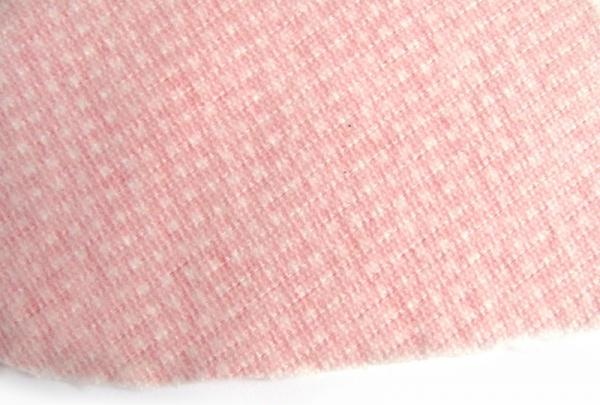
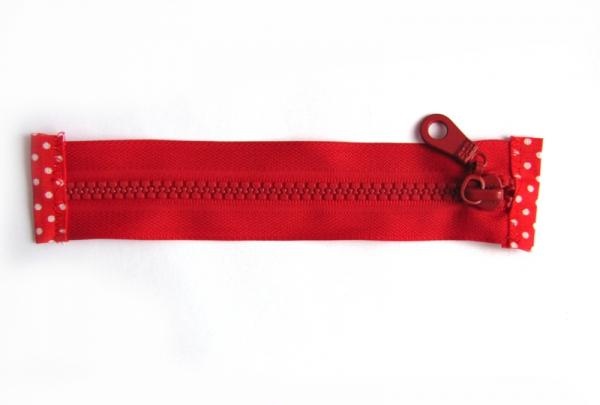
Take the zipper and cut it to a length equal to the length of the straight side of the heart minus 2 cm. To decorate the edges of the red cotton polka dot zipper, cut out two squares with a side of 6 cm. Fold the two opposite edges of the squares inward 1 cm and iron. Then bend the resulting rectangle in the middle and iron it. Place the fastener inside the workpiece and sew a zig-zag seam along the edge.
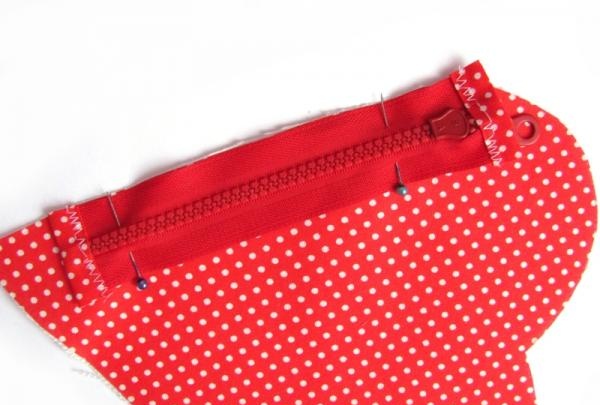
Assembly of parts. On one of the outer parts of the Valentine's cosmetic bag, place the clasp with the lock down.
Cover the workpiece with the lining, wrong side up.
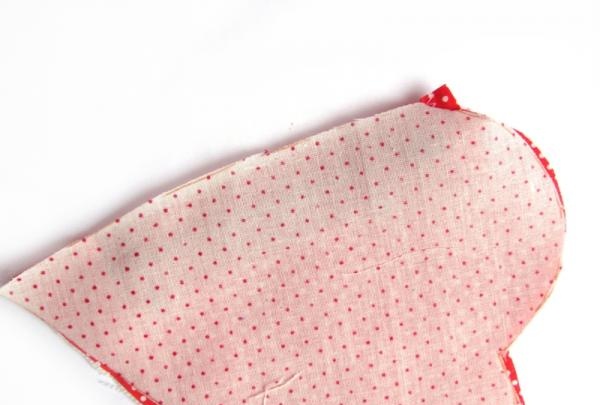
Place a straight stitch along the edge of the workpiece, turn it inside out, align the front and lining pieces and stitch the straight stitch again, but this time, backing 2 mm from the edge of the fold.
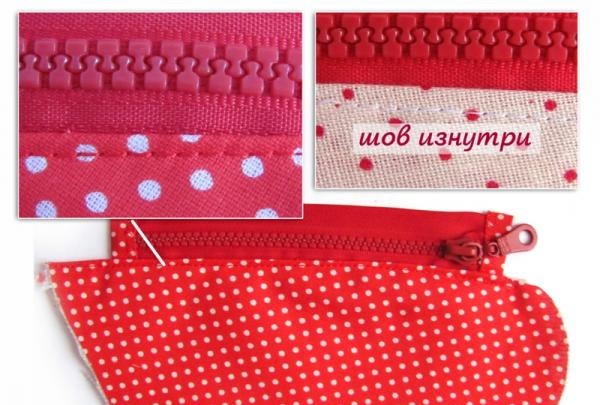
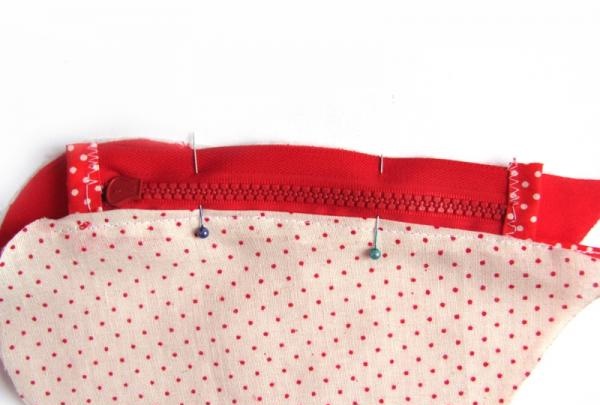
This seam will prevent the fabric from getting caught in the fastener when fastening and unfastening the cosmetic bag. Now take the red cotton piece. Place the zipper and fabric on it and cover with the remaining lining piece (wrong side up). Place a straight stitch along the edge of the product, turn it inside out, align the front and back pieces, and make a fixing seam.
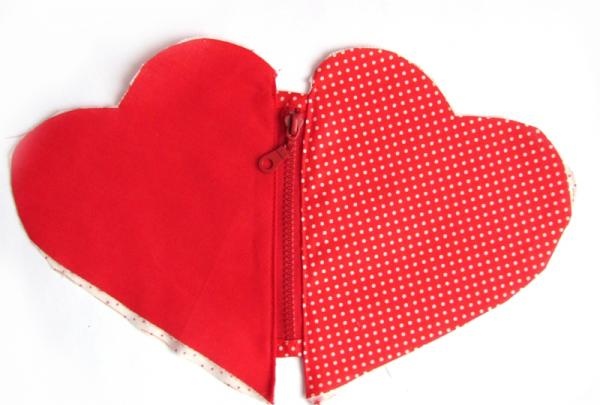
Pin a cotton ribbon with the inscription “hand made” and a ring to one of the outer sides.
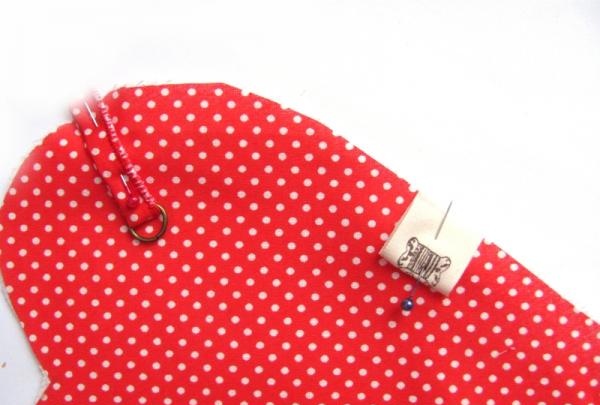
Attach a carabiner to the cotton strap.
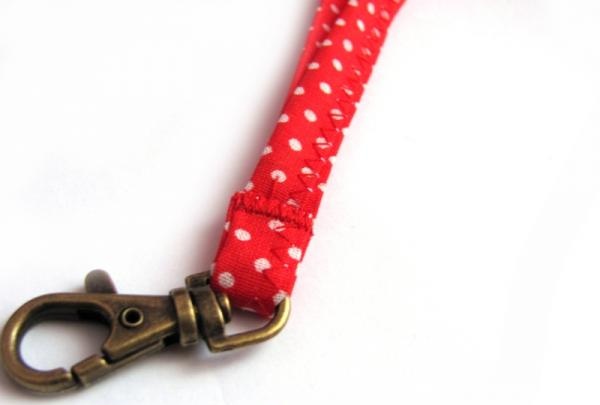
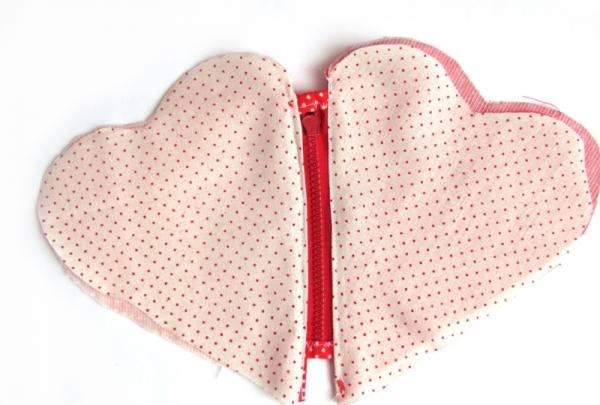
Unfasten the zipper and align the outer and lining parts.
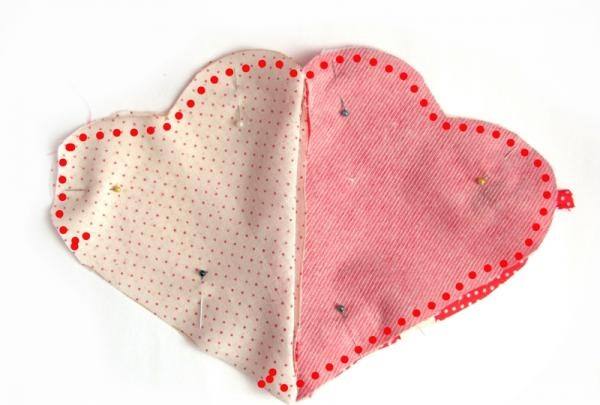
Sew a straight stitch around the perimeter of the Valentine's cosmetic bag, excluding the straight side of the lining. Turn the cosmetic bag inside out through this hole.
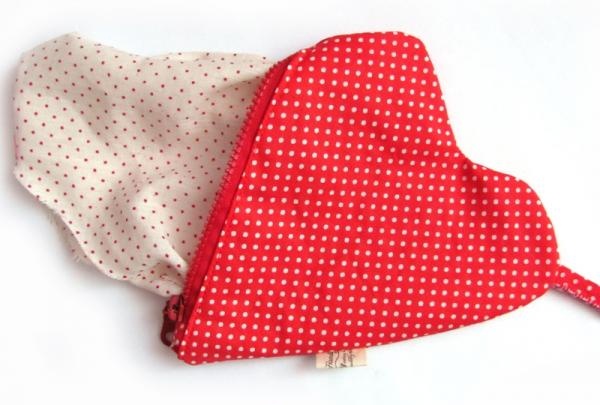
Press the open edges of the hole inward and close with a blind or outer seam.
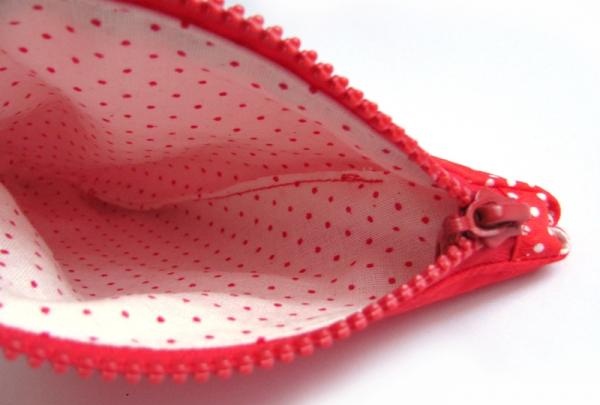
Align and iron the product.
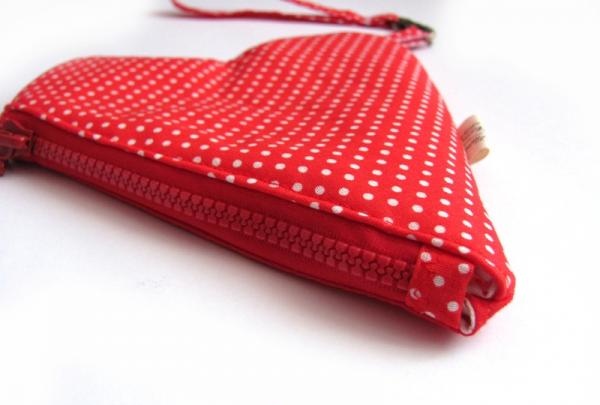
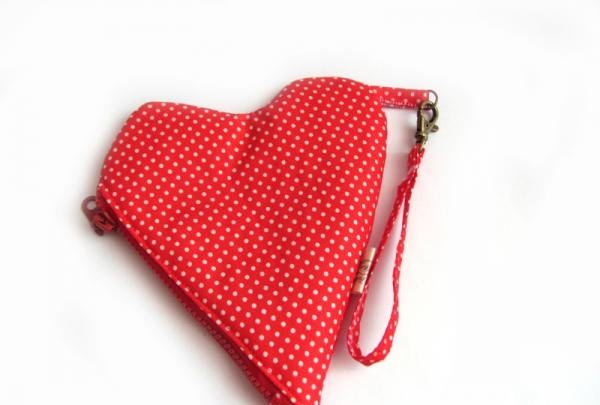
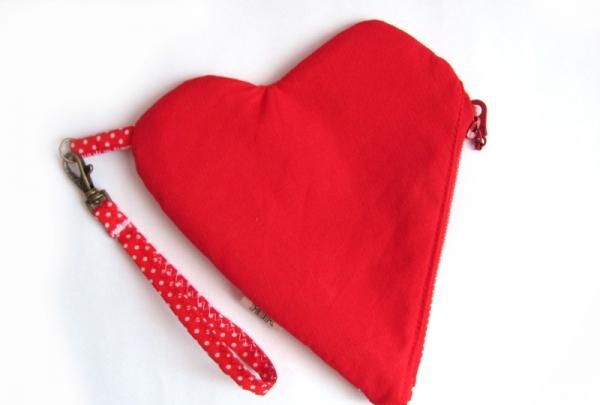
The Valentine's cosmetic bag is ready!

Pattern modeling. The first step is to create a pattern. To do this, on a sheet of paper, draw two intersecting circles of the same diameter (purple dotted line).

From the top of the intersection of the circles (point “A”), lay down a perpendicular with a length equal to the length of the cosmetic bag (green dotted line). From point “B”, draw straight tangent lines to the outer parts of the circles, thereby completing the construction of the Valentine pattern (red solid lines). The pattern shown in the diagram can be printed on an A4 sheet at a scale of 1:1 and cut out along the red outline.
Preparing parts. Cut out one piece of the cosmetic bag from red cotton, and 2 pieces from white cotton with red polka dots.


Reinforce red cotton parts on the wrong side with non-woven fabric.

Take the zipper and cut it to a length equal to the length of the straight side of the heart minus 2 cm. To decorate the edges of the red cotton polka dot zipper, cut out two squares with a side of 6 cm. Fold the two opposite edges of the squares inward 1 cm and iron. Then bend the resulting rectangle in the middle and iron it. Place the fastener inside the workpiece and sew a zig-zag seam along the edge.

Assembly of parts. On one of the outer parts of the Valentine's cosmetic bag, place the clasp with the lock down.

Cover the workpiece with the lining, wrong side up.

Place a straight stitch along the edge of the workpiece, turn it inside out, align the front and lining pieces and stitch the straight stitch again, but this time, backing 2 mm from the edge of the fold.

This seam will prevent the fabric from getting caught in the fastener when fastening and unfastening the cosmetic bag. Now take the red cotton piece. Place the zipper and fabric on it and cover with the remaining lining piece (wrong side up). Place a straight stitch along the edge of the product, turn it inside out, align the front and back pieces, and make a fixing seam.


Pin a cotton ribbon with the inscription “hand made” and a ring to one of the outer sides.

Attach a carabiner to the cotton strap.

Unfasten the zipper and align the outer and lining parts.

Sew a straight stitch around the perimeter of the Valentine's cosmetic bag, excluding the straight side of the lining. Turn the cosmetic bag inside out through this hole.

Press the open edges of the hole inward and close with a blind or outer seam.

Align and iron the product.

The Valentine's cosmetic bag is ready!


Similar master classes
Particularly interesting
Comments (1)


