Box for small items “Swan”
Good afternoon. I, like many girls and women, adore boxes, especially if they are unusual. So I decided to please myself and make a small box in the shape of a swan with my own hands. If you also want to make such a box, then I will now show you and, of course, tell you how to make it. To make such a box we will need.
-Bottle.
-Wire.
-Pliers.
-Knife.
-Scissors.
-White polyethylene.
-Paint white, red.
-Styrofoam.
-Brush.
-Glue moment, PVA.
-Newspaper.
-Cardboard white, black.
-Spoke.
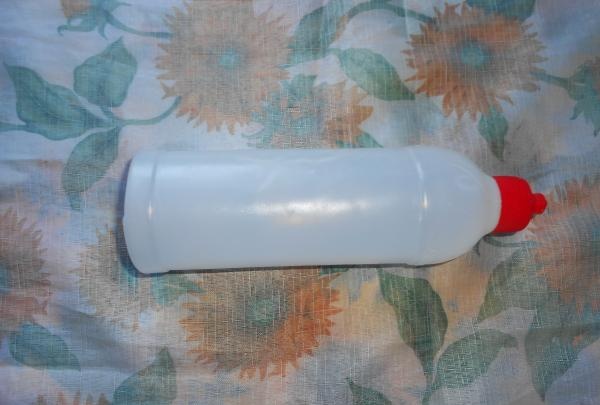
First, take a bottle and cut a hole in it using a utility knife. We need to cut it out carefully, since the cut out piece of the bottle will serve as a lid for the box. Here's what I got.
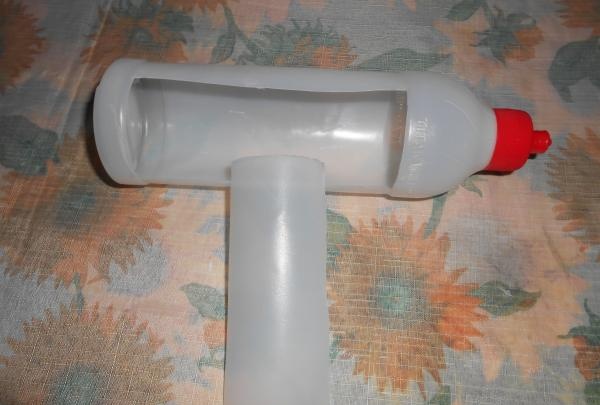
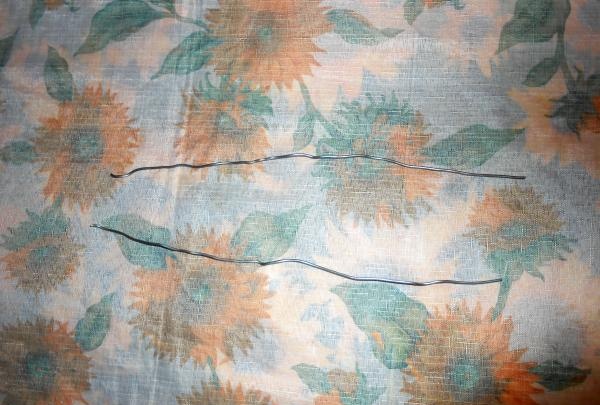
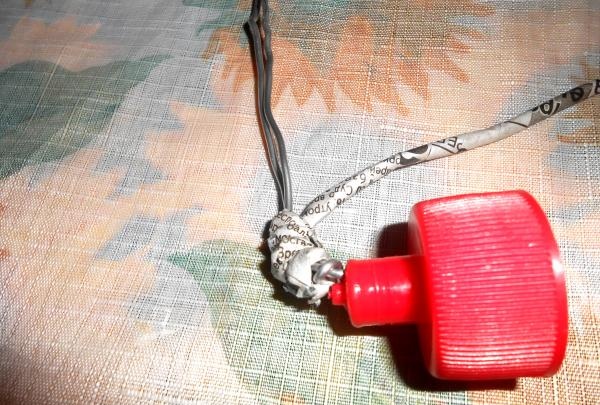
Then we take the wire, I took aluminum because it bends well. We cut off two pieces 30 centimeters long and make a neck for the future swan. You will need to remove the cap from the bottle, make two holes in it and insert a wire into them. We secure the ends of the wire inside the lid.
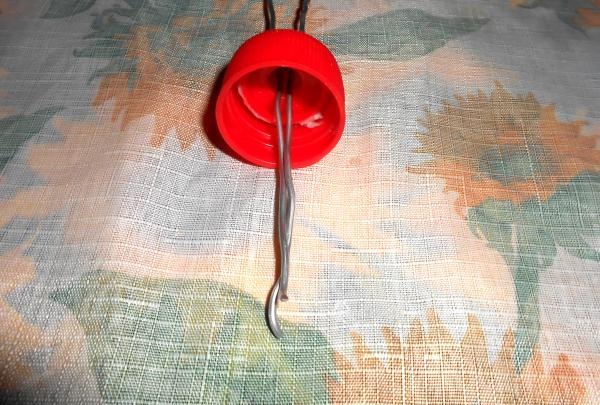
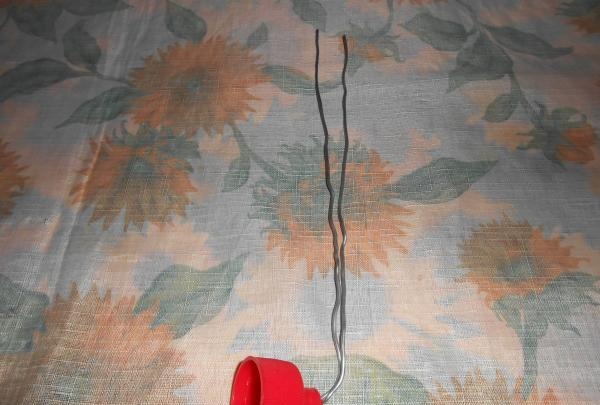
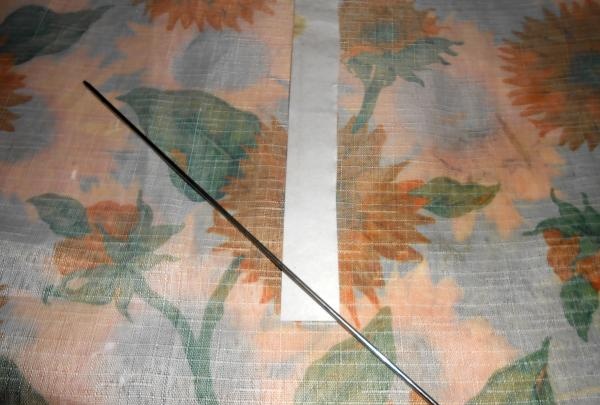
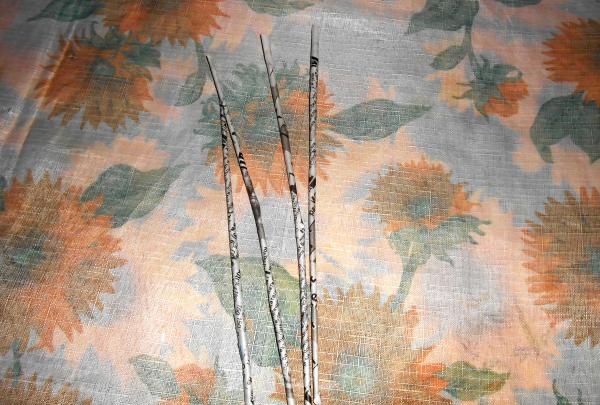
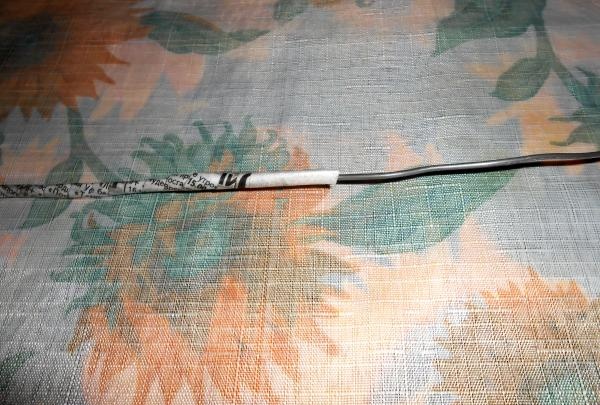
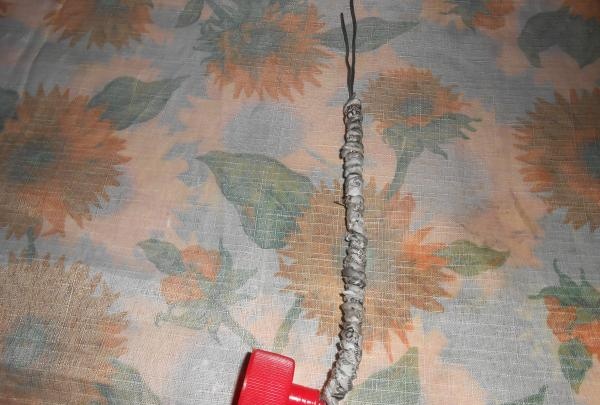
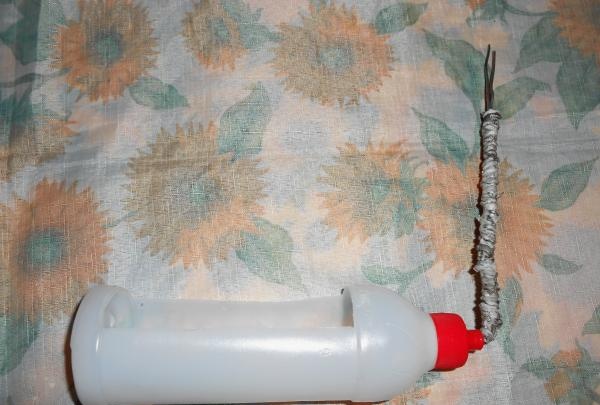
The neck is almost ready, all that remains is to give it a little volume. To do this you will need to make tubes from newspapers. They are easy to do.Take a knitting needle and a strip of newspaper 2 centimeters wide. We place the knitting needle on the strip at an angle of 45% degrees. Glue the end of the strip using PVA glue. Then you will need to insert a wire through the tubes and wrap the wire around these tubes, which is attached to the bottle cap. Thus, the swan's neck became more voluminous. Only the upper ends of the wire do not need to be wrapped. The swan's head will then be attached to them. That's it, the cap needs to be screwed back to the bottle.
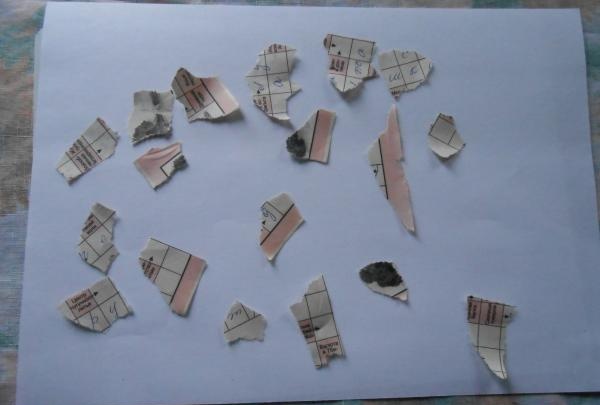
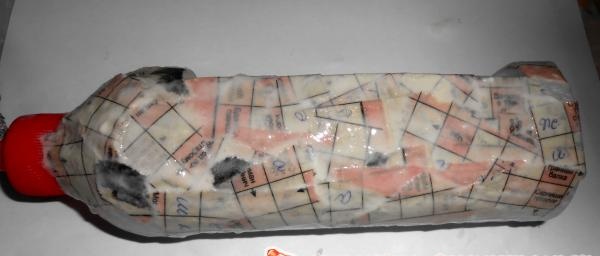
Now we need newspaper, tear it into small pieces and cover the outside and inside of our bottle. The cut out cover will also need to be covered in the same way. We use PVA as glue, but you can use paste. This option will be more economical, since you will need a lot of glue.
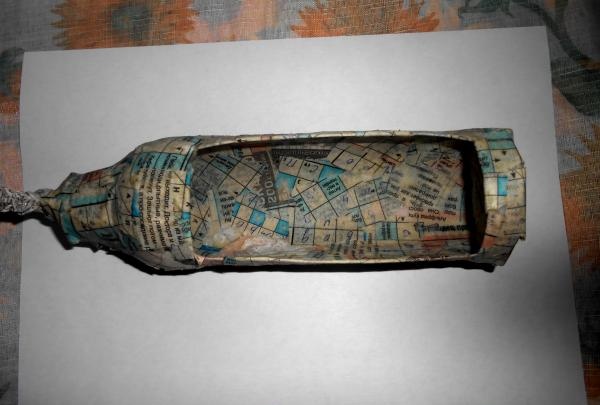
After the glue has dried, take white paint and paint the inside of the bottle and its bottom outside. The inside of the lid will also need to be painted.
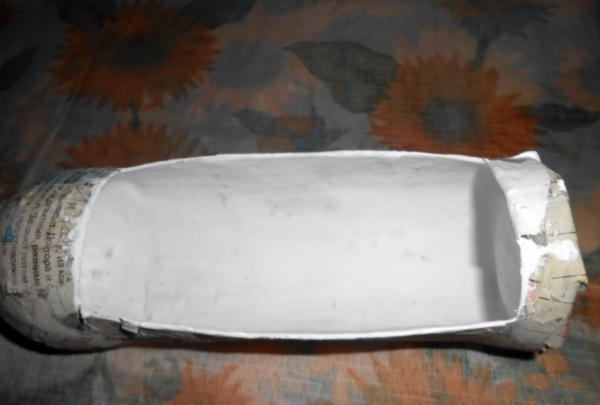
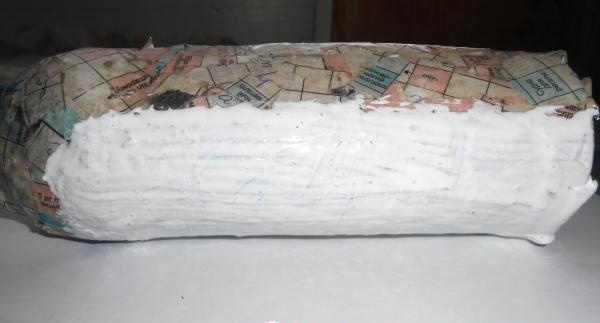
While the paint dries, let's start making “feathers” for our swan. To do this, I took white handles from plastic bags. If you don’t have these, then simply cut strips of polyethylene 4 centimeters wide and 40 centimeters long.
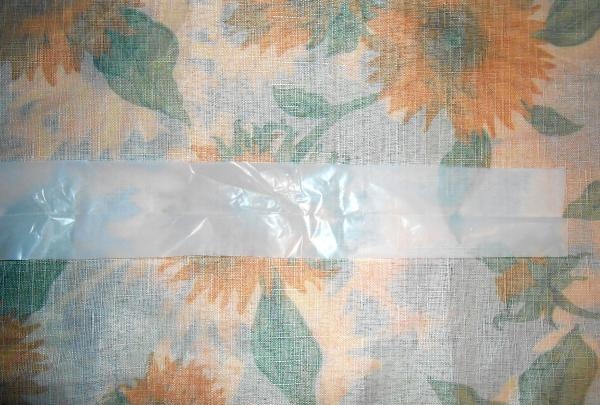
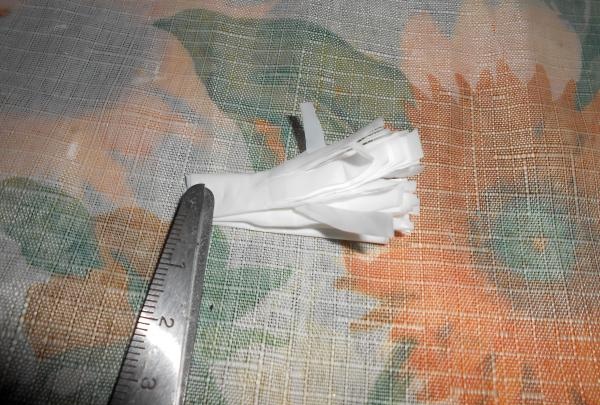
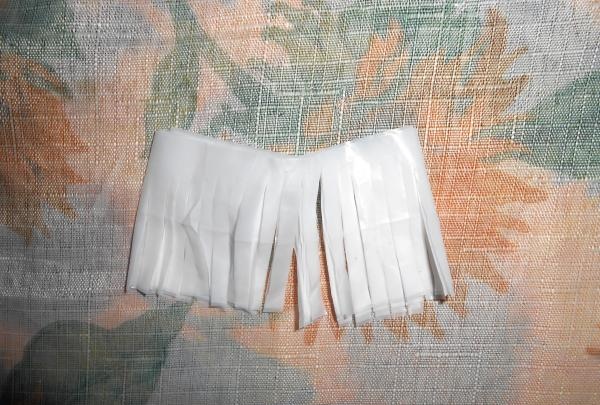
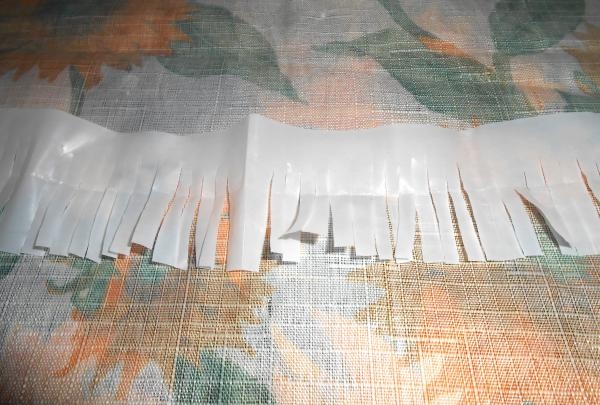
We fold these strips several times and cut the fringe from one edge, without cutting to the end of the workpiece. You will need a lot of such blanks.
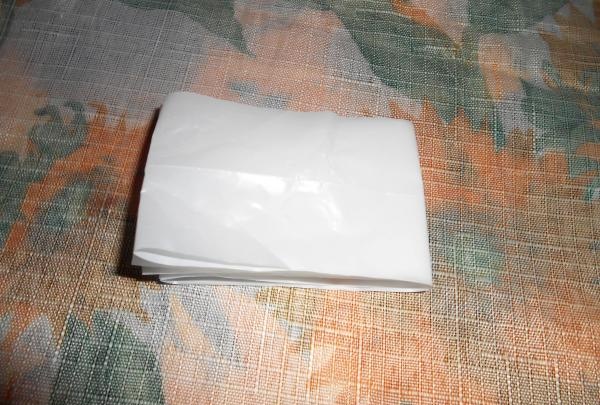
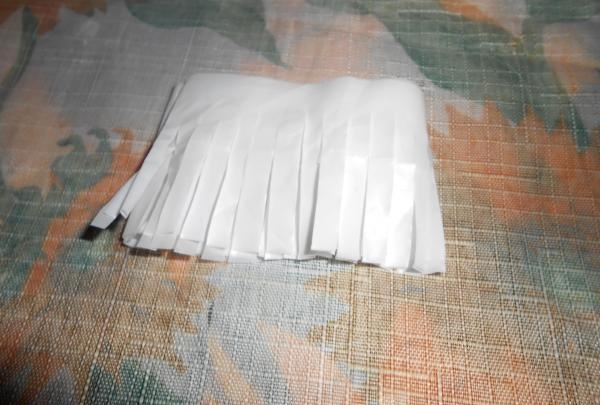
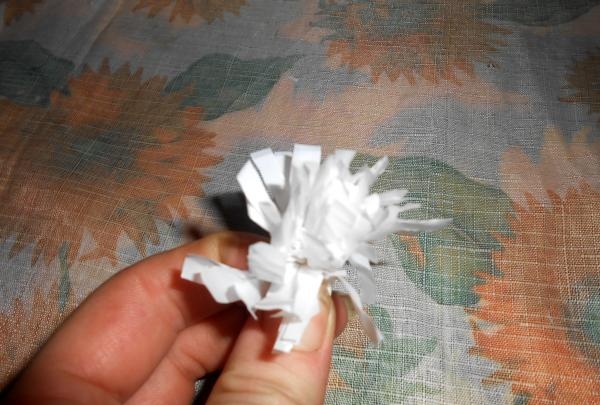
Then, when the paint has dried, we take one such blank and roll it several more times to make a tube. Apply glue to the edge where there is no fringe and glue it to the bottle. You need to start gluing from the bottom. To do this, take moment or rubber glue.
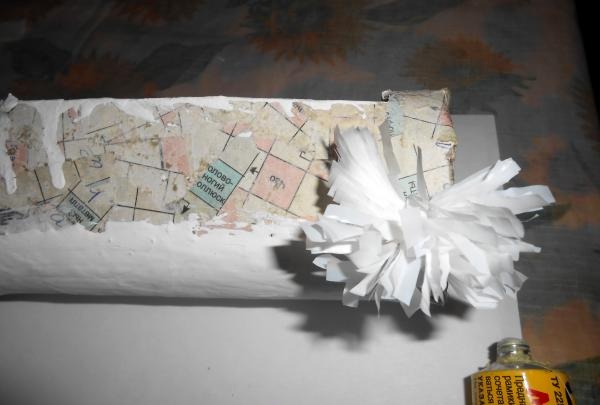
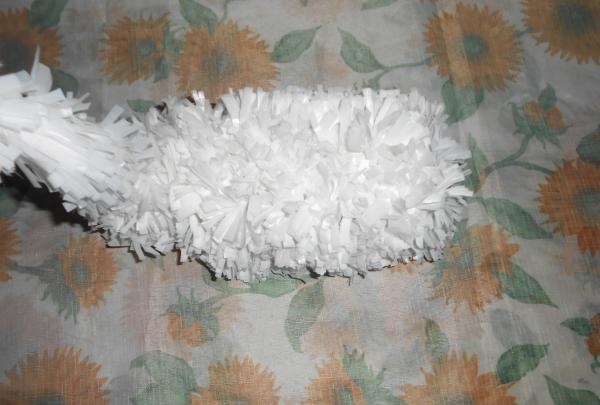
Thus, we cover the entire bottle (except for painted surfaces). We do the same with the lid.
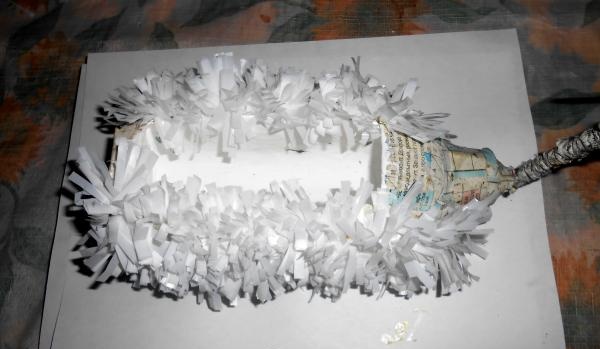
After we have covered the entire bottle, we will work on the swan's neck.To do this, we again need a strip of polyethylene 4 centimeters wide, and the length can be any. Fold the strip several times and cut the fringe again, without cutting to the edge. Then we straighten the fringe and wrap it around the swan’s neck. You need to start from the bottom, fix the edges with glue.
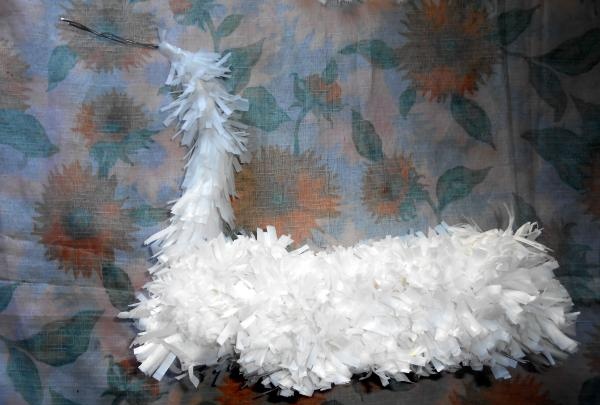
That's it, the swan is almost ready, all that remains is to make its head. First, it’s better to make a head pattern on paper, and then cut it out of a piece of foam plastic.
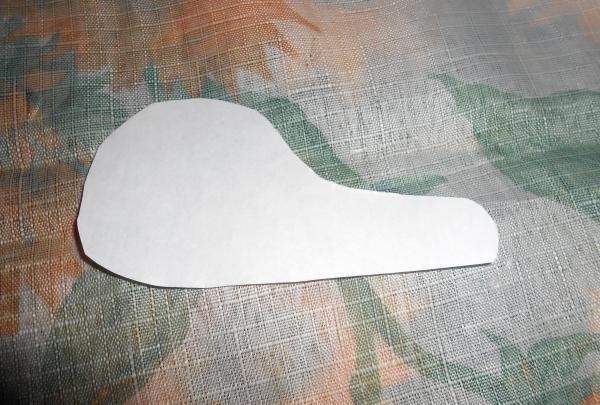
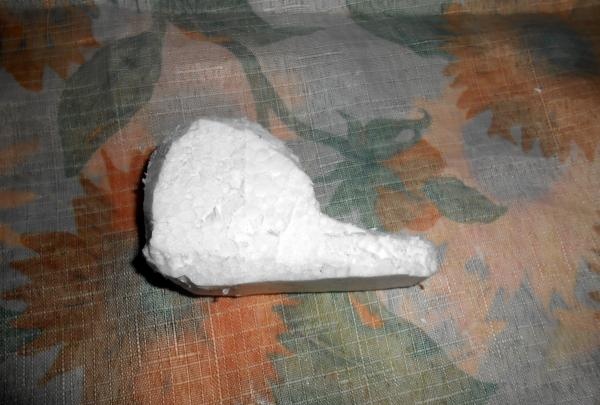
The head also needs to be covered with newspaper.
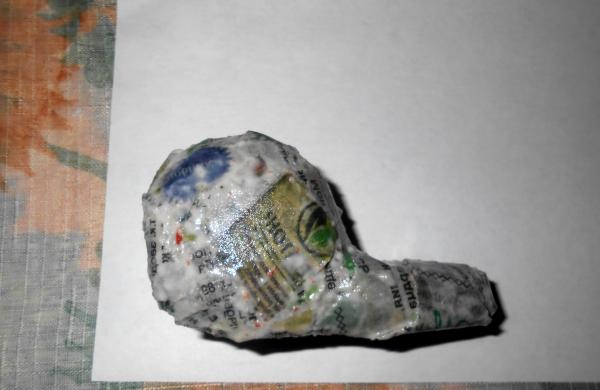
When the glue dries, paint the head white.
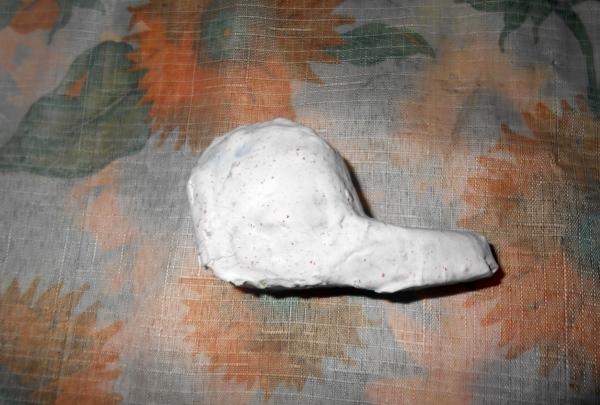
While the paint dries, we will make the swan's eyes. To do this, take black and white cardboard and cut out blanks for the eyes from it. We glue them together, and then glue them on the head.
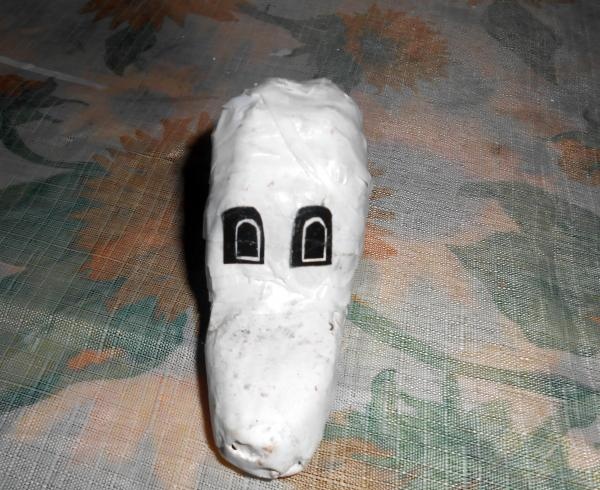
We will paint the beak with red paint. Now all that remains is to put the head on the ends of the wire on the neck.
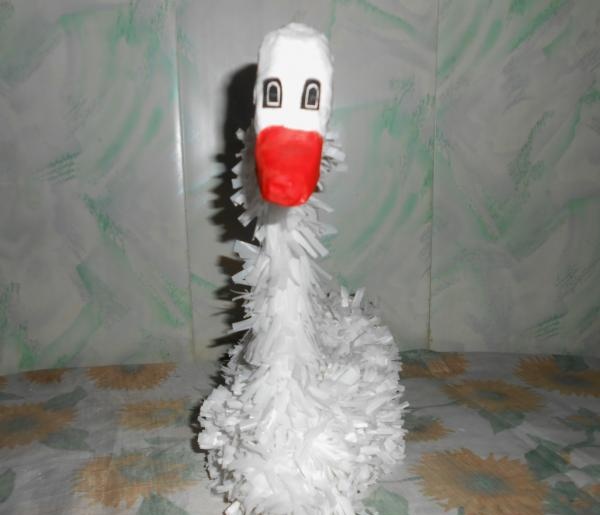
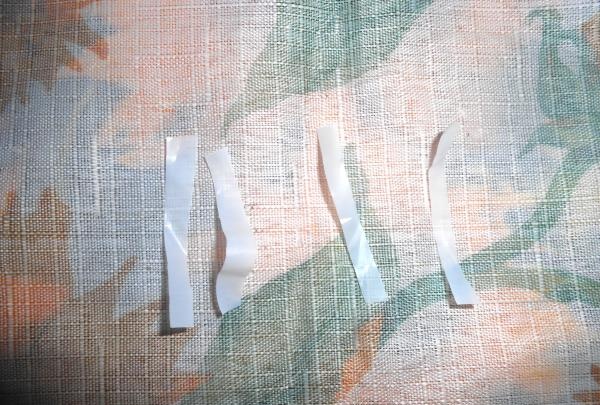
All that remains is to glue the head. Let's take polyethylene and cut it into strips 0.5 centimeters wide and 4 centimeters long. You need to smear one end of the strip with glue and glue it to the head.
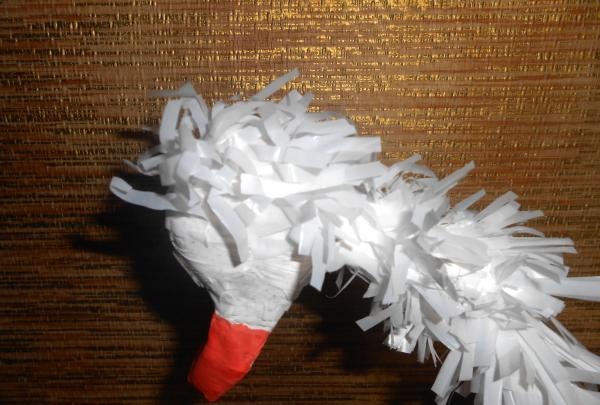
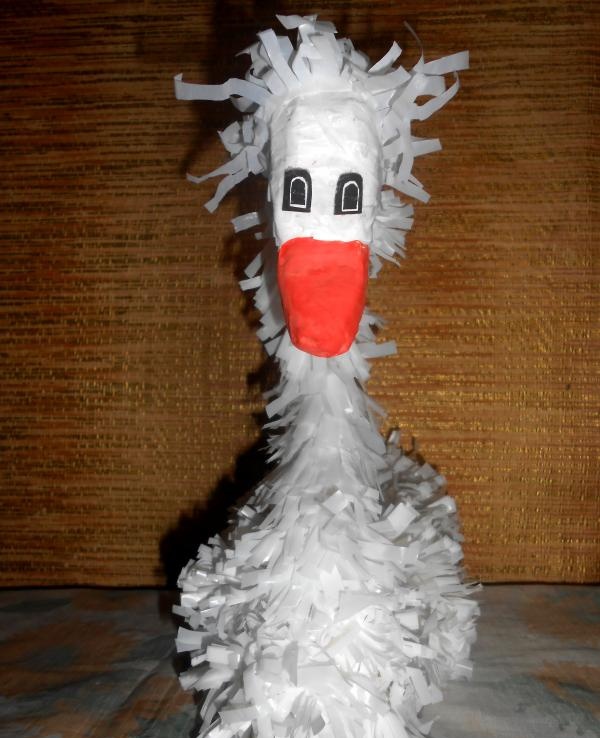
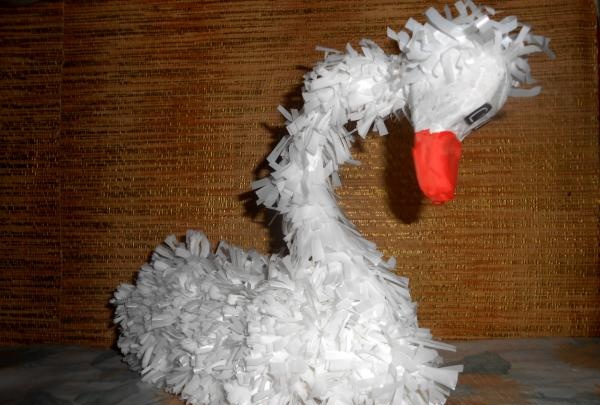
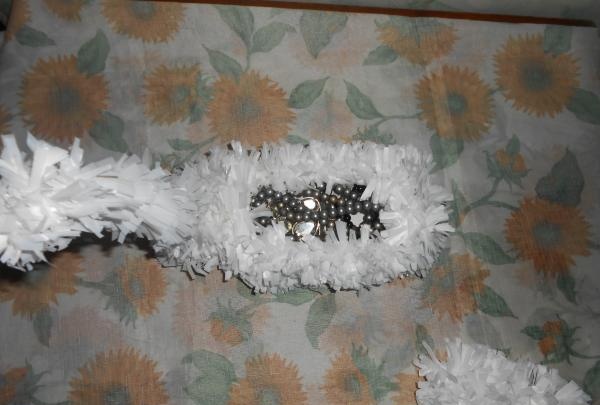
Our swan box is ready. You can put various small items and jewelry inside.
I hope you liked the box in the shape of a swan. Goodbye.
-Bottle.
-Wire.
-Pliers.
-Knife.
-Scissors.
-White polyethylene.
-Paint white, red.
-Styrofoam.
-Brush.
-Glue moment, PVA.
-Newspaper.
-Cardboard white, black.
-Spoke.
First, take a bottle and cut a hole in it using a utility knife. We need to cut it out carefully, since the cut out piece of the bottle will serve as a lid for the box. Here's what I got.


Then we take the wire, I took aluminum because it bends well. We cut off two pieces 30 centimeters long and make a neck for the future swan. You will need to remove the cap from the bottle, make two holes in it and insert a wire into them. We secure the ends of the wire inside the lid.


The neck is almost ready, all that remains is to give it a little volume. To do this you will need to make tubes from newspapers. They are easy to do.Take a knitting needle and a strip of newspaper 2 centimeters wide. We place the knitting needle on the strip at an angle of 45% degrees. Glue the end of the strip using PVA glue. Then you will need to insert a wire through the tubes and wrap the wire around these tubes, which is attached to the bottle cap. Thus, the swan's neck became more voluminous. Only the upper ends of the wire do not need to be wrapped. The swan's head will then be attached to them. That's it, the cap needs to be screwed back to the bottle.


Now we need newspaper, tear it into small pieces and cover the outside and inside of our bottle. The cut out cover will also need to be covered in the same way. We use PVA as glue, but you can use paste. This option will be more economical, since you will need a lot of glue.


After the glue has dried, take white paint and paint the inside of the bottle and its bottom outside. The inside of the lid will also need to be painted.


While the paint dries, let's start making “feathers” for our swan. To do this, I took white handles from plastic bags. If you don’t have these, then simply cut strips of polyethylene 4 centimeters wide and 40 centimeters long.

We fold these strips several times and cut the fringe from one edge, without cutting to the end of the workpiece. You will need a lot of such blanks.


Then, when the paint has dried, we take one such blank and roll it several more times to make a tube. Apply glue to the edge where there is no fringe and glue it to the bottle. You need to start gluing from the bottom. To do this, take moment or rubber glue.


Thus, we cover the entire bottle (except for painted surfaces). We do the same with the lid.

After we have covered the entire bottle, we will work on the swan's neck.To do this, we again need a strip of polyethylene 4 centimeters wide, and the length can be any. Fold the strip several times and cut the fringe again, without cutting to the edge. Then we straighten the fringe and wrap it around the swan’s neck. You need to start from the bottom, fix the edges with glue.


That's it, the swan is almost ready, all that remains is to make its head. First, it’s better to make a head pattern on paper, and then cut it out of a piece of foam plastic.


The head also needs to be covered with newspaper.

When the glue dries, paint the head white.

While the paint dries, we will make the swan's eyes. To do this, take black and white cardboard and cut out blanks for the eyes from it. We glue them together, and then glue them on the head.

We will paint the beak with red paint. Now all that remains is to put the head on the ends of the wire on the neck.

All that remains is to glue the head. Let's take polyethylene and cut it into strips 0.5 centimeters wide and 4 centimeters long. You need to smear one end of the strip with glue and glue it to the head.


Our swan box is ready. You can put various small items and jewelry inside.


I hope you liked the box in the shape of a swan. Goodbye.
Similar master classes
Particularly interesting
Comments (0)

