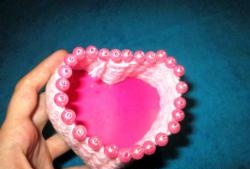
Box for Valentine's Day
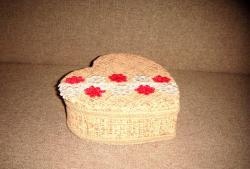
A wonderful holiday is coming soon, Valentine's Day. If you want to please a loved one with a gift, but don’t know what to give. We present to you a master class on creating a “Valentine’s Day” box. The symbol of Valentine's Day is the heart. Let's make a heart-shaped box. Presentsomething made with your own hands is always more pleasant to give.
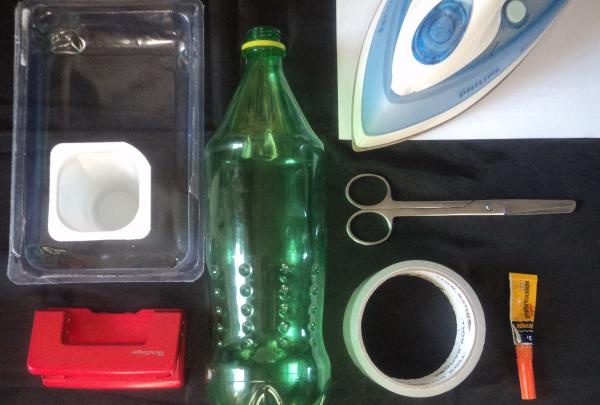
To work you will need:
- Colored plastic bottle.
Yogurt packaging.
- Food packaging.
- Scissors.
- The tape is transparent.
- White cardboard.
- Iron or electric stove with a smooth surface.
- Quick-drying glue.
- Hole puncher or figured composter.
For this crafts You need a plastic bottle of any color. The colors of the bottles are: yellow, green, blue, brown, red, etc. The color of the box depends on the color of the bottle you choose. The shape of the bottle must be non-standard. The lid covers the box, so its diameter should be larger than the diameter of the box itself.
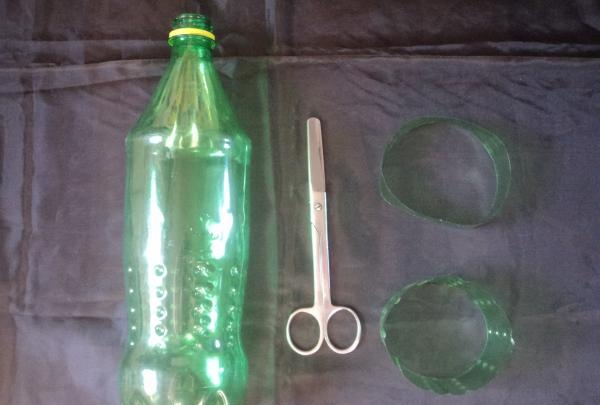
We cut out the base for the box from a narrower section of the bottle. Cut out the lid from a wider area.
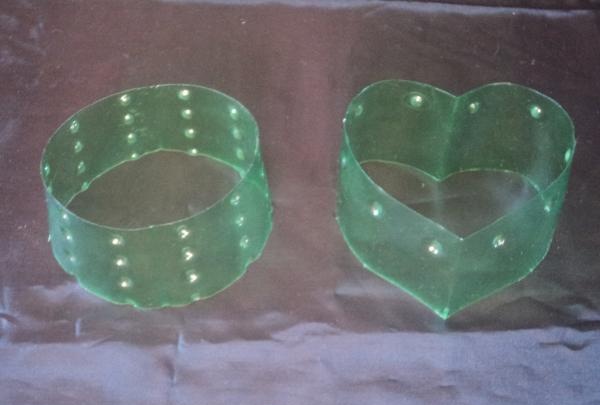
Give the box a heart shape: bend the base of the box in half, then bend one side in the opposite direction. It turned out to be a heart. We do the same with the lid.
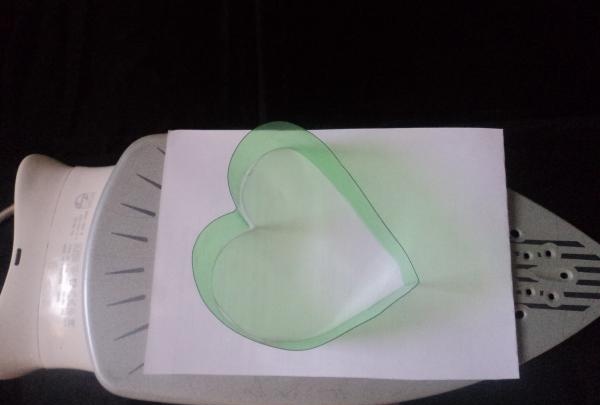
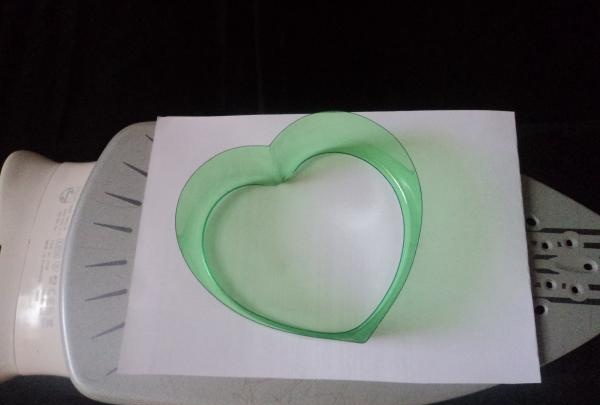
We round the top edge of the box lid. Heat the iron, place a sheet of white paper on top, then a lid, hold it for a few seconds, pressing it against the iron. Instead of an iron, you can use an electric stove with a smooth surface. The stove should not be heated too much; low heat is sufficient. It is better if adults help children in this process, so as not to get injured and to avoid a fire.
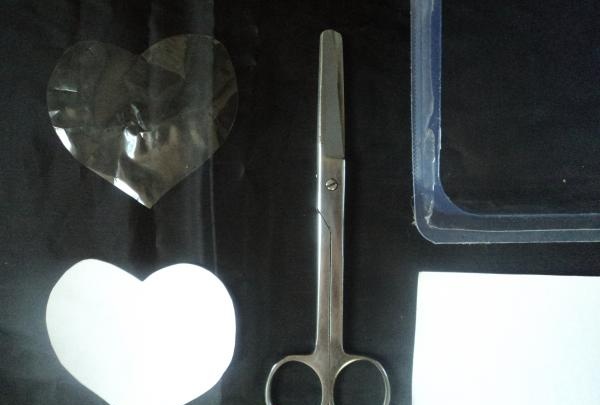
Bottom of the box. Place the box on a sheet of paper, trace it with a pencil, and cut it out. Using this template, we cut out the bottom for the box from transparent packaging.
Top of the lid. Place the lid of the box on a sheet of paper, trace it with a pencil, and cut out the top for the lid from white cardboard using this template.
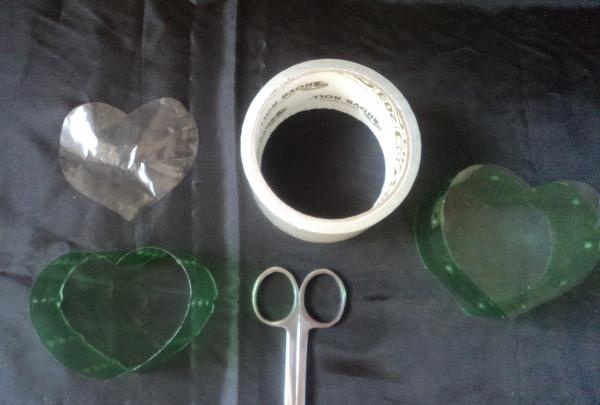
Glue the bottom to the box using transparent tape from the inside.
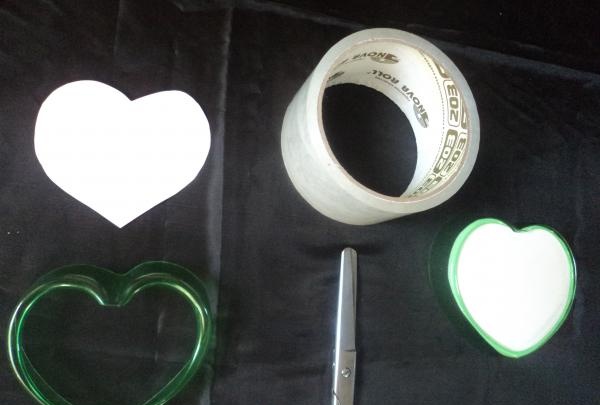
We glue the top of the box to the lid using tape, also on the inside.
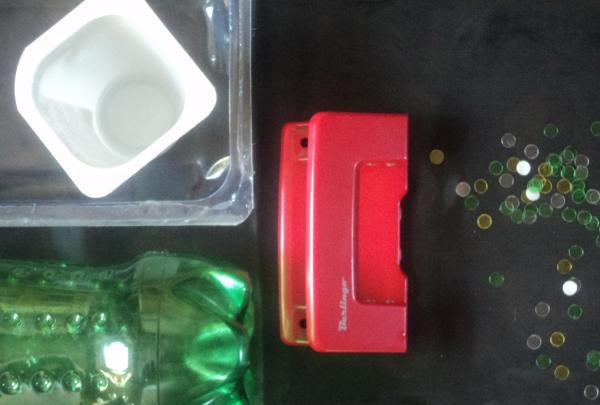
Next we decorate the top of the lid. Using a hole punch, we make balls from a colored bottle, yogurt packaging, or transparent packaging.
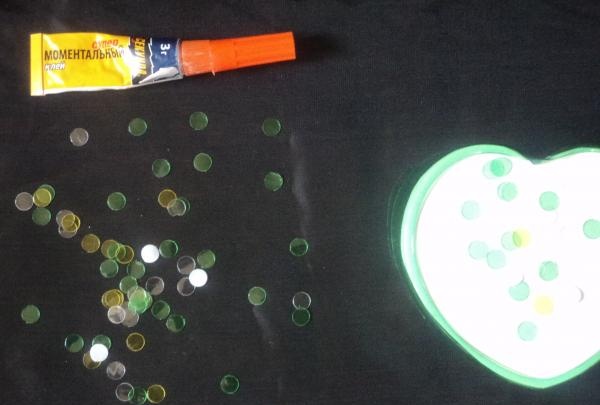
Glue the balls to the top of the lid in a random pattern using quick-drying glue.
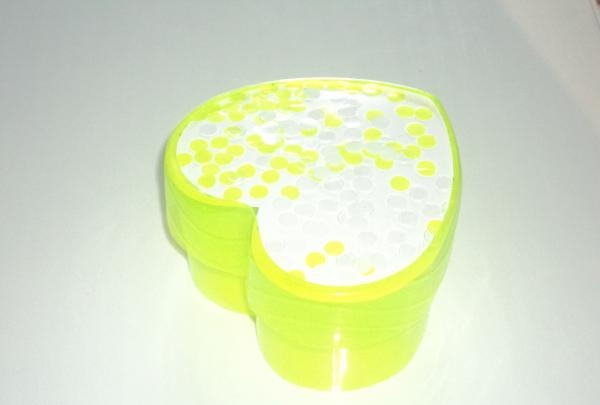
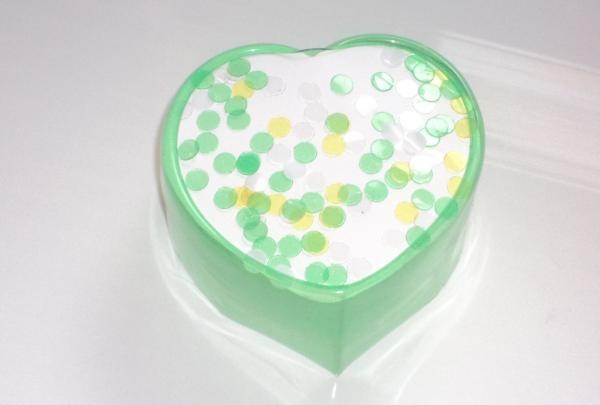
The Valentine's Day gift box is ready.
This heart-shaped box can easily replace a gift box, you can put candy in it and tie it with a ribbon. You can also use it to store small things.
The box can be modified. Let's change the color by using a plastic bottle of a different color. The box can be made opaque: insert cardboard inside, cover it with paper or paint it with acrylic paint.
We decorate the lid of the box as desired, using colored or gift paper, beads, etc. And if you replace the cut-out balls from a simple hole punch with figures (hearts, flowers, etc.) cut out using a figured composter, the box will turn out even more interesting. Experiment.

To work you will need:
- Colored plastic bottle.
Yogurt packaging.
- Food packaging.
- Scissors.
- The tape is transparent.
- White cardboard.
- Iron or electric stove with a smooth surface.
- Quick-drying glue.
- Hole puncher or figured composter.
For this crafts You need a plastic bottle of any color. The colors of the bottles are: yellow, green, blue, brown, red, etc. The color of the box depends on the color of the bottle you choose. The shape of the bottle must be non-standard. The lid covers the box, so its diameter should be larger than the diameter of the box itself.

We cut out the base for the box from a narrower section of the bottle. Cut out the lid from a wider area.

Give the box a heart shape: bend the base of the box in half, then bend one side in the opposite direction. It turned out to be a heart. We do the same with the lid.


We round the top edge of the box lid. Heat the iron, place a sheet of white paper on top, then a lid, hold it for a few seconds, pressing it against the iron. Instead of an iron, you can use an electric stove with a smooth surface. The stove should not be heated too much; low heat is sufficient. It is better if adults help children in this process, so as not to get injured and to avoid a fire.

Bottom of the box. Place the box on a sheet of paper, trace it with a pencil, and cut it out. Using this template, we cut out the bottom for the box from transparent packaging.
Top of the lid. Place the lid of the box on a sheet of paper, trace it with a pencil, and cut out the top for the lid from white cardboard using this template.

Glue the bottom to the box using transparent tape from the inside.

We glue the top of the box to the lid using tape, also on the inside.

Next we decorate the top of the lid. Using a hole punch, we make balls from a colored bottle, yogurt packaging, or transparent packaging.

Glue the balls to the top of the lid in a random pattern using quick-drying glue.


The Valentine's Day gift box is ready.
This heart-shaped box can easily replace a gift box, you can put candy in it and tie it with a ribbon. You can also use it to store small things.
The box can be modified. Let's change the color by using a plastic bottle of a different color. The box can be made opaque: insert cardboard inside, cover it with paper or paint it with acrylic paint.
We decorate the lid of the box as desired, using colored or gift paper, beads, etc. And if you replace the cut-out balls from a simple hole punch with figures (hearts, flowers, etc.) cut out using a figured composter, the box will turn out even more interesting. Experiment.
Similar master classes
Particularly interesting
Comments (0)

