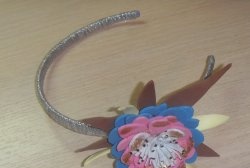
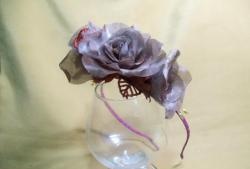
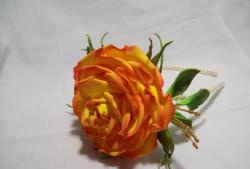
Headband-tiara
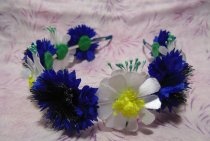
With the onset of warmer weather, everything comes to life, people get into a good mood, they begin to make grandiose plans for the future - the number of weddings increases in the spring, graduations take place in the spring, everyone wants to look beautiful and young in the spring! That's why now is the time to think about accessories for your upcoming holiday events. We offer you a lesson on how to create an amazingly beautiful tiara headband, decorated with flowers made of polymer clay and pearls, which will be a wonderful decoration for a bride or graduate, emphasizing her tenderness and beauty.
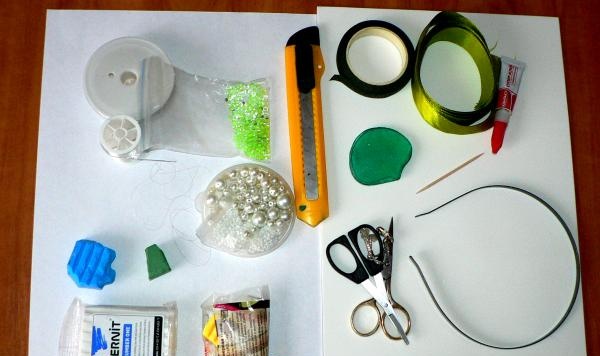
To ensure that everything you need for work is at hand, and creating a tiara headband brings maximum pleasure, take the following:
- a base blank for the headband (metal or plastic headband without decorations);
- green thin satin ribbon for the base of the headband (2 cm);
- Super glue;
- white thread or monofilament for sewing on beads;
- wire for beading;
- igloo;
- stationery knife and scissors;
- floral tape;
- wooden toothpick;
- white polymer clay and a little green or yellow, you can also take a small piece of blue or purple;
- mold (textured sheet) for the petals (you can take thick corrugated paper);
- pearl beads of different sizes;
Let's start by preparing the base: to do this, carefully glue one end of the satin ribbon to the end of the base headband, and begin to wrap the base with ribbon. Before starting work, be sure to burn the initial end of the tape with a lighter or on a candle.
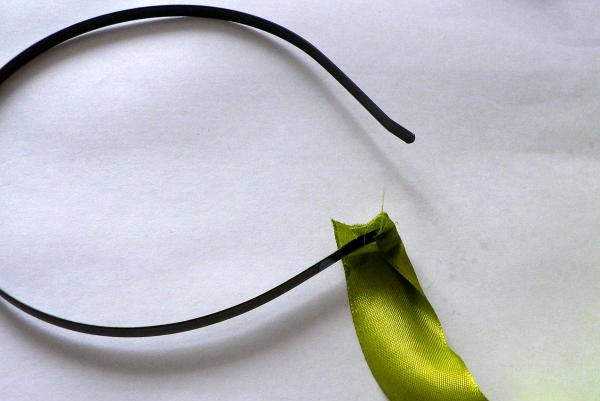
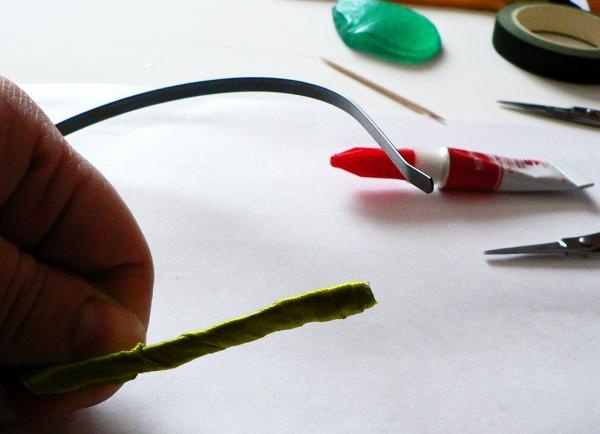
After the base is completely wrapped, we cut off the free end of the tape with a small margin and glue it in the same way as at the beginning of work.
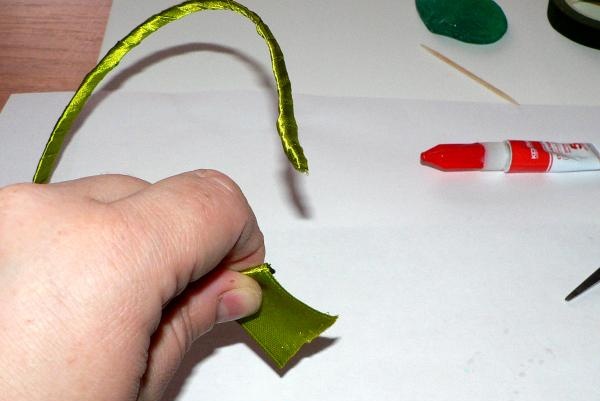
The base is ready.
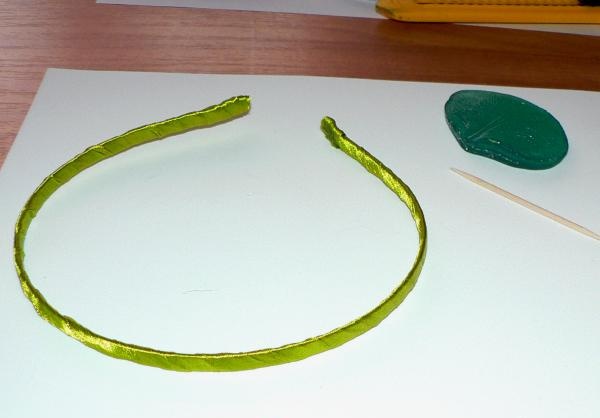
Now we need to make flowers out of plastic. Traditionally, roses, orange blossom or apple tree buds are the leaders in jewelry floristry; we will make roses, since these are universal flowers, suitable for both a wedding celebration and any other significant occasion.
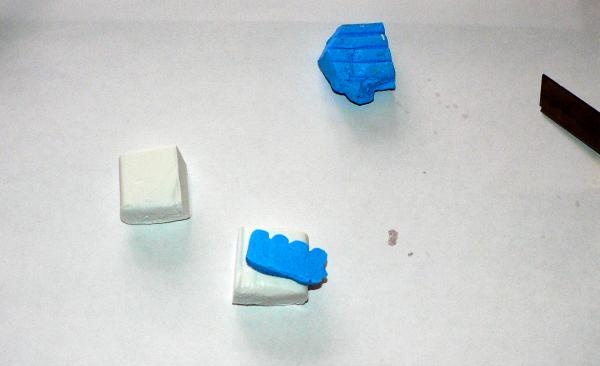
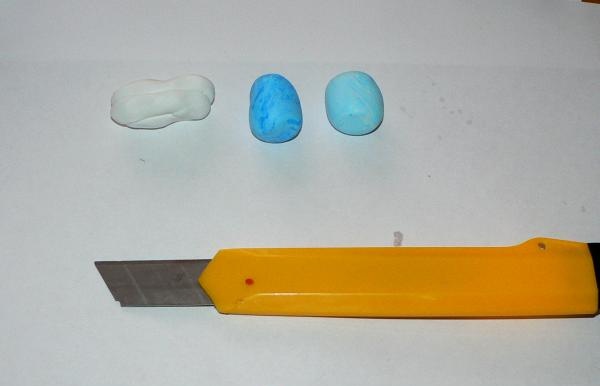
To prevent the flowers from being too bright and provocative, we will add just a little bit of another color to the main white color, let’s take blue, for example. When mixing white and blue, you will get a light shade of blue, divide it into two pieces, set one aside, and mix the second with a little more white. There is no need to stir until the color is uniform, this will create a beautiful veining effect. Now for sculpting the buds we have, in fact, white, light blue and white with a slight tint of blue.
All flowers are sculpted as follows: from the middle to the outer petals. The center of the bud is a drop-shaped piece of light blue plastic. We will attach the remaining petals to it - from small to medium, from medium to large. Therefore, you should break off pieces from all types of working plastic of different sizes. Light blue will be the smallest (roll into balls), white with a blue tint will be larger, white will be the largest.Here are our blanks for one flower.
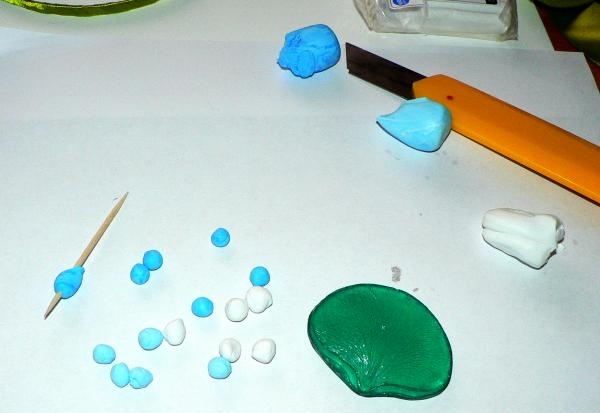
Now we flatten each ball in the palm of our hand, apply it to a texture sheet (mold), attach it to the droplet center so that each subsequent petal slightly overlaps the previous one. We put the finished flower to harden slightly, since it is too soft for our fingers, then we make a hole in it for fastening.
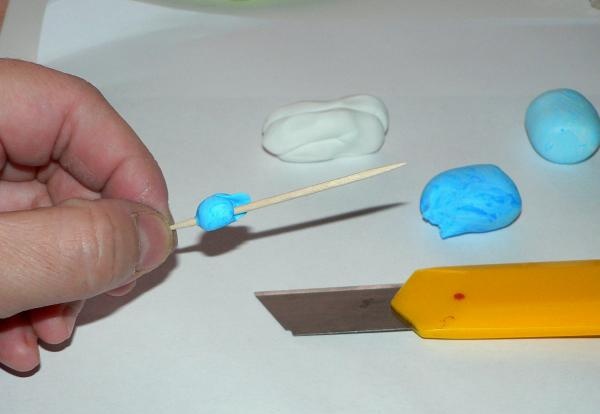
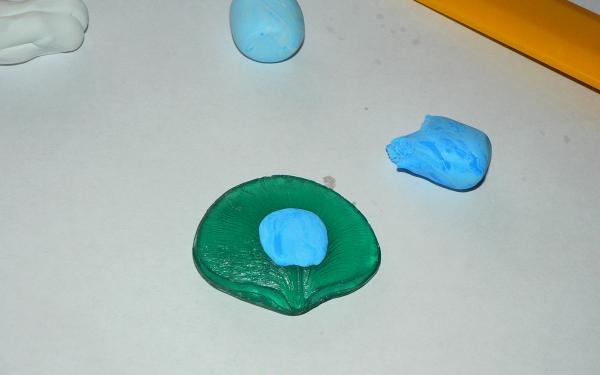
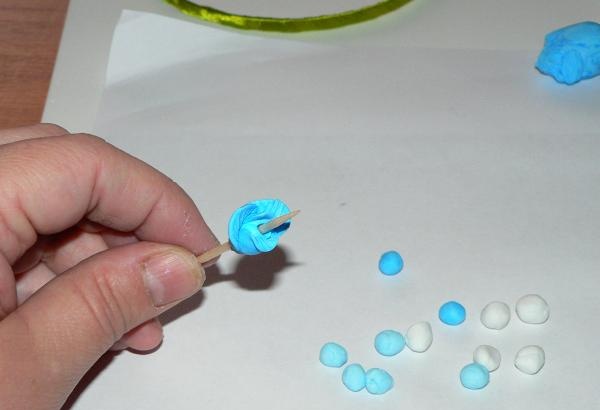
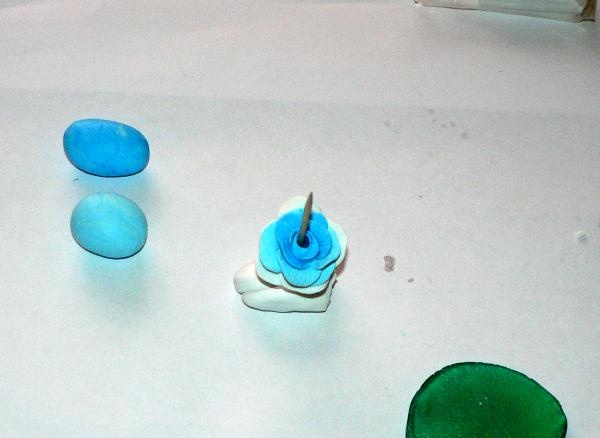
We make many flowers of different sizes to make the headband very beautiful.
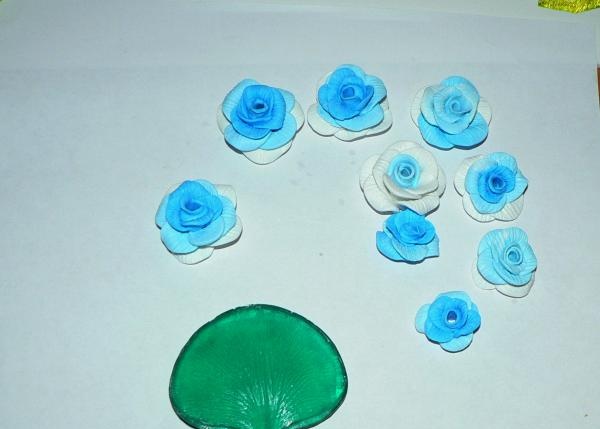
Let's start making petals by mixing yellow, green and blue plastic. The technology for making them is approximately the same as making petals. Only blanks of a more elongated drop-shaped shape, of different sizes. Make a hole at the base of each leaf.
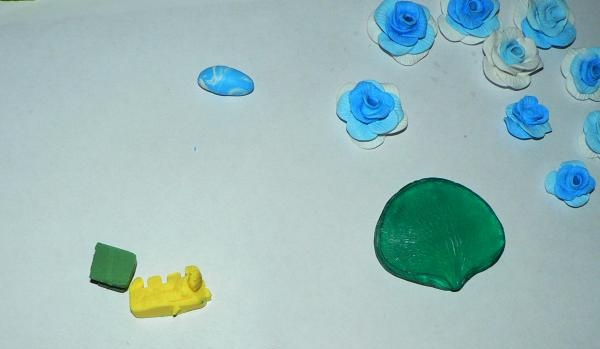
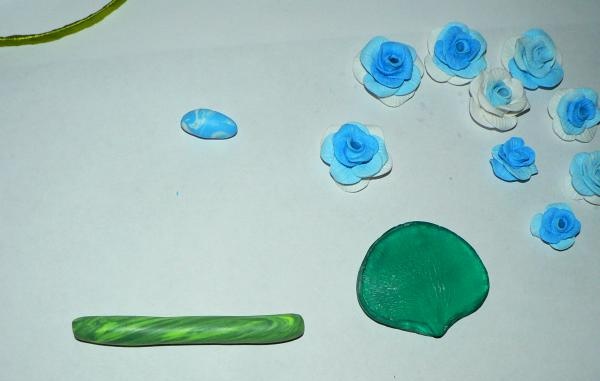
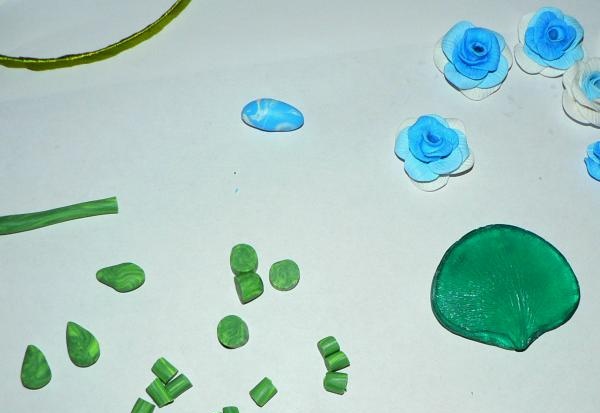
We put all this splendor on a plate or foil and send it to bake in the oven, observing the baking temperature for the type of polymer clay you are working with.
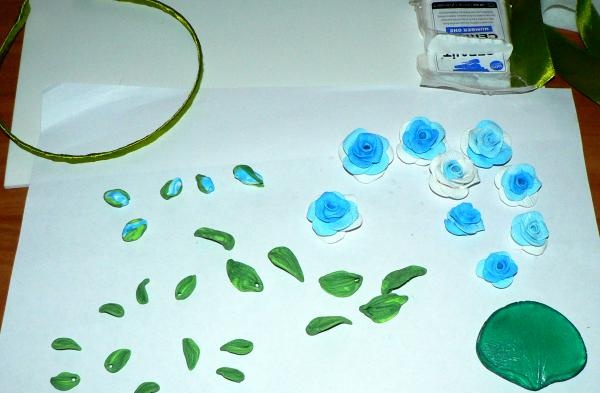
We varnish the finished flowers or leave them matte and prepare for assembly on the base.
To do this, take a needle and thread and sew flowers and pearls in a loose order. We sew flowers like this: we remove the needle and thread from the base, insert it from the bottom side of the flower, that is, the needle comes out from the center of the bud. We put one bead on the needle and again insert the needle into the center of the flower, bringing it to the base.
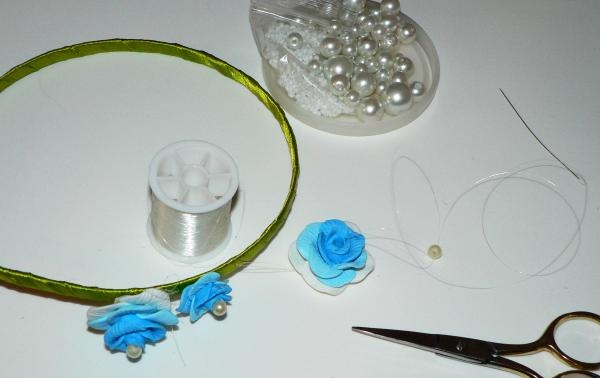
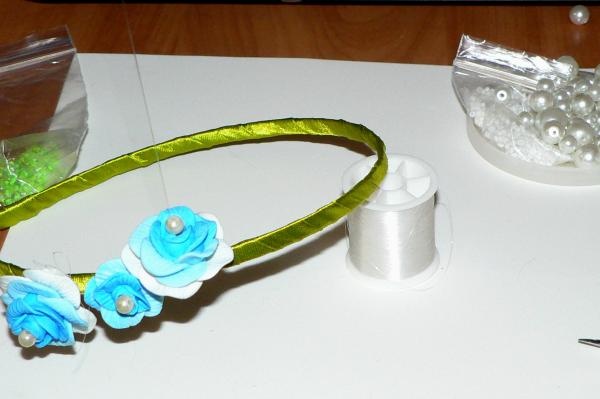
Instead of thread and needle, you can use beaded wire, weaving flowers onto the base; the wire can be camouflaged with tape.
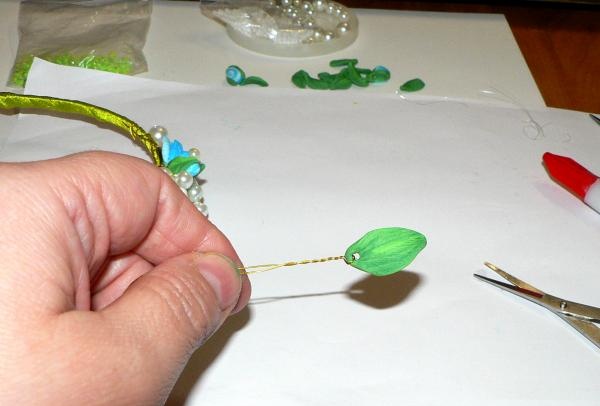
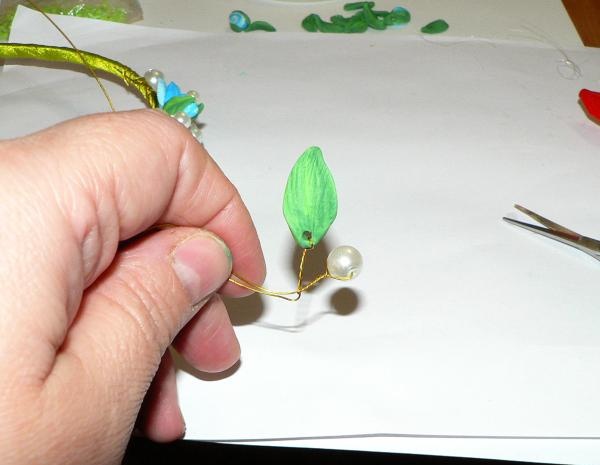
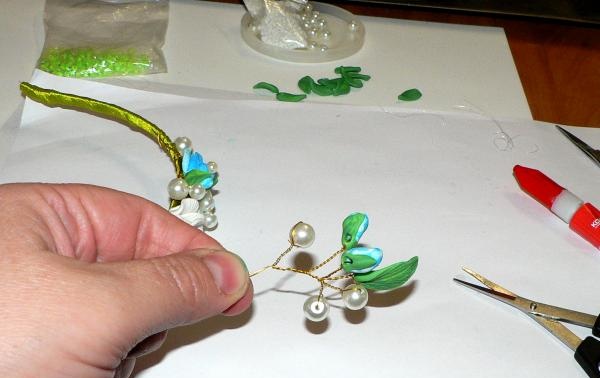
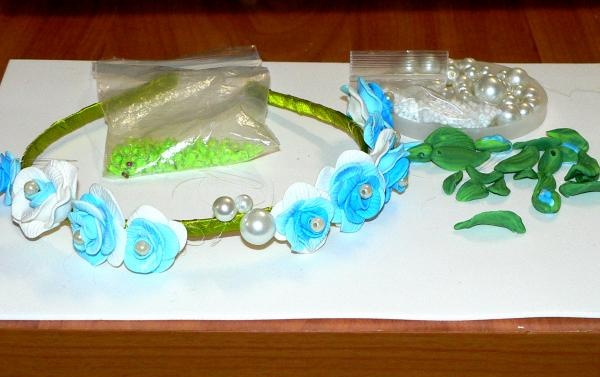
The decoration is ready, it looks delicate and elegant, it is also important that it is one of a kind and no other girl except you has exactly the same!
To ensure that everything you need for work is at hand, and creating a tiara headband brings maximum pleasure, take the following:
- a base blank for the headband (metal or plastic headband without decorations);
- green thin satin ribbon for the base of the headband (2 cm);
- Super glue;
- white thread or monofilament for sewing on beads;
- wire for beading;
- igloo;
- stationery knife and scissors;
- floral tape;
- wooden toothpick;
- white polymer clay and a little green or yellow, you can also take a small piece of blue or purple;
- mold (textured sheet) for the petals (you can take thick corrugated paper);
- pearl beads of different sizes;

Let's start by preparing the base: to do this, carefully glue one end of the satin ribbon to the end of the base headband, and begin to wrap the base with ribbon. Before starting work, be sure to burn the initial end of the tape with a lighter or on a candle.


After the base is completely wrapped, we cut off the free end of the tape with a small margin and glue it in the same way as at the beginning of work.

The base is ready.

Now we need to make flowers out of plastic. Traditionally, roses, orange blossom or apple tree buds are the leaders in jewelry floristry; we will make roses, since these are universal flowers, suitable for both a wedding celebration and any other significant occasion.
To prevent the flowers from being too bright and provocative, we will add just a little bit of another color to the main white color, let’s take blue, for example. When mixing white and blue, you will get a light shade of blue, divide it into two pieces, set one aside, and mix the second with a little more white. There is no need to stir until the color is uniform, this will create a beautiful veining effect. Now for sculpting the buds we have, in fact, white, light blue and white with a slight tint of blue.


All flowers are sculpted as follows: from the middle to the outer petals. The center of the bud is a drop-shaped piece of light blue plastic. We will attach the remaining petals to it - from small to medium, from medium to large. Therefore, you should break off pieces from all types of working plastic of different sizes. Light blue will be the smallest (roll into balls), white with a blue tint will be larger, white will be the largest.Here are our blanks for one flower.

Now we flatten each ball in the palm of our hand, apply it to a texture sheet (mold), attach it to the droplet center so that each subsequent petal slightly overlaps the previous one. We put the finished flower to harden slightly, since it is too soft for our fingers, then we make a hole in it for fastening.


We make many flowers of different sizes to make the headband very beautiful.

Let's start making petals by mixing yellow, green and blue plastic. The technology for making them is approximately the same as making petals. Only blanks of a more elongated drop-shaped shape, of different sizes. Make a hole at the base of each leaf.


We put all this splendor on a plate or foil and send it to bake in the oven, observing the baking temperature for the type of polymer clay you are working with.

We varnish the finished flowers or leave them matte and prepare for assembly on the base.
To do this, take a needle and thread and sew flowers and pearls in a loose order. We sew flowers like this: we remove the needle and thread from the base, insert it from the bottom side of the flower, that is, the needle comes out from the center of the bud. We put one bead on the needle and again insert the needle into the center of the flower, bringing it to the base.


Instead of thread and needle, you can use beaded wire, weaving flowers onto the base; the wire can be camouflaged with tape.


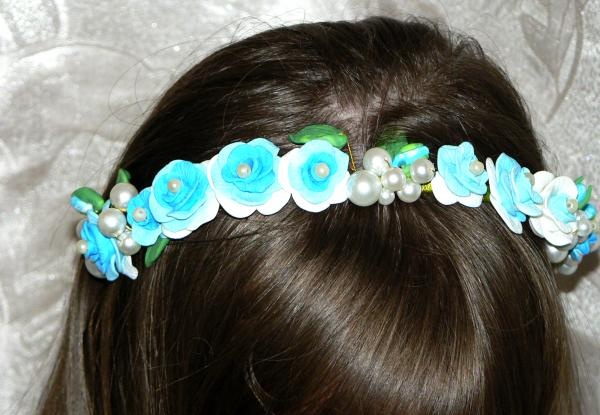
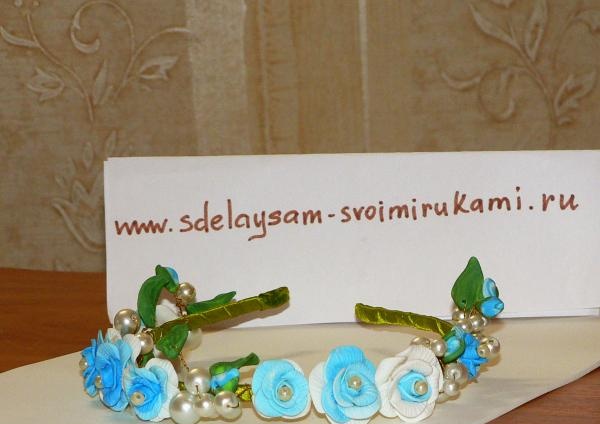
The decoration is ready, it looks delicate and elegant, it is also important that it is one of a kind and no other girl except you has exactly the same!


Similar master classes
Particularly interesting
Comments (0)


