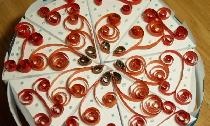
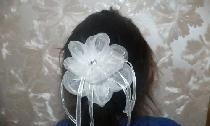
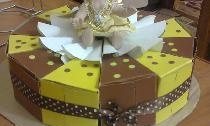
Cardboard cake - the most modern congratulation
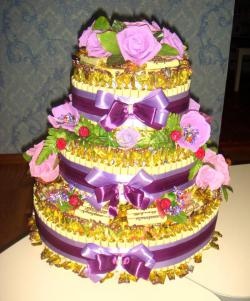
A cardboard cake is an original and interesting way to congratulate someone dear to you. In the modern world they are becoming popular present, made or made by hand. But in order to create something yourself, a certain skill is required. A cardboard cake is easy to make and at the same time will allow you to show creativity, giving your gift originality and individuality. This gift has the function of a greeting card, only unlike a postcard, your congratulations will remain unforgettable. The cake is suitable for any celebration, be it a wedding, anniversary, name day, birth of a child, Defenders of the Fatherland Day, March 8th, etc.
To make a cardboard cake you will need colored cardboard. It is better to buy cardboard sold in large sheets, but cardboard in packs will also work. If you're lucky and find some cardboard with a design on it, even better. Scissors. To glue the cake structure, you will need a glue stick suitable for gluing cardboard.Small items for wishes, we will dwell on wishes later. Ribbons, bows, beads, in short, everything you would like to see as a decoration for your cake.
1. Let's prepare a template for making cake pieces.
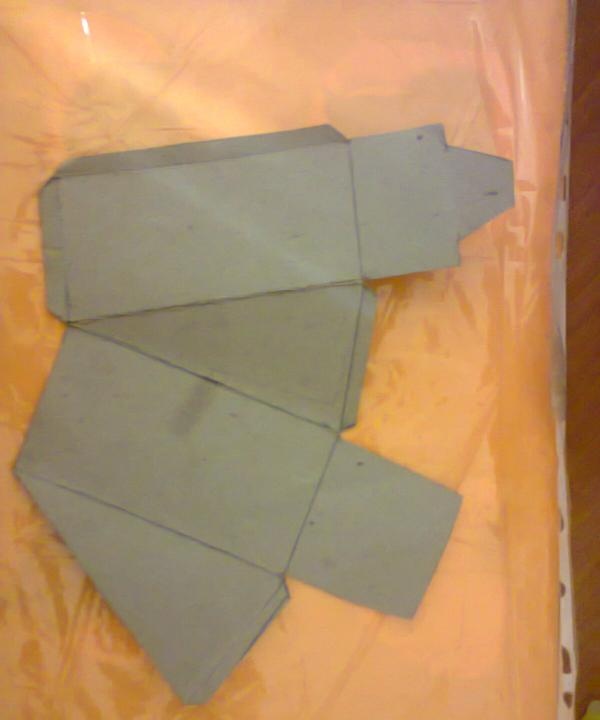
2. Trace the template onto a sheet of your colored cardstock. The cake will consist of twelve pieces, therefore, we make twelve blanks.
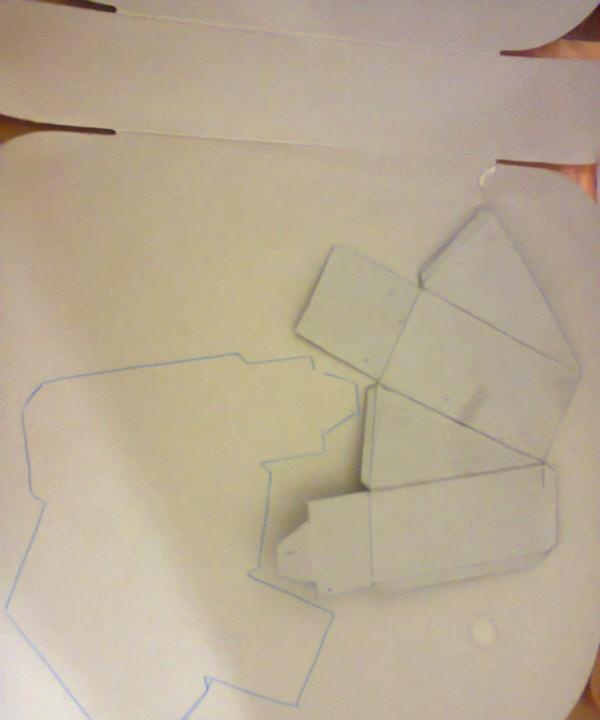
3. Bend the workpiece along the fold lines, gluing in places for gluing.
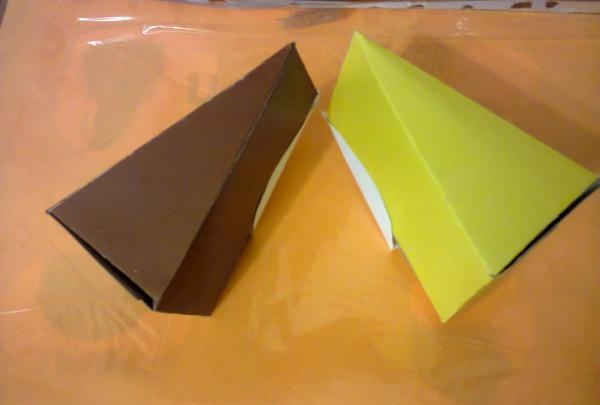
4. We put a souvenir wish into each resulting box, and write the wish on a piece of paper.
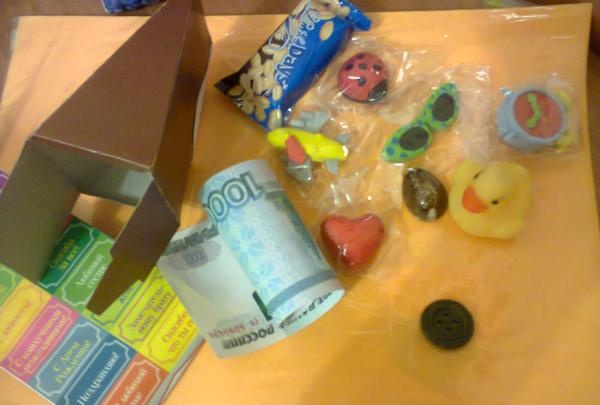
It could be:
- small shell - I wish you pleasant travels,
- coffee bean - I wish you a cheerful morning,
- a banknote rolled into a tube - I wish you wealth,
- heart - I wish you love,
- dummy - I wish you a new addition to the family,
- candy - I wish you a sweet life,
- watch – favorable changes,
- turtle figurine - I wish you a long life,
- button - I wish you new things
- figurine of a dog - I wish you true friends
- battery - I wish you energy
- matryoshka - I wish you a holiday in the village
5. We collect the “pieces” into a single whole and tie them with elegant braid.
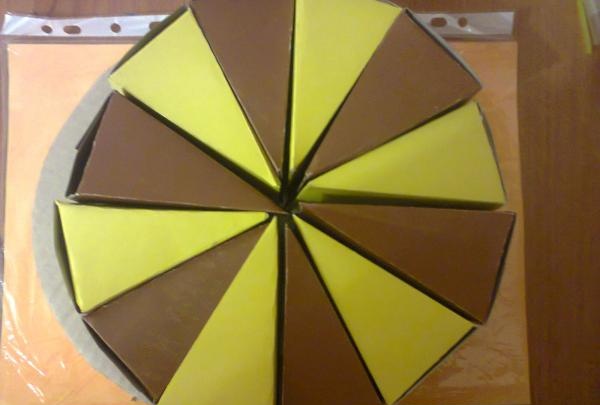
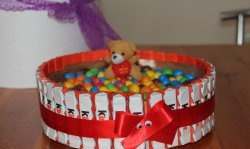
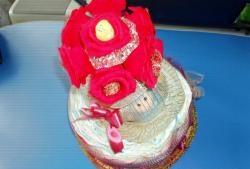
5. Let's move on to decorating the cake, there are no special recommendations here, it can be chocolate, fruit or floral, show your imagination.
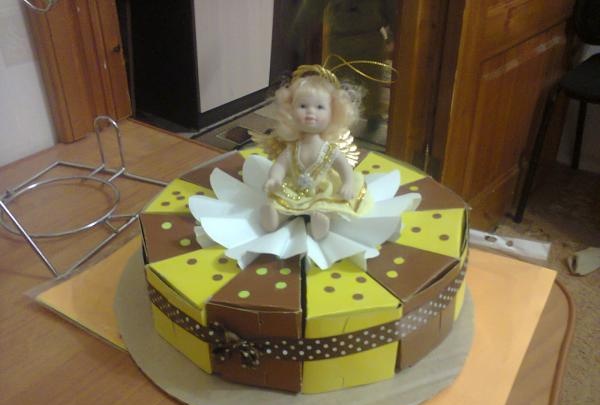
7. Come up with holiday packaging - your congratulations are ready!
To make a cardboard cake you will need colored cardboard. It is better to buy cardboard sold in large sheets, but cardboard in packs will also work. If you're lucky and find some cardboard with a design on it, even better. Scissors. To glue the cake structure, you will need a glue stick suitable for gluing cardboard.Small items for wishes, we will dwell on wishes later. Ribbons, bows, beads, in short, everything you would like to see as a decoration for your cake.
1. Let's prepare a template for making cake pieces.

2. Trace the template onto a sheet of your colored cardstock. The cake will consist of twelve pieces, therefore, we make twelve blanks.

3. Bend the workpiece along the fold lines, gluing in places for gluing.

4. We put a souvenir wish into each resulting box, and write the wish on a piece of paper.

It could be:
- small shell - I wish you pleasant travels,
- coffee bean - I wish you a cheerful morning,
- a banknote rolled into a tube - I wish you wealth,
- heart - I wish you love,
- dummy - I wish you a new addition to the family,
- candy - I wish you a sweet life,
- watch – favorable changes,
- turtle figurine - I wish you a long life,
- button - I wish you new things
- figurine of a dog - I wish you true friends
- battery - I wish you energy
- matryoshka - I wish you a holiday in the village
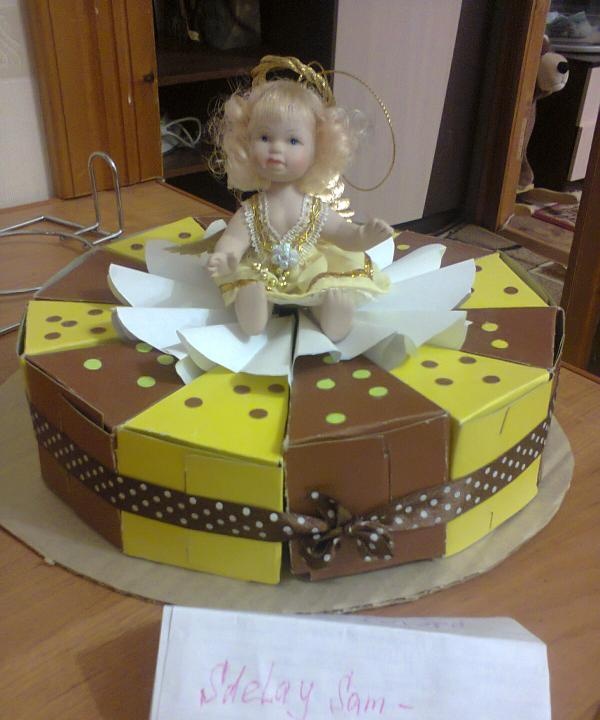
5. We collect the “pieces” into a single whole and tie them with elegant braid.

5. Let's move on to decorating the cake, there are no special recommendations here, it can be chocolate, fruit or floral, show your imagination.

7. Come up with holiday packaging - your congratulations are ready!

Similar master classes
Particularly interesting
Comments (2)

