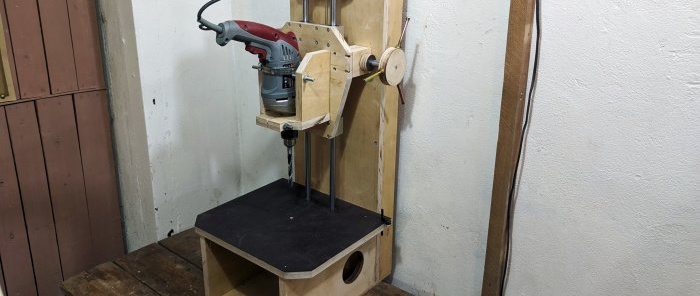
Very accurate drill stand for a drill with your own hands
Drill stands for drills, even in the factory version, are very far from ideal, since it is difficult to align the drill in them strictly vertically. If you need extreme precision, it is better to make the stand yourself.
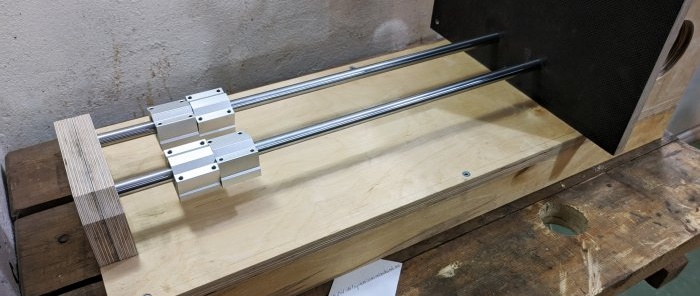
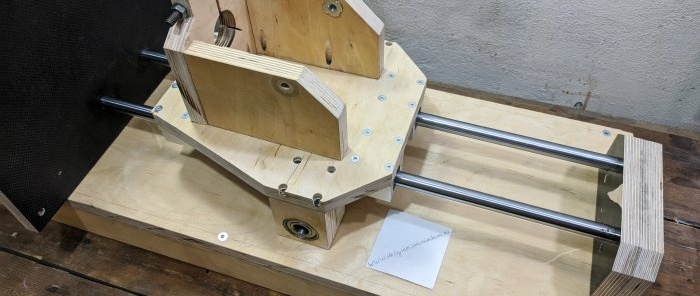
The machine column is a plywood base on which linear guides with bearings will be mounted. It is cut 20-30 cm longer than the guides. On the reverse side it needs to be reinforced with stiffening ribs.
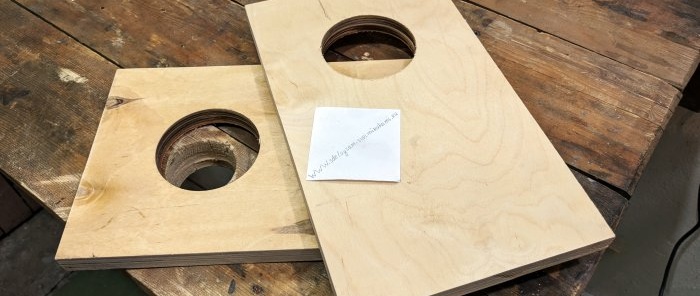
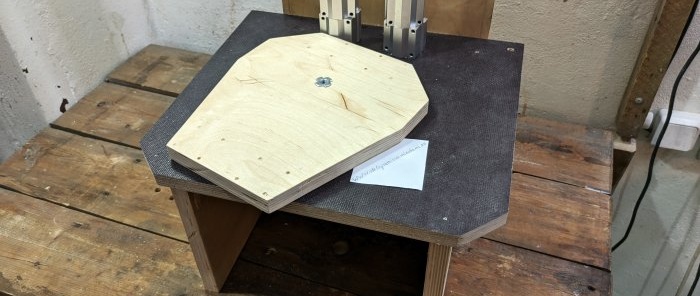
A machine table is cut out of plywood.
It is necessary to screw it to the base with an oblique screw. 2 blind holes are made in the table for linear guides.At the top point they are attached to two spliced pieces of plywood, also screwed to the frame. The guides are glued into the mounting holes using epoxy glue. Before this, linear bearings are put on them. Right angles must be observed.
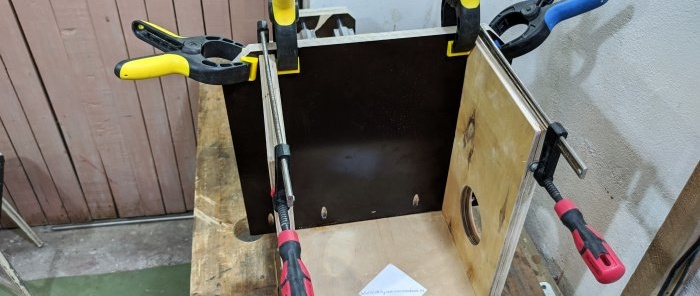
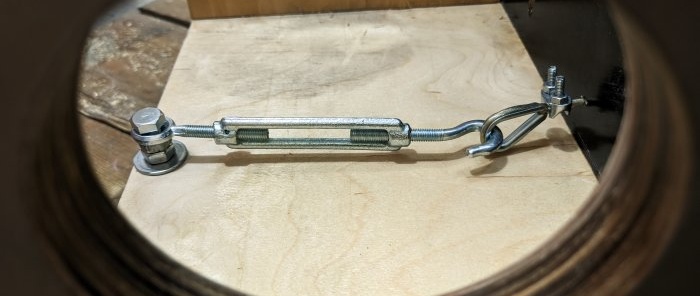
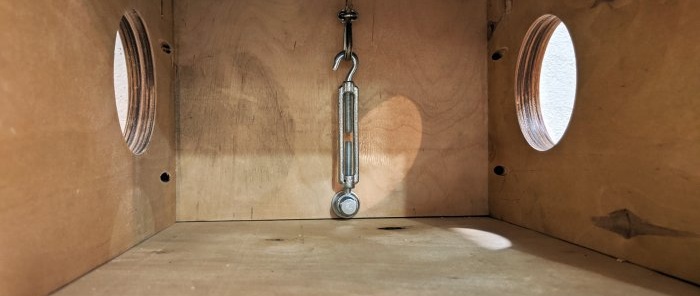
To strengthen the table, you need to cut out 2 side inserts from plywood and screw them on from the bottom. They are connected to the bottom of the bed and the table with an oblique screw. You will need to make holes in the sidewalls with a large cutter. A lanyard is screwed to the frame under the table.
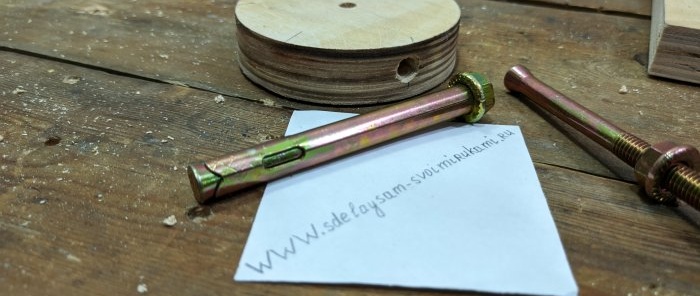
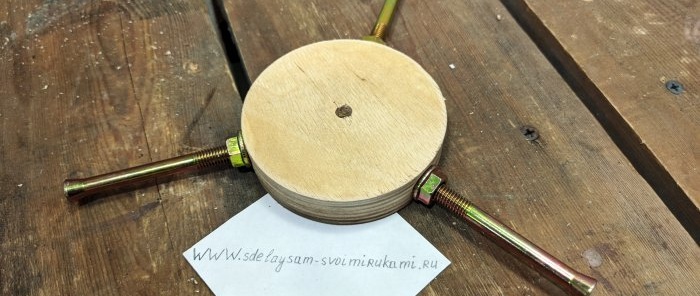
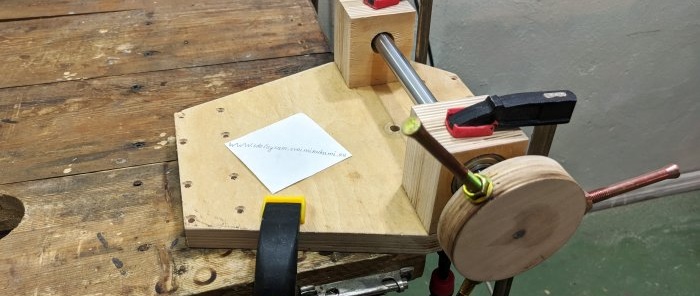
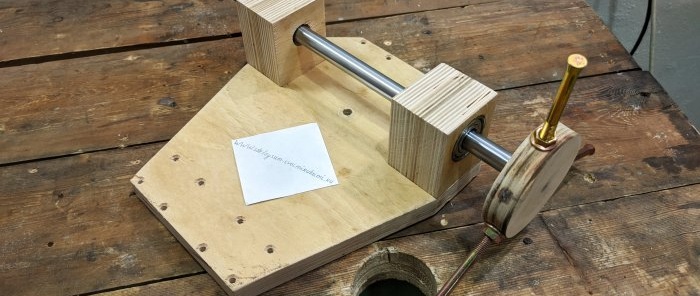
An adjustment wheel is made from a plywood disk. 3 holes are drilled into it on the side, and bolts from anchors are glued into them. Then the wheel is drilled in the center and the shaft is glued into it. At the gluing site, notches are cut on the shaft. A mark is made on the side of the wheel. To do this, simply glue the nail in and cut it flush.
A holder-clamp for a drill is cut out of plywood.
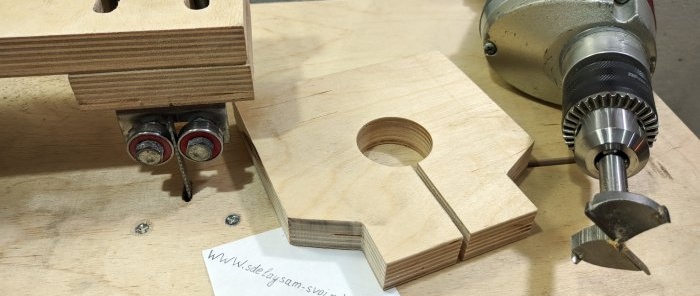
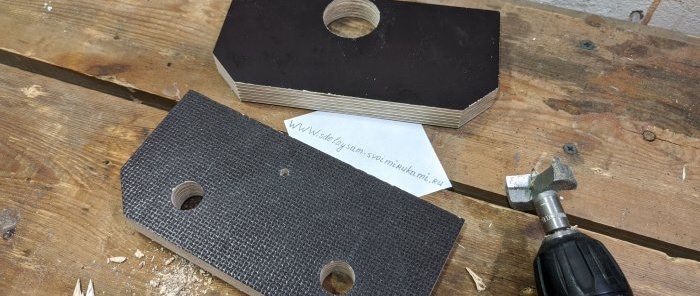
It is a piece of plywood with a hole equal to the diameter of the drill body at the location where the removable handle is installed. The workpiece is cut to the hole and equipped with a bolt and nut. Thus, when they are tightened, the inserted door will be clamped.
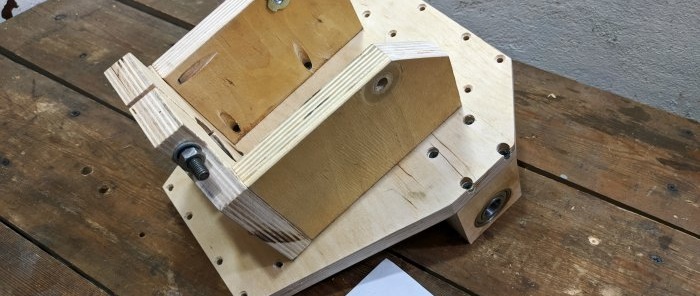
A shield for attaching the drill is also cut out of plywood. It is screwed to the linear bearings on the guides. The previously made clamp is attached to it with an oblique screw. 2 stiffening ribs are installed under it.
On the back of the shield, bars with pressed-in bearings are screwed into which a shaft with an adjusting wheel is placed. The shaft is fixed at the edges with plywood discs.
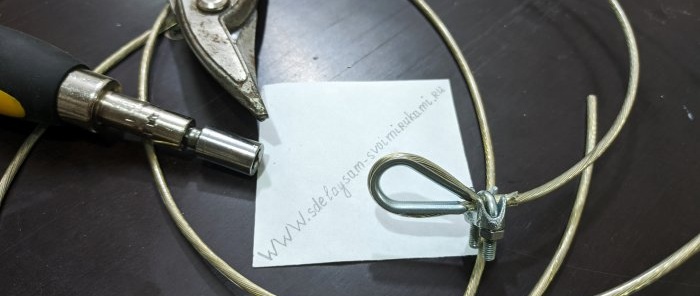
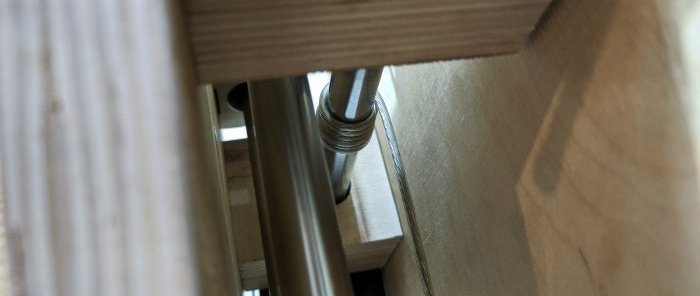
To operate the lifting mechanism, you need to pull the cable between the lanyard under the table and the top mount of the guides. In this case, it must be wrapped several times on the shaft. It is then tightened with a lanyard.
To reduce runout, it is necessary to make clips for the shaft stops. They are pieces of plywood cut in half, left over after drilling out the stops. The clips are screwed to the frame.
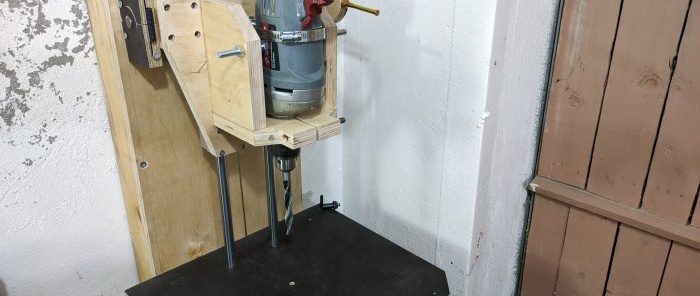
The drill is installed in the machine and additionally clamped with a clamp. In order for the drill to be positioned strictly vertically, it is necessary to tighten a pair of bolts through the ribs of the holder. They can be used to adjust the spindle tilt.
Materials:
- plywood 20 mm;
- linear guides with bearings – 2 pcs.;
- lanyard;
- sheathed cable 2-3 mm;
- shaft 20 mm;
- floor shaft bearings – 2 pcs.;
- M8 bolts with nuts;
- big clamp.
Additional materials:
- PDF drawing with exact dimensions - https://mazaydiy.com/plans/drill-press-machine.pdf
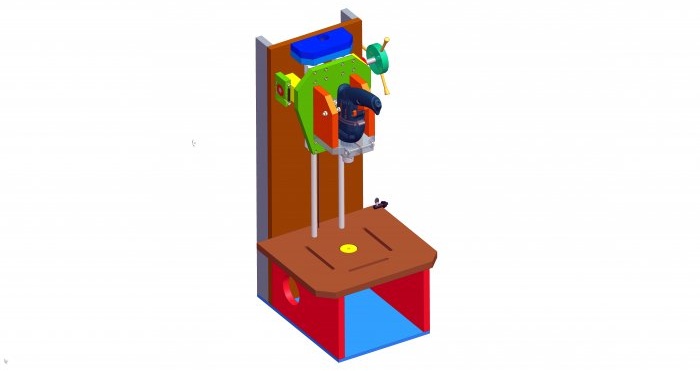
- 3D model, for a more visual representation - https://grabcad.com/library/homemade-drill-press-machine-out-of-plywood-1
Drill stand manufacturing process
The machine column is a plywood base on which linear guides with bearings will be mounted. It is cut 20-30 cm longer than the guides. On the reverse side it needs to be reinforced with stiffening ribs.
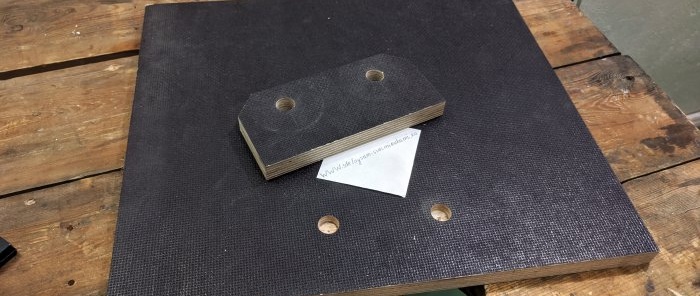
A machine table is cut out of plywood.
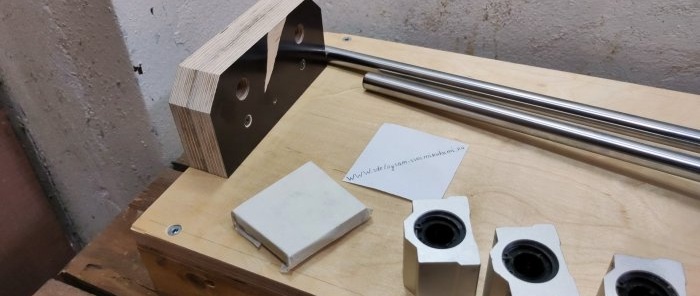
It is necessary to screw it to the base with an oblique screw. 2 blind holes are made in the table for linear guides.At the top point they are attached to two spliced pieces of plywood, also screwed to the frame. The guides are glued into the mounting holes using epoxy glue. Before this, linear bearings are put on them. Right angles must be observed.
To strengthen the table, you need to cut out 2 side inserts from plywood and screw them on from the bottom. They are connected to the bottom of the bed and the table with an oblique screw. You will need to make holes in the sidewalls with a large cutter. A lanyard is screwed to the frame under the table.
An adjustment wheel is made from a plywood disk. 3 holes are drilled into it on the side, and bolts from anchors are glued into them. Then the wheel is drilled in the center and the shaft is glued into it. At the gluing site, notches are cut on the shaft. A mark is made on the side of the wheel. To do this, simply glue the nail in and cut it flush.
A holder-clamp for a drill is cut out of plywood.
It is a piece of plywood with a hole equal to the diameter of the drill body at the location where the removable handle is installed. The workpiece is cut to the hole and equipped with a bolt and nut. Thus, when they are tightened, the inserted door will be clamped.
A shield for attaching the drill is also cut out of plywood. It is screwed to the linear bearings on the guides. The previously made clamp is attached to it with an oblique screw. 2 stiffening ribs are installed under it.
On the back of the shield, bars with pressed-in bearings are screwed into which a shaft with an adjusting wheel is placed. The shaft is fixed at the edges with plywood discs.
To operate the lifting mechanism, you need to pull the cable between the lanyard under the table and the top mount of the guides. In this case, it must be wrapped several times on the shaft. It is then tightened with a lanyard.
To reduce runout, it is necessary to make clips for the shaft stops. They are pieces of plywood cut in half, left over after drilling out the stops. The clips are screwed to the frame.
The drill is installed in the machine and additionally clamped with a clamp. In order for the drill to be positioned strictly vertically, it is necessary to tighten a pair of bolts through the ribs of the holder. They can be used to adjust the spindle tilt.
Watch the video
Similar master classes
Drill stand for drill from old shock absorbers
Drill stand two in one: drilling and grinding machine
Working design of a homemade lathe
A very simple drilling machine made from the most affordable materials
Do-it-yourself mini jigsaw 3.7 V
How to make a simple machine for shaped cutting of metal from a drill
Particularly interesting
Comments (0)

