What you need to know about gel polishes? Application at home.
The modern cosmetics industry is making rapid strides forward. Let's remember, twenty years ago women painted their nails with plain varnishes, and could not even think that in the future they would be able to decorate them not only with different colors, but also with unique designs, rhinestones, stickers and modeling.
But as everyone knows, even the most expensive varnishes can last only a few days without chipping. Moreover, if the hands were constantly exposed to water, then the wear of such varnish was sharply reduced.
Probably no one wants to remember that the application procedure itself brings a lot of inconvenience and discomfort. It is at such moments that a woman becomes “helpless.” All this helplessness lasts about ten minutes (and in rare cases longer). After all, if at this time you touch the varnish that has not dried, it will become smeared.
But modern cosmetics manufacturers have decided to create a lasting alternative to conventional varnishes. Long laboratory studies helped to produce miracle gel polishes. Surely a woman who has used them once will never want to return to regular varnishes.Gel polishes can also strengthen the nail plate.
Many girls mistakenly call gel polishes shellacs. But let's dispel this myth forever. The fact is that Sellak is the name of the CND gel polishes, and not the general name of the product. In general, in simple terms, gel polish consists of a pigmented varnish component and a gel base. It is because of the gel that such coatings can last on nails for up to three weeks.
Gel polish is easy to apply, but without a base and top coat the gel simply won’t stick. There is no need to skimp on this kit. After all, it is precisely because of these products that the duration of wearing gel polishes depends.
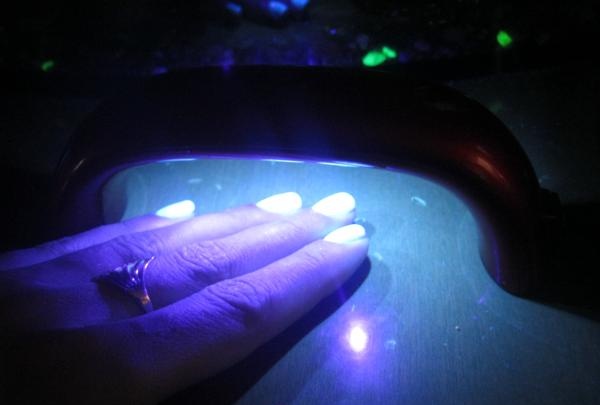
Gel polish does not air dry, unlike regular polishes. For polymerization, a special LED or ultraviolet lamp is required. Compact LED flashlights are also on sale. Of course, it is most convenient to use an LED lamp; it polymerizes the gel polish within thirty seconds. While in a UV lamp drying will take about two minutes. The LED flashlight will dry the gel polish in one minute. The disadvantage of flashlights is that each nail will have to be dried separately.
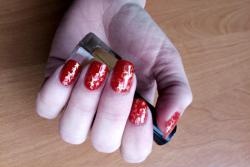
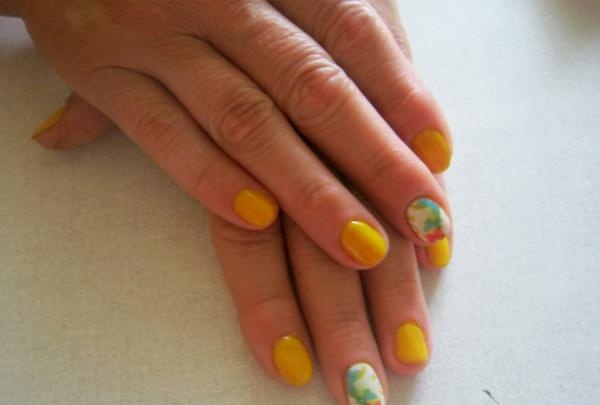
Step-by-step application of gel polishes + water slider design at home
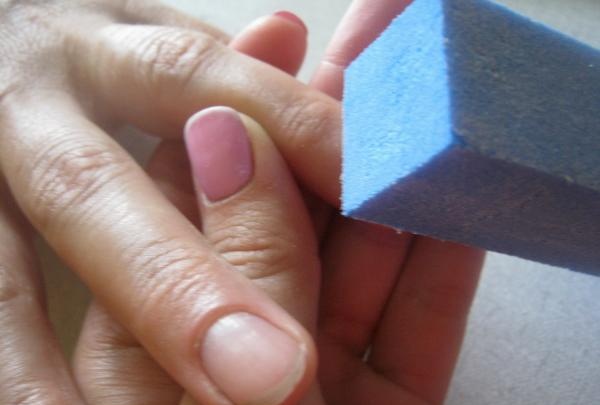
First you need to prepare the nail plate. Use a buff to carefully file off the top layer of the nail. But don't overdo it. This is done in order to remove the gloss from the nail for better adhesion of the material.
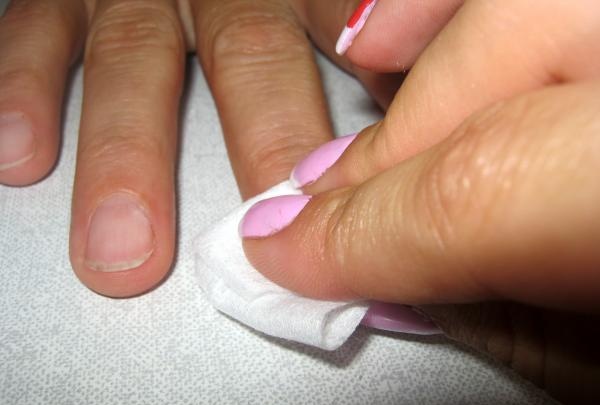
The next step is degreasing. To do this, you can use special products or regular medical alcohol.
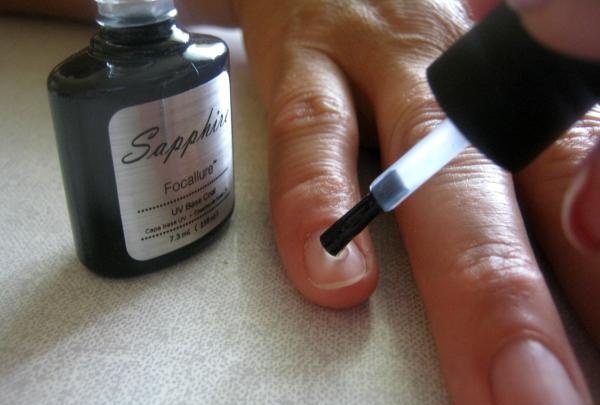
Apply the base and dry it in a lamp or with a flashlight.
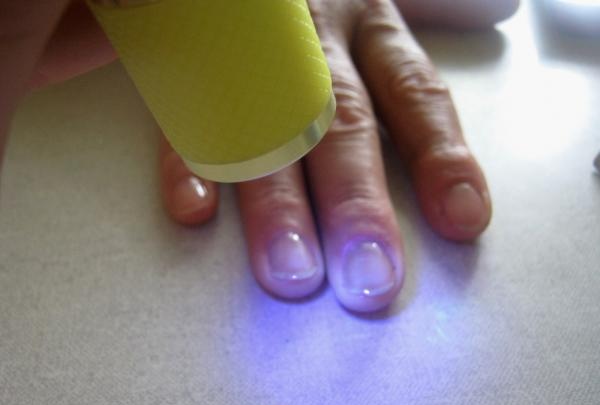
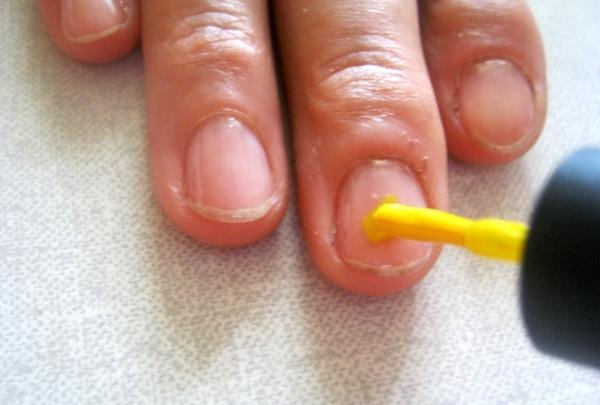
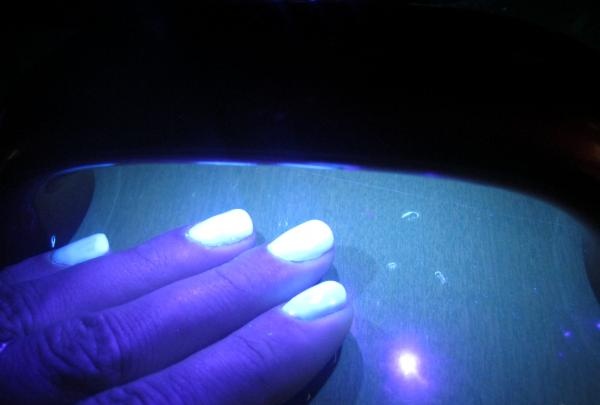
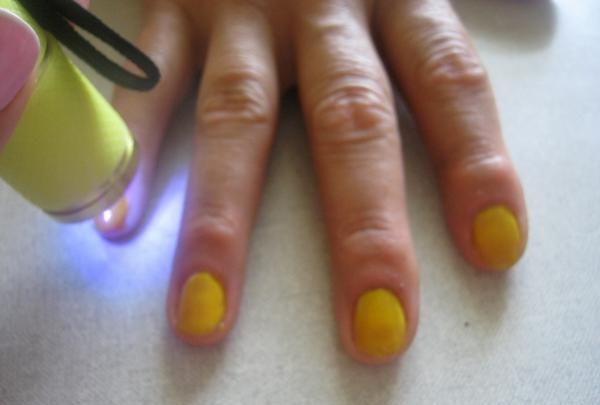
Next, you should apply the gel polish itself. A layer that should be very thin. The number of layers applied will depend on the pigmentation of the gel polishes.
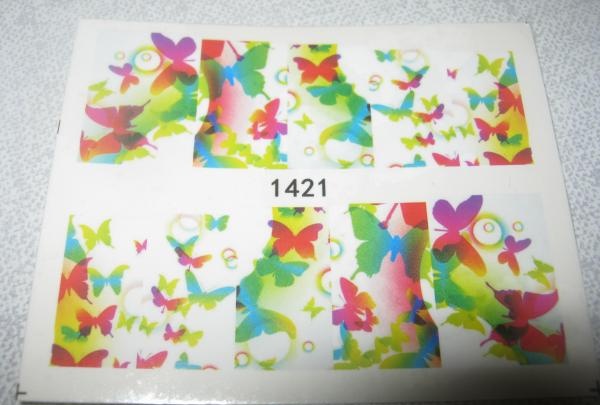
Each applied layer must be polymerized in a lamp.The tips of the nails need to be sealed with base, gel polish and top coat.
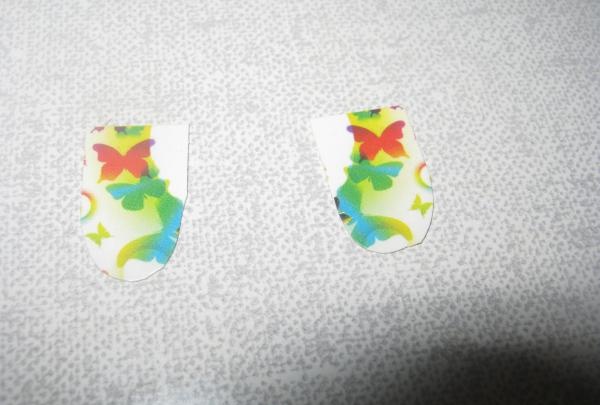
We shave the slider with stickers and cut it out.
Remove the protective film. This must be done, because a manicure simply won’t work.
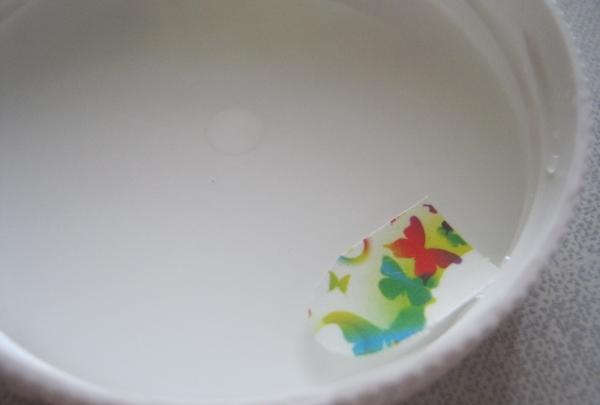
We put them in the water.
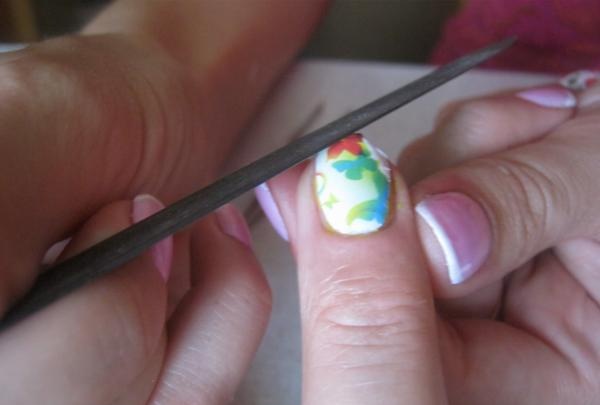
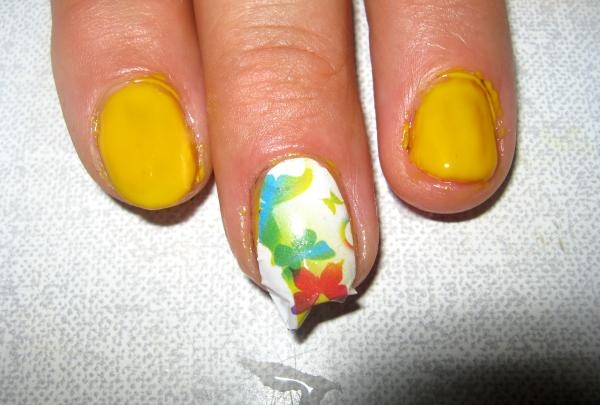
Then, with a gentle movement, remove the paper backing and apply glue to the nail, smoothing out the folds.
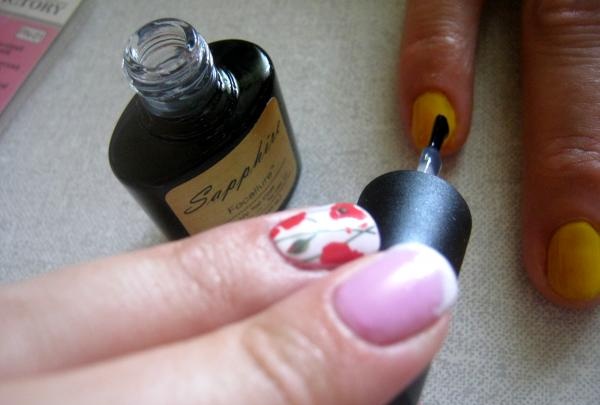
We cut off the remaining stickers with a file.

Apply a layer of topcoat and dry it in a lamp.
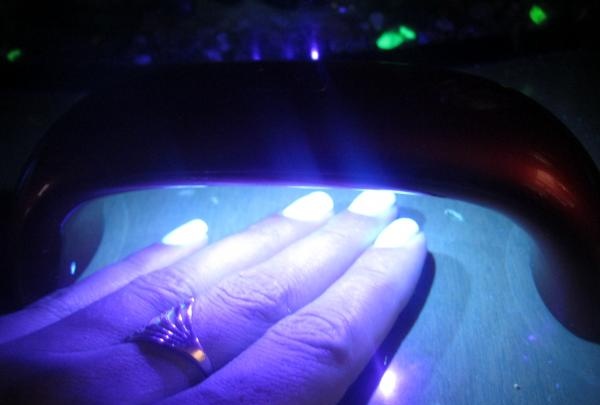
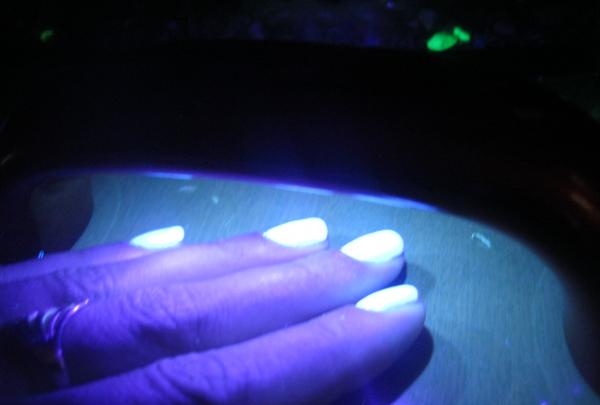
It should be remembered that some tops have a sticky layer, which must be removed with special means.
The base, top or gel polish itself must not come into contact with the cuticle or skin. After all, this will entail peeling of the coating.
But as everyone knows, even the most expensive varnishes can last only a few days without chipping. Moreover, if the hands were constantly exposed to water, then the wear of such varnish was sharply reduced.
Probably no one wants to remember that the application procedure itself brings a lot of inconvenience and discomfort. It is at such moments that a woman becomes “helpless.” All this helplessness lasts about ten minutes (and in rare cases longer). After all, if at this time you touch the varnish that has not dried, it will become smeared.
But modern cosmetics manufacturers have decided to create a lasting alternative to conventional varnishes. Long laboratory studies helped to produce miracle gel polishes. Surely a woman who has used them once will never want to return to regular varnishes.Gel polishes can also strengthen the nail plate.
Many girls mistakenly call gel polishes shellacs. But let's dispel this myth forever. The fact is that Sellak is the name of the CND gel polishes, and not the general name of the product. In general, in simple terms, gel polish consists of a pigmented varnish component and a gel base. It is because of the gel that such coatings can last on nails for up to three weeks.
Gel polish is easy to apply, but without a base and top coat the gel simply won’t stick. There is no need to skimp on this kit. After all, it is precisely because of these products that the duration of wearing gel polishes depends.
Gel polish does not air dry, unlike regular polishes. For polymerization, a special LED or ultraviolet lamp is required. Compact LED flashlights are also on sale. Of course, it is most convenient to use an LED lamp; it polymerizes the gel polish within thirty seconds. While in a UV lamp drying will take about two minutes. The LED flashlight will dry the gel polish in one minute. The disadvantage of flashlights is that each nail will have to be dried separately.
Step-by-step application of gel polishes + water slider design at home
First you need to prepare the nail plate. Use a buff to carefully file off the top layer of the nail. But don't overdo it. This is done in order to remove the gloss from the nail for better adhesion of the material.

The next step is degreasing. To do this, you can use special products or regular medical alcohol.

Apply the base and dry it in a lamp or with a flashlight.


Next, you should apply the gel polish itself. A layer that should be very thin. The number of layers applied will depend on the pigmentation of the gel polishes.

Each applied layer must be polymerized in a lamp.The tips of the nails need to be sealed with base, gel polish and top coat.


We shave the slider with stickers and cut it out.


Remove the protective film. This must be done, because a manicure simply won’t work.
We put them in the water.

Then, with a gentle movement, remove the paper backing and apply glue to the nail, smoothing out the folds.

We cut off the remaining stickers with a file.

Apply a layer of topcoat and dry it in a lamp.


It should be remembered that some tops have a sticky layer, which must be removed with special means.
The base, top or gel polish itself must not come into contact with the cuticle or skin. After all, this will entail peeling of the coating.

Similar master classes
Particularly interesting
Comments (2)

