Hardening the cutting edge of a knife with graphite
I will tell you and show you a simple way to harden any knife at home. And then, I will not harden the entire knife, but only its cutting edge, which greatly simplifies the task.
If we go into detail, it will most likely not be hardening, but carburization, which aims to increase the hardness and wear resistance of the metal.
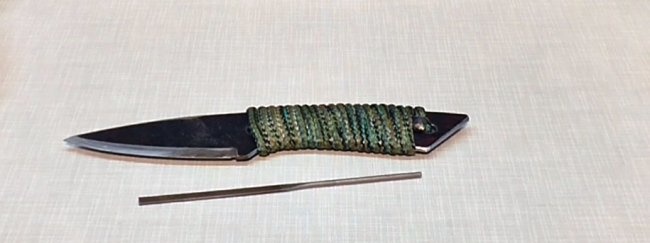
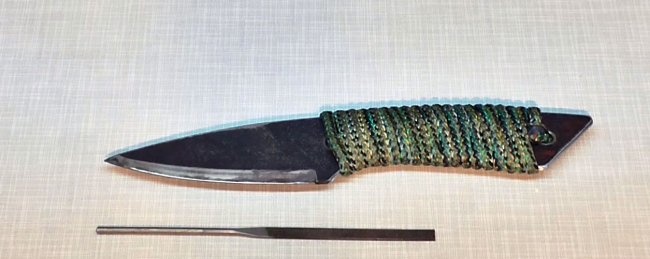
We take a knife.
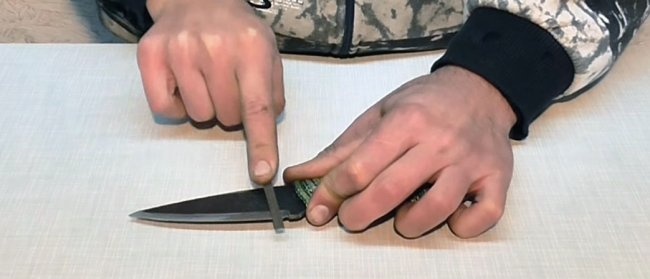
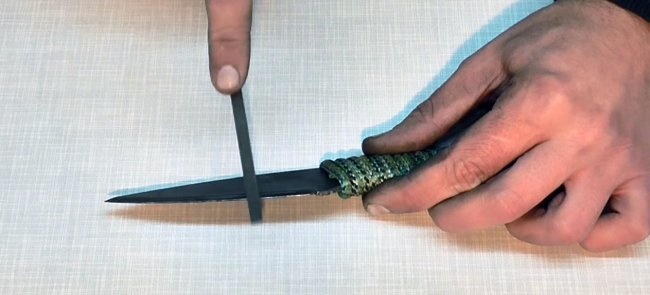
We go along the edge with a file, while paying attention to the dull sound and slight grinding of the metal. Everything indicates that the knife is made of ordinary steel and has not been previously hardened.
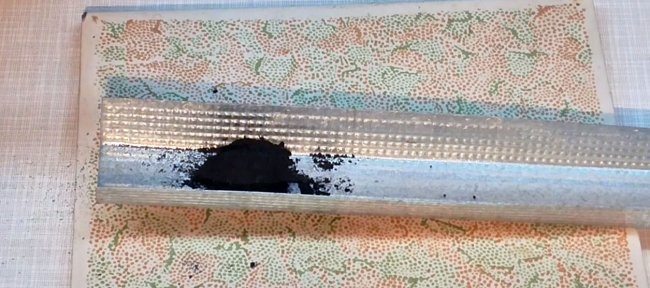
For hardening you need graphite. It is best to obtain graphite from graphite brushes of a generator or brushed electric motor. Of course, I haven’t tried it, but you can also get graphite rods from AA batteries or simple pencils.
In general, we grind this graphite into powder in any way. There is no need to grind it too much, without fanaticism.
Next, I need a metal base on which the graphite powder will lie. I took a piece of galvanized drywall profile.
The knife edge hardening process also requires a power source.Ideally, this is a pulsed DC welding machine set to minimum. You can also try to repeat the process using another source, 30-60 volts AC or DC. There is another dangerous option: using a 220 V network directly, in series with an incandescent lamp, but this is already fraught, so I do not recommend it.
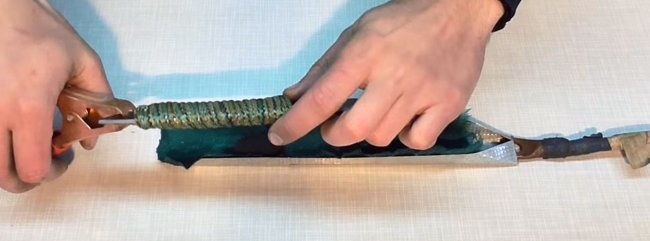
Pour in graphite. We connect the plus of the welding machine to the base of the substrate, and the minus to the knife.
We set the inverter to minimum settings and turn it on.
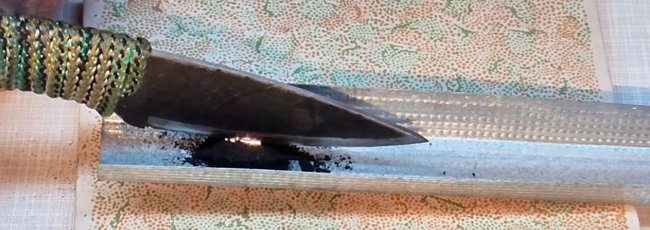
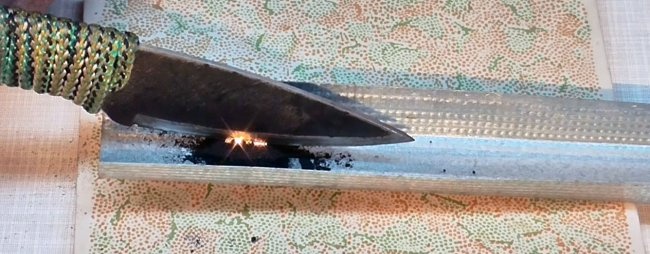
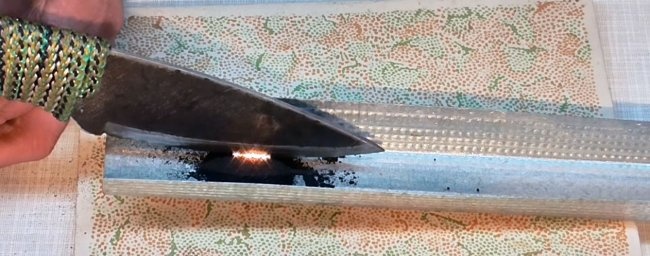
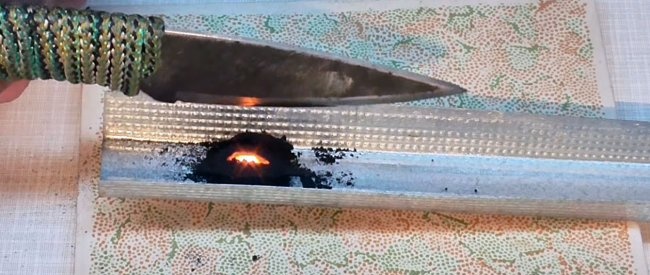
We begin the process of hardening the edge. To do this, very carefully run the edge of the knife along the graphite pile.
Our task is: first, to prevent the blade from touching the base. And the second thing is to prevent the graphite from burning. In both cases the blade will be damaged.
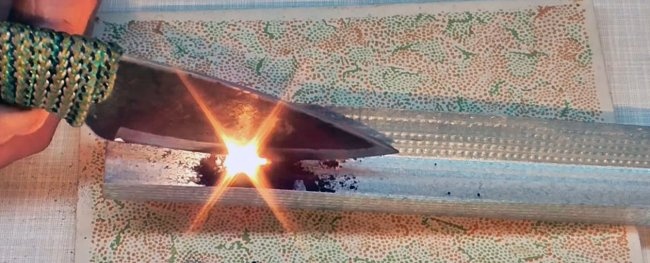
Ideally, the blade should be moved slowly, and the graphite should sparkle and flicker. Naturally, you don’t need to lower the knife too much.
As soon as you notice the contact area heating up, immediately lift the knife.
The whole process does not last long, about 5 minutes. During this time I managed to walk along the entire length of the blade several times.
We take the file and shuffle the blade like the first time. A ringing sound is immediately audible, indicating the high hardness of the metal. Plus, the edge is practically impossible to process.
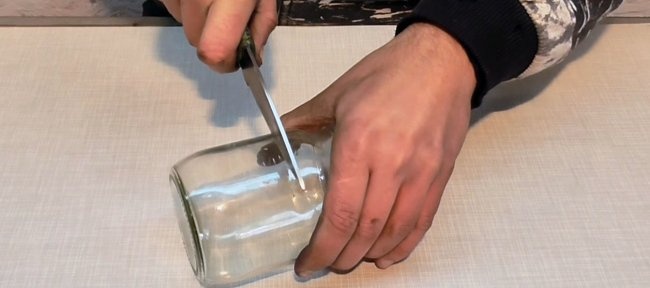
We cut a glass jar.
Leaves notches, be healthy!
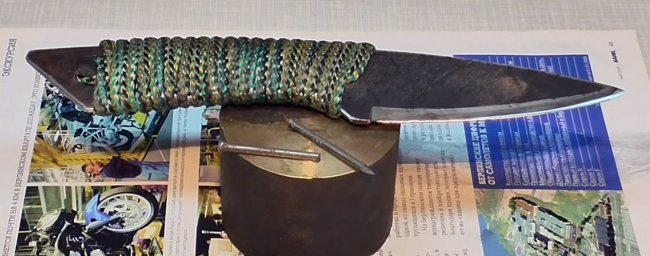
We knock on a steel nail.
The result is excellent - not a scratch on the knife.
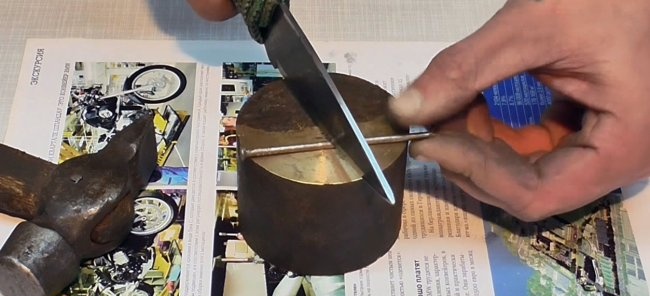
Finally, I cut the nail with a knife by hitting it with a hammer.
The knife was not damaged!
I'm not a big expert in steel hardening, but the method really clearly works. Local craftsmen say that such hardening increases the hardness of a section of metal to almost 90 units.I can’t disagree or refute, since I don’t have a hardness tester. If you have questions or suggestions, as well as comments, write in the comments. Good luck to all!
If we go into detail, it will most likely not be hardening, but carburization, which aims to increase the hardness and wear resistance of the metal.
Hardening the cutting edge of a knife
We take a knife.
We go along the edge with a file, while paying attention to the dull sound and slight grinding of the metal. Everything indicates that the knife is made of ordinary steel and has not been previously hardened.
For hardening you need graphite. It is best to obtain graphite from graphite brushes of a generator or brushed electric motor. Of course, I haven’t tried it, but you can also get graphite rods from AA batteries or simple pencils.
In general, we grind this graphite into powder in any way. There is no need to grind it too much, without fanaticism.
Next, I need a metal base on which the graphite powder will lie. I took a piece of galvanized drywall profile.
The knife edge hardening process also requires a power source.Ideally, this is a pulsed DC welding machine set to minimum. You can also try to repeat the process using another source, 30-60 volts AC or DC. There is another dangerous option: using a 220 V network directly, in series with an incandescent lamp, but this is already fraught, so I do not recommend it.
Pour in graphite. We connect the plus of the welding machine to the base of the substrate, and the minus to the knife.
We set the inverter to minimum settings and turn it on.
We begin the process of hardening the edge. To do this, very carefully run the edge of the knife along the graphite pile.
Our task is: first, to prevent the blade from touching the base. And the second thing is to prevent the graphite from burning. In both cases the blade will be damaged.
Ideally, the blade should be moved slowly, and the graphite should sparkle and flicker. Naturally, you don’t need to lower the knife too much.
As soon as you notice the contact area heating up, immediately lift the knife.
The whole process does not last long, about 5 minutes. During this time I managed to walk along the entire length of the blade several times.
Knife hardening result
We take the file and shuffle the blade like the first time. A ringing sound is immediately audible, indicating the high hardness of the metal. Plus, the edge is practically impossible to process.
We cut a glass jar.
Leaves notches, be healthy!
We knock on a steel nail.
The result is excellent - not a scratch on the knife.
Finally, I cut the nail with a knife by hitting it with a hammer.
The knife was not damaged!
I'm not a big expert in steel hardening, but the method really clearly works. Local craftsmen say that such hardening increases the hardness of a section of metal to almost 90 units.I can’t disagree or refute, since I don’t have a hardness tester. If you have questions or suggestions, as well as comments, write in the comments. Good luck to all!
Watch a video of the knife hardening process
Similar master classes
Particularly interesting
Comments (10)


