Stamping for beginners
Stamping, or as it is also called “nail art,” is quickly gaining popularity. After all, this is an excellent alternative to similar expensive procedures that are performed by professionals in the salon. At home, you can easily make an excellent manicure that will not differ from the work of a master.
The essence of the method is very simple - you use a stamp to apply a design from a special plate or disk. The prints come out very beautiful and accurate.
To create stamping at home we will need:
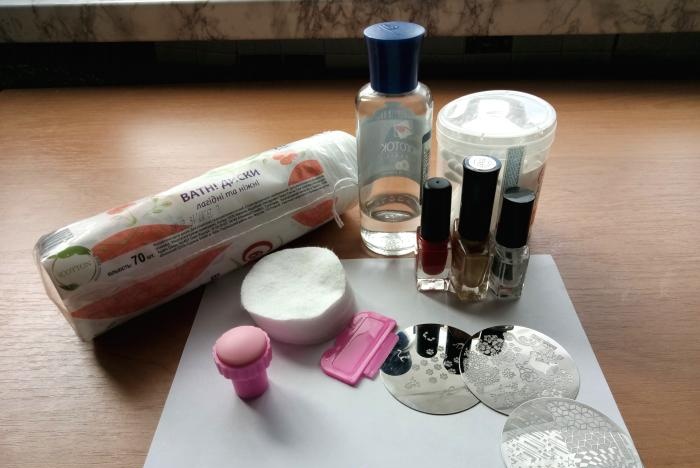
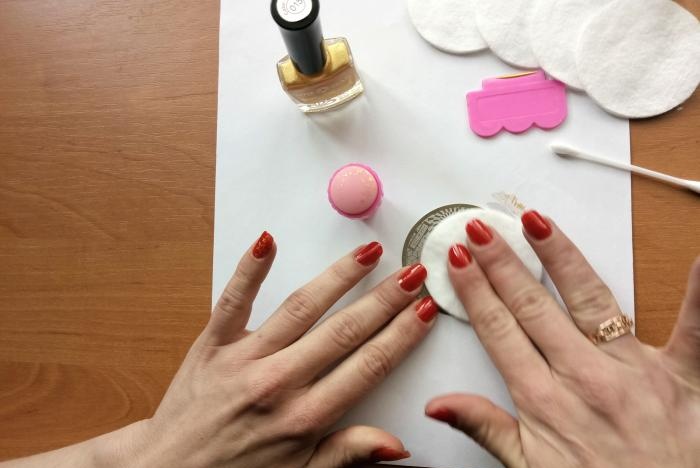
Let's prepare our tools for use. Lay them out conveniently for you - the process of applying the design from the stamp to the nail must be very fast, otherwise the varnish will dry out and not print. Therefore, you should have everything at hand.
First, degrease your hands - wash them thoroughly with soap. This is done in order to remove any remaining cream or other fat-containing substances from the nail plate. Then the varnish will lie neatly, evenly and beautifully.
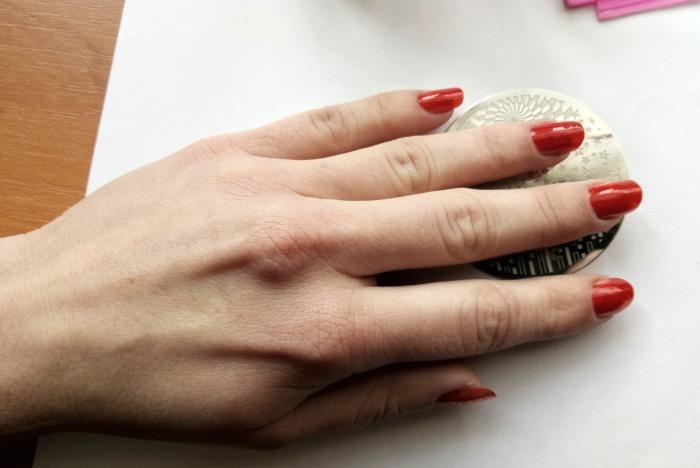
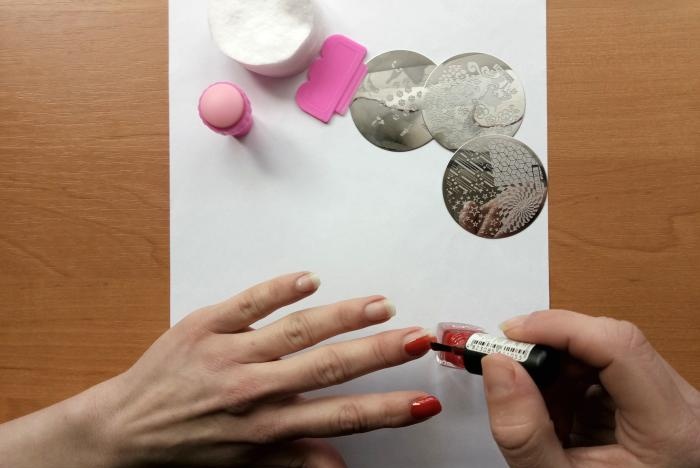
For the base, choose the polish that you like best. Apply it to your nails.Be sure to give the polish time to dry completely. If you do not do this, you may smear the drawing.
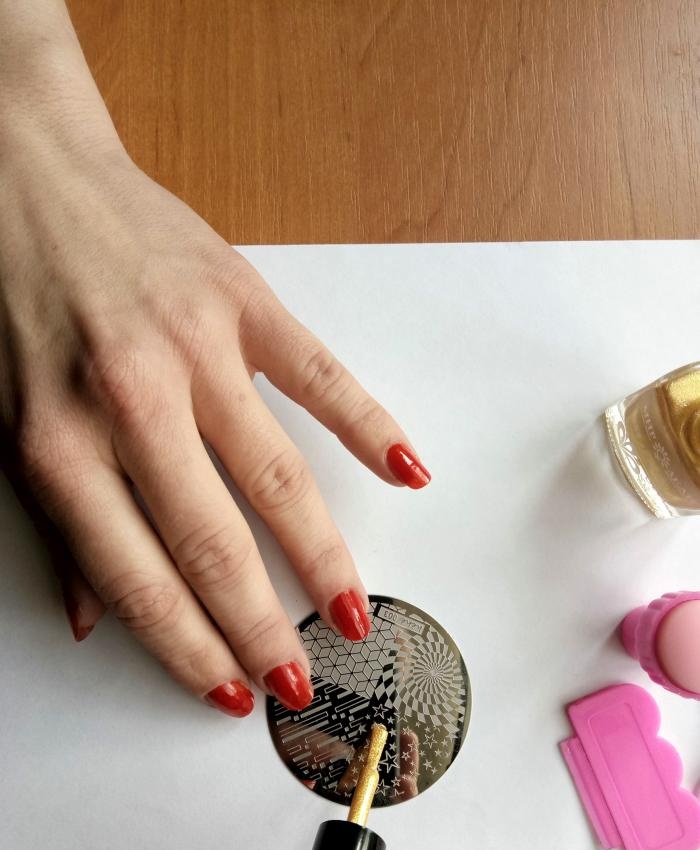
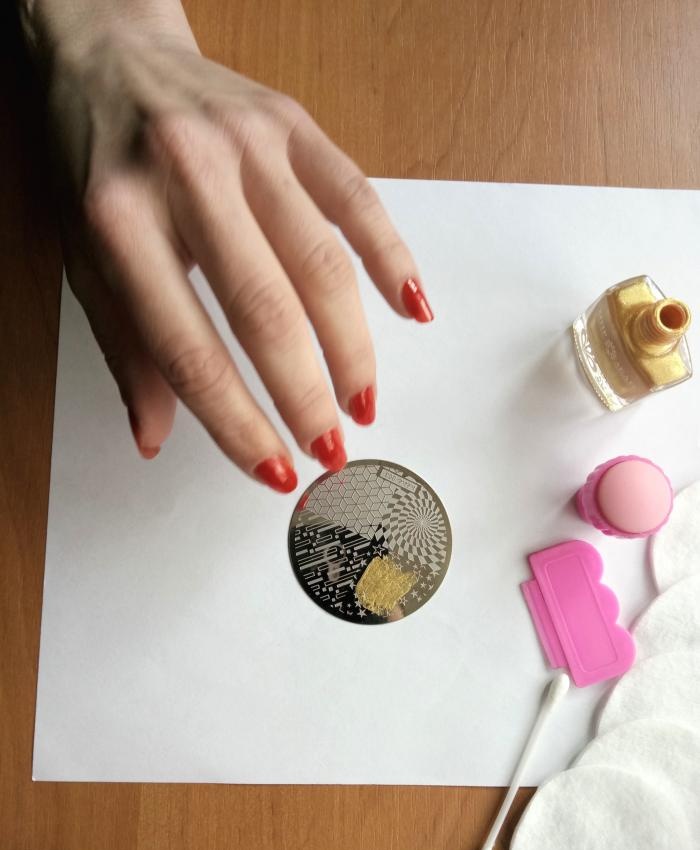
Degrease the disc, stamp and scraper with nail remover. The most ordinary one will do, just be sure to look at the ingredients - under no circumstances should there be oil in it.
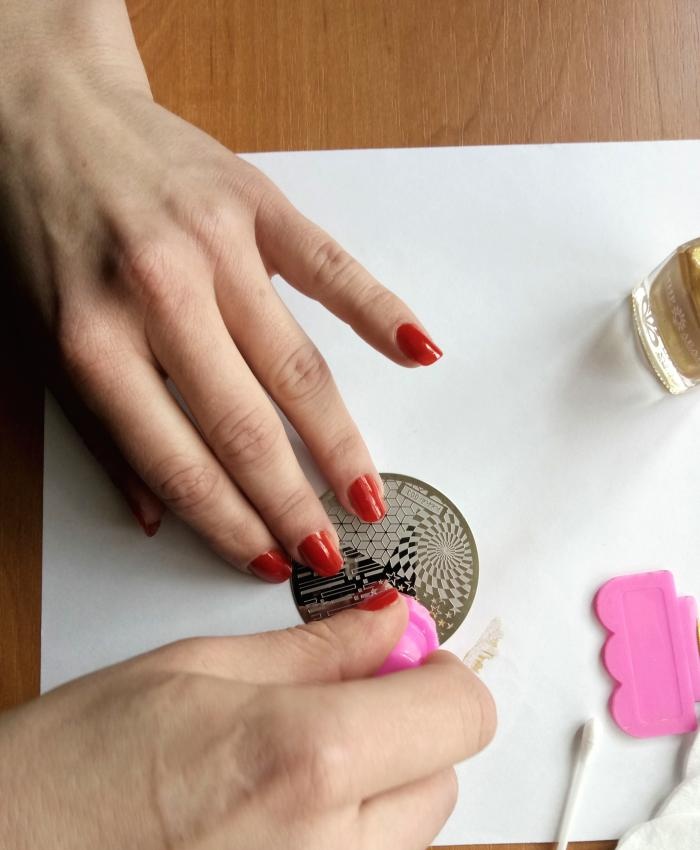
Apply varnish to the plate and, using a scraper at an angle of about 45 degrees, remove all excess. With a quick, rolling motion, apply the stamp to the disk. The design will be imprinted on your pillow.
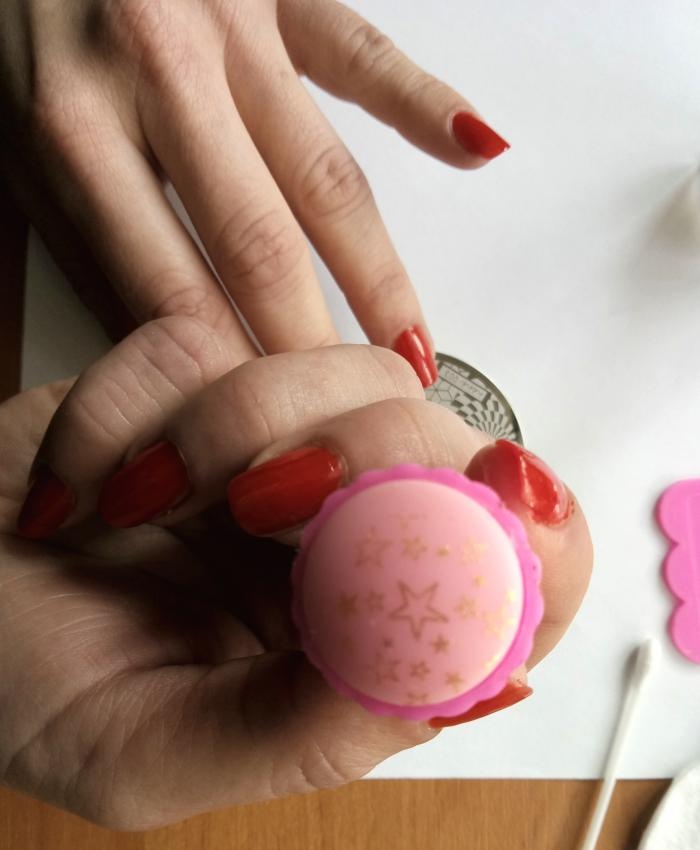
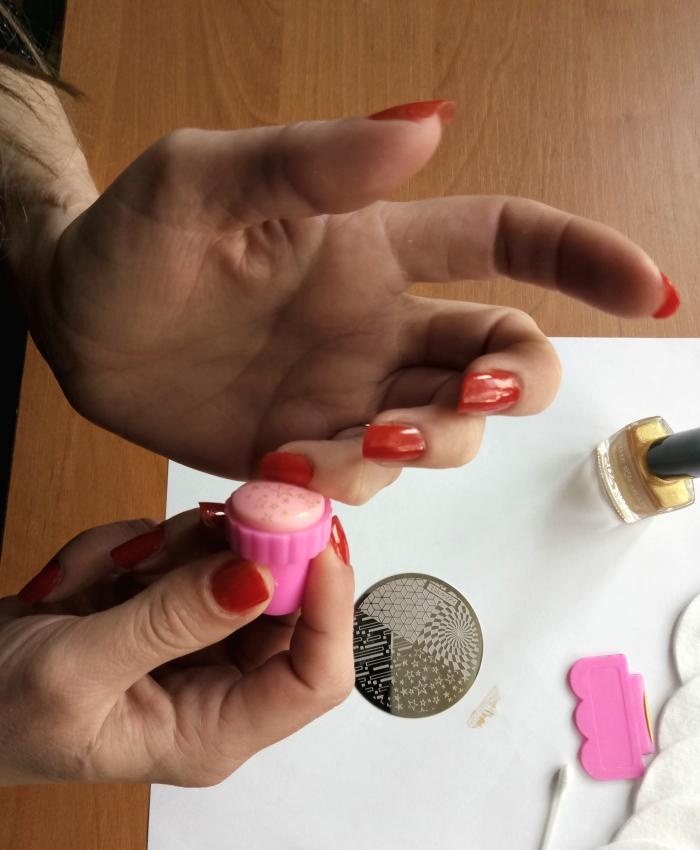
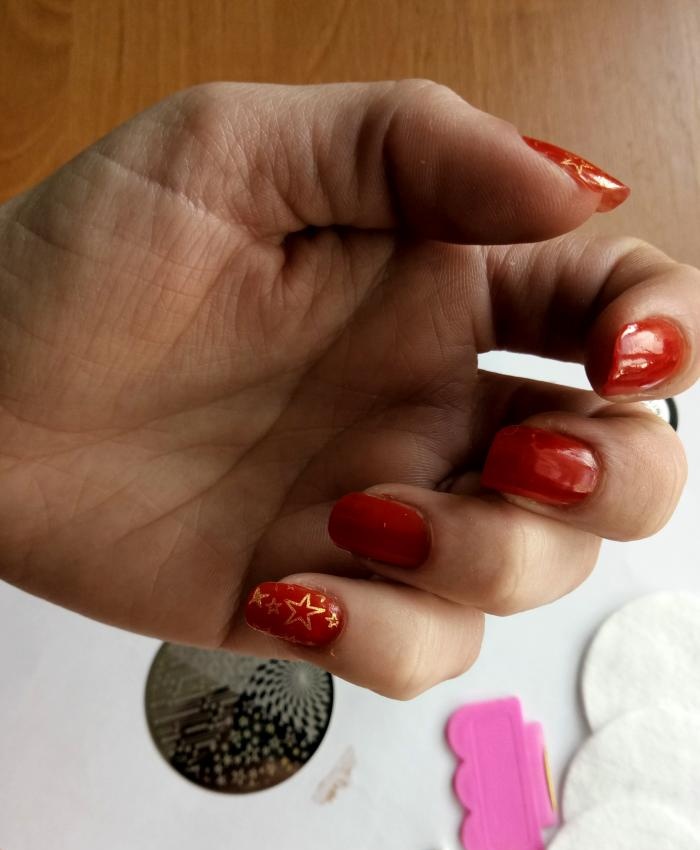
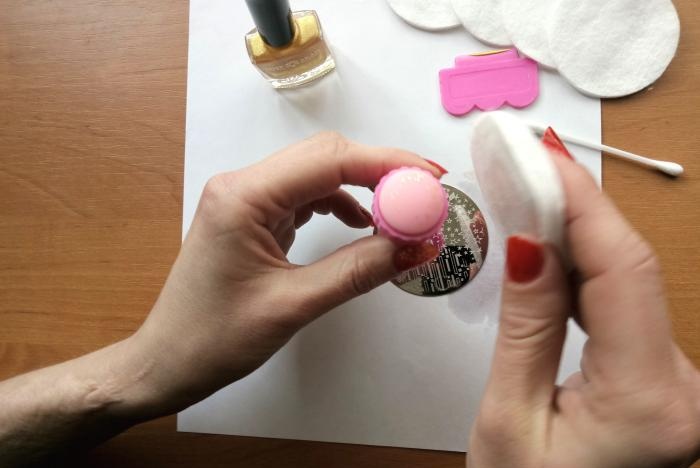
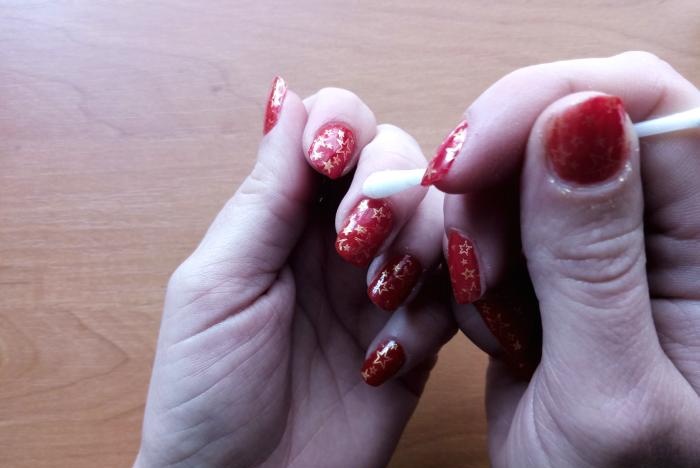
Now, without wasting time, transfer the design to your nail. If you don't do this quickly enough, the varnish will dry on your stamp and won't be able to apply completely.
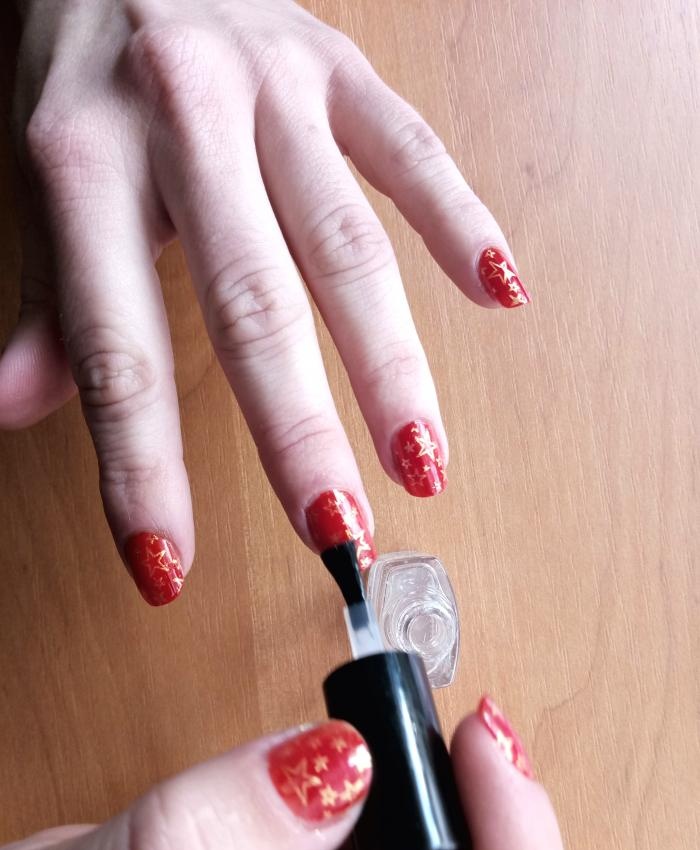
The drawing is a very thin layer, so it dries quite quickly. Now you need to apply a protective coating. It is important to do this with a light movement of one or two touches so that your drawing does not smudge.
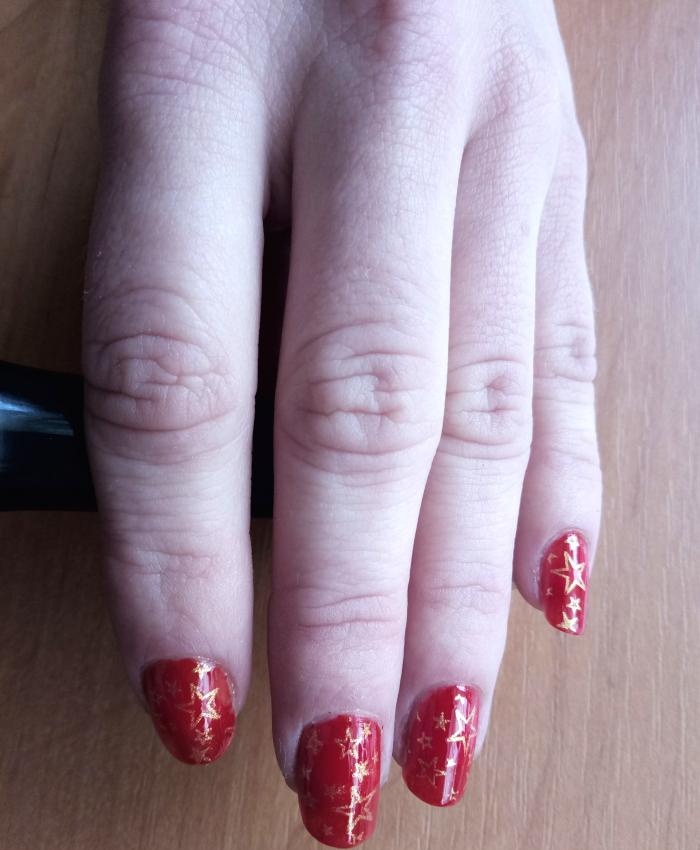
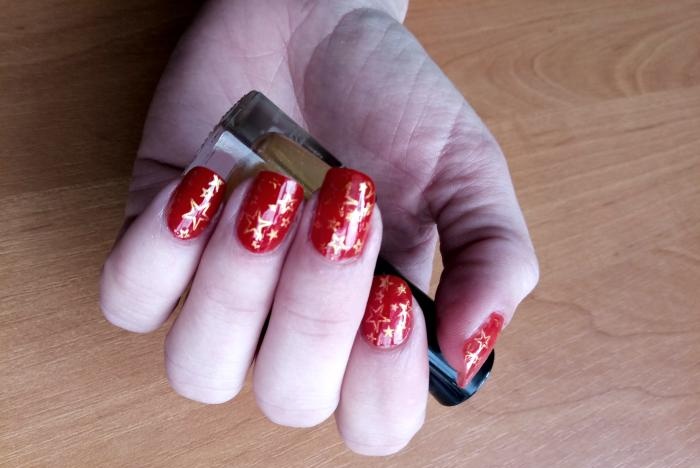
This is how you can easily and quickly get an excellent and original manicure without the services of specialists at home.
The essence of the method is very simple - you use a stamp to apply a design from a special plate or disk. The prints come out very beautiful and accurate.
Stamping tools
To create stamping at home we will need:
- special varnish (varnish-paint);
- disk or plate for stamping;
- stamp;
- scraper;
- nail polish remover (oil-free);
- fixative;
- cotton pads.

Instructions
Let's prepare our tools for use. Lay them out conveniently for you - the process of applying the design from the stamp to the nail must be very fast, otherwise the varnish will dry out and not print. Therefore, you should have everything at hand.

First, degrease your hands - wash them thoroughly with soap. This is done in order to remove any remaining cream or other fat-containing substances from the nail plate. Then the varnish will lie neatly, evenly and beautifully.

For the base, choose the polish that you like best. Apply it to your nails.Be sure to give the polish time to dry completely. If you do not do this, you may smear the drawing.


Degrease the disc, stamp and scraper with nail remover. The most ordinary one will do, just be sure to look at the ingredients - under no circumstances should there be oil in it.
Apply varnish to the plate and, using a scraper at an angle of about 45 degrees, remove all excess. With a quick, rolling motion, apply the stamp to the disk. The design will be imprinted on your pillow.


Now, without wasting time, transfer the design to your nail. If you don't do this quickly enough, the varnish will dry on your stamp and won't be able to apply completely.
The drawing is a very thin layer, so it dries quite quickly. Now you need to apply a protective coating. It is important to do this with a light movement of one or two touches so that your drawing does not smudge.


This is how you can easily and quickly get an excellent and original manicure without the services of specialists at home.
Similar master classes
Particularly interesting
Comments (1)


