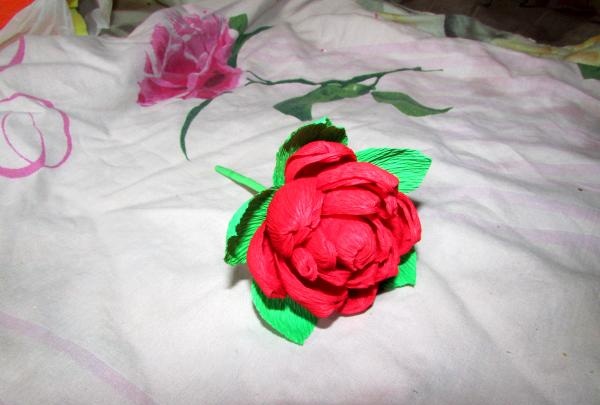
Corrugated paper dahlia
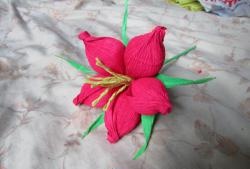
This flower is made of corrugated paper. It is very easy and quick to make. It will be a great addition to the interior of your home or a wonderful gift for friends and family.
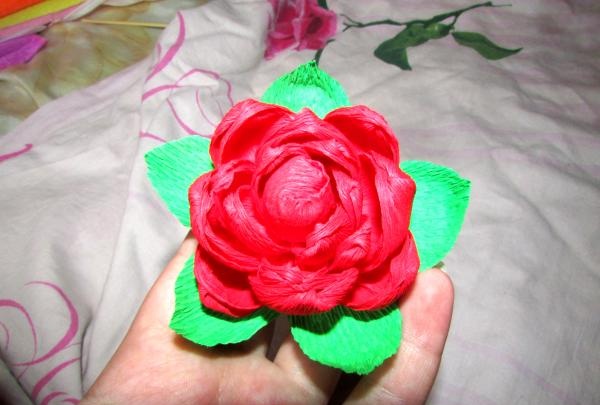
For work we will need:
- corrugated paper of 2 colors.
- threads.
- glue gun.
- cotton wool.
- skewer.
- scissors.
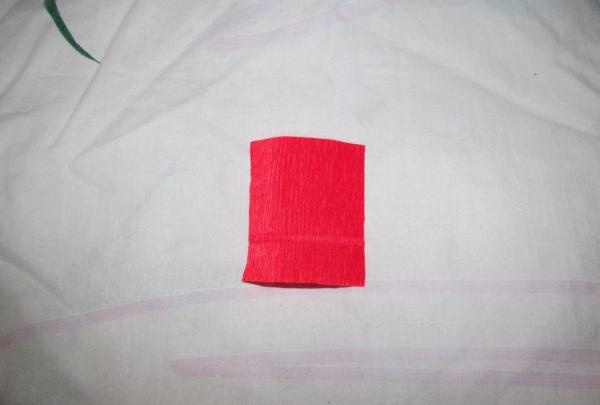
In order to start working with a flower, you need to make a base. Let's create the middle of the flower. Take red corrugated paper and cut a 4x4 cm square. In the middle of the square, make a depression with your thumbs.
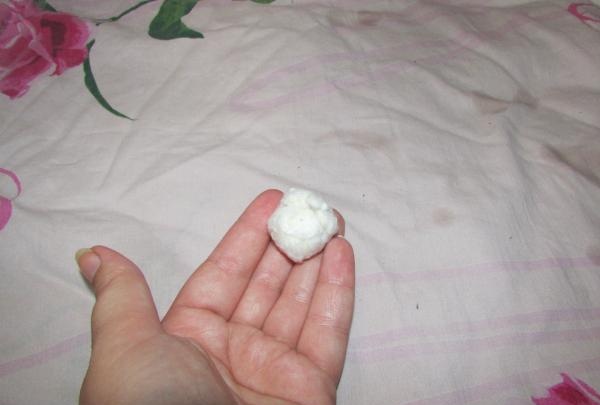
Take a piece of cotton wool and roll it into a ball. This ball will be the core of the flower.
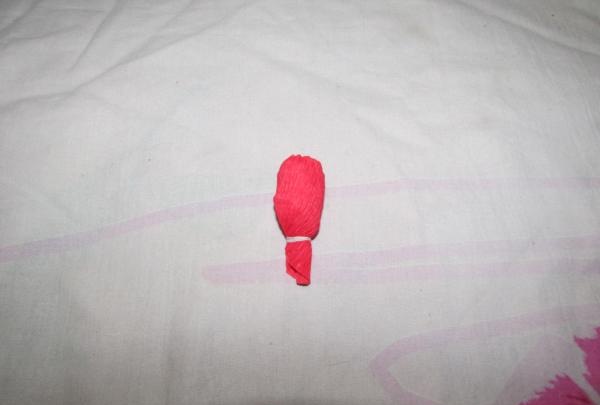
Take the prepared square and place cotton wool in the middle of the recess. We connect the corners of the square and twist them so that the shaft remains inside. Under a ball of cotton wool and paper, we tie the corners with thread. We tie everything tightly and tie it in a knot so that the thread does not get tied. Take a skewer and glue the base to the skewer. Let the glue dry.
We will have flower petals in two sizes. The first one will be 1x10cm in size, and the second 2x10cm.
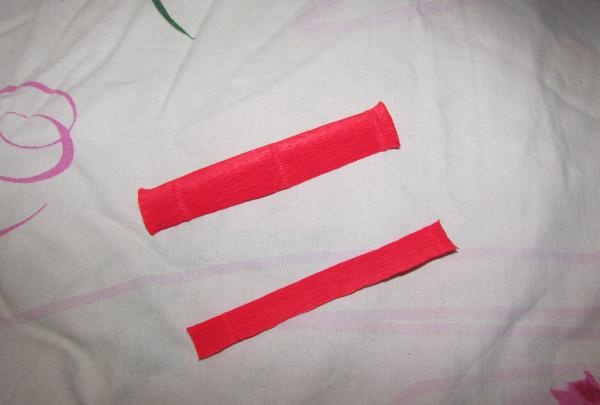
We begin to prepare the petals. To do this, we will take one petal and twist it exactly in the middle.Making only 1 revolution.
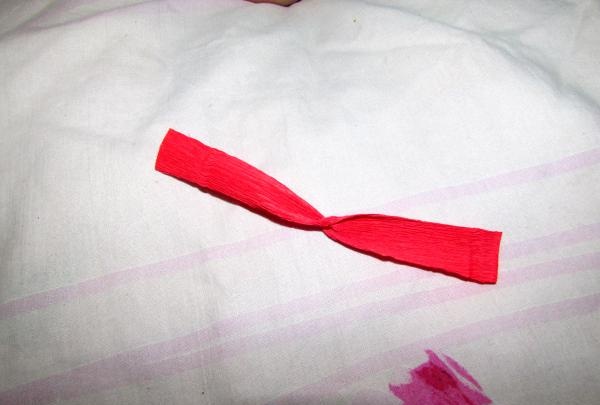
Take the twisted petal and fold it in half, at the point where it is twisted. At the same time, use your fingers to make a depression in the middle of the petal. Thus, to create a petal with a recess inward.
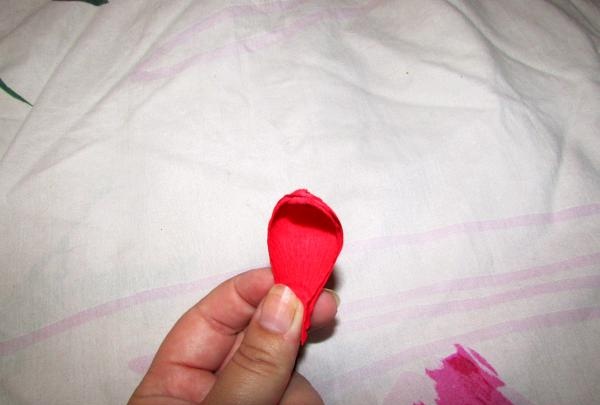
We process all prepared petals in the same way. For our flower you will need eight petals of 2 sizes. In total, we will have 16 petals and a base.
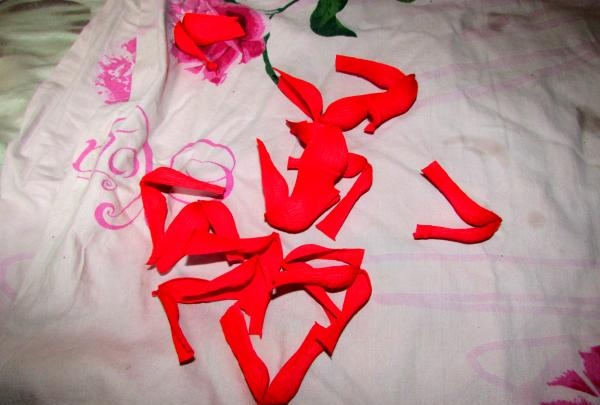
Let's start assembling the flower. We take two smaller petals and place them opposite each other. We tie them tightly with thread.
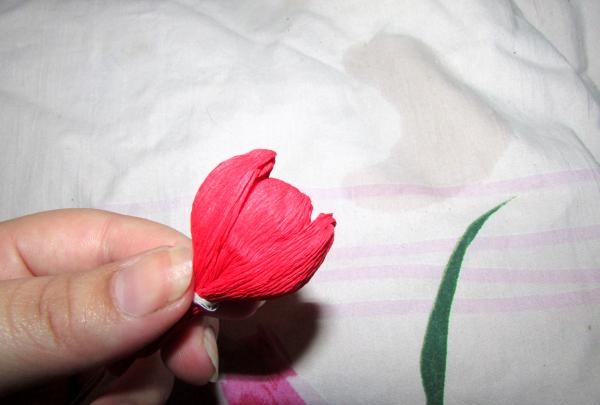
In the same way we tie the remaining small petals. There will be 8 of them.
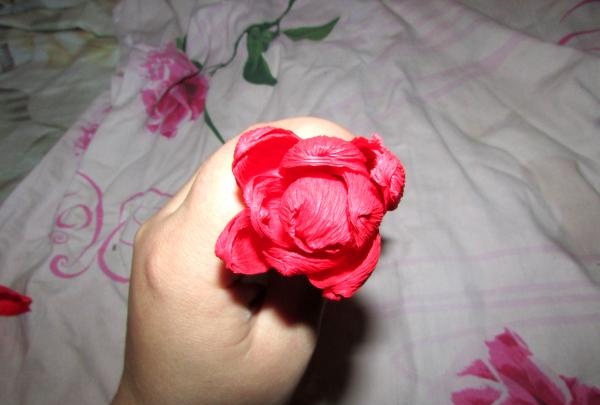
Now let's move on to petals of a different size, they are larger than the previous one. But there will also be eight of them. Attach the first four petals. We wrap them well with thread.
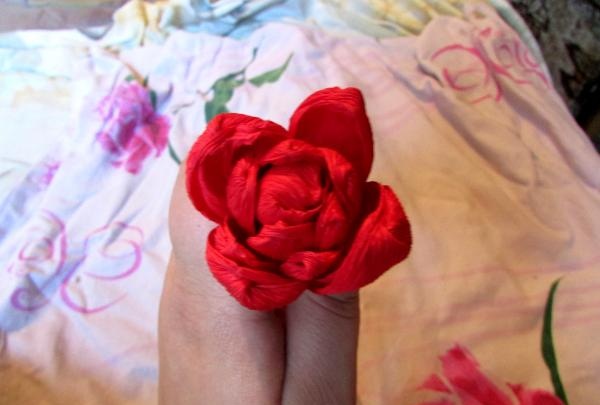
We attach the last petals to the flower. We tie it with thread and secure it. Correcting the petals.
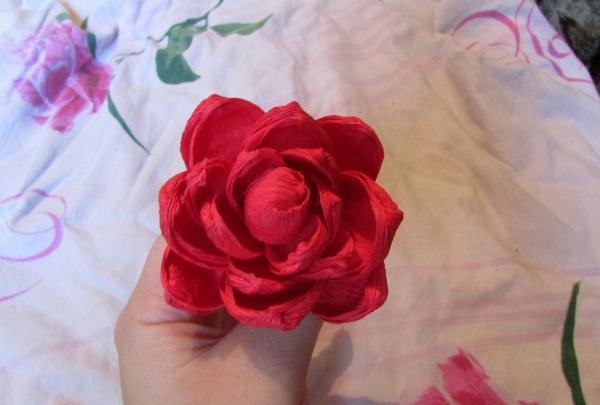
Now let's process the flower stem. Take scissors and cut off unnecessary parts from the petals below. We cut it so that it is easier to glue the stem.
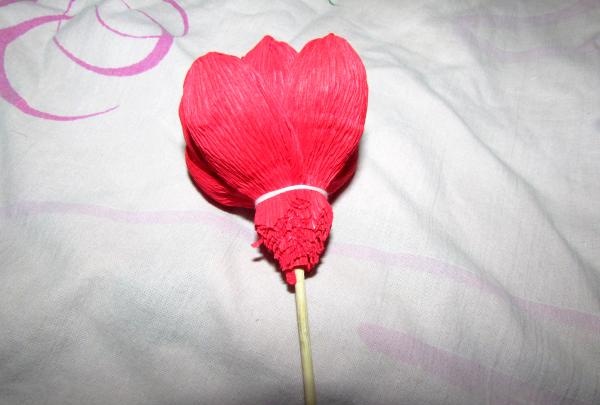
Let's start making leaves. To do this, take green paper. We cut a strip measuring 6x12 cm. We cut the leaves so that we get five oval leaves with pointed ends. Using your fingers, stretch the middle of each leaf a little, making a small indentation in the middle of the leaf.
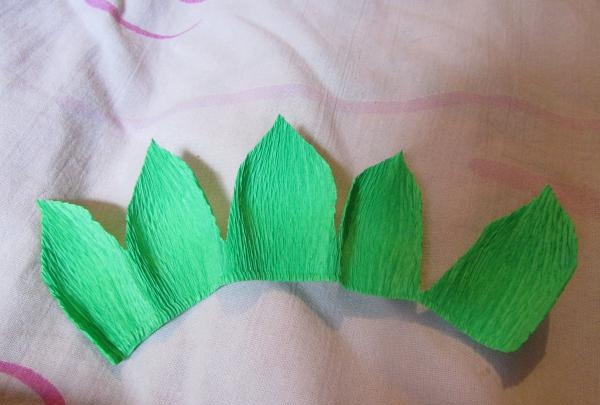
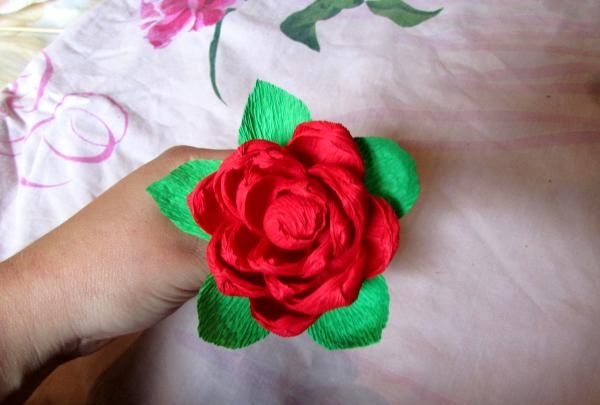
Using a glue gun, glue the sheets to the flower.
For the stem, take a green strip measuring 1x10 cm. Stretch it to the limit.
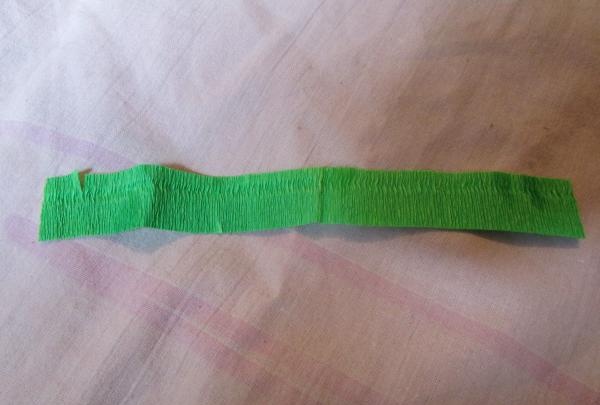
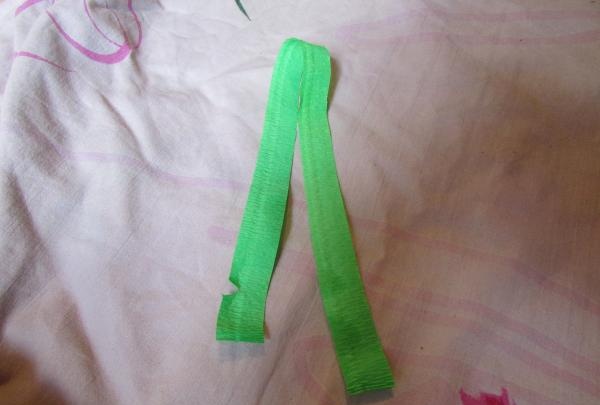
Let's start gluing the stem. Let's start from the base of the flower. Carefully and neatly glue the base of the flower. Press the green strip firmly onto the skewer. Let the glue dry on the base and proceed to the subsequent gluing.
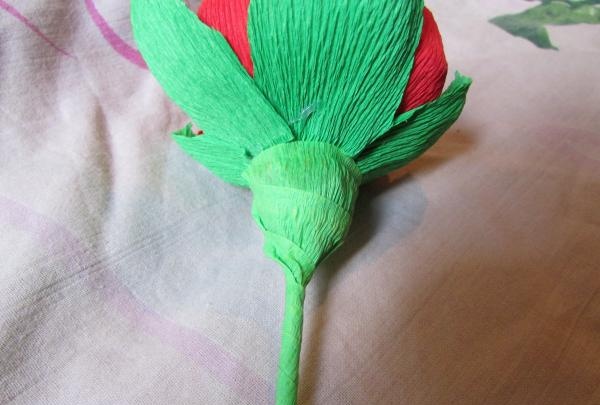
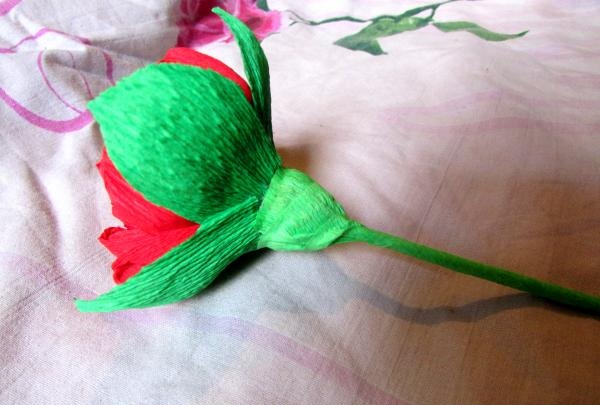
Now we glue the stem itself. At the same time, glue the skewer with glue. We wrap it tightly with paper.
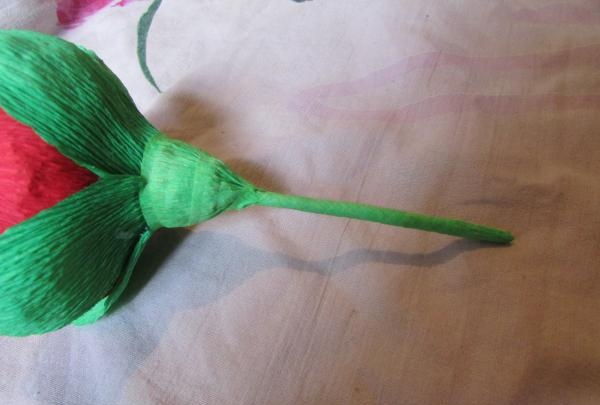
OK it's all over Now. Our beautiful flower is ready.
Good luck to all.

For work we will need:
- corrugated paper of 2 colors.
- threads.
- glue gun.
- cotton wool.
- skewer.
- scissors.
In order to start working with a flower, you need to make a base. Let's create the middle of the flower. Take red corrugated paper and cut a 4x4 cm square. In the middle of the square, make a depression with your thumbs.

Take a piece of cotton wool and roll it into a ball. This ball will be the core of the flower.

Take the prepared square and place cotton wool in the middle of the recess. We connect the corners of the square and twist them so that the shaft remains inside. Under a ball of cotton wool and paper, we tie the corners with thread. We tie everything tightly and tie it in a knot so that the thread does not get tied. Take a skewer and glue the base to the skewer. Let the glue dry.

We will have flower petals in two sizes. The first one will be 1x10cm in size, and the second 2x10cm.

We begin to prepare the petals. To do this, we will take one petal and twist it exactly in the middle.Making only 1 revolution.

Take the twisted petal and fold it in half, at the point where it is twisted. At the same time, use your fingers to make a depression in the middle of the petal. Thus, to create a petal with a recess inward.

We process all prepared petals in the same way. For our flower you will need eight petals of 2 sizes. In total, we will have 16 petals and a base.

Let's start assembling the flower. We take two smaller petals and place them opposite each other. We tie them tightly with thread.

In the same way we tie the remaining small petals. There will be 8 of them.

Now let's move on to petals of a different size, they are larger than the previous one. But there will also be eight of them. Attach the first four petals. We wrap them well with thread.

We attach the last petals to the flower. We tie it with thread and secure it. Correcting the petals.

Now let's process the flower stem. Take scissors and cut off unnecessary parts from the petals below. We cut it so that it is easier to glue the stem.

Let's start making leaves. To do this, take green paper. We cut a strip measuring 6x12 cm. We cut the leaves so that we get five oval leaves with pointed ends. Using your fingers, stretch the middle of each leaf a little, making a small indentation in the middle of the leaf.

Using a glue gun, glue the sheets to the flower.

For the stem, take a green strip measuring 1x10 cm. Stretch it to the limit.


Let's start gluing the stem. Let's start from the base of the flower. Carefully and neatly glue the base of the flower. Press the green strip firmly onto the skewer. Let the glue dry on the base and proceed to the subsequent gluing.


Now we glue the stem itself. At the same time, glue the skewer with glue. We wrap it tightly with paper.

OK it's all over Now. Our beautiful flower is ready.

Good luck to all.
Similar master classes
Particularly interesting
Comments (1)


