Filter for decorative pond
The smallest pond on a personal plot is a decoration and a highlight. It certainly attracts attention and induces calm contemplation and tranquility. However, the smaller the reservoir, the sooner it will become clogged, turn green and turn into a swamp. The filter helps to maintain a decent appearance to a large extent. It can be done without serious labor costs and financial losses.
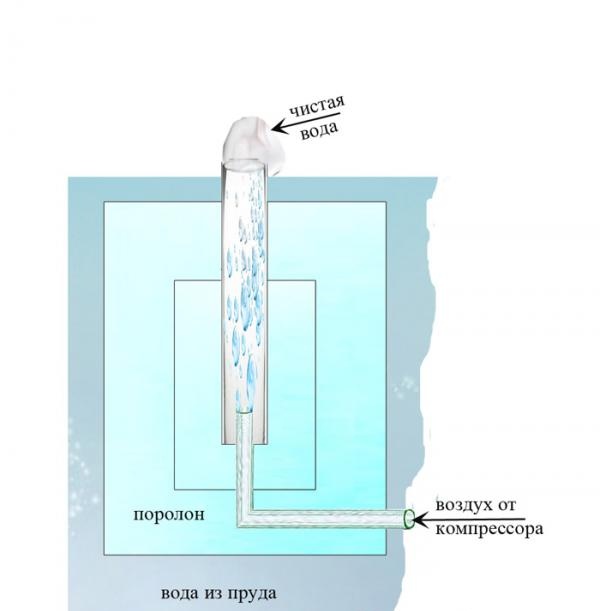
The operating principle of the filter is airlift. Simple and effective. An air bubble, rising to the surface, carries a little water on it, i.e., the water travels to the surface like an elevator. Hence the name. The operation scheme is extremely simple: the filter element is foam rubber, air from the aquarium compressor is supplied through a tube into a larger diameter tube and, together with purified water, comes to the surface.
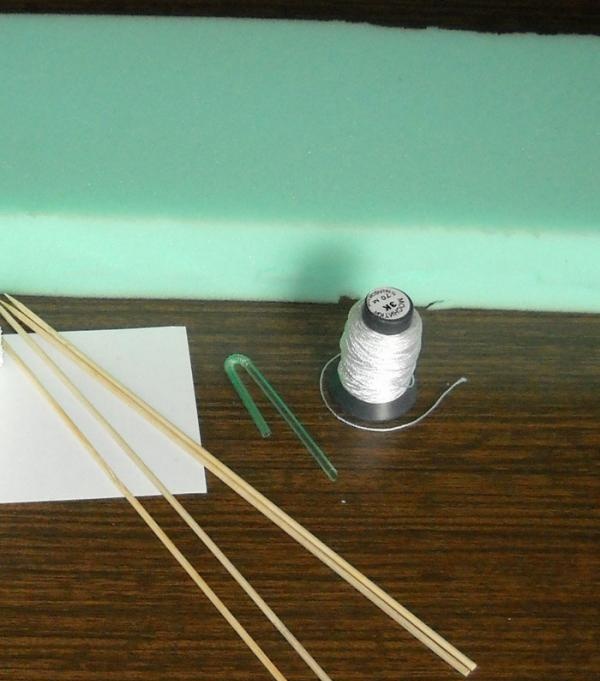
1. For the filter element I took:
- a strip of foam rubber 5 cm thick and 15 cm wide;
- nylon threads;
- a juice straw;
- wooden skewers;
- and a piece of cardboard 15x7.5 cm.
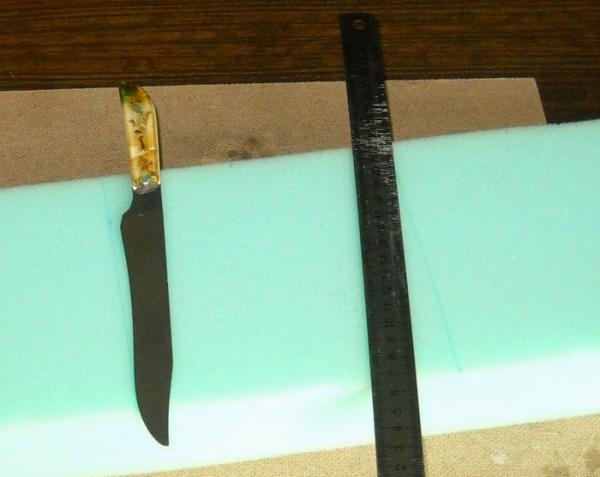
2. The foam rubber was marked and cut into 15 cm pieces.
3. To ensure that the inner hole is in the middle, I made a cardboard template.
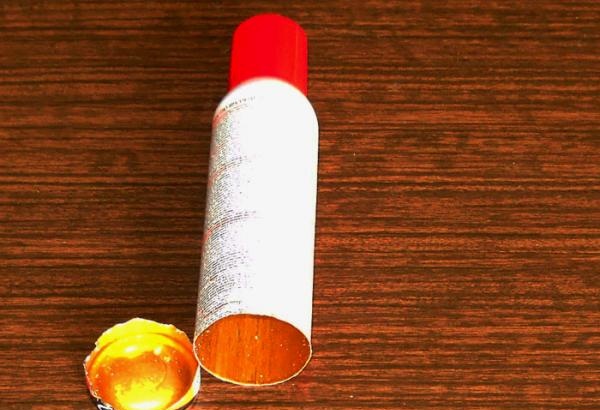
4. I cut off the bottom of the metal tube - it turned out to be a very convenient tool for cutting round holes in soft material.
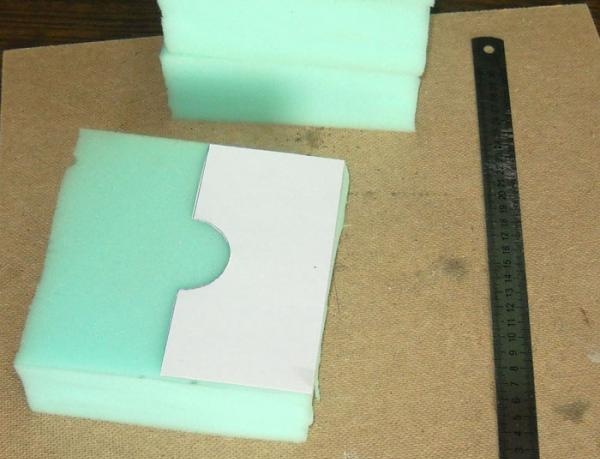
5.The template allows you not to waste time on marking, and allows you to make perfect holes using the former tube.
6. This is what the filter blank looks like.
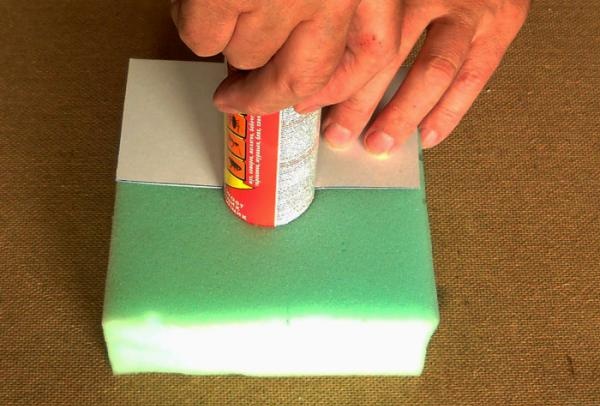
7. There should be so many of them that the height of the filter is slightly less than the depth of the pond.
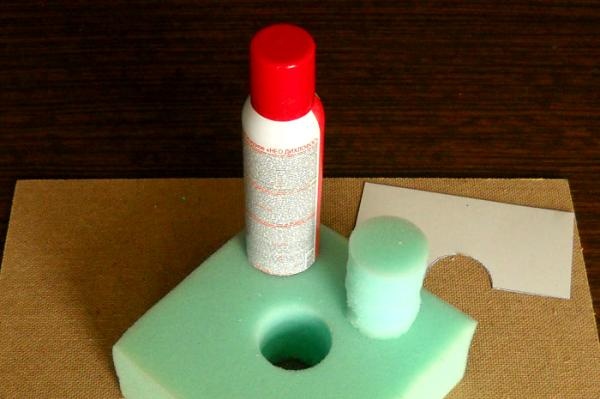
8. There is no need to “punch” the last piece - we will pass the juice straw through it. This will be the air duct.
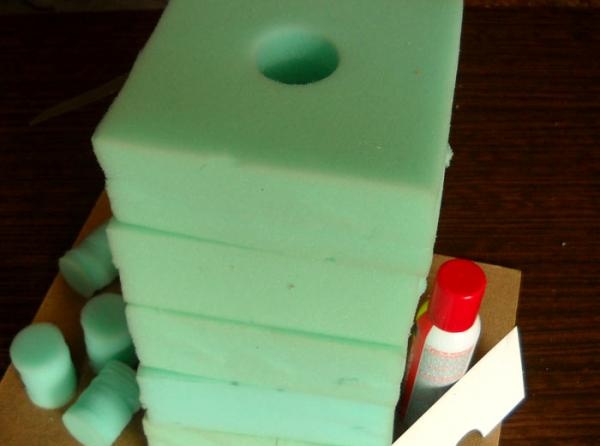
9. This is what it looks like with the built-in air duct.
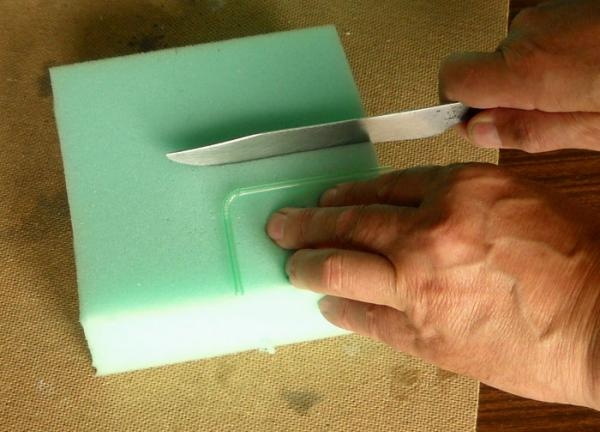
10. We sew the block of blanks at the corners. We tie the ends of the threads to skewers.
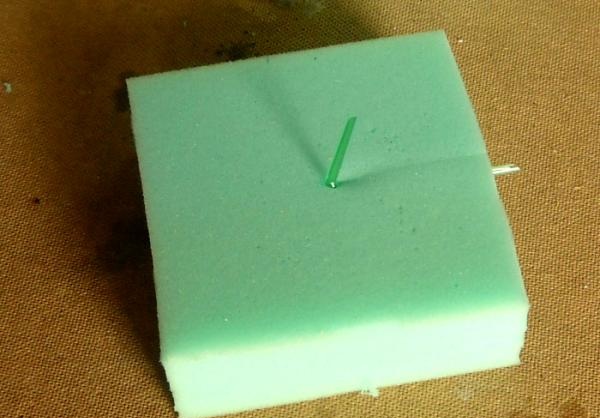
11. There is no need to trim the bottom skewers. Let's put stones on them so that the filter doesn't float up.
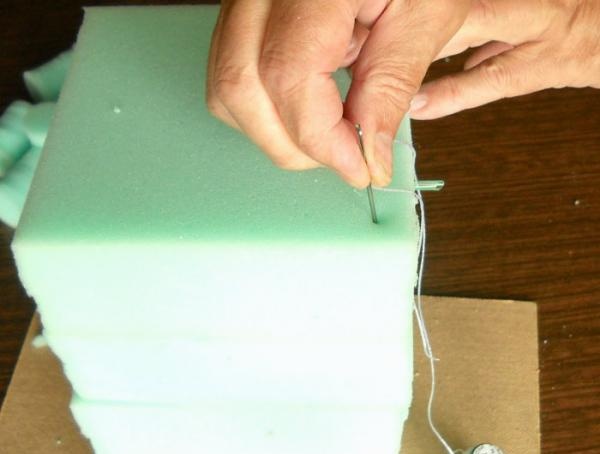
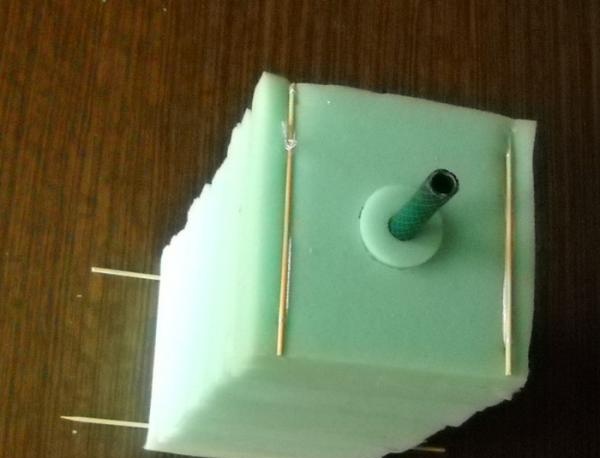
12. I closed the hole in the upper block with foam rubber cut out of it, through which I passed a piece of hose with a diameter of 10 mm. Purified water will flow through it into the pond. The thinner the hose, the higher the fountain will be.
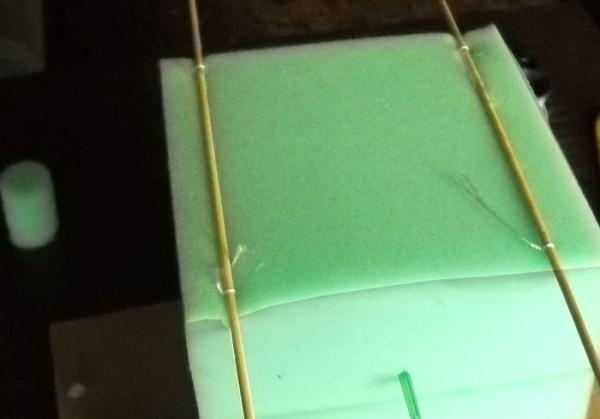
13. This is what the entire assembled structure looks like.
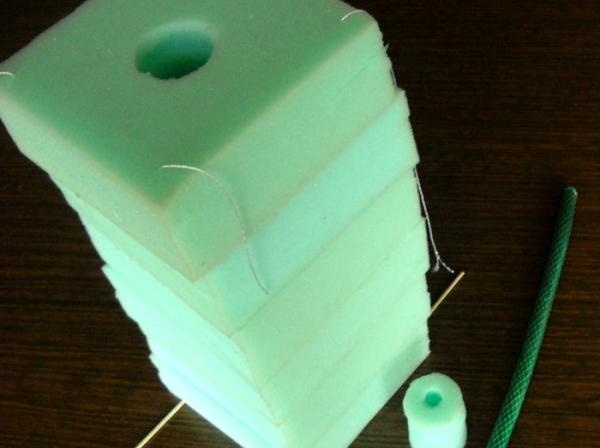
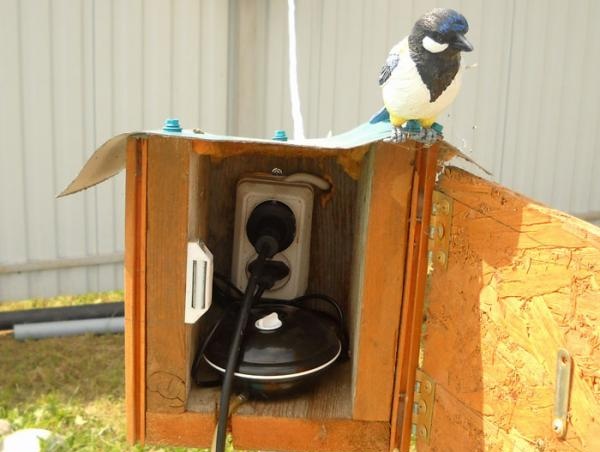
14. This aquarium compressor allows you to pump 150 liters of water per hour through the filter.
15. Connect the tube from the compressor to the filter air duct.
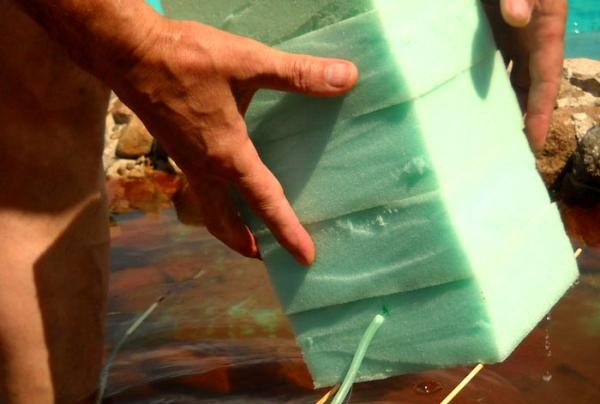
16. We fix the filter itself at the bottom of the pond.
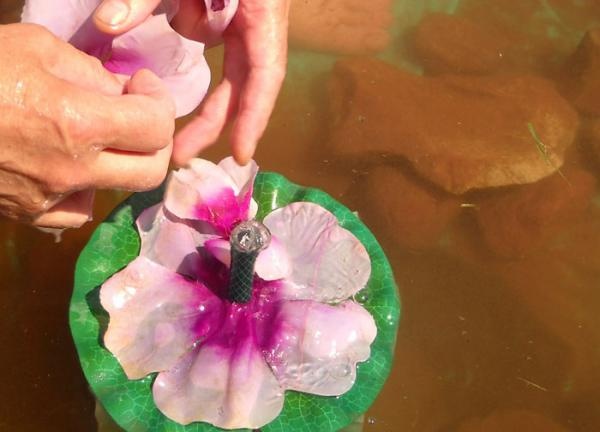
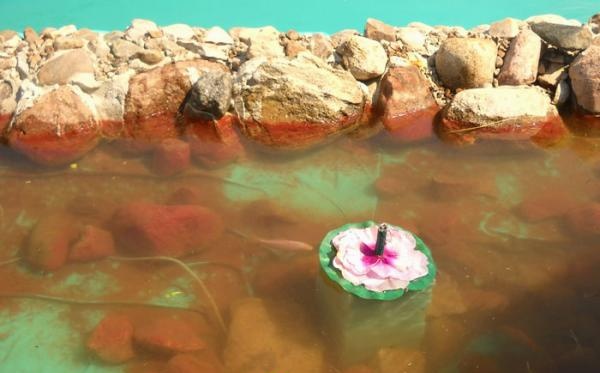
17. You can decorate the filter in many ways. For the first time I covered it with an oilcloth lily.
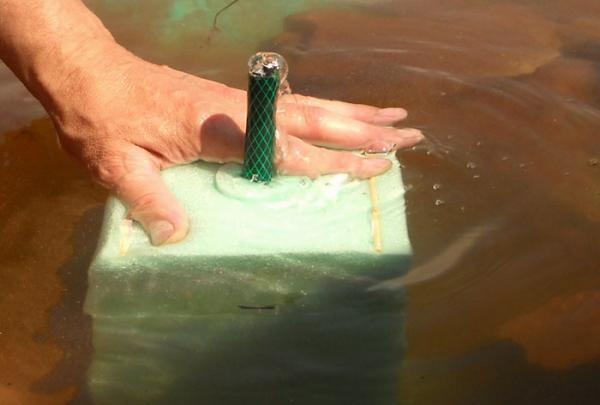
18. This simple design allows you to maintain ideal water clarity throughout the summer season. There is no need to clean the filter during this time. I have such an assistant installed in a pond with a volume of 2.5 cubic meters. , but I think that the power is enough for a larger volume.
The operating principle of the filter is airlift. Simple and effective. An air bubble, rising to the surface, carries a little water on it, i.e., the water travels to the surface like an elevator. Hence the name. The operation scheme is extremely simple: the filter element is foam rubber, air from the aquarium compressor is supplied through a tube into a larger diameter tube and, together with purified water, comes to the surface.
1. For the filter element I took:
- a strip of foam rubber 5 cm thick and 15 cm wide;
- nylon threads;
- a juice straw;
- wooden skewers;
- and a piece of cardboard 15x7.5 cm.

2. The foam rubber was marked and cut into 15 cm pieces.

3. To ensure that the inner hole is in the middle, I made a cardboard template.

4. I cut off the bottom of the metal tube - it turned out to be a very convenient tool for cutting round holes in soft material.

5.The template allows you not to waste time on marking, and allows you to make perfect holes using the former tube.

6. This is what the filter blank looks like.

7. There should be so many of them that the height of the filter is slightly less than the depth of the pond.

8. There is no need to “punch” the last piece - we will pass the juice straw through it. This will be the air duct.

9. This is what it looks like with the built-in air duct.

10. We sew the block of blanks at the corners. We tie the ends of the threads to skewers.

11. There is no need to trim the bottom skewers. Let's put stones on them so that the filter doesn't float up.

12. I closed the hole in the upper block with foam rubber cut out of it, through which I passed a piece of hose with a diameter of 10 mm. Purified water will flow through it into the pond. The thinner the hose, the higher the fountain will be.

13. This is what the entire assembled structure looks like.

14. This aquarium compressor allows you to pump 150 liters of water per hour through the filter.

15. Connect the tube from the compressor to the filter air duct.

16. We fix the filter itself at the bottom of the pond.

17. You can decorate the filter in many ways. For the first time I covered it with an oilcloth lily.

18. This simple design allows you to maintain ideal water clarity throughout the summer season. There is no need to clean the filter during this time. I have such an assistant installed in a pond with a volume of 2.5 cubic meters. , but I think that the power is enough for a larger volume.


Similar master classes
Particularly interesting
Comments (0)

