Container - thermos from a plastic bottle
A very simple container with a thermos effect can be made in a short time from a plastic bottle.
This homemade product has two functions: a shockproof case for carrying fragile things, such as a camera lens, and a thermos-type thermal container, into which a vessel with liquid is inserted, the temperature of which needs to be maintained. In general, there are enough useful properties.
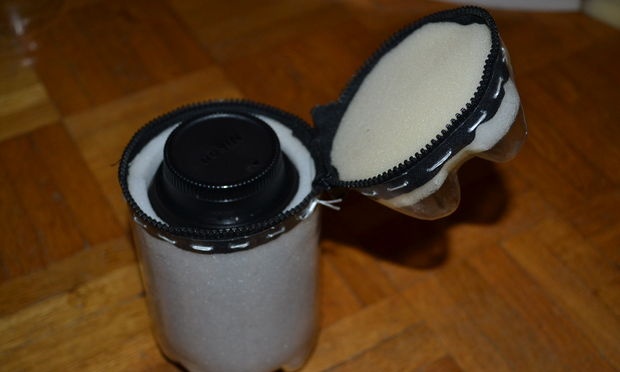
The design is very simple and will require a minimum of parts and time from you.
So, what do we need?
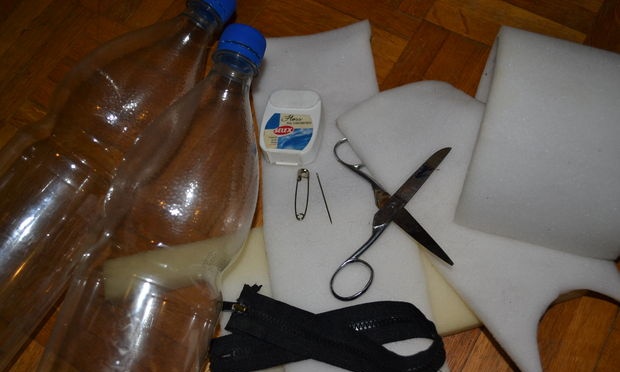
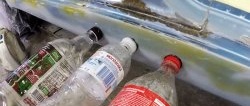
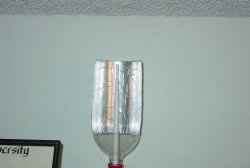
The first thing to do is cut off the bottom parts of the bottles. One bottle has a low side and the other has a high side, see photo.
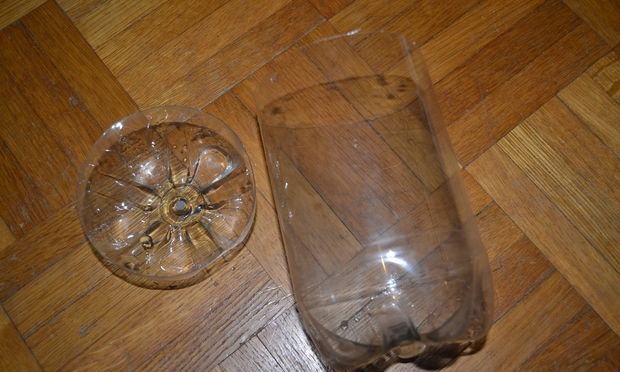
But first you need to find out the size of the item that will be placed inside in order to adjust all the dimensions to it.
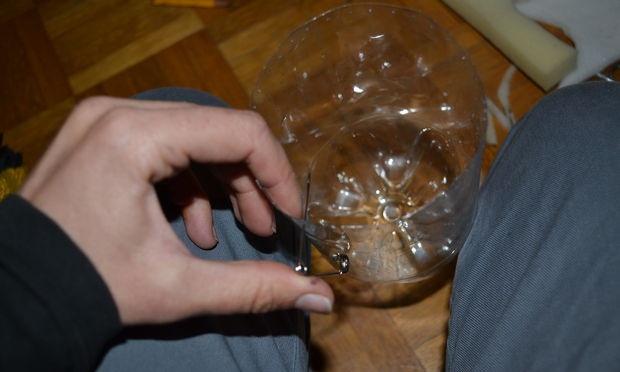
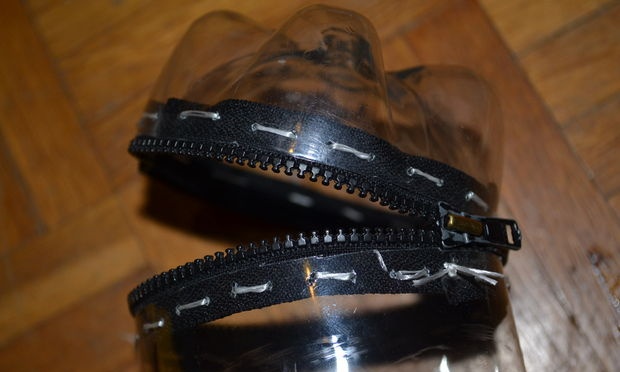
After cutting, you need to make holes for the thread that will hold the zipper, since it will be problematic to do this right away.
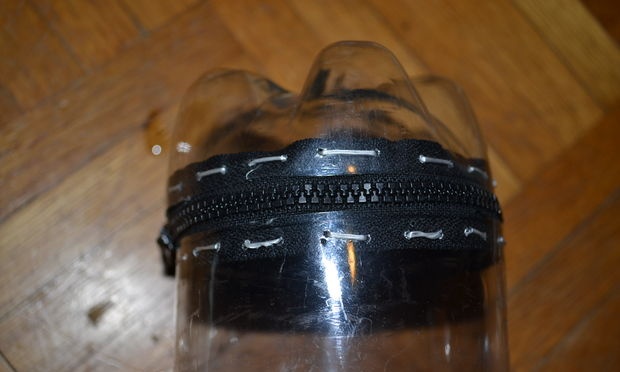
We sew a zipper to both parts and the container frame is ready.
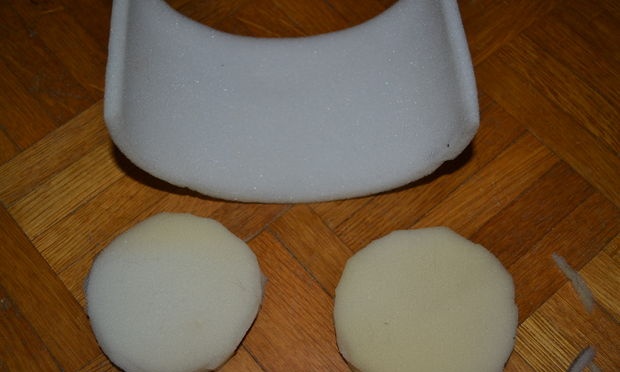
Now you need to cut out the inner surface from the foam rubber.To prevent the foam rubber from coming out every time you remove the item, it can be placed on glue.
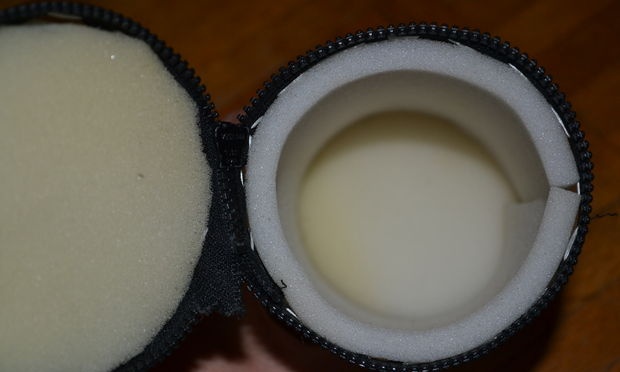
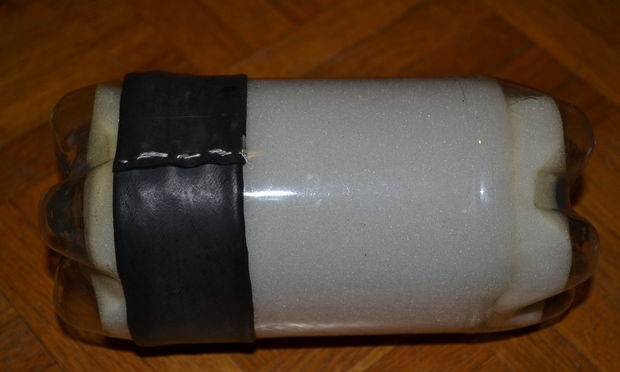
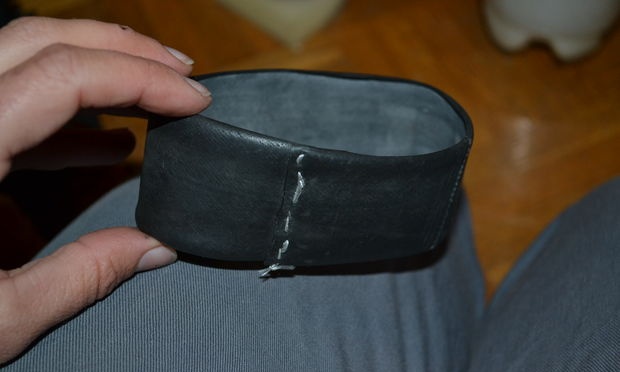
That's all. But I didn’t stop there and modified the container with a rubber belt that tightly closes the zipper, thereby making our container waterproof.
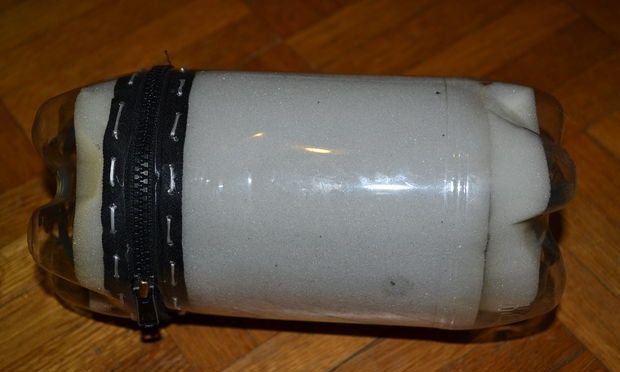
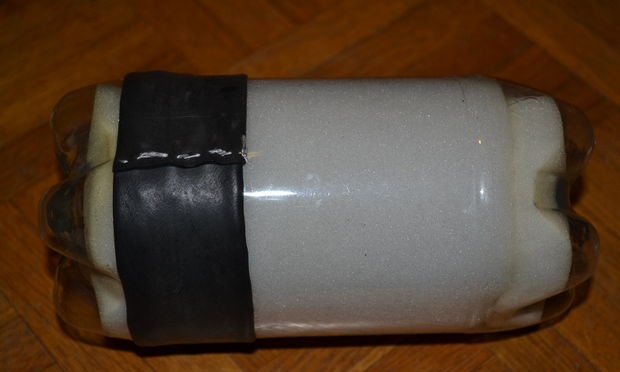
Now your camera lens will be safe and sound.
The diameters of the container can be selected according to the size of the bottle and the thickness of the foam pad. That is, you can make the case you need to suit your needs.
This homemade product has two functions: a shockproof case for carrying fragile things, such as a camera lens, and a thermos-type thermal container, into which a vessel with liquid is inserted, the temperature of which needs to be maintained. In general, there are enough useful properties.


The design is very simple and will require a minimum of parts and time from you.
So, what do we need?
- Two plastic bottles.
- Foam rubber.
- Lightning.
- A strip of rubber (leather).

Making a thermos container.
The first thing to do is cut off the bottom parts of the bottles. One bottle has a low side and the other has a high side, see photo.

But first you need to find out the size of the item that will be placed inside in order to adjust all the dimensions to it.
After cutting, you need to make holes for the thread that will hold the zipper, since it will be problematic to do this right away.

We sew a zipper to both parts and the container frame is ready.


Now you need to cut out the inner surface from the foam rubber.To prevent the foam rubber from coming out every time you remove the item, it can be placed on glue.


That's all. But I didn’t stop there and modified the container with a rubber belt that tightly closes the zipper, thereby making our container waterproof.


Now your camera lens will be safe and sound.
The diameters of the container can be selected according to the size of the bottle and the thickness of the foam pad. That is, you can make the case you need to suit your needs.
Similar master classes
Particularly interesting
Comments (3)

