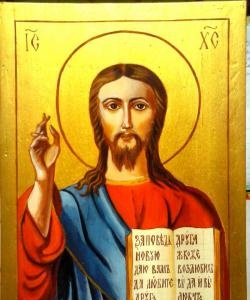
Master class icon of the Holy Healer Panteleimon
Icon painting is a painstaking and time-consuming job, but if desired, it can be mastered. If you love to draw, are diligent and receptive to everything new, then you will like this master class.
In order to get started, you need to purchase everything you need, namely:
- a wooden board (the size is at your discretion), a cutting board without a handle is quite suitable;
- gouache paints;
- brushes of different sizes;
- PVA glue;
- wood varnish, preferably matte;
- skin;
- white acrylic paint.
1. First we need to prepare the board. To do this, it must be thoroughly sanded and primed with white acrylic paint.
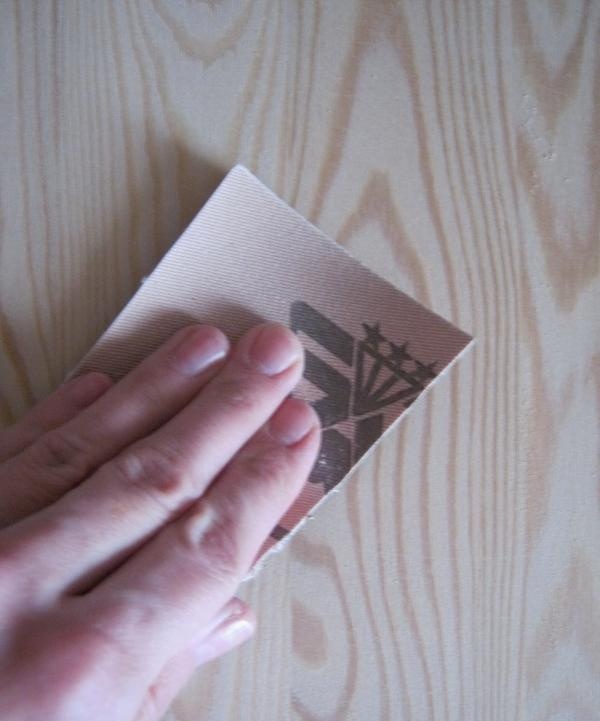
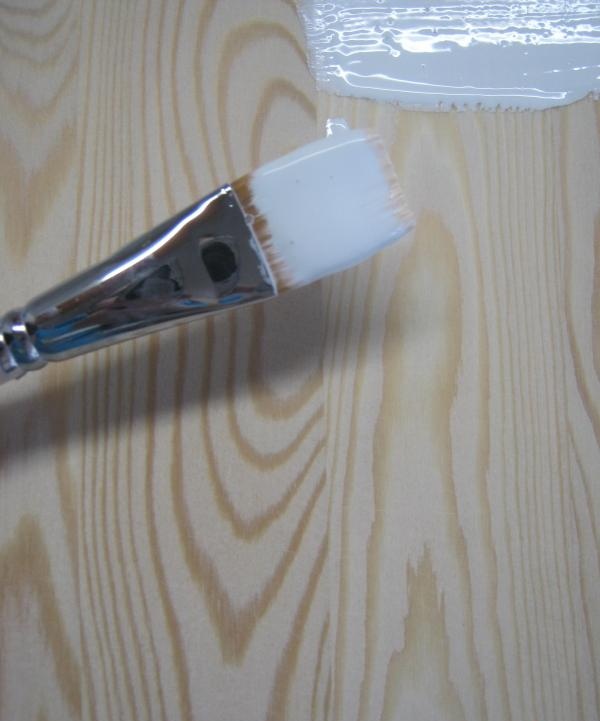
The soil is applied in two to three layers. Each layer is dried and sanded. When the surface of the board is perfectly flat, you can start drawing.
2. You can make a list from a real icon or take a picture from the Internet. Use a simple pencil to draw the drawing.
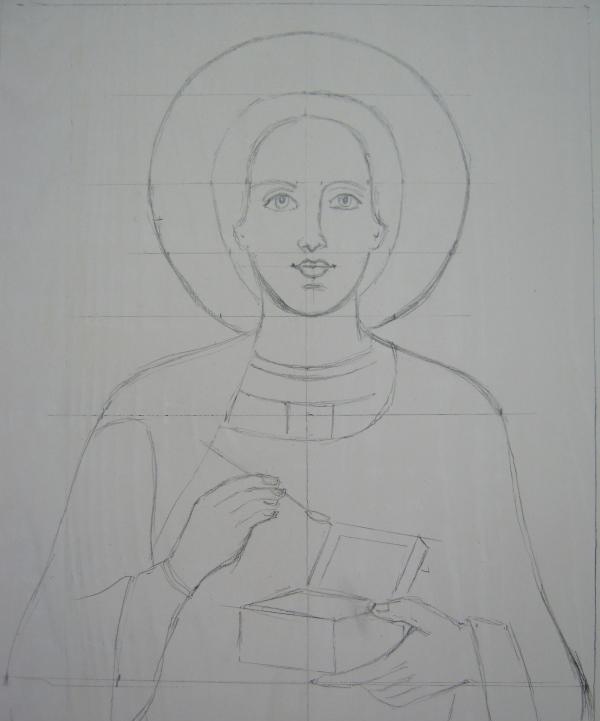
If you can’t do it yourself, you should use tracing paper. Attach the tracing paper to the drawing and carefully trace it. And then translate it onto the board. However, in this case you need to select a board to match the size of the drawing.
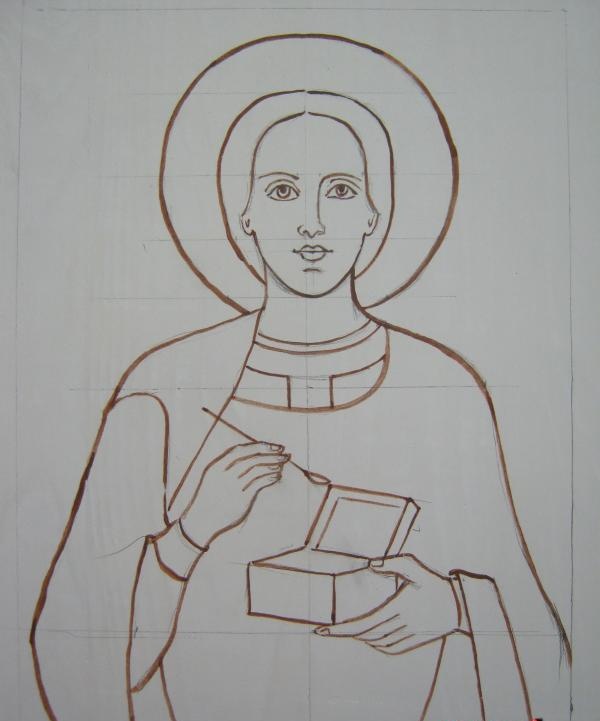
3.The outline of the drawing should be carefully outlined with brown paint. Important: the paint must be mixed with water and PVA glue. And this must be done so that the bottom layer of paint does not wash off.
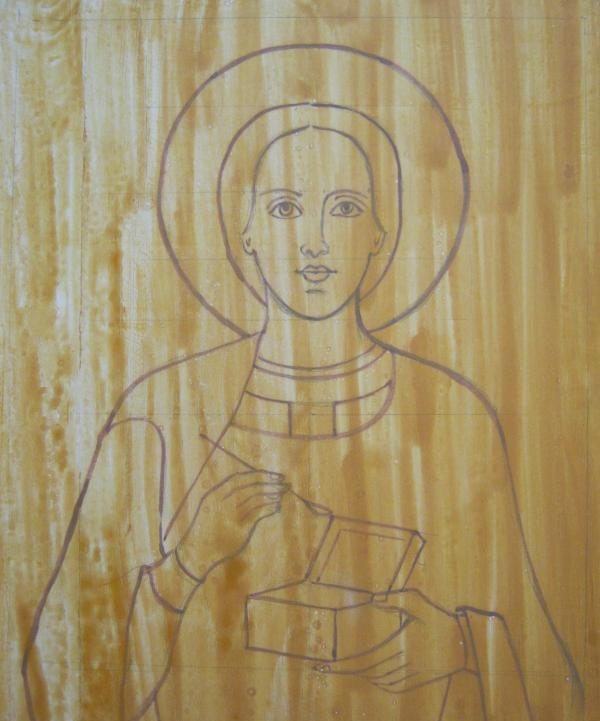
4. Paint the work with ocher paint, as shown in the figure. Don't forget to add water and glue.
5. At this stage we have to fill the outline with color. It is important to choose not just a color, but the darkest shade of paint. For example, when we paint over a face, we take the darkest color, in this case brown. Later, we will highlight the icon.
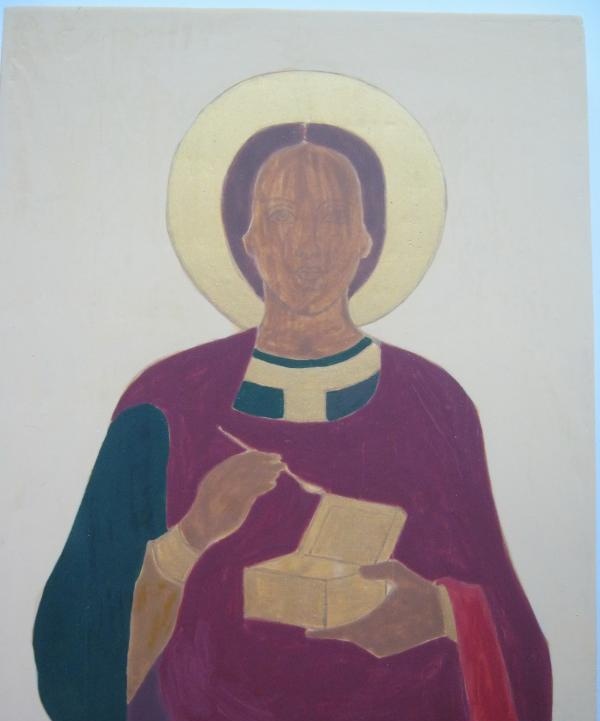
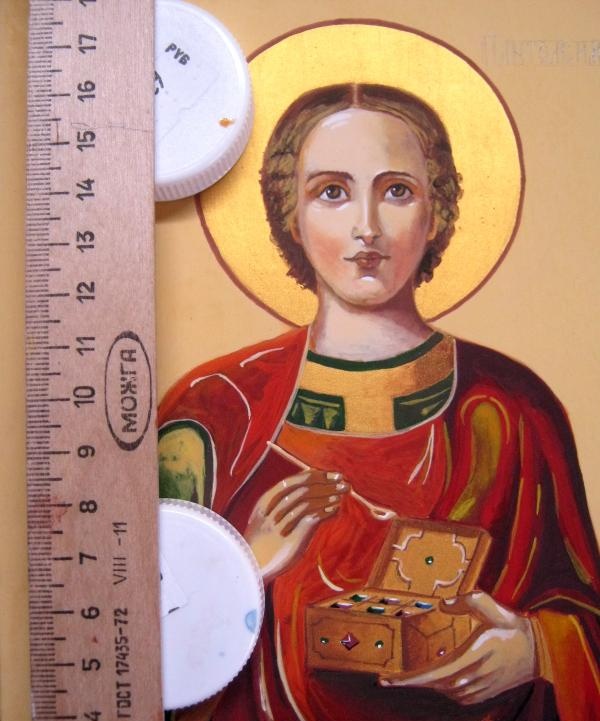
6. We have reached the most difficult stage of our work. We have to carefully draw each fragment and highlight all the details of the drawing. It's better to start with the face. In order to lighten a dark face, you need to take a paint of a lighter tone and apply several layers in the forehead, cheeks, and nose. Then draw the eyes, lips, eyebrows. We do the same work with folds on clothes. We highlight dark places with lighter paint. It is necessary to add glue, otherwise the previous layers will begin to wash off. When the work is done, you need to make a frame. In order to draw a straight line with a brush, you need to put two gouache covers on the board, a ruler on top and draw a line. If the line is too pale, repeat again.
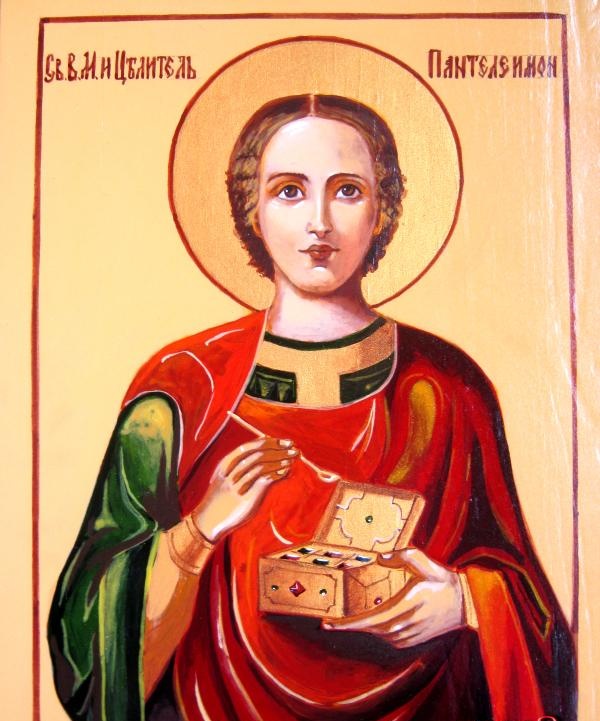
7. At the end of the work, we will make an inscription on the icon and cover the drawing with varnish. Spray varnish can be applied from a distance of 20-30 cm in two to three layers. When the work dries, it must be taken to the temple and consecrated. God help you!
In order to get started, you need to purchase everything you need, namely:
- a wooden board (the size is at your discretion), a cutting board without a handle is quite suitable;
- gouache paints;
- brushes of different sizes;
- PVA glue;
- wood varnish, preferably matte;
- skin;
- white acrylic paint.
1. First we need to prepare the board. To do this, it must be thoroughly sanded and primed with white acrylic paint.


The soil is applied in two to three layers. Each layer is dried and sanded. When the surface of the board is perfectly flat, you can start drawing.
2. You can make a list from a real icon or take a picture from the Internet. Use a simple pencil to draw the drawing.

If you can’t do it yourself, you should use tracing paper. Attach the tracing paper to the drawing and carefully trace it. And then translate it onto the board. However, in this case you need to select a board to match the size of the drawing.
3.The outline of the drawing should be carefully outlined with brown paint. Important: the paint must be mixed with water and PVA glue. And this must be done so that the bottom layer of paint does not wash off.

4. Paint the work with ocher paint, as shown in the figure. Don't forget to add water and glue.
5. At this stage we have to fill the outline with color. It is important to choose not just a color, but the darkest shade of paint. For example, when we paint over a face, we take the darkest color, in this case brown. Later, we will highlight the icon.


6. We have reached the most difficult stage of our work. We have to carefully draw each fragment and highlight all the details of the drawing. It's better to start with the face. In order to lighten a dark face, you need to take a paint of a lighter tone and apply several layers in the forehead, cheeks, and nose. Then draw the eyes, lips, eyebrows. We do the same work with folds on clothes. We highlight dark places with lighter paint. It is necessary to add glue, otherwise the previous layers will begin to wash off. When the work is done, you need to make a frame. In order to draw a straight line with a brush, you need to put two gouache covers on the board, a ruler on top and draw a line. If the line is too pale, repeat again.

7. At the end of the work, we will make an inscription on the icon and cover the drawing with varnish. Spray varnish can be applied from a distance of 20-30 cm in two to three layers. When the work dries, it must be taken to the temple and consecrated. God help you!

Similar master classes
Particularly interesting
Comments (0)

