Decorating an ashtray
Materials used:
- glass ashtray;
- printout with a drawing of a compass and map;
- acrylic paints and varnish;
- two-component craquelure composition;
- seashells (whole and broken);
- sisal twine;
- hot glue;
- white putty;
- sandpaper;
- artistic bitumen.
1. Completely clean the surface of the ashtray from dust, dirt and skin secretions.
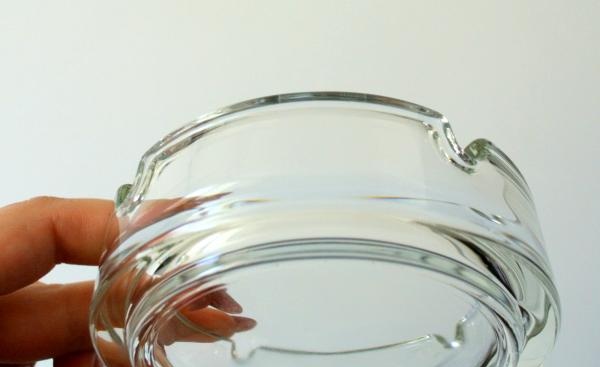
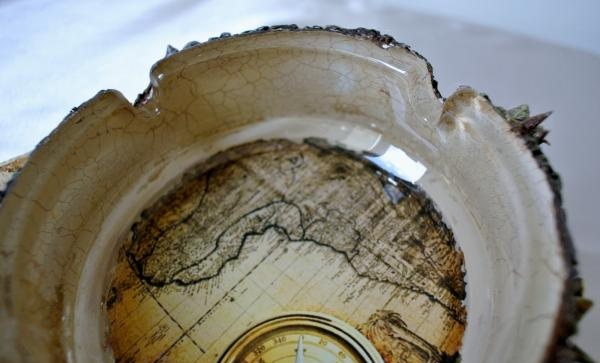
2. We apply the printout to the bottom of the ashtray, choosing the best position. We glue it to the bottom with acrylic varnish, expel the air and excess moisture.
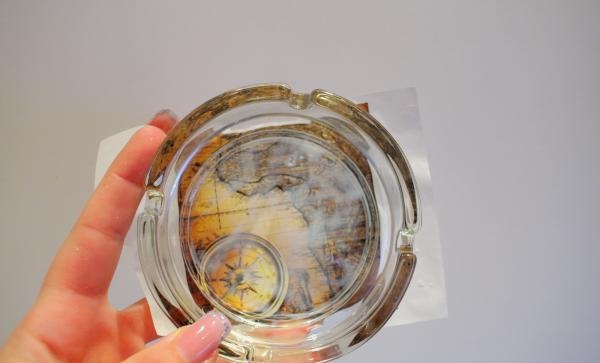
When the paper dries, remove the excess paper with sandpaper along the edge.
3. Apply craquelure composition to the side part. Here you need to strictly follow the manufacturer’s recommendations, as some points may differ. In our case, we used a craquelure composition from Maimeri (Italy).
We fill the cracks with bitumen.
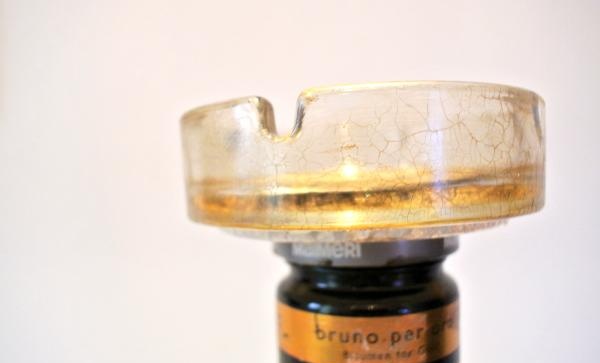
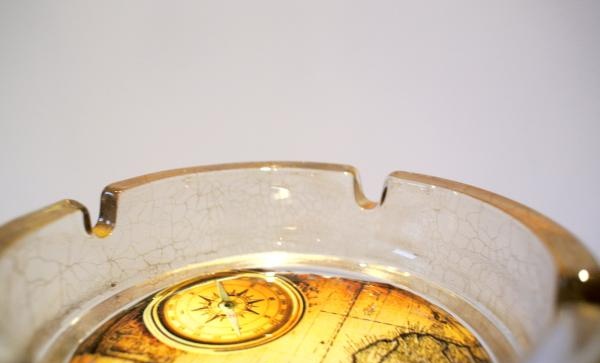
4. Mix ocher, white and yellow medium. The result is a shade close to the color in the center of the card. We use it to tint the outer part of the ashtray. After drying, apply acrylic varnish in several layers.
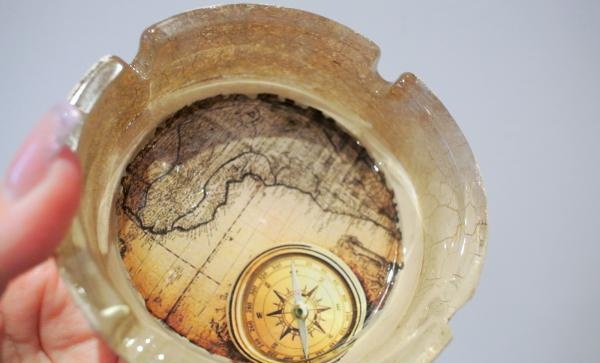
There is no need to worry if the layer seems insufficient in the light - we will fix everything in the next step.
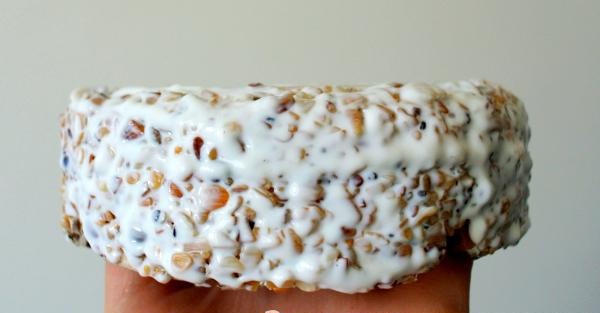
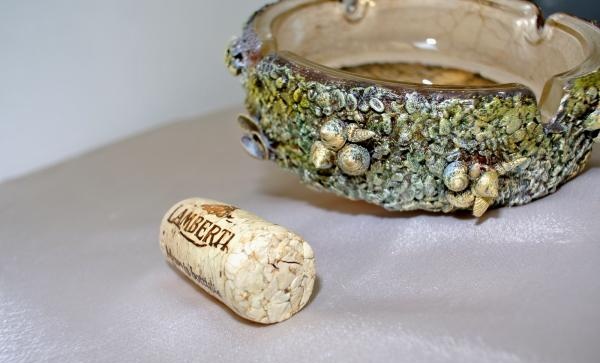
5. Now we coat the sides with one or two millimeters of putty, at the same time gluing the crushed parts of the shells.
We coat it with acrylic varnish. This will prevent the layer of shells from falling apart and will stick them tightly to each other.
6. Using a hard brush, cover the outer part with burnt umber (dark brown acrylic paint).
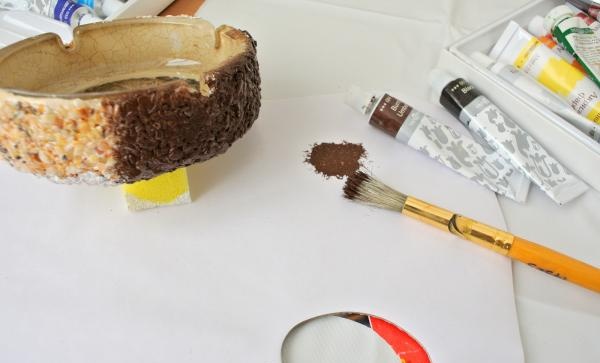
Cover with acrylic varnish.
7. Glue the shells with hot glue.
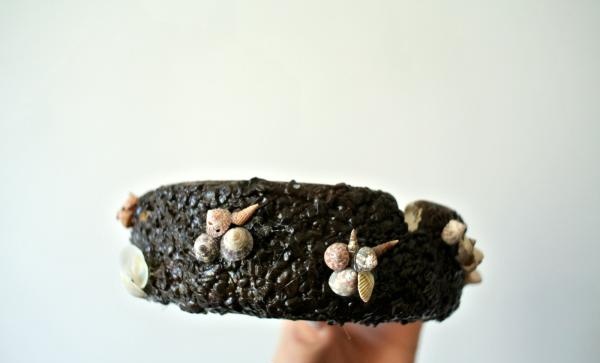
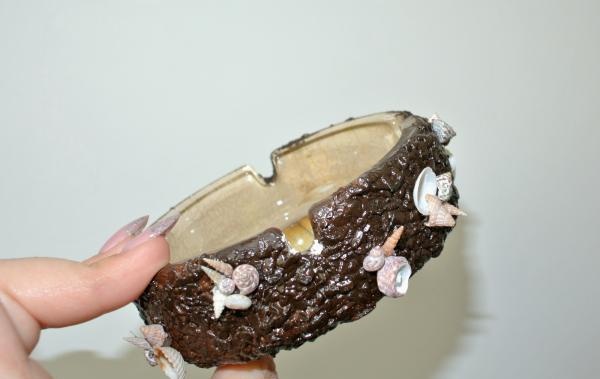
8. Using a hard brush, tint the shells into a dark chestnut shade.
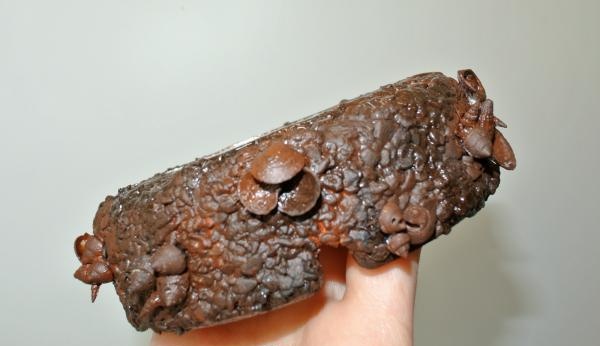
9. Add green medium.
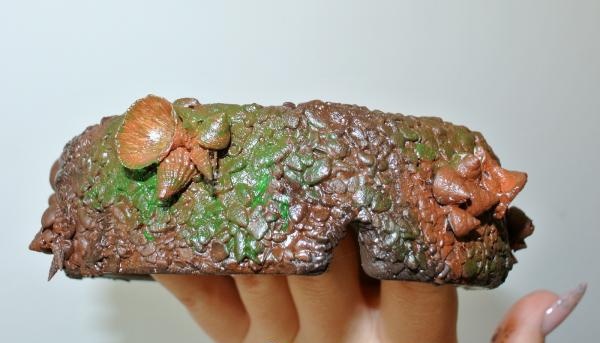
10. Use a dry brush and lemon yellow to highlight the relief.
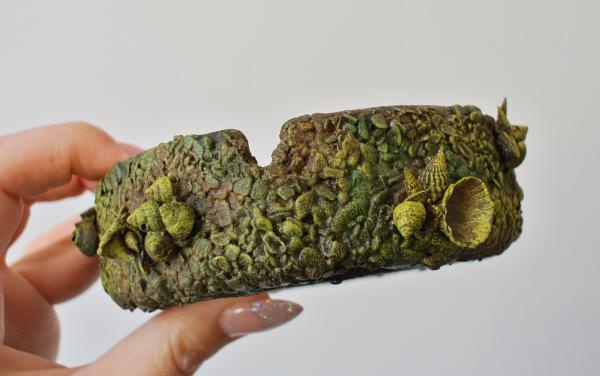
11. Select the relief with white color.
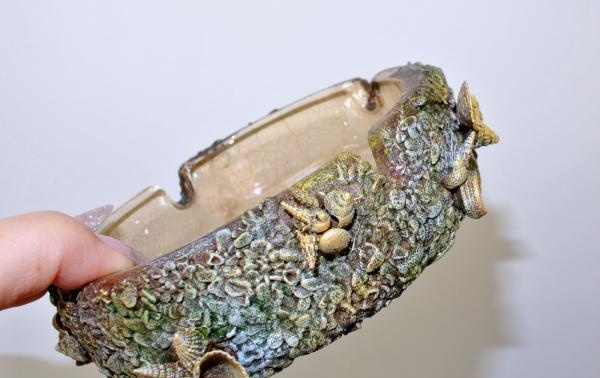
12. Tint the shells with antique gold.
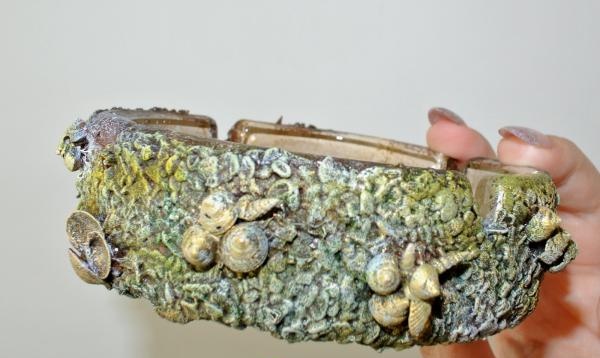
13. Add a little pearly white.
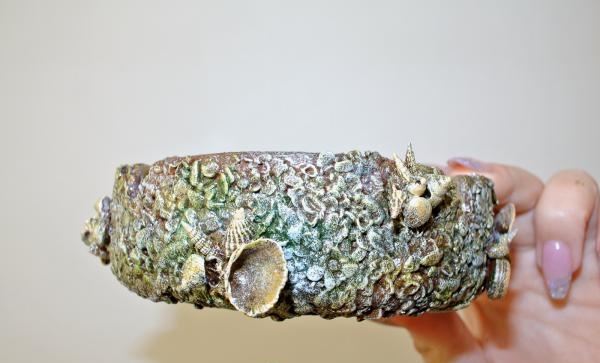
14. Cover with acrylic varnish and clean the inside of excess paint.
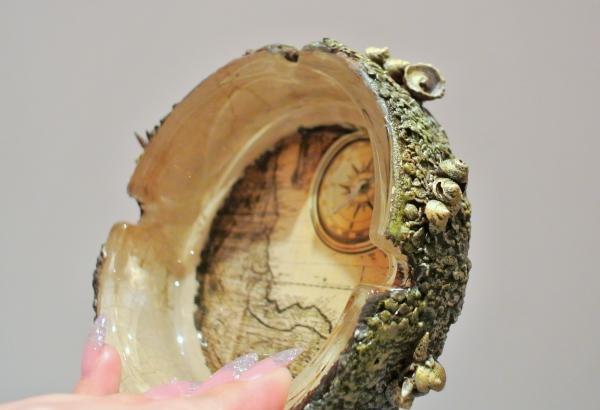
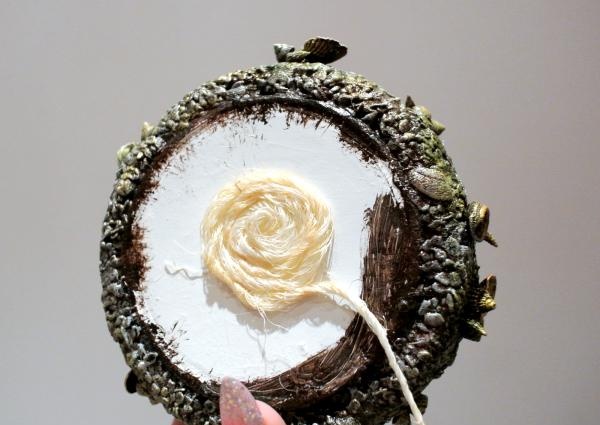
15. Glue the sisal with hot glue.
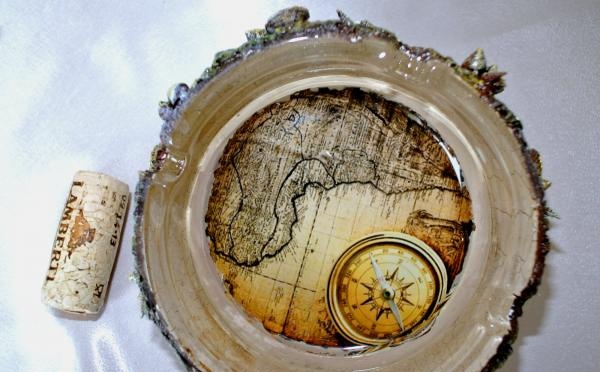
The work is ready! Good luck and inspiration!
- glass ashtray;
- printout with a drawing of a compass and map;
- acrylic paints and varnish;
- two-component craquelure composition;
- seashells (whole and broken);
- sisal twine;
- hot glue;
- white putty;
- sandpaper;
- artistic bitumen.
1. Completely clean the surface of the ashtray from dust, dirt and skin secretions.

2. We apply the printout to the bottom of the ashtray, choosing the best position. We glue it to the bottom with acrylic varnish, expel the air and excess moisture.

When the paper dries, remove the excess paper with sandpaper along the edge.
3. Apply craquelure composition to the side part. Here you need to strictly follow the manufacturer’s recommendations, as some points may differ. In our case, we used a craquelure composition from Maimeri (Italy).
We fill the cracks with bitumen.


4. Mix ocher, white and yellow medium. The result is a shade close to the color in the center of the card. We use it to tint the outer part of the ashtray. After drying, apply acrylic varnish in several layers.

There is no need to worry if the layer seems insufficient in the light - we will fix everything in the next step.
5. Now we coat the sides with one or two millimeters of putty, at the same time gluing the crushed parts of the shells.

We coat it with acrylic varnish. This will prevent the layer of shells from falling apart and will stick them tightly to each other.

6. Using a hard brush, cover the outer part with burnt umber (dark brown acrylic paint).

Cover with acrylic varnish.
7. Glue the shells with hot glue.


8. Using a hard brush, tint the shells into a dark chestnut shade.

9. Add green medium.

10. Use a dry brush and lemon yellow to highlight the relief.

11. Select the relief with white color.

12. Tint the shells with antique gold.

13. Add a little pearly white.

14. Cover with acrylic varnish and clean the inside of excess paint.

15. Glue the sisal with hot glue.


The work is ready! Good luck and inspiration!
Similar master classes
Particularly interesting
Comments (1)


