Decorating a family calendar
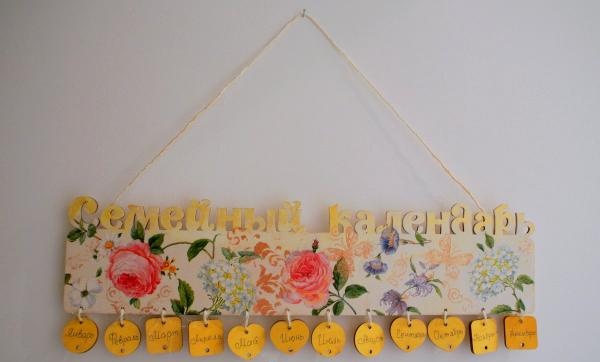
Interior zest, creative idea, practical item and successful present. Would you be surprised if I say that all this is about the calendar? Yes Yes. Calendar of family birthdays and memorable dates. Does this still seem impossible to you? Not at all...
Today we are designing not only an original calendar for the whole family, but also an independent art object.
On decor It will only take a little time (a couple of hours) and the following materials:
- a blank of 3 mm plywood for the calendar (panels and tags);
- water-based varnish and paints;
- stencils or silicone stamps;
- permanent marker;
- primer for wooden surfaces;
- hot melt adhesive;
- sisal twine;
- napkin motif;
- sanding block.
We will work with such a blank - a panel and 36 tags.
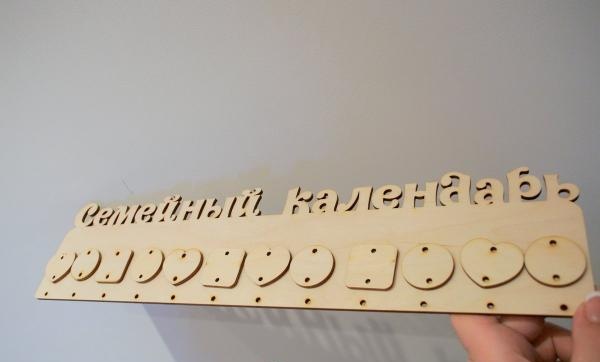
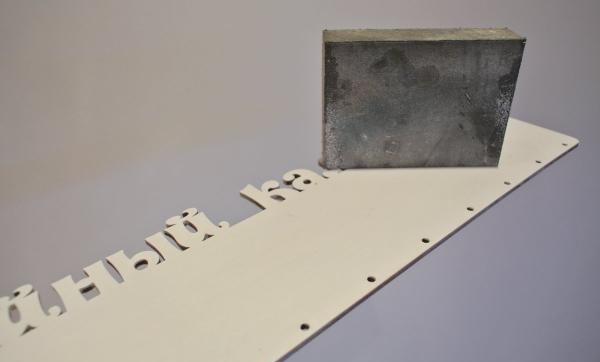
We clean the surface of the calendar with a block and prime it. The primer will give a uniform white tint and better adhesion.
Let's figure out the location of the napkin motif for decoration.
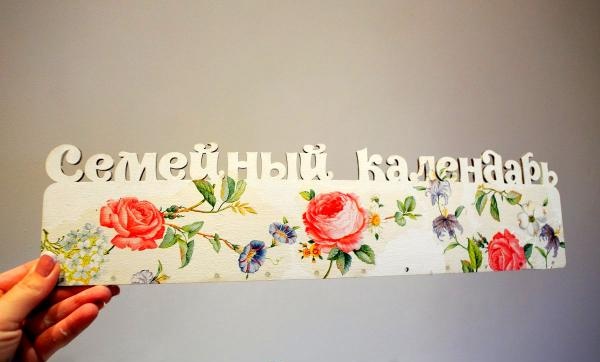
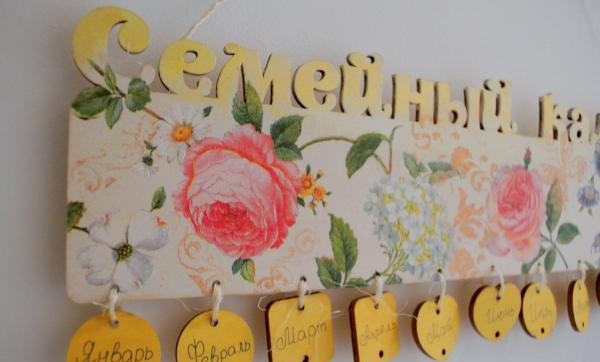
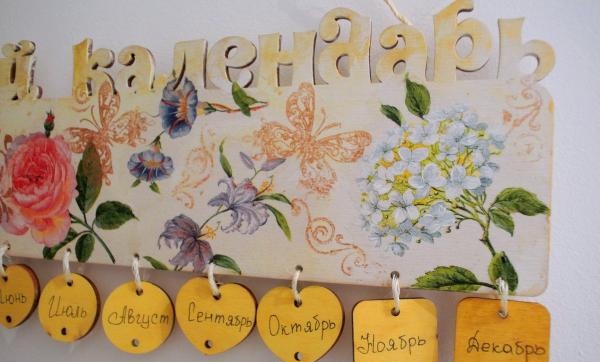
We glue it to the surface with diluted acrylic varnish and even out the tone with titanium white and ocher. If necessary, we sand the uneven surfaces with a block and cover them with acrylic varnish in several layers.
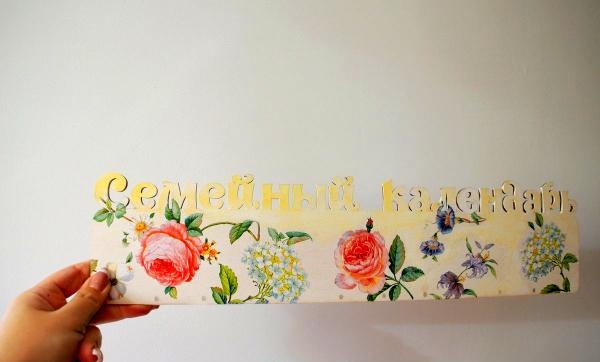
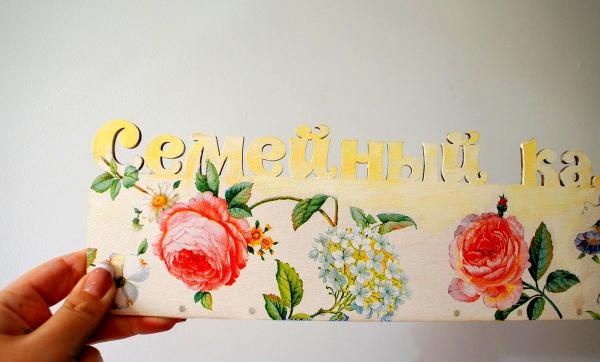
Using a silicone stamp, we make an imprint with acrylic paint in the shade “Dark Gold”.
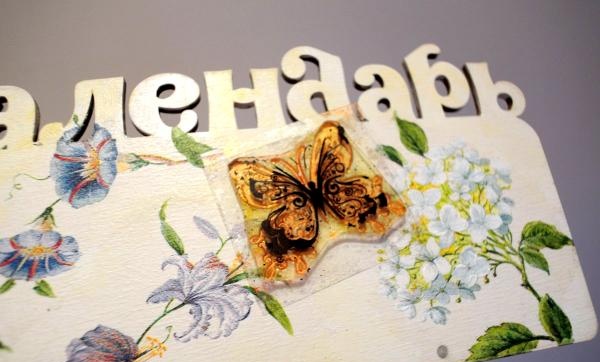
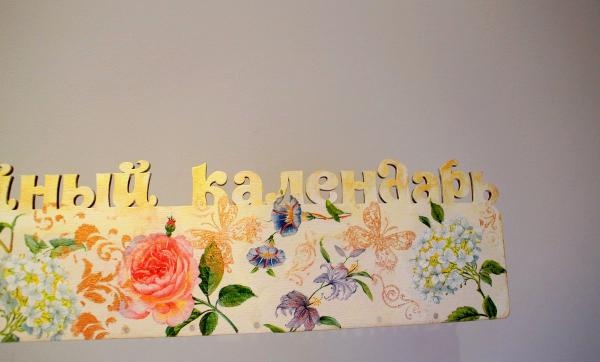

We lightly tint the inscription with gold paint and varnish it.

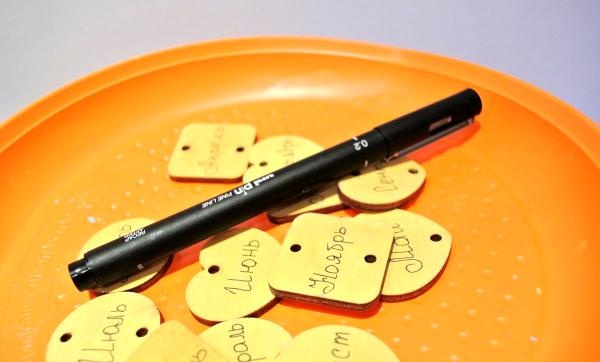
Let's take care of the tags. We tint them with ocher diluted with white.

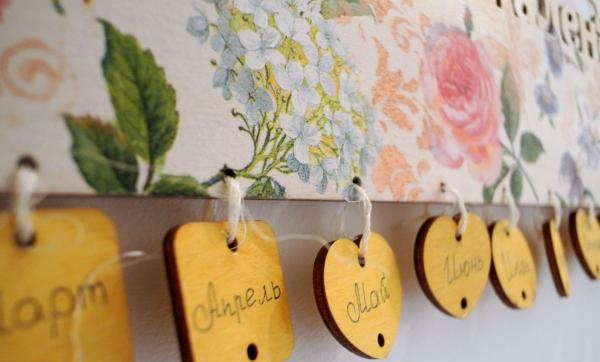
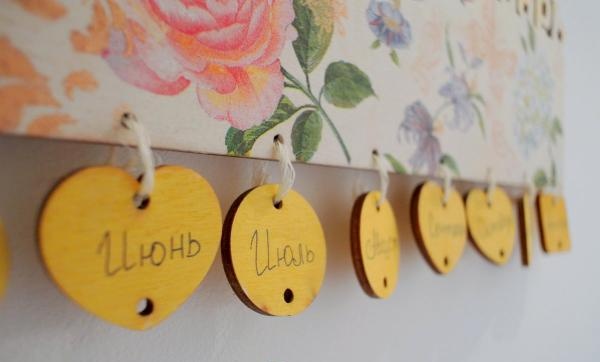
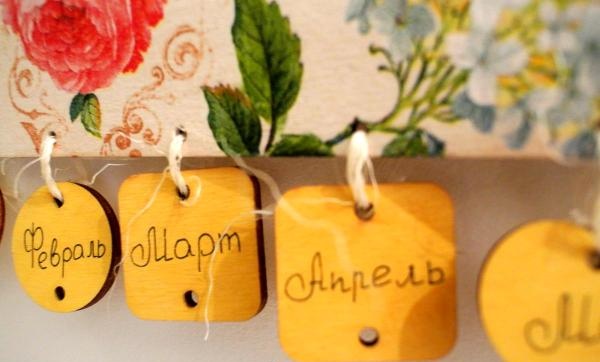
We sign the months with a marker.
We tie the tags with sisal twine and make fastenings for hanging on the wall.
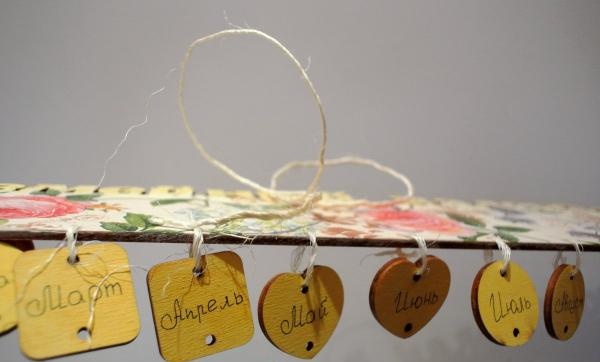
Birthday tags for relatives are filled out in a similar way.
All you have to do is hang it in a prominent place and you won’t forget about the memorable date.
Today we are designing not only an original calendar for the whole family, but also an independent art object.
On decor It will only take a little time (a couple of hours) and the following materials:
- a blank of 3 mm plywood for the calendar (panels and tags);
- water-based varnish and paints;
- stencils or silicone stamps;
- permanent marker;
- primer for wooden surfaces;
- hot melt adhesive;
- sisal twine;
- napkin motif;
- sanding block.
We will work with such a blank - a panel and 36 tags.

We clean the surface of the calendar with a block and prime it. The primer will give a uniform white tint and better adhesion.

Let's figure out the location of the napkin motif for decoration.

We glue it to the surface with diluted acrylic varnish and even out the tone with titanium white and ocher. If necessary, we sand the uneven surfaces with a block and cover them with acrylic varnish in several layers.


Using a silicone stamp, we make an imprint with acrylic paint in the shade “Dark Gold”.


We lightly tint the inscription with gold paint and varnish it.

Let's take care of the tags. We tint them with ocher diluted with white.

We sign the months with a marker.

We tie the tags with sisal twine and make fastenings for hanging on the wall.

Birthday tags for relatives are filled out in a similar way.
All you have to do is hang it in a prominent place and you won’t forget about the memorable date.


Similar master classes
Particularly interesting
Comments (0)

