Matchbox chair
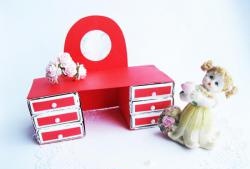
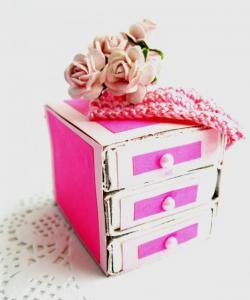
From ordinary matchboxes you can make a beautiful dollhouse with your own hands. furniture. These include sofas, chests of drawers, tables, and even armchairs. Thanks to simple materials and tools, even a child can make furniture for dolls. This will serve as a wonderful time when he will develop creativity, imagination, hard work, and accuracy.
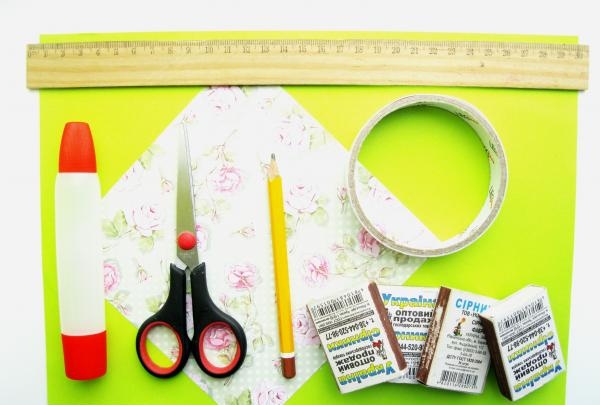
Necessary materials:
- green decorative paper;
- green double-sided paper;
- four matchboxes;
- Double-sided tape;
- office glue;
- ruler;
- scissors;
- a simple pencil.
Stages of making a chair:
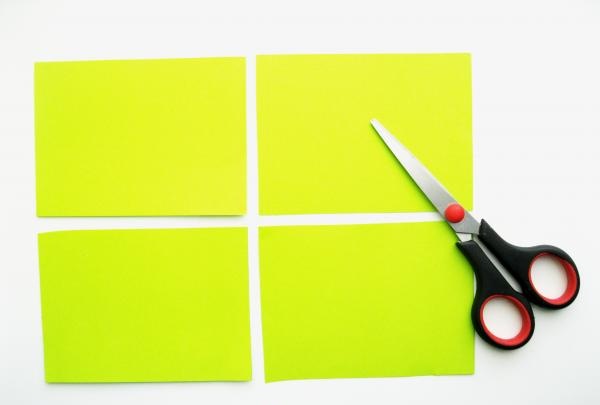
1. Our matchbox chair will be green in color. When making it, we cannot do without green double-sided paper. Draw 4 rectangles with dimensions 11 x 8 cm on it with a simple pencil.

2. Cut out the rectangles with scissors.
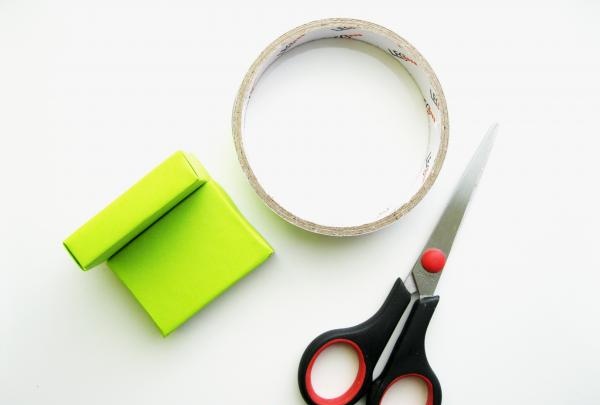
3. Carefully cover each matchbox with green paper.

4. Take two matchboxes. We will place one horizontally, the other vertically.

5. Glue at the point of contact with glue or double-sided tape.
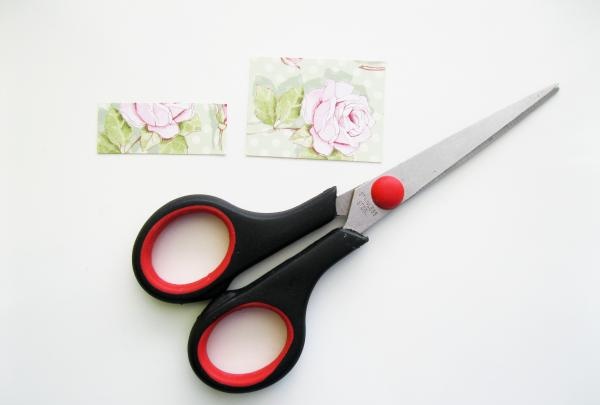
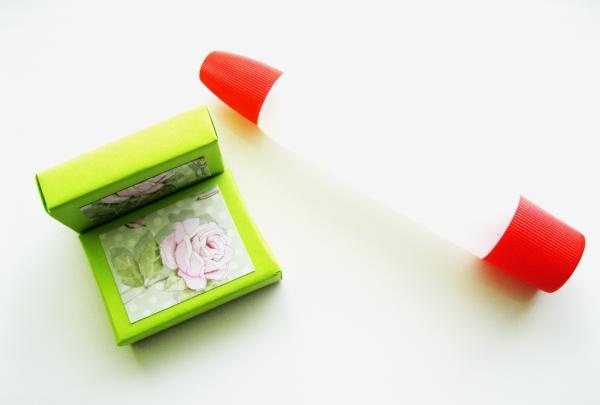
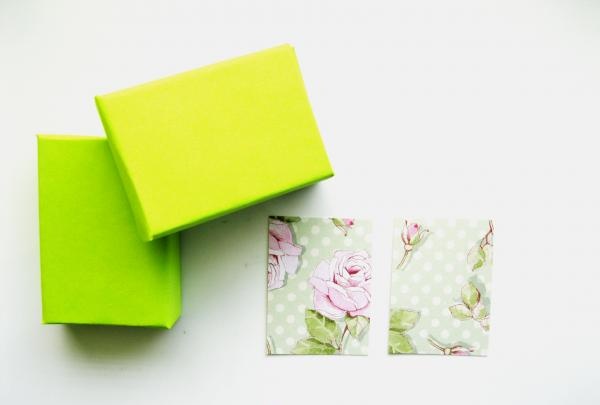
6. Decorate the seat with decorative paper. We take it and cut out two segments that will be slightly smaller than the matchboxes.
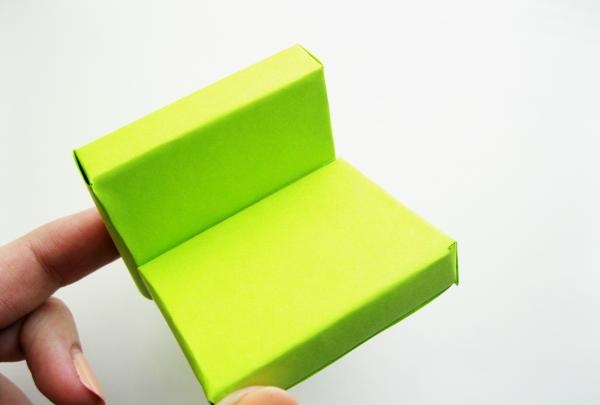
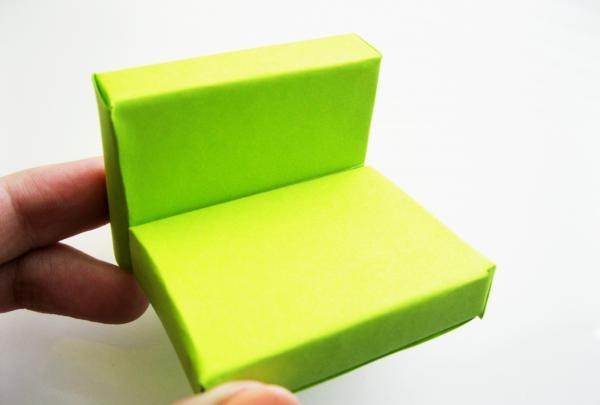
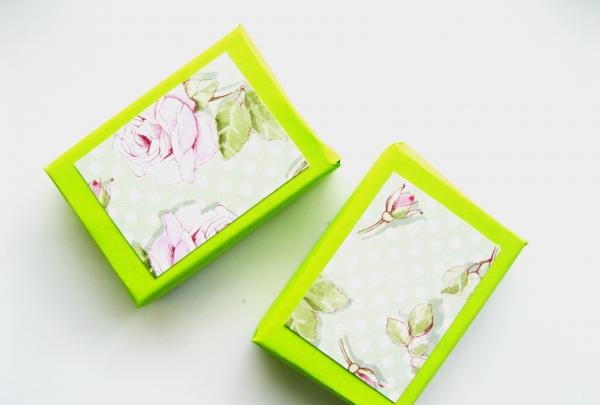
7. Glue it to the required places.
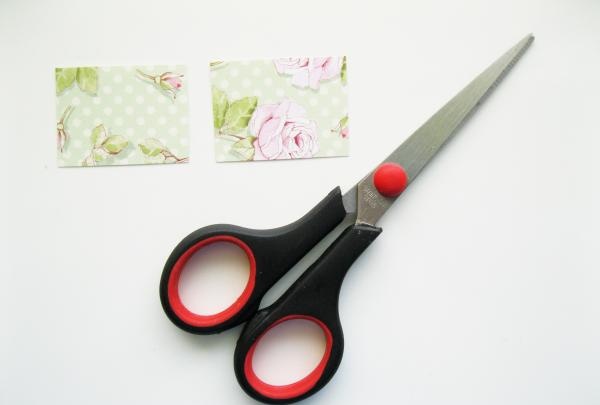
8. Now let’s decorate the other two matchboxes with this paper. To do this, cut out two rectangles 4 x 3 cm.
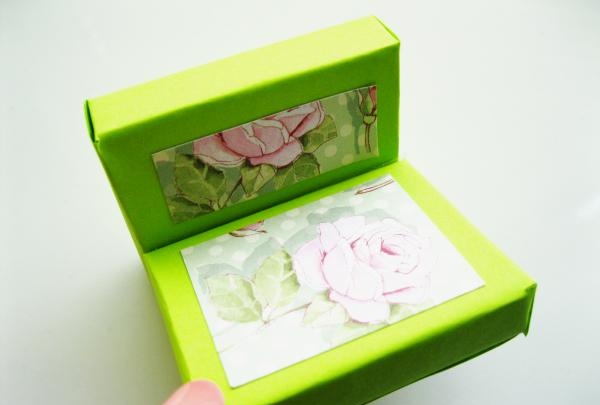
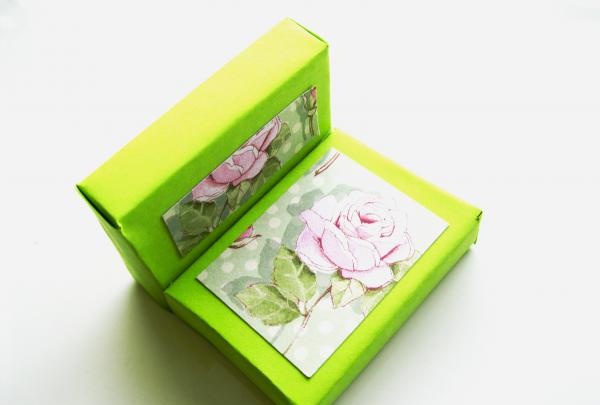
9. Glue it onto the matchboxes in the middle.
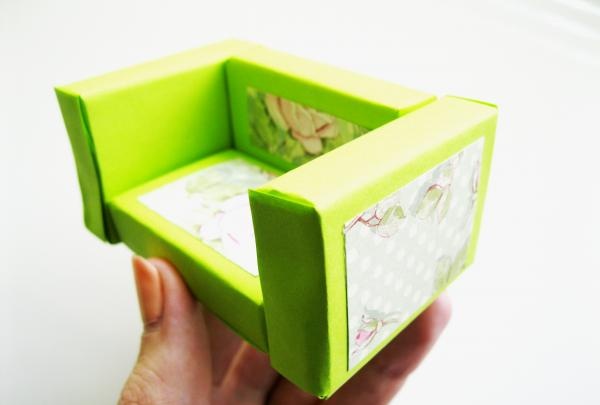
10. Place the matchboxes vertically and glue them to the other two.
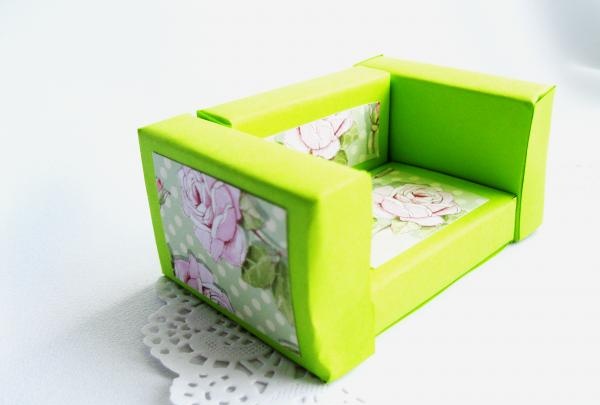
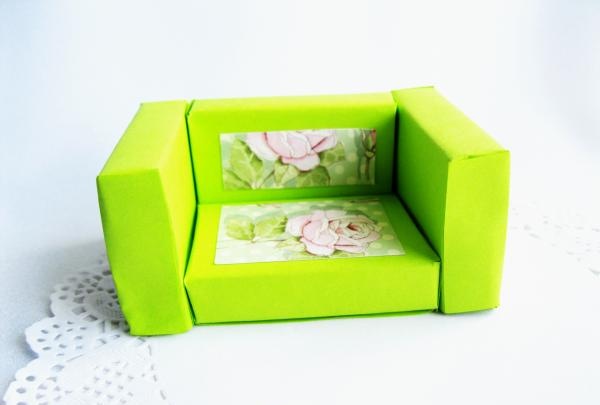
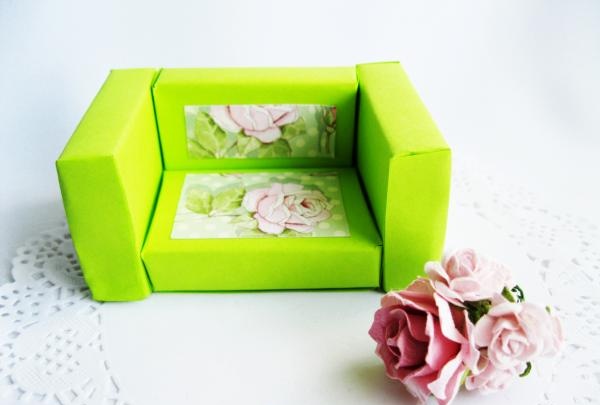
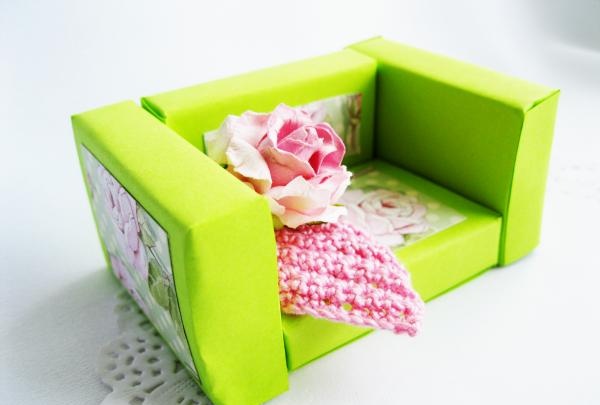
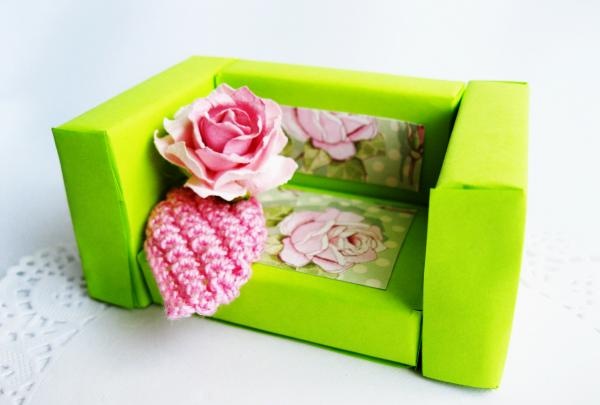
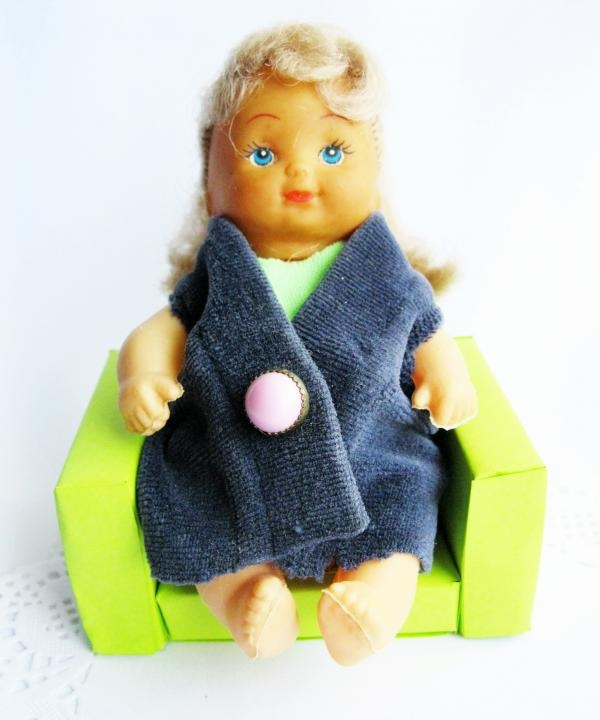
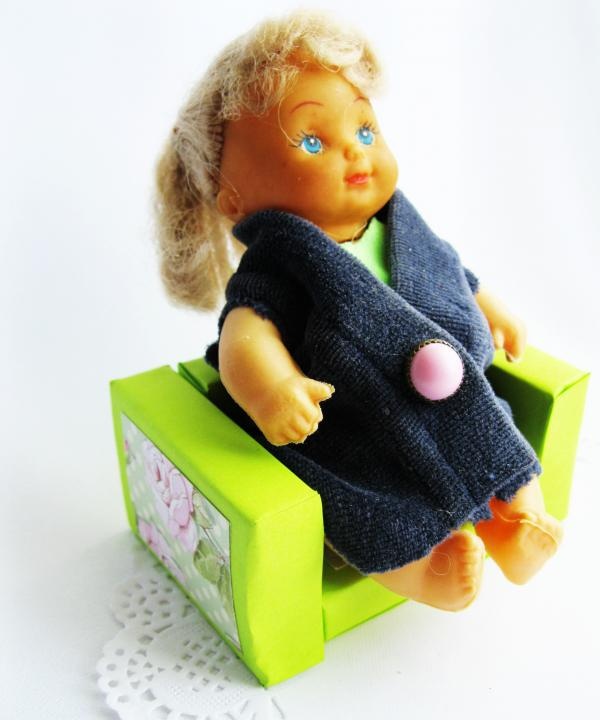
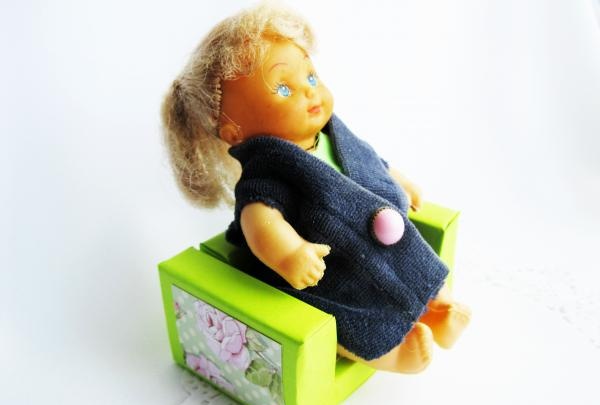
As a result, we got a beautiful green chair for dolls. It’s great if your child makes a couple more chairs and a table in the same style. In this case, all of the daughter’s favorite dolls can sit and gather together at one table.
Necessary materials:
- green decorative paper;
- green double-sided paper;
- four matchboxes;
- Double-sided tape;
- office glue;
- ruler;
- scissors;
- a simple pencil.

Stages of making a chair:
1. Our matchbox chair will be green in color. When making it, we cannot do without green double-sided paper. Draw 4 rectangles with dimensions 11 x 8 cm on it with a simple pencil.

2. Cut out the rectangles with scissors.

3. Carefully cover each matchbox with green paper.

4. Take two matchboxes. We will place one horizontally, the other vertically.

5. Glue at the point of contact with glue or double-sided tape.

6. Decorate the seat with decorative paper. We take it and cut out two segments that will be slightly smaller than the matchboxes.


7. Glue it to the required places.


8. Now let’s decorate the other two matchboxes with this paper. To do this, cut out two rectangles 4 x 3 cm.


9. Glue it onto the matchboxes in the middle.


10. Place the matchboxes vertically and glue them to the other two.


As a result, we got a beautiful green chair for dolls. It’s great if your child makes a couple more chairs and a table in the same style. In this case, all of the daughter’s favorite dolls can sit and gather together at one table.


Similar master classes
Particularly interesting
Comments (0)

