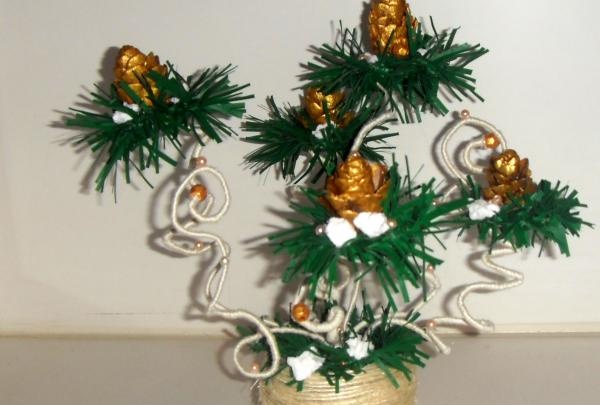
Topiary with pine cones
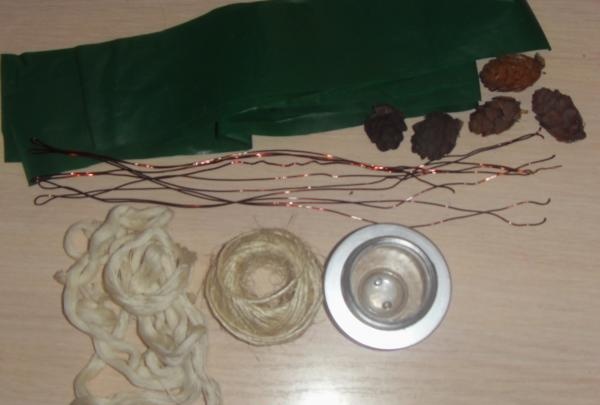
For work you will need materials:
• Pine or deciduous cones – 5 pieces,
• Thick wire,
• Green oilcloth,
• Gold beads, beige,
• Styrofoam,
• Alabaster, glue,
• White floss threads,
• Gold acrylic paint.
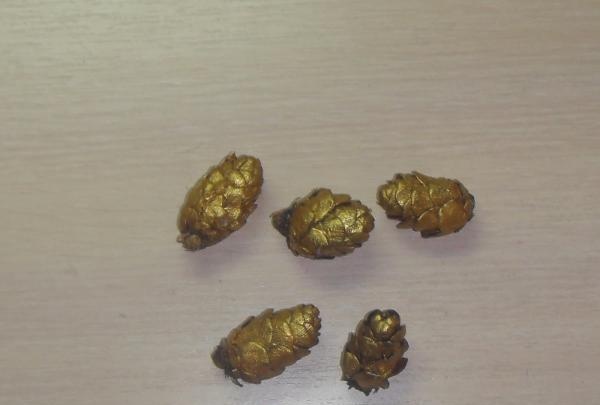
Regular pine cones should first be turned into gold by painting them with paint. For a deeper color, painting should be done twice.
Spruce branches are made of green oilcloth (or dense polyethylene).
The oilcloth is cut into 5 strips 7 cm wide and about 30 cm long. Each strip is folded in half lengthwise and cut with scissors. The cuts must be made carefully, not reaching the fold line, so as not to cut the strip.
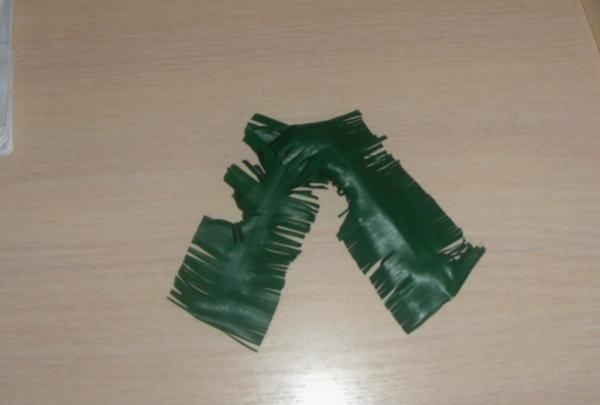
A piece is cut from the wire equal to the length of the cut strip. The wire is placed on the strip and twisted with it.
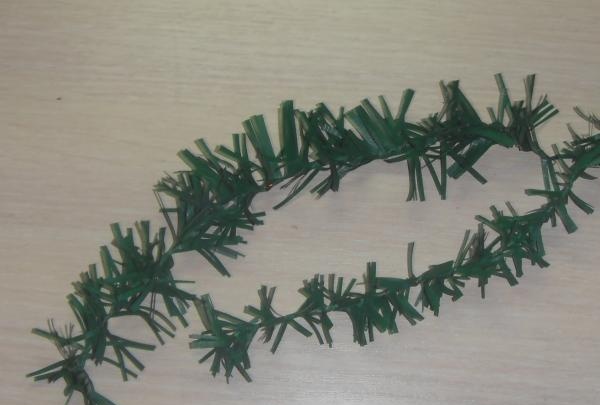
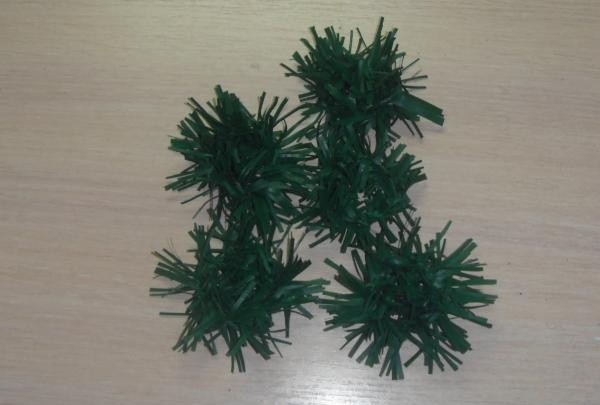
You should get spruce branches. They need to be rolled into a ring and the ends secured.
Next, we prepare the white rods - stems. Thick wire is cut into 7 pieces. A loop is made at the ends of 5 segments (cones will be attached to them). Each piece is tightly wrapped with thread.
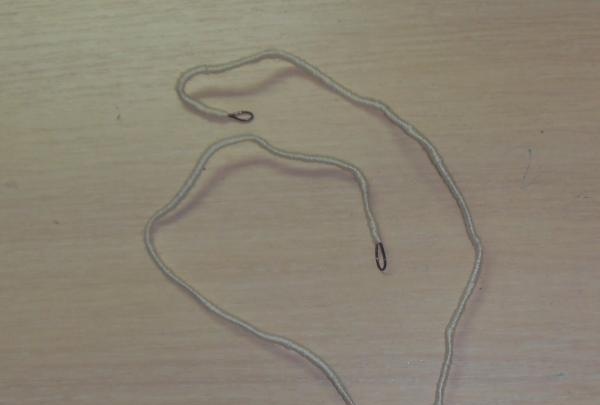
When all 7 rods are ready, collect them into a bunch and plant them in a prepared container filled with a mixture of alabaster and water.
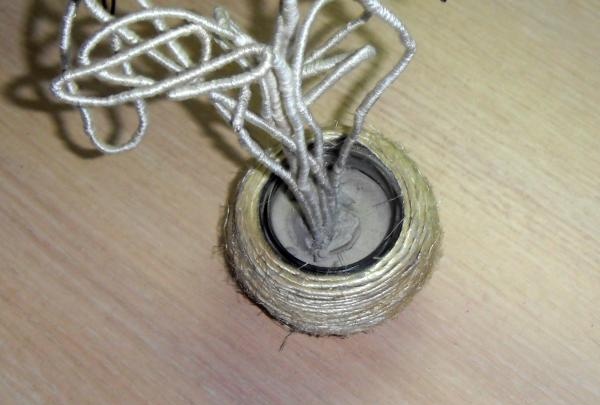
After drying, we hide the surface of the alabaster behind the same coniferous branches. We glue pieces of snow on top of the foam.
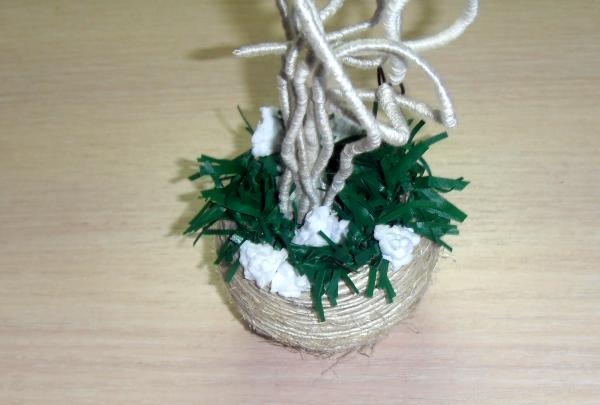
Now we need to straighten the stems of our composition. They can be twisted in a spiral, in a circle, or simply given a chaotic shape.
First we glue green rings onto the ends of the stems with loops, and a cone into their center. We also use foam crumbs to create snow on the wreaths around the cones.
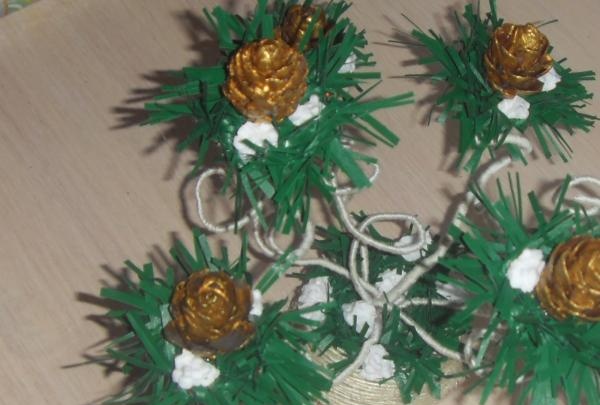
Beads will help complete the topiary and add color. They are glued in a chaotic order onto cones, pine needles, stems, and snow.
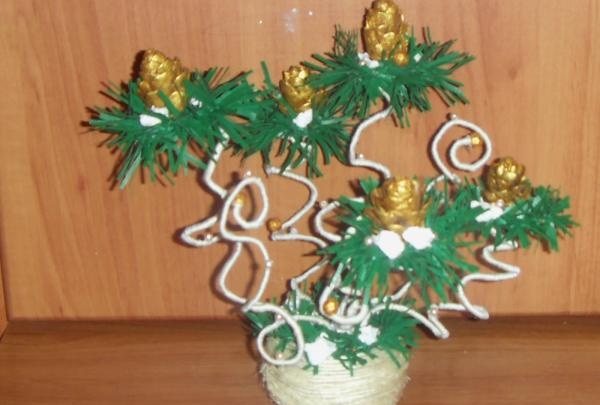
You can scatter golden nail glitter over the entire topiary.
This winter composition, creating a fairy tale and lifting your spirits, will serve as an excellent gift for the New Year holidays.
Similar master classes
Particularly interesting
Comments (0)


