Master class “Christmas tree”
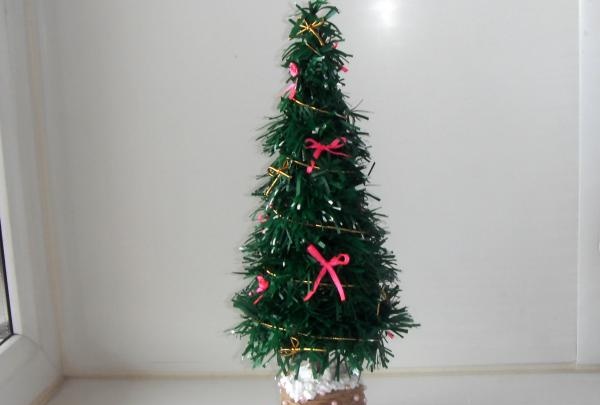
For the Christmas tree you need to have the following materials:
•Oilcloth or dense green polyethylene,
•Styrofoam,
•Satin narrow ribbon,
•Tree branch at least 1 cm in diameter,
•Jar or small pot,
•Auxiliary items: glue gun, alabaster, beads, wire.
First of all, we prepare coniferous branches - we cut green oilcloth into strips measuring 30*5 cm. We fold the strips in half lengthwise and cut the edges with scissors, creating rags-needles.
It is advisable to shred 20-25 of these strips to make the tree lush.
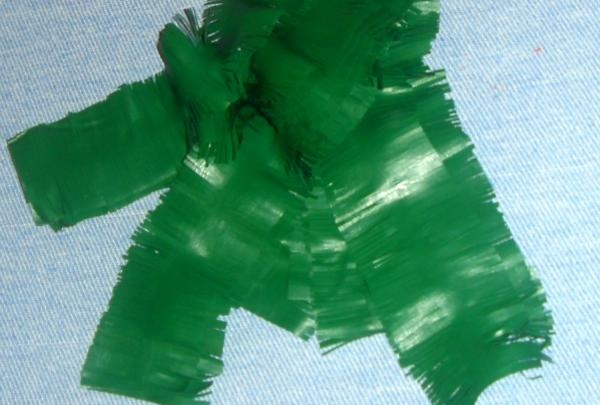
Now you need to roll each strip, turning it into a coniferous branch. To do this, cut off a piece of wire equal in length and, placing it on the green strip, begin to twist them together.
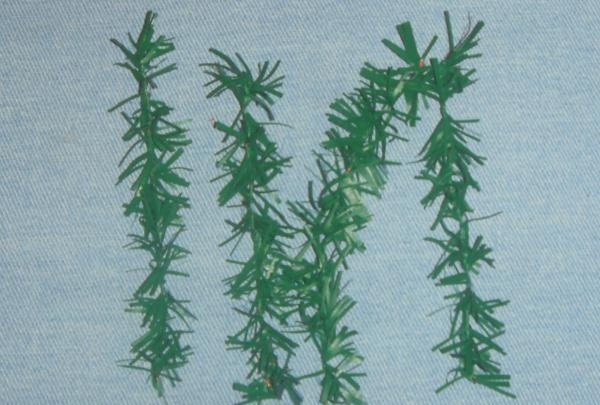
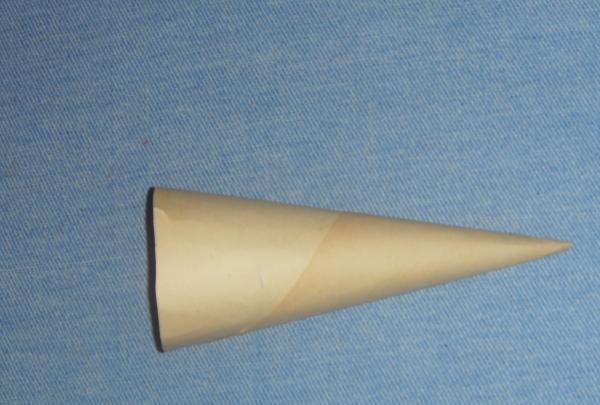
When all the branches are ready, we begin making the cone. We construct it from thick cardboard - we roll a sheet of A4 cardboard into a bag and secure it with a stapler. We trim the protruding sharp ends with scissors, creating a smooth edge.
Lubricate one end of the branch with glue and secure it at the top of the cone. If the glue does not hold the branch, then you can first wrap the end of the branch tightly with threads and lubricate the threads with glue. They stick better to cardboard than a wooden surface.
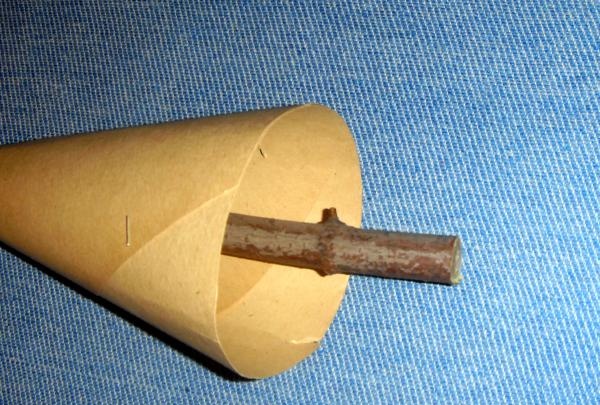
We plant the cone on the branch in a small pot, jar or any suitable container. To do this, in a separate bowl, dilute alabaster or gypsum with water to the consistency of liquid sour cream. Very quickly, before the mixture dries, pour it into the prepared container and place our cone on a branch in it. Leave to dry for several hours.
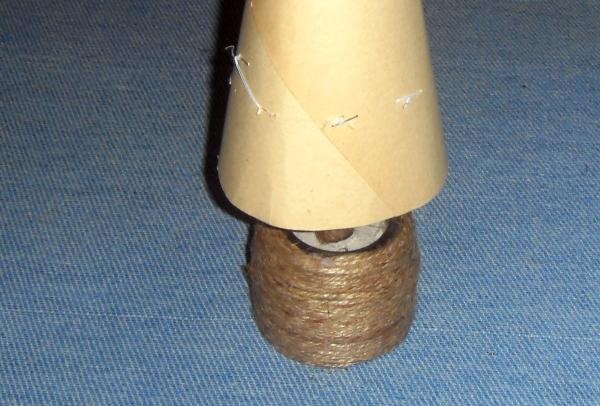
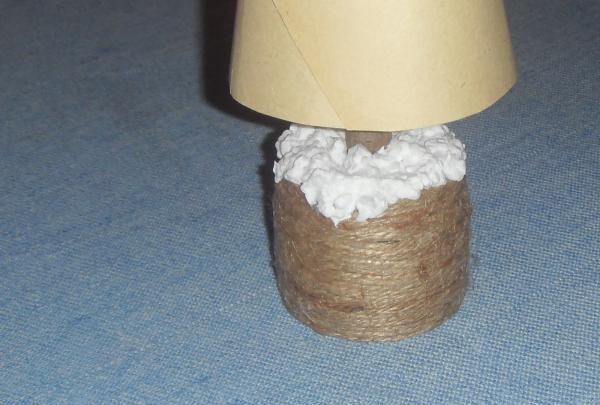
When the alabaster has set, we begin decorating and camouflaging the jar. We cover the surface of the jar around the trunk with polystyrene foam, simulating snowdrifts.
Next, we begin to glue the needles to the cone, starting from the top of the head. We wrap the branches around the cone in a circle, securing with glue.
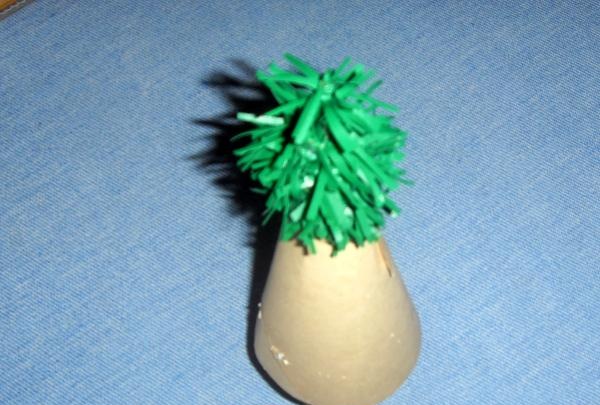
The entire cone is covered in the same way.
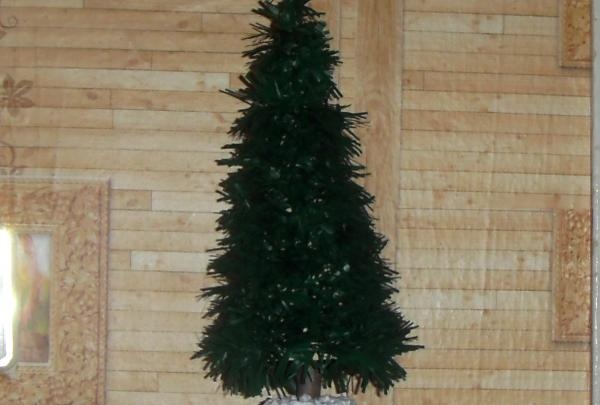
Let's start decorating the Christmas tree.
We cut 10 cm long pieces of satin ribbon and tie small bows from them. We melt the ends of the bow with fire so that they do not come apart. Our Christmas tree will need about 10 bows.

First we decorate the Christmas tree with gilded shiny thread, running it in a spiral from the base of the tree to the top of the head.
Then glue the bows.
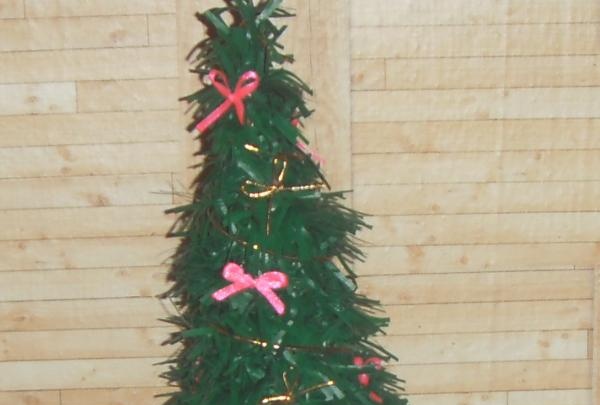
We also decorate the pot with beads, bows or other beautiful things.
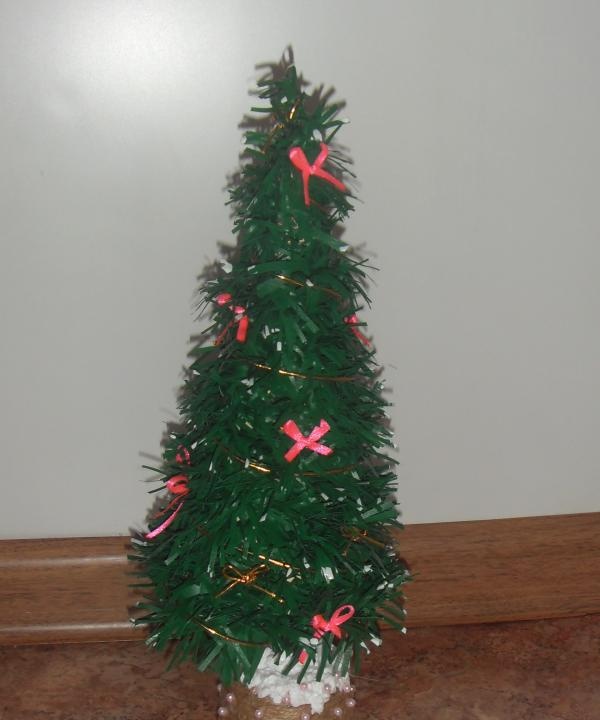
Such a Christmas tree cannot be compared with store-bought souvenirs, since any handmade product is one-of-a-kind and unique in nature. That's why present It will turn out unusual, and most importantly beautiful and original.
Similar master classes
Particularly interesting
Comments (0)


