New Year card with a monkey
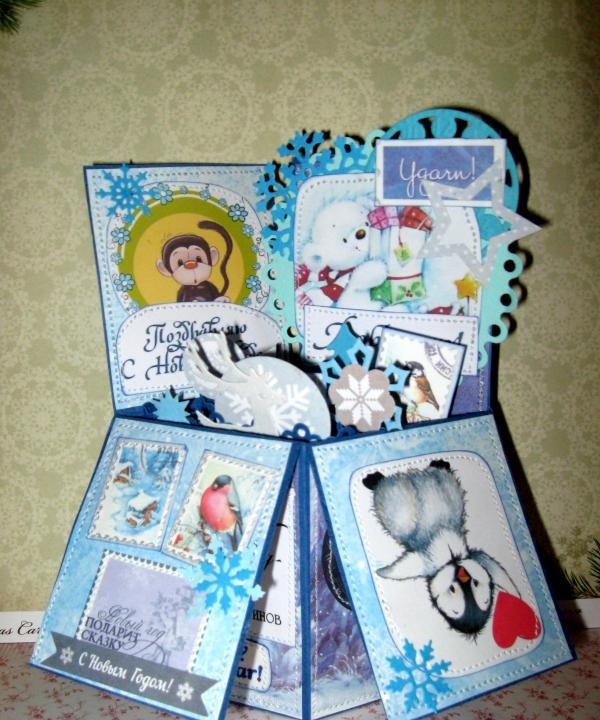
It’s probably already well known to everyone that 2016 will be the Year of the Monkey according to the eastern calendar. Therefore everything present, with the image of this amusing and funny animal. It can be a keychain, piggy bank, figurine, ball, bag, postcard, soap and more. Everything connected with a monkey is already somehow associated with fun and good luck, so this New Year you must definitely please your loved ones. What kind of holiday is it without heartfelt and festive congratulations? Consider it nothing, so you definitely need postcards that you can sign, or even better, make them yourself. This will be like a 2 in 1 gift. Both an interesting surprise and New Year's wishes. And voluminous postcards with an interesting folding shape will generally look like real magic that a person falls into when looking at it. What is so interesting about such a postcard? A voluminous postcard is a folding postcard, which also takes the form of a box and contains various airy elements of winter decor and New Year's accessories.
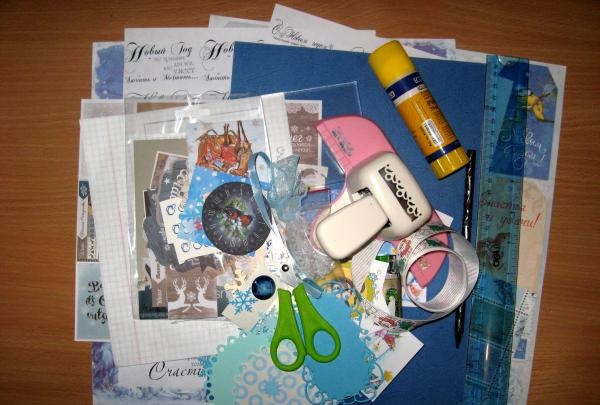
We will make such a postcard using a well-known technique called scrapbooking and to create it we need:
Postcard layout;
Dark blue cardboard with leather veins, A4 sheet;
Scrappaper with winter patterns in blue and blue colors;
Pictures with a monkey, bear, snowman, deer, birds, etc.;
Various New Year's cuttings and labels in the form of squares, interesting clippings with inscriptions, stamps with wishes;
Printed inscriptions;
Cutting: clock, snowflakes, circle, deer;
Curb hole punch;
A piece of watercolor paper;
Printed congratulations;
Glue stick;
Ruler, scissors, pencil;
Ink pad with blue ink for tinting;
Sewing machine.
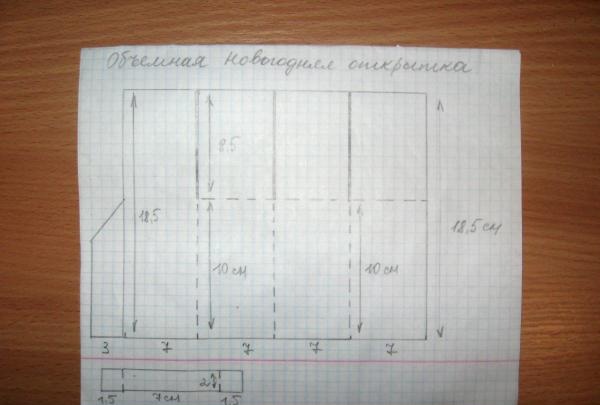
We put the diagram in front of us and study it. The template is quite clear; first, cut out a rectangle of 18.5 * 31 cm from dark blue cardboard.
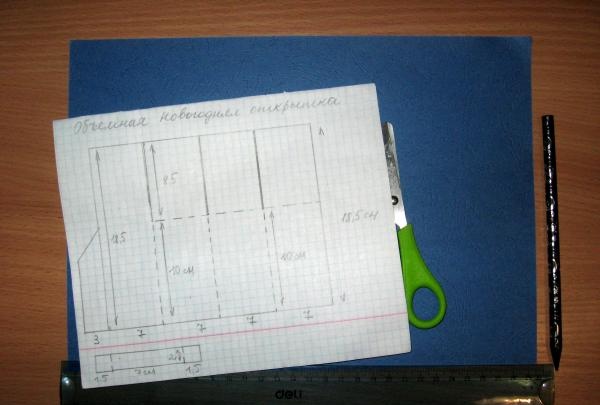
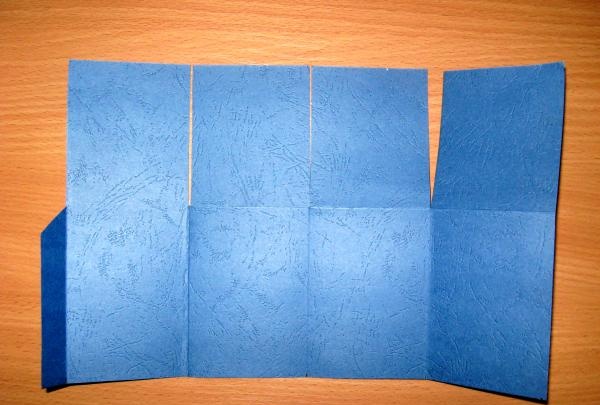
Now, according to the diagram, we make cuts and scoring lines. From the strip of cardboard that remains, we cut out three partitions for volumetric parts. The size of the partitions is 1*7*1 cm, there are three in total.
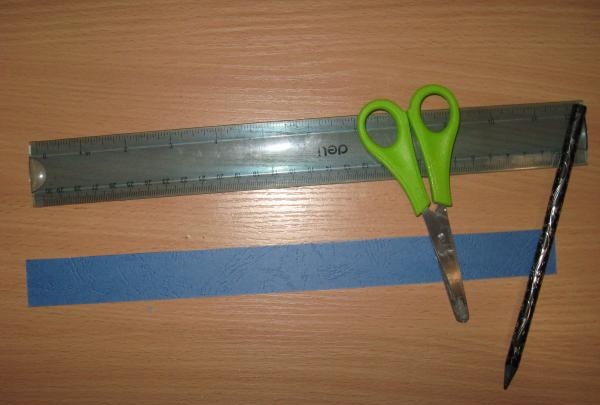
On one side of the partition we punch holes along the edges.
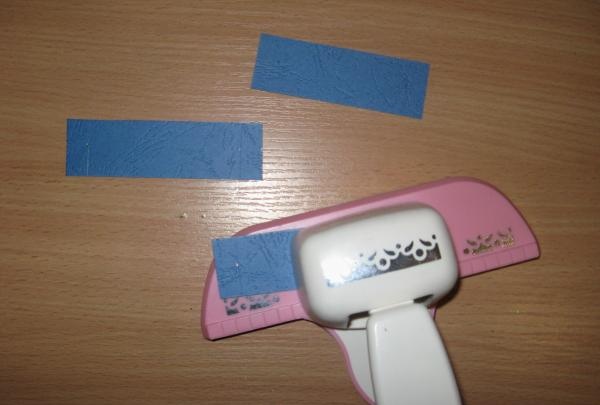
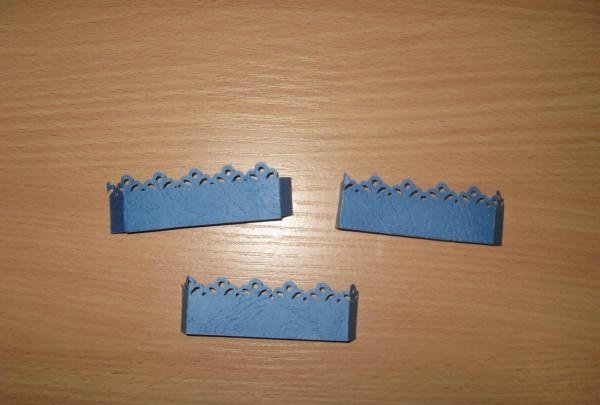
Now we take scrap paper and cut out blanks of the following sizes: from dark blue paper we cut out three rectangles 6.7 * 8.2 cm and 6.7 * 9.8 cm, as well as two large ones 6.7 * 18.3 cm, from blue paper cut out three rectangles 6.7 * 8.2 cm.
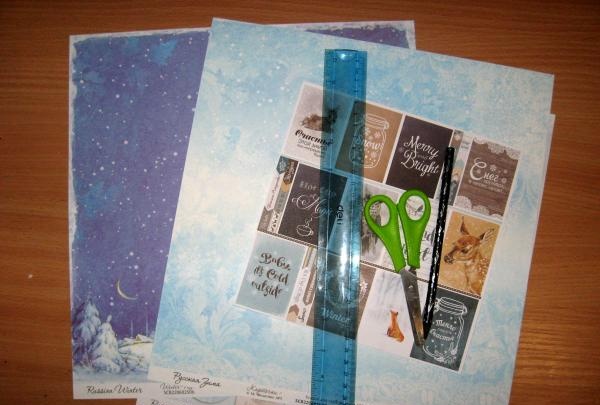
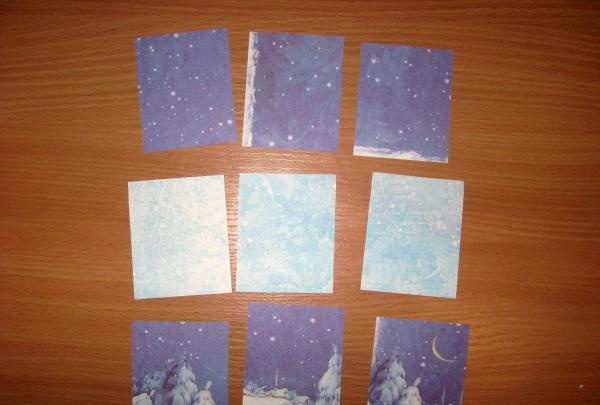
We cut out the inscriptions and pictures, it is better to round their edges a little, now we tint each detail with a pad.
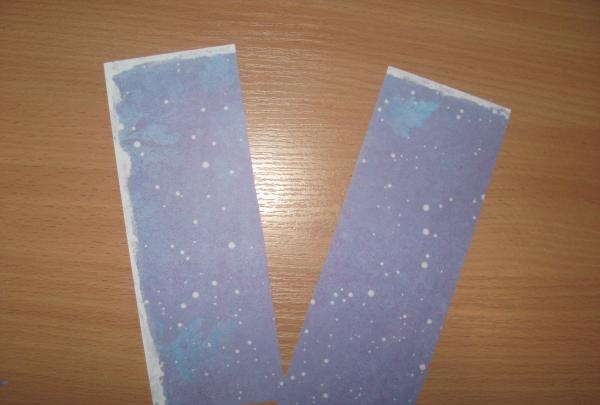
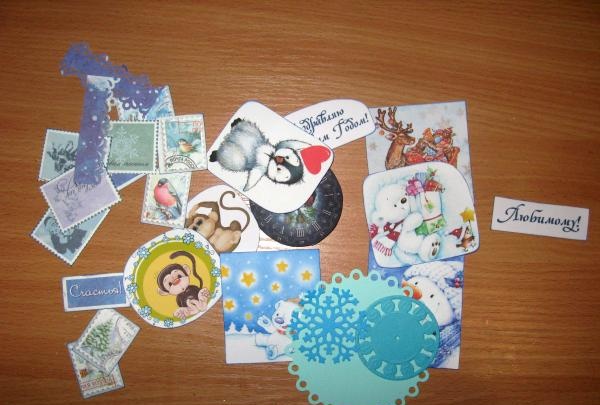
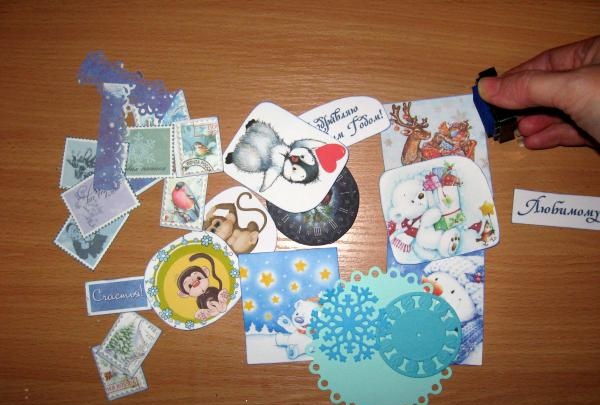
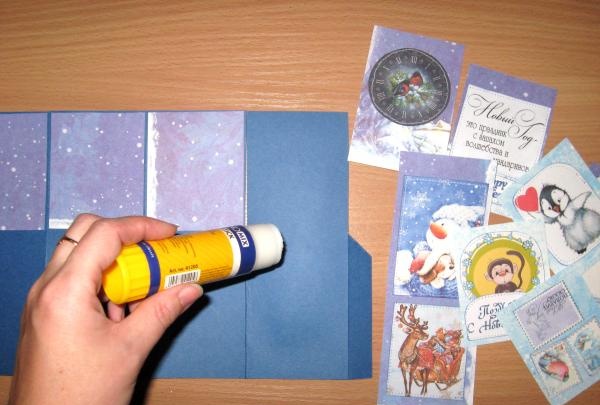
We immediately glue the small dark blue rectangles on the outside of the base, and also glue the large inner rectangle.
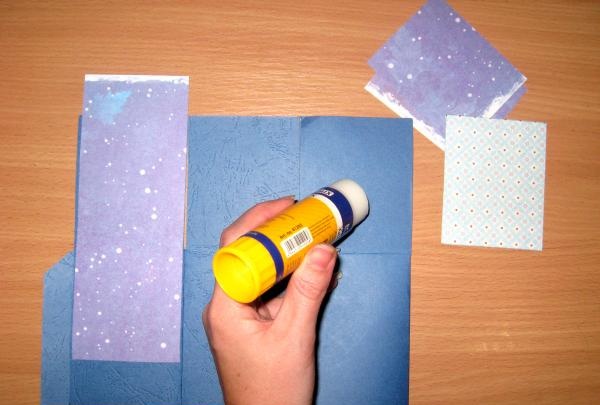
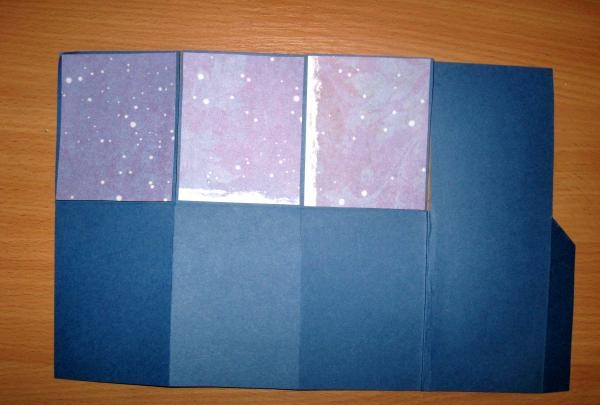
Now we glue the pictures and inscriptions with a glue stick onto different rectangles.
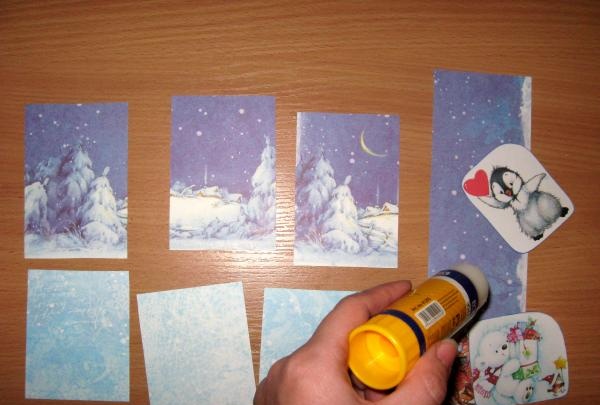
First glue the snowflakes onto the circle, then the inscription and the picture. We sew each element.
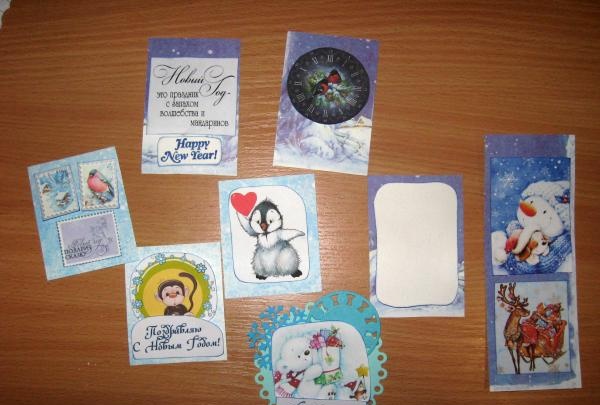
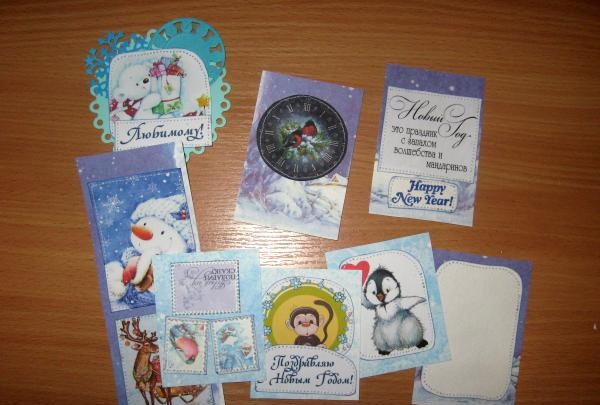
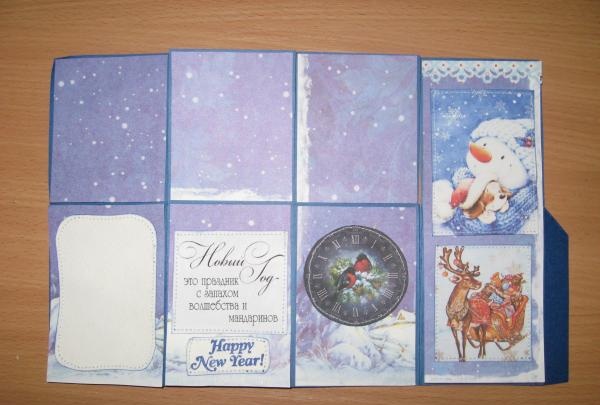
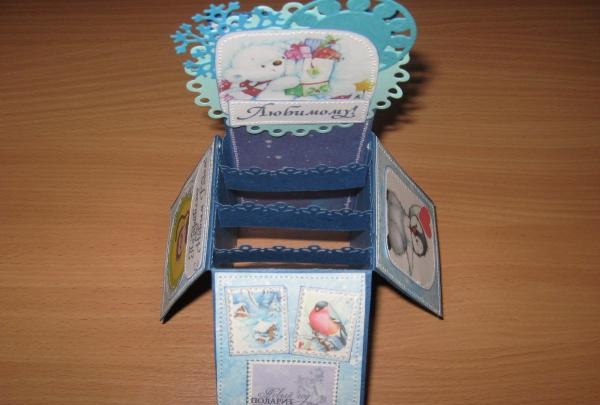
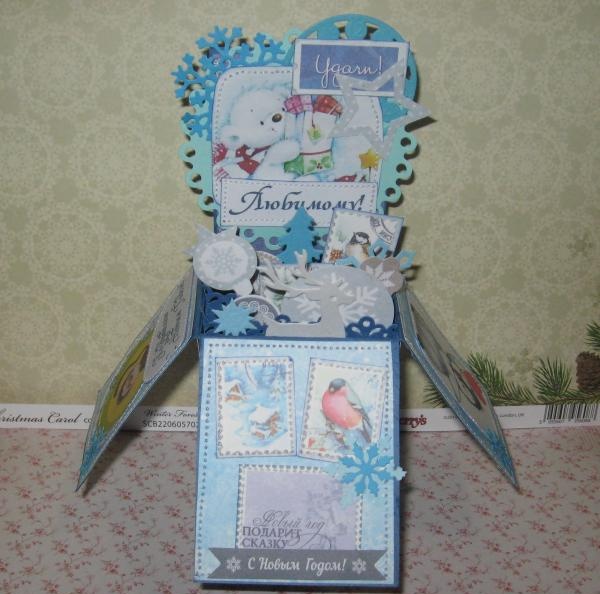
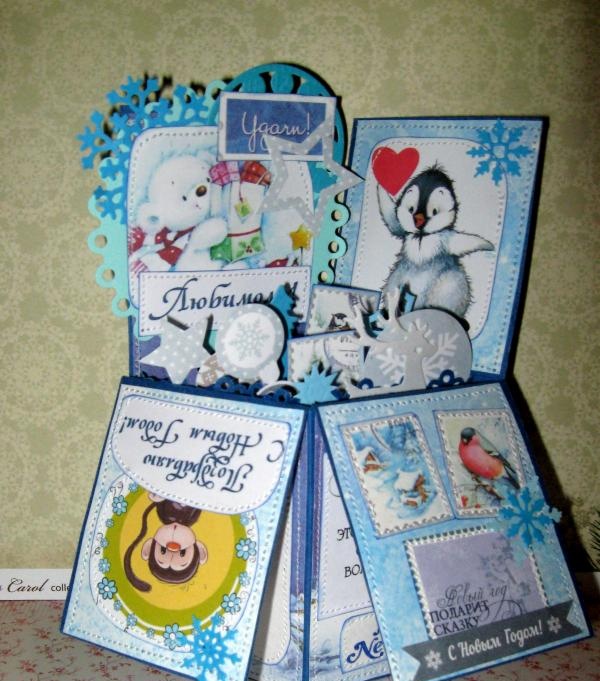
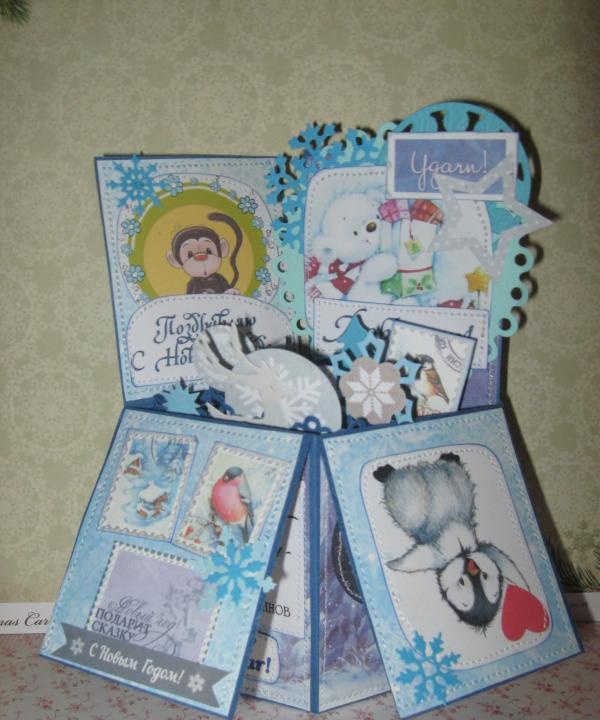
Now we glue all the prepared parts and blanks to the base.This is what the inside looks like.
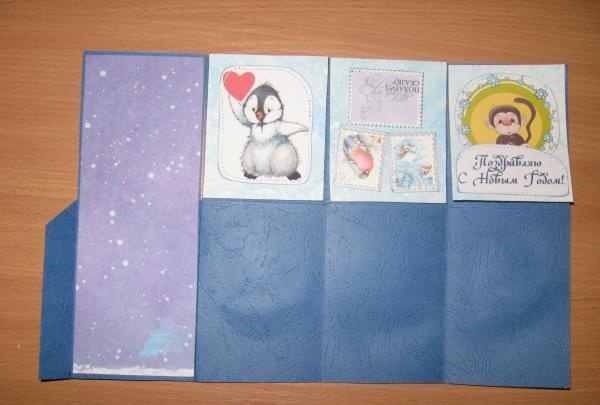
This is what the outside looks like. We sew each part with a machine.
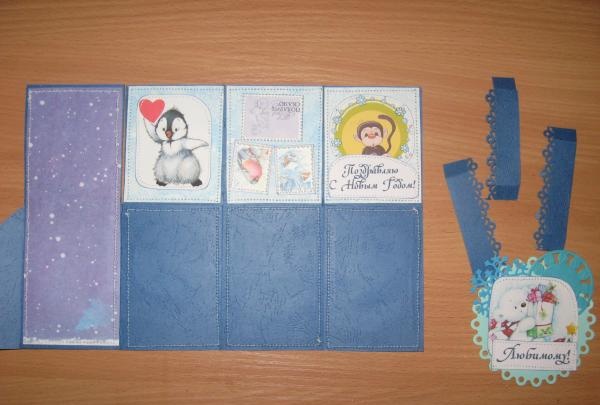
Now we glue the card along the tongue and glue the partitions into it.
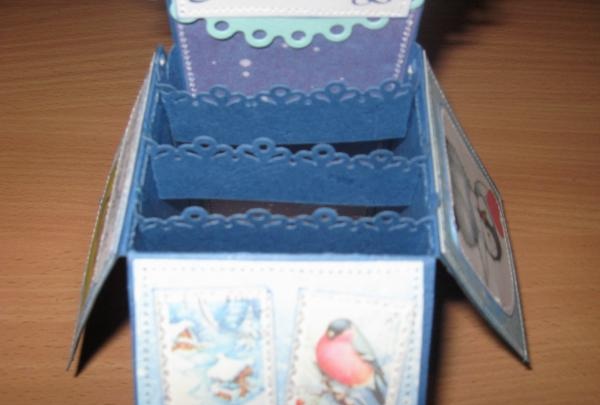
Now we glue different winter and New Year’s cutouts onto the partitions.

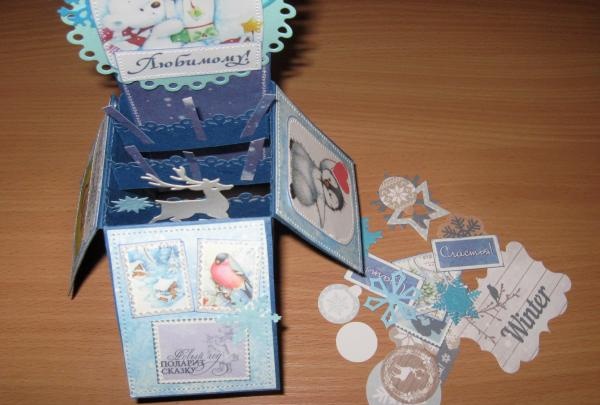
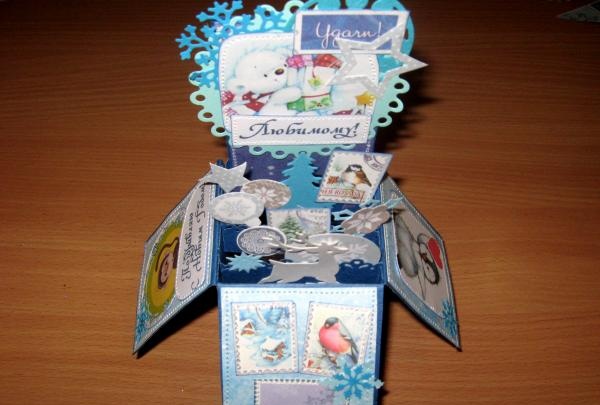
This is such an interesting airy postcard-box! Thank you for your attention!
We will make such a postcard using a well-known technique called scrapbooking and to create it we need:
Postcard layout;
Dark blue cardboard with leather veins, A4 sheet;
Scrappaper with winter patterns in blue and blue colors;
Pictures with a monkey, bear, snowman, deer, birds, etc.;
Various New Year's cuttings and labels in the form of squares, interesting clippings with inscriptions, stamps with wishes;
Printed inscriptions;
Cutting: clock, snowflakes, circle, deer;
Curb hole punch;
A piece of watercolor paper;
Printed congratulations;
Glue stick;
Ruler, scissors, pencil;
Ink pad with blue ink for tinting;
Sewing machine.


We put the diagram in front of us and study it. The template is quite clear; first, cut out a rectangle of 18.5 * 31 cm from dark blue cardboard.


Now, according to the diagram, we make cuts and scoring lines. From the strip of cardboard that remains, we cut out three partitions for volumetric parts. The size of the partitions is 1*7*1 cm, there are three in total.


On one side of the partition we punch holes along the edges.


Now we take scrap paper and cut out blanks of the following sizes: from dark blue paper we cut out three rectangles 6.7 * 8.2 cm and 6.7 * 9.8 cm, as well as two large ones 6.7 * 18.3 cm, from blue paper cut out three rectangles 6.7 * 8.2 cm.


We cut out the inscriptions and pictures, it is better to round their edges a little, now we tint each detail with a pad.


We immediately glue the small dark blue rectangles on the outside of the base, and also glue the large inner rectangle.


Now we glue the pictures and inscriptions with a glue stick onto different rectangles.

First glue the snowflakes onto the circle, then the inscription and the picture. We sew each element.


Now we glue all the prepared parts and blanks to the base.This is what the inside looks like.


This is what the outside looks like. We sew each part with a machine.


Now we glue the card along the tongue and glue the partitions into it.


Now we glue different winter and New Year’s cutouts onto the partitions.


This is such an interesting airy postcard-box! Thank you for your attention!


Similar master classes
Particularly interesting
Comments (0)

