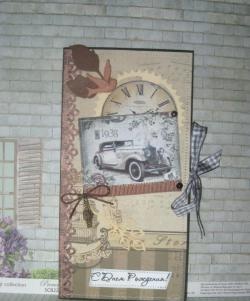
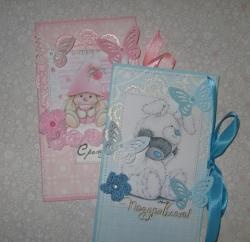
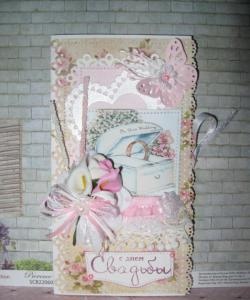
Birthday greeting envelopes
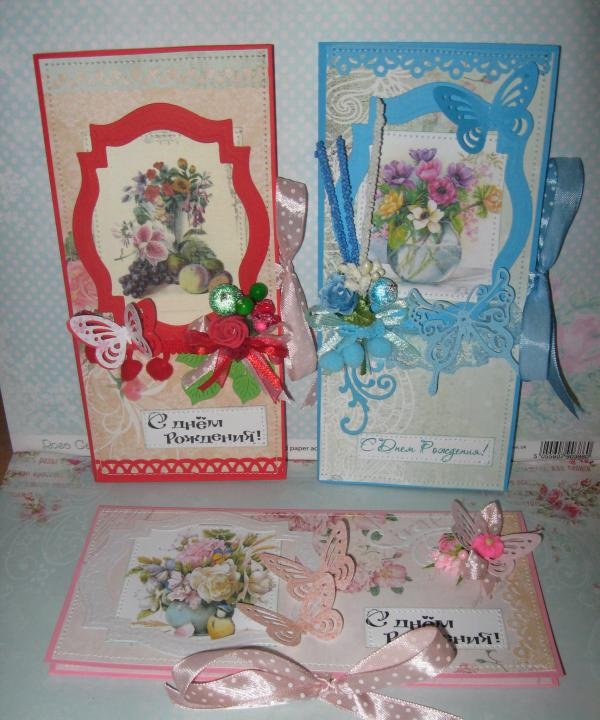
There are quite a lot of events and celebrations in the year, it’s impossible to count them all, but the most important holiday of every person is, of course, his birthday, his name day. This is a very important day for everyone, regardless of age. It follows that present You need to cook for absolutely every person. Whatever you give on your birthday, it is important and pleasant to receive. Children enjoy toys, girls and women enjoy flowers and souvenirs, men enjoy various rare and exclusive things that they are interested in, and grandparents love attention, this could be a small bouquet of flowers and a holiday card. Nowadays, gifts in the form of money, which require an envelope, are becoming increasingly popular. So, in order to invest not only the financial part in a monetary gift, but also your soul and your love, you can make greeting cards-envelopes with your own hands, which will be doubly pleasant to receive as a gift. Now we will use this master class and make very interesting and bright birthday envelopes using the technique scrapbooking.
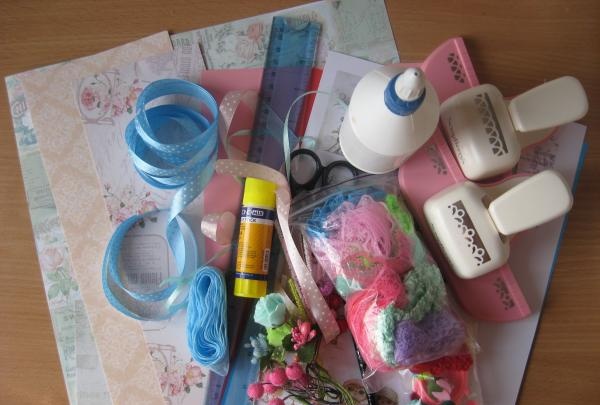
For this master class we take:
• Three sheets of A4 cardboard pink, red and blue;
• Three sheets of scrap paper in delicate colors, size 30*30 cm;
• Satin ribbons with polka dots, pink and blue, 12 mm wide;
• Blue cotton lace;
• Three die-cut frames red, white and blue;
• Pictures with floral motifs;
• Twigs colored blue, white and pink;
• Sugar berries red, green, blue, white;
• Stamens are red and white;
• Butterflies cut out in red, pink and blue;
• Latex red roses;
• Blue fabric roses;
• Ribbon with pompoms;
• Paper curls from cutting;
• Printed “Happy Birthday” messages;
• Paper roses with pink buds;
• Leaves are green;
• Polymer clay centers are red and pink;
• Satin and organza ribbons for bows;
• Curb punchers;
• PVA glue, glue stick, ruler, scissors, pencil, glue gun, lighter, double-sided tape.
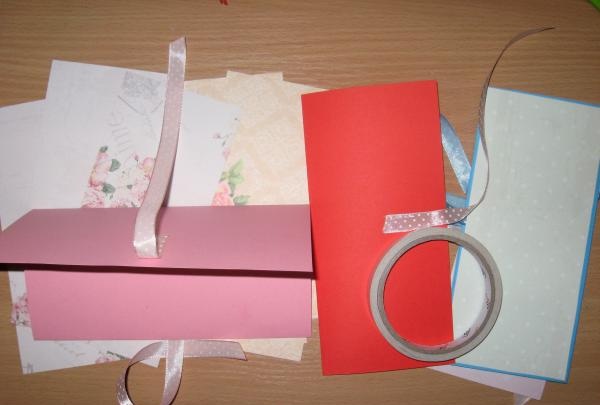
The first thing we start with is from sheets of cardboard we need to make the bases of the envelopes. We make each one 20*28.5 cm in size. The pieces of cardboard that remain are made into lace hole punches and will later be useful for decoration.
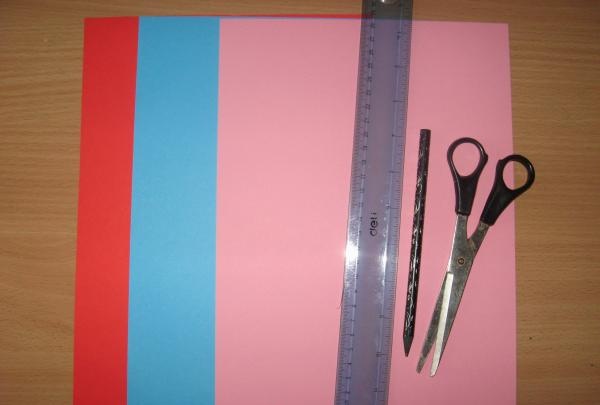
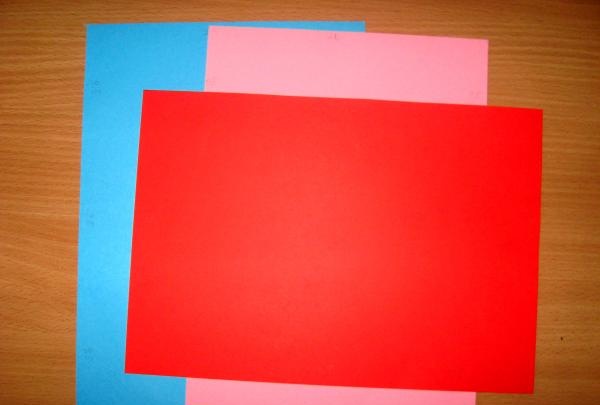
We divide all three sheets into three parts and fold the blanks. One envelope will be horizontal and two vertical.
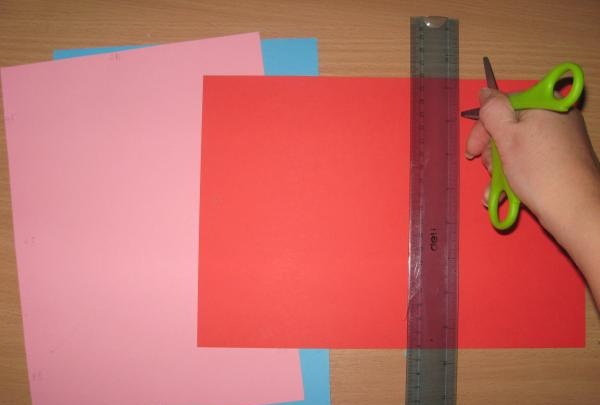
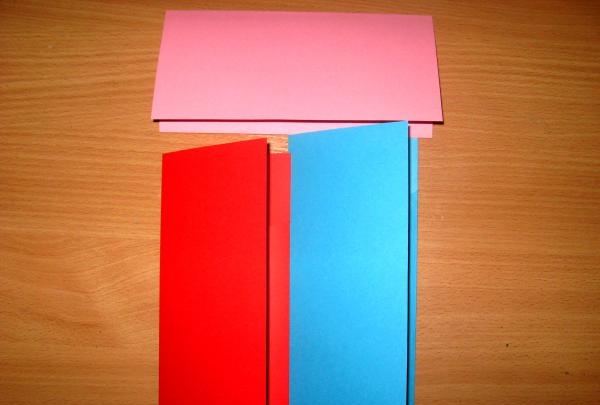
We cut six strips of polka dot ribbons, burn the edges and glue them to the bases (envelope ties).
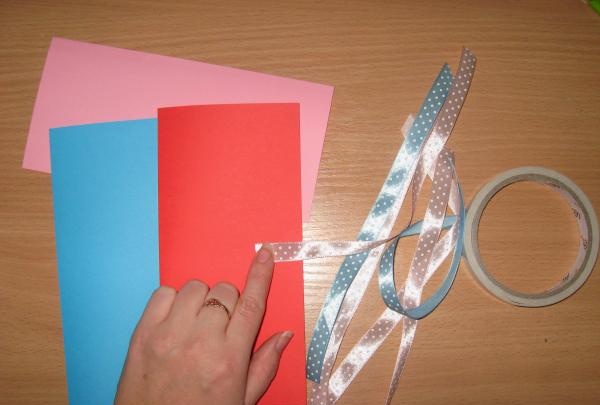
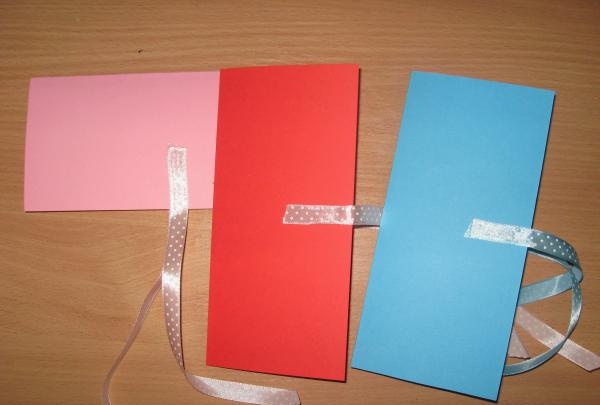
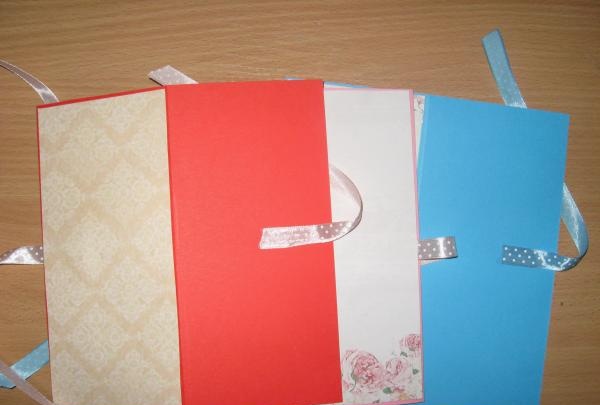
Now from sheets of scrap paper we cut out three rectangles of 9.2 * 19.7 cm for two envelopes, and for the third 9 * 20 cm and 8 * 20 cm. We make cuts in vertical envelopes, and cut scrap blanks accordingly.
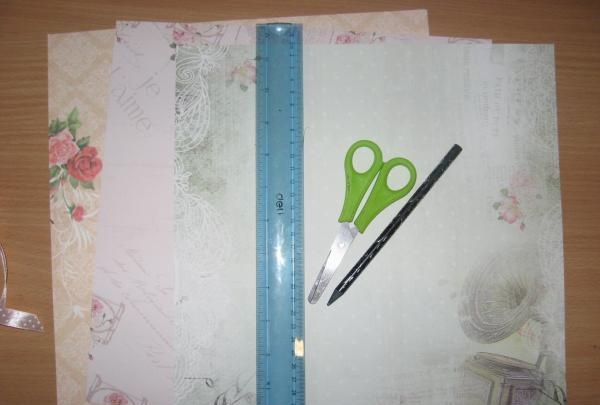
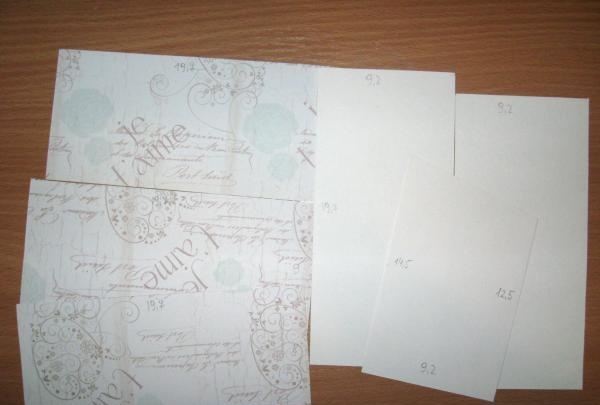
We glue the inside and back parts of the envelopes with scrap paper blanks.
We will decorate the remaining rectangles (front parts). We tint the edges of pictures and inscriptions.
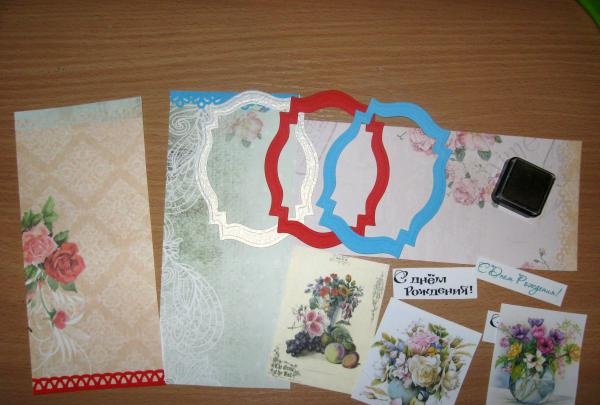
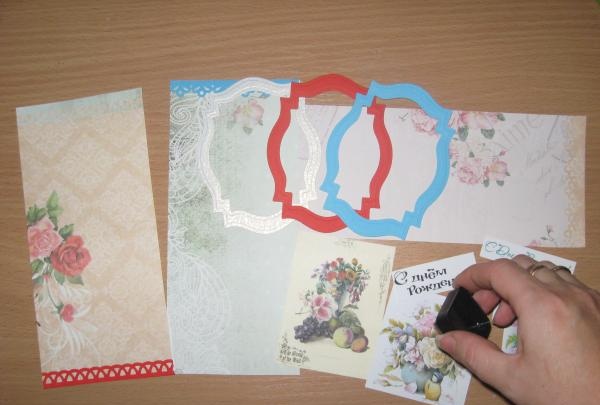
We glue them with double-sided tape. We also glue lace strips of cardboard. We sew inscriptions with pictures.
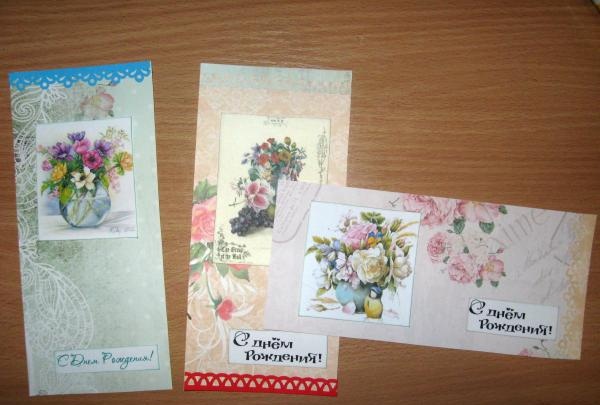
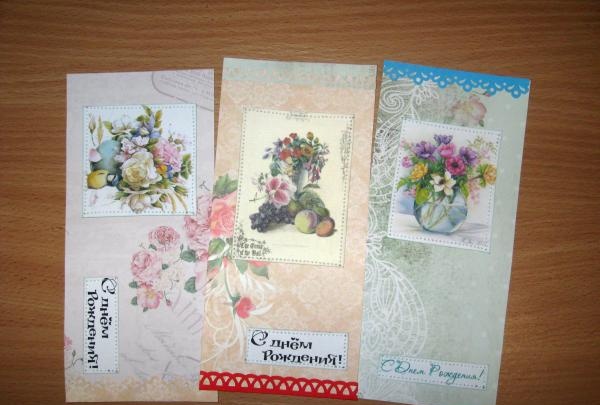
Now we glue the front parts of the envelopes, sewing each side separately with a machine.
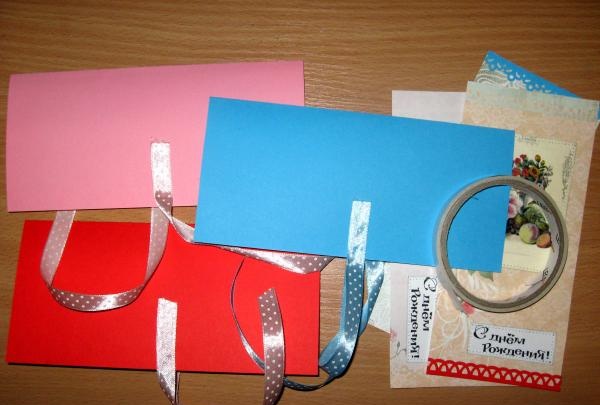
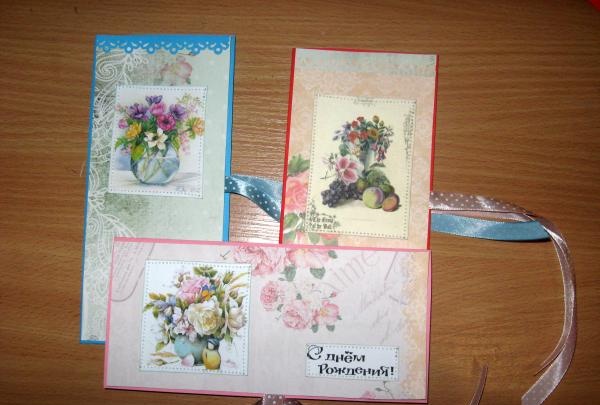
We glue the inner pockets and frames with a glue stick and PVA. Now we make bouquets of flowers, stamens and twigs, and bows from ribbons.
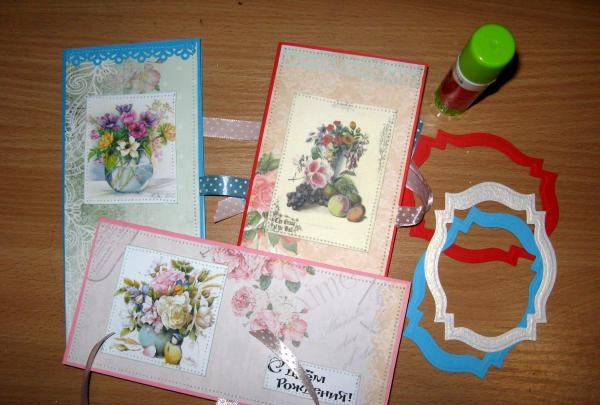
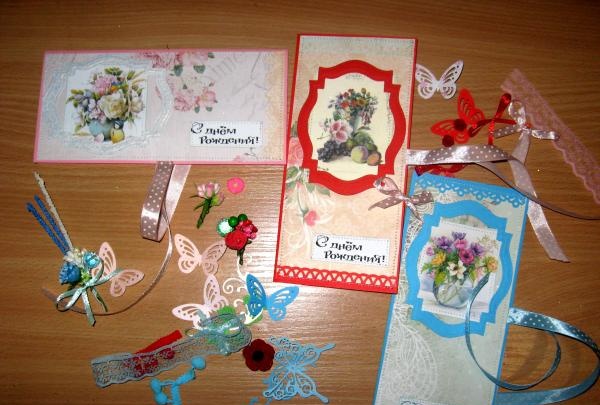
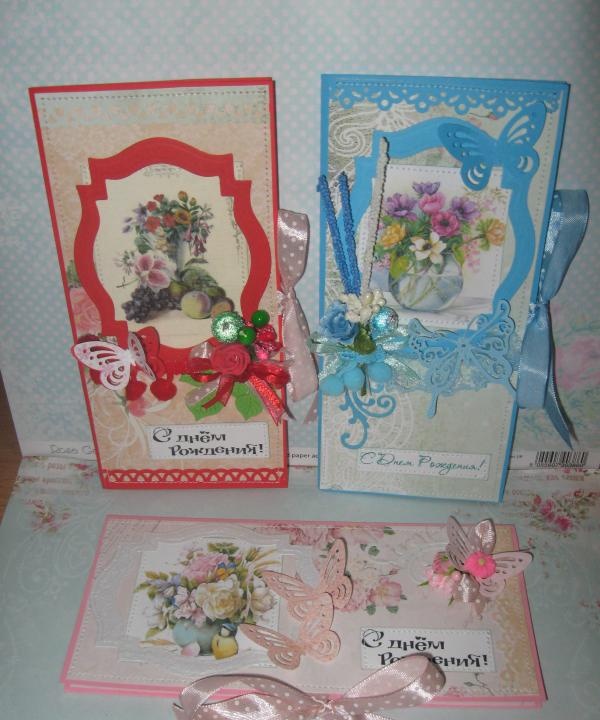
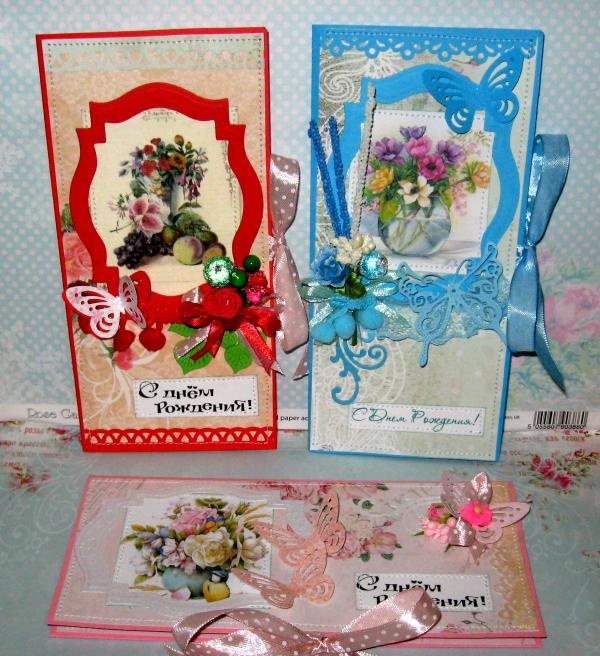
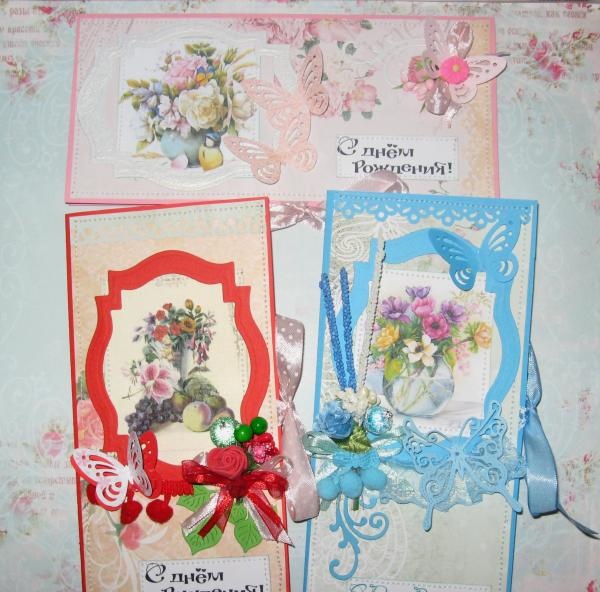
We use a glue gun to decorate our envelopes with various beauties. Tie it with bows and you're done! The result was such delicate and bright congratulatory envelopes. Thank you for your attention!
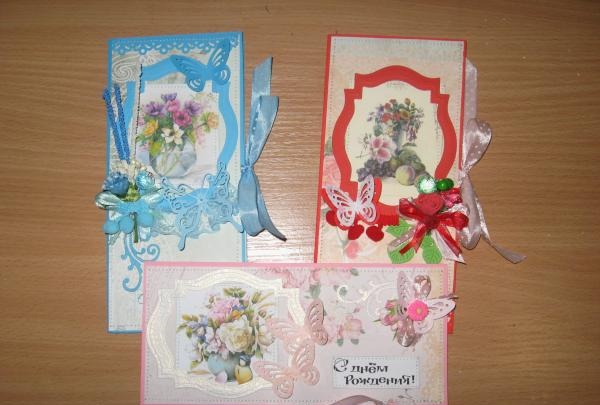
For this master class we take:
• Three sheets of A4 cardboard pink, red and blue;
• Three sheets of scrap paper in delicate colors, size 30*30 cm;
• Satin ribbons with polka dots, pink and blue, 12 mm wide;
• Blue cotton lace;
• Three die-cut frames red, white and blue;
• Pictures with floral motifs;
• Twigs colored blue, white and pink;
• Sugar berries red, green, blue, white;
• Stamens are red and white;
• Butterflies cut out in red, pink and blue;
• Latex red roses;
• Blue fabric roses;
• Ribbon with pompoms;
• Paper curls from cutting;
• Printed “Happy Birthday” messages;
• Paper roses with pink buds;
• Leaves are green;
• Polymer clay centers are red and pink;
• Satin and organza ribbons for bows;
• Curb punchers;
• PVA glue, glue stick, ruler, scissors, pencil, glue gun, lighter, double-sided tape.


The first thing we start with is from sheets of cardboard we need to make the bases of the envelopes. We make each one 20*28.5 cm in size. The pieces of cardboard that remain are made into lace hole punches and will later be useful for decoration.


We divide all three sheets into three parts and fold the blanks. One envelope will be horizontal and two vertical.


We cut six strips of polka dot ribbons, burn the edges and glue them to the bases (envelope ties).


Now from sheets of scrap paper we cut out three rectangles of 9.2 * 19.7 cm for two envelopes, and for the third 9 * 20 cm and 8 * 20 cm. We make cuts in vertical envelopes, and cut scrap blanks accordingly.


We glue the inside and back parts of the envelopes with scrap paper blanks.


We will decorate the remaining rectangles (front parts). We tint the edges of pictures and inscriptions.


We glue them with double-sided tape. We also glue lace strips of cardboard. We sew inscriptions with pictures.


Now we glue the front parts of the envelopes, sewing each side separately with a machine.


We glue the inner pockets and frames with a glue stick and PVA. Now we make bouquets of flowers, stamens and twigs, and bows from ribbons.


We use a glue gun to decorate our envelopes with various beauties. Tie it with bows and you're done! The result was such delicate and bright congratulatory envelopes. Thank you for your attention!


Similar master classes
Particularly interesting
Comments (0)


