Savings book for newlyweds
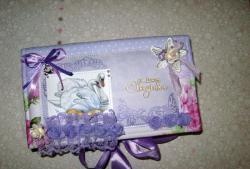
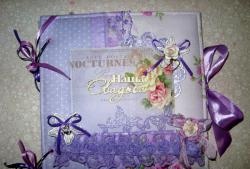
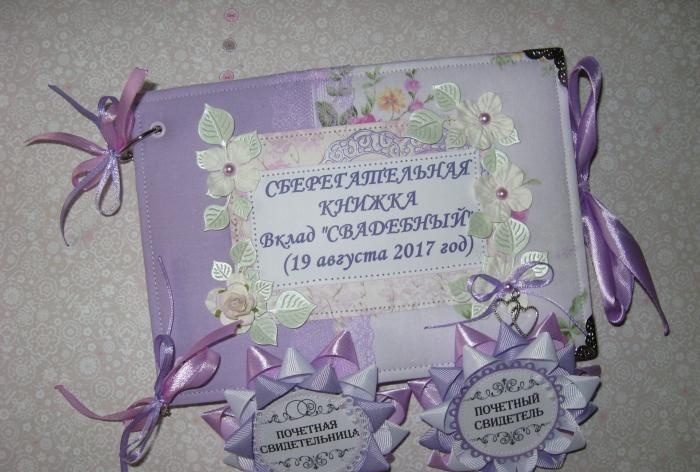
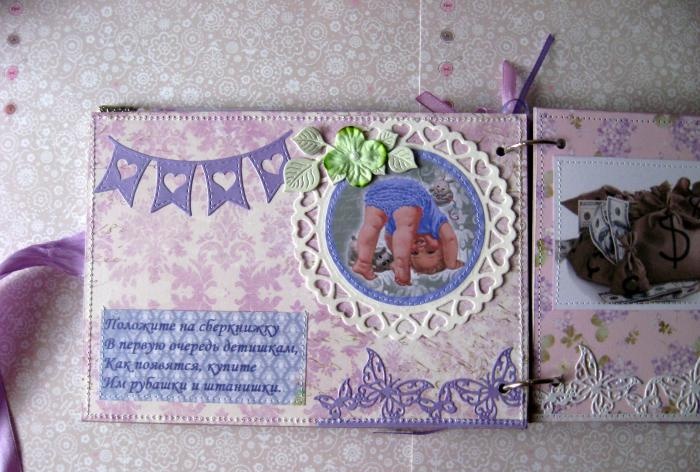
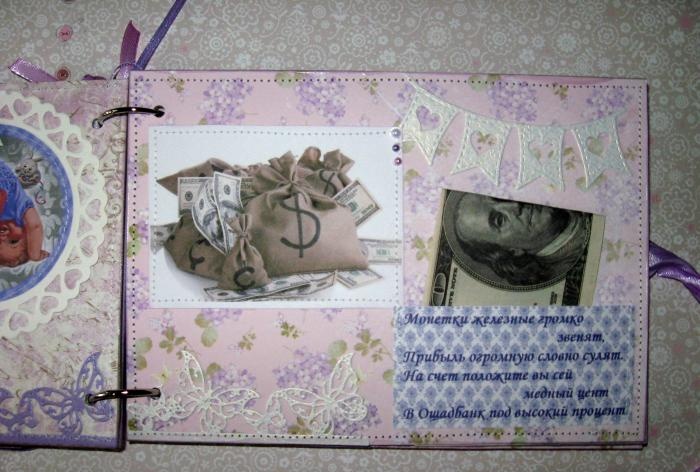
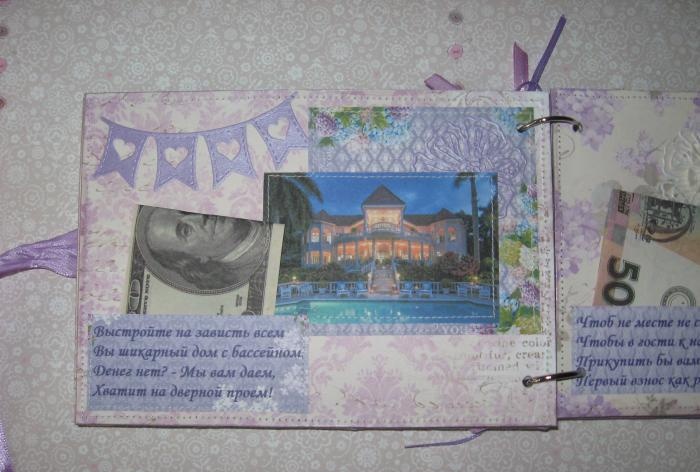
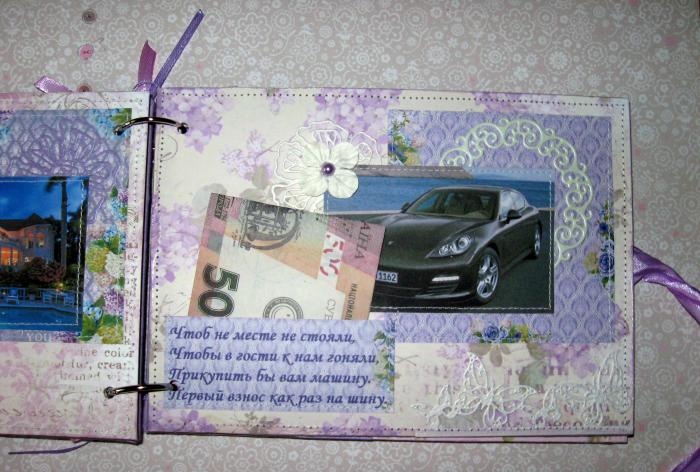
One of the most interesting and original ways to give money beautifully at a wedding is the so-called savings book. At the moment, this is perhaps the most ideal and quite creative way to surprise and delight, and still leave a beautiful memory. Since these books are considered exclusive, they are therefore made by hand. The work to create it, although painstaking, is very interesting, and the result is stunning. So, I won’t linger for long, we’ll start right away with a master class on how to create it.
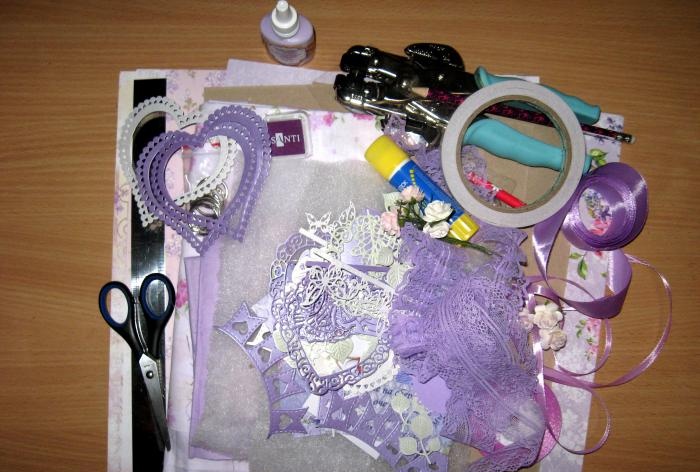
To work on the book we take:
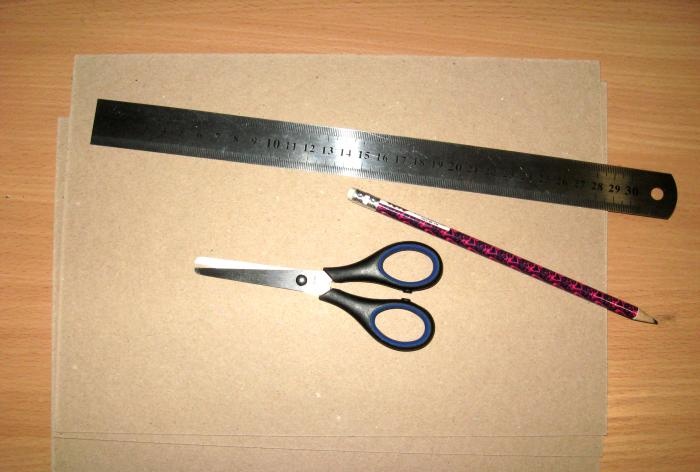
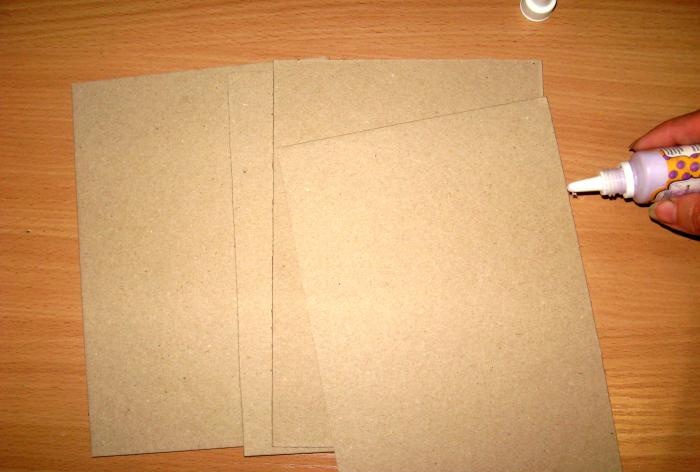
Since our book will be in the form of a mini-album with hard sheets and binding, we take binding cardboard and divide all three sheets in half, 15*21 cm, and cut them.
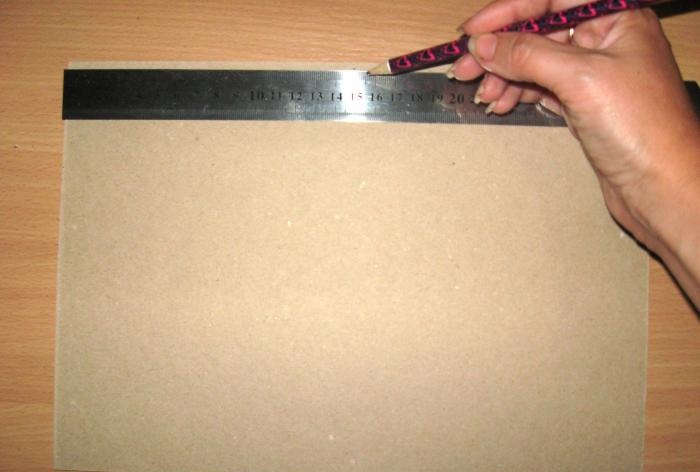
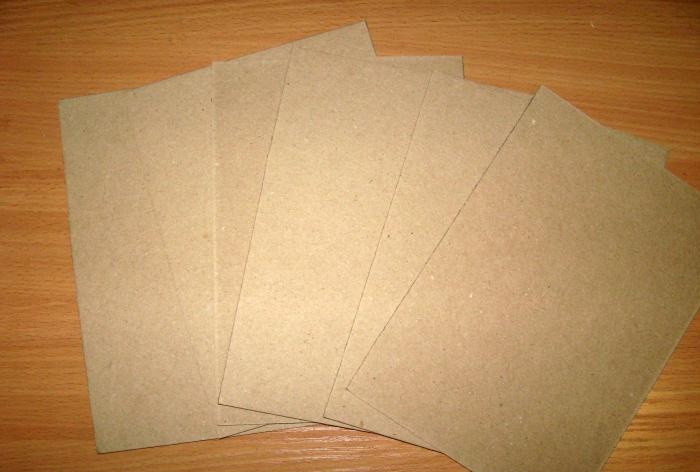
We get six pieces. We take two of them on the cover and paste them on one side with padding polyester.
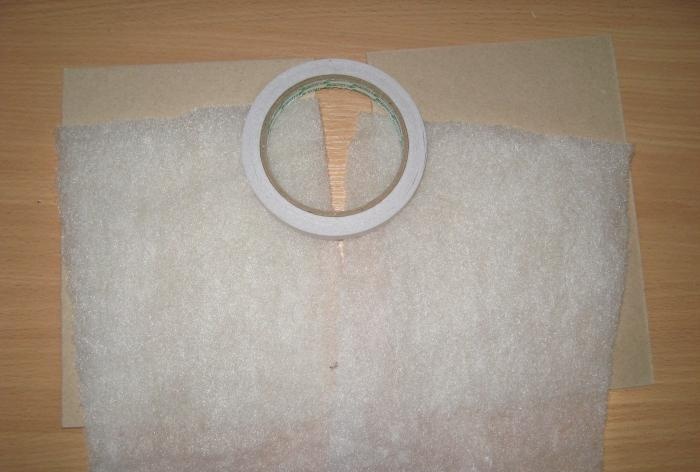
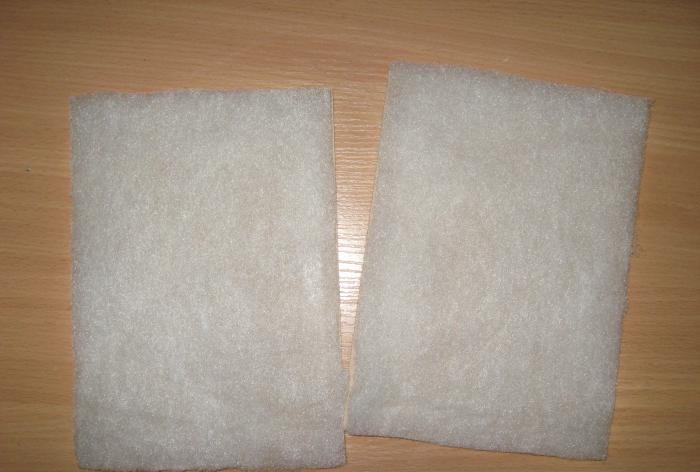
Now we need to prepare the fabric for the cover.
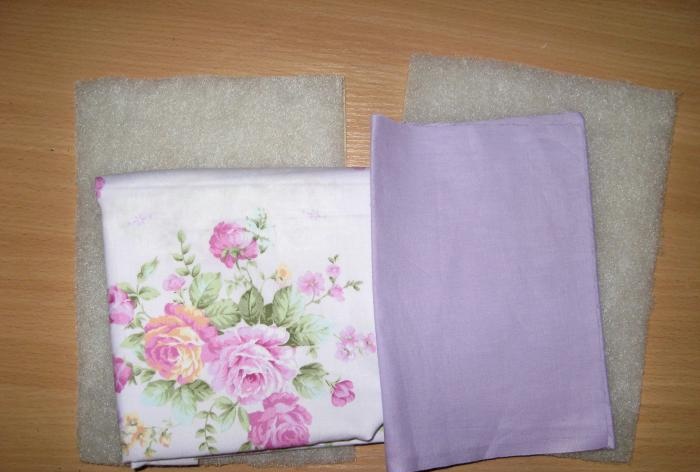
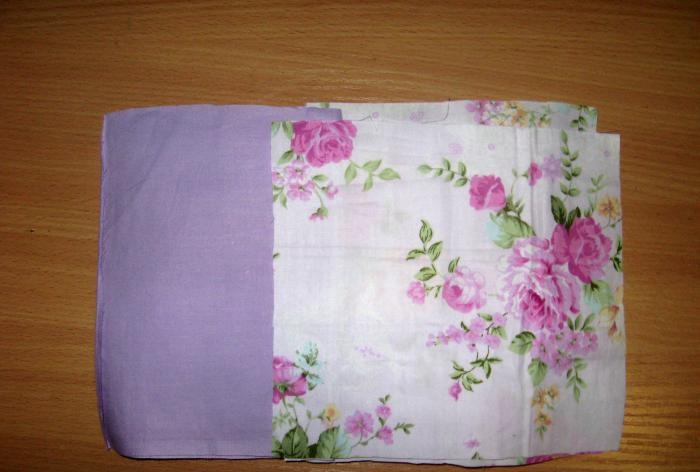
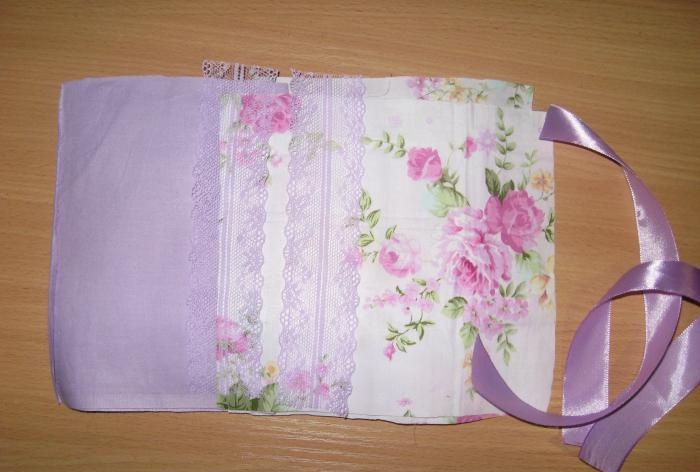
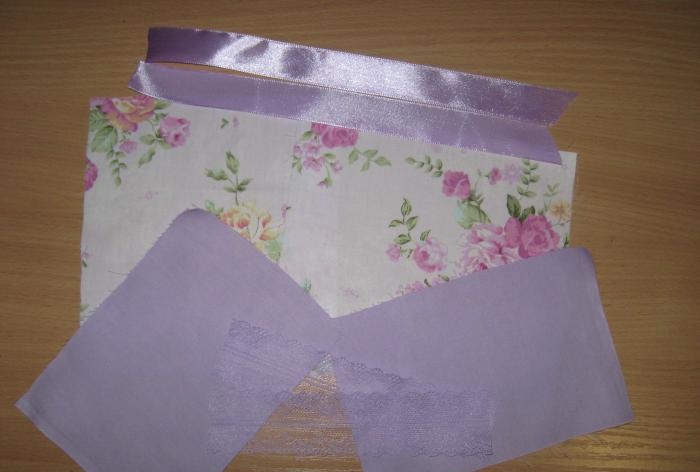
We combine two fabrics with each other and cut them with reserves. We also cut two strips of lace and two strips of ribbon at the joints.
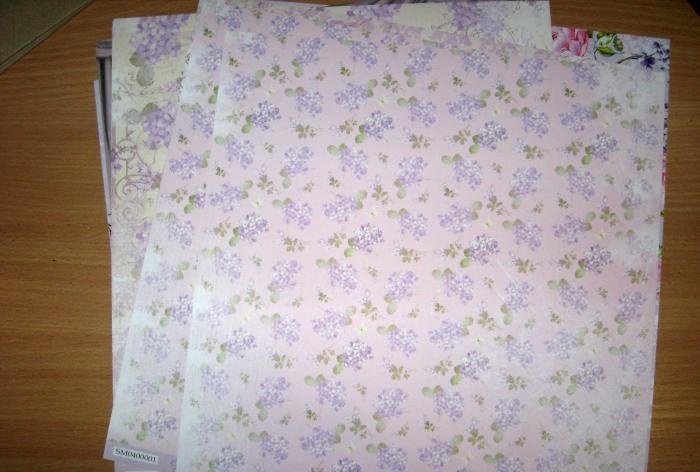
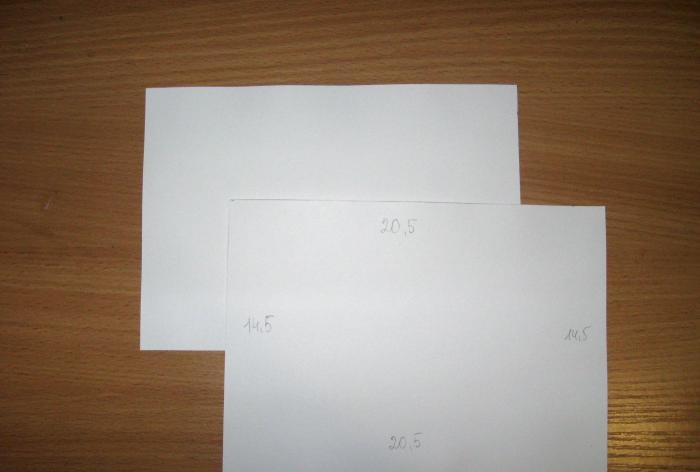
In order not to waste time, while we are sewing the cover, we will tint the edges of the inner sheets with paint and leave them to dry for 15-20 minutes. From scrap paper we need to cut out two endpaper rectangles for the cover, 14.5 by 20.5 cm.
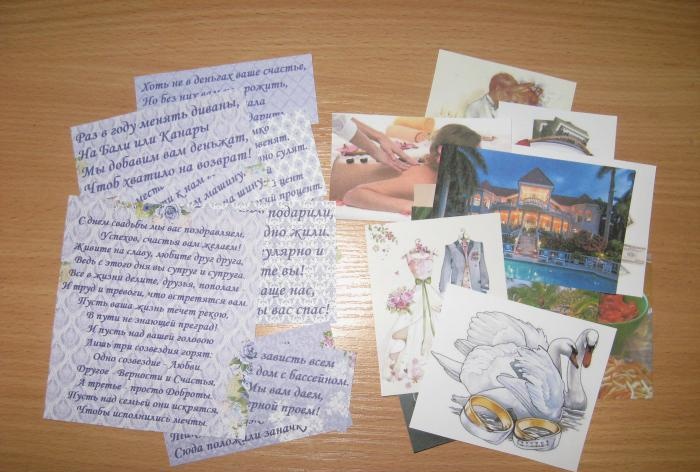
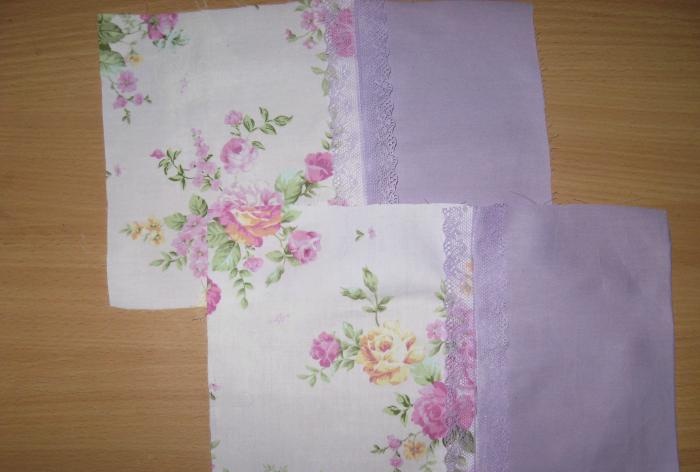
We also cut out pictures and wishes for sheets. We smooth the fabric, sew it together in pairs and sew lace onto the joints.
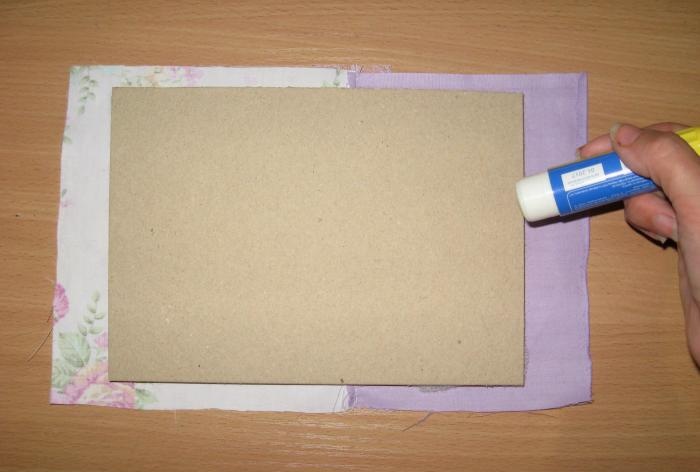
Now stretch the fabric over the cover and glue it with a glue stick.
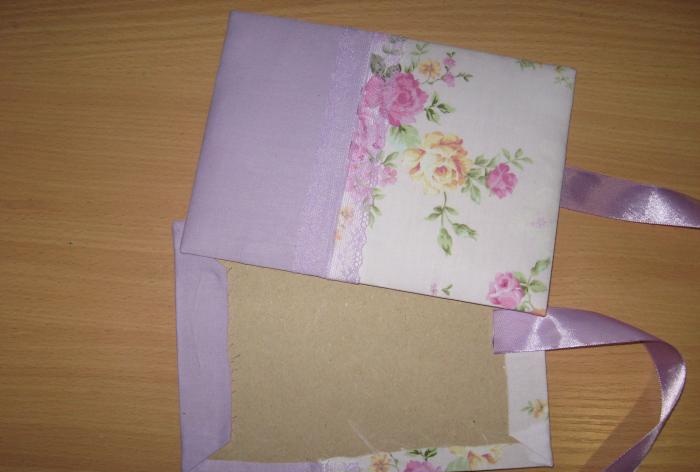
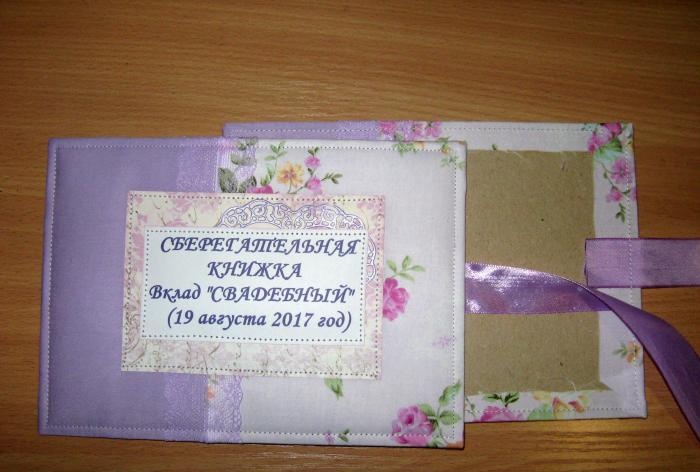
Inside the cover we glue tape on both parts. The endpapers are ready.
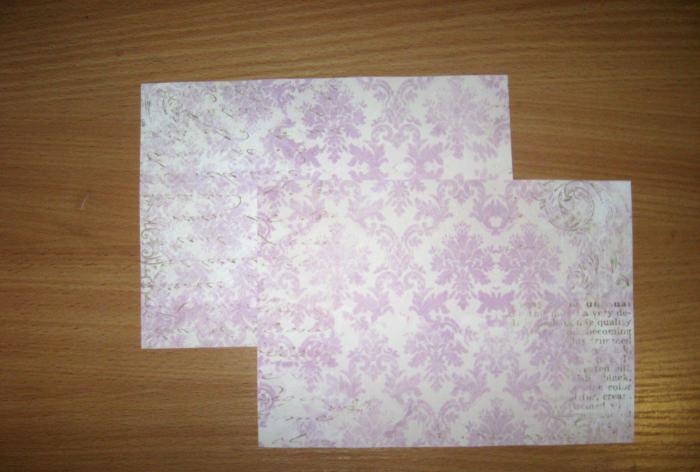
For the outer part of the book, we also cut out a rectangle from scrap paper and an inscription, and glue a cut out heart between them.

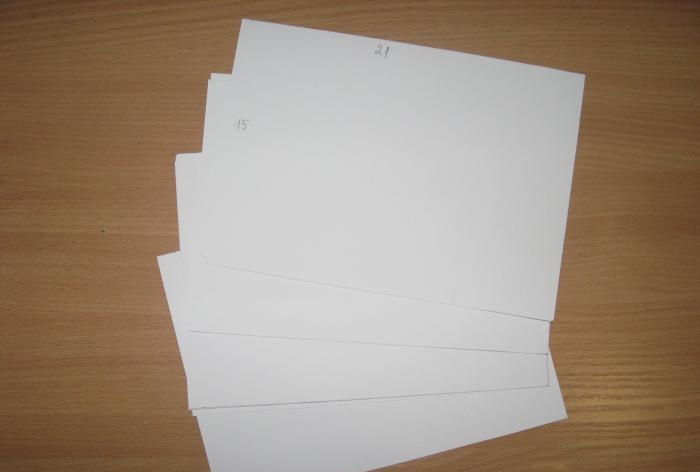
For the inner sheets, cut rectangles of scrap paper 15 by 21 cm.
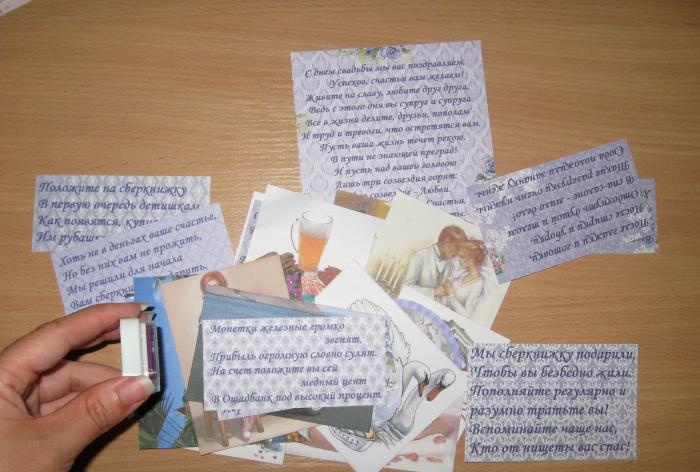
We tint all pictures and inscriptions with a pad.
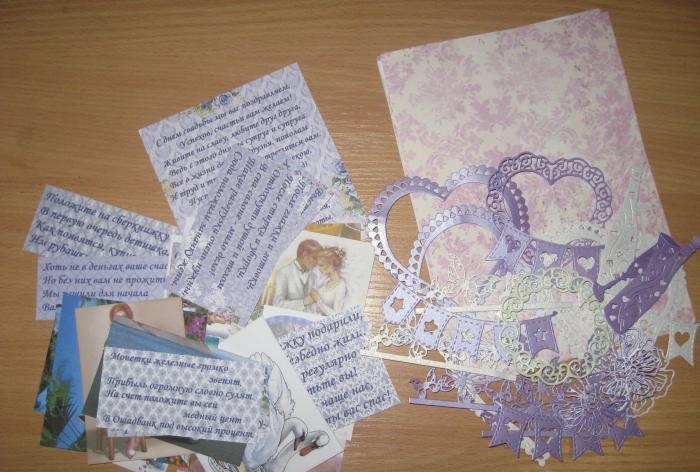
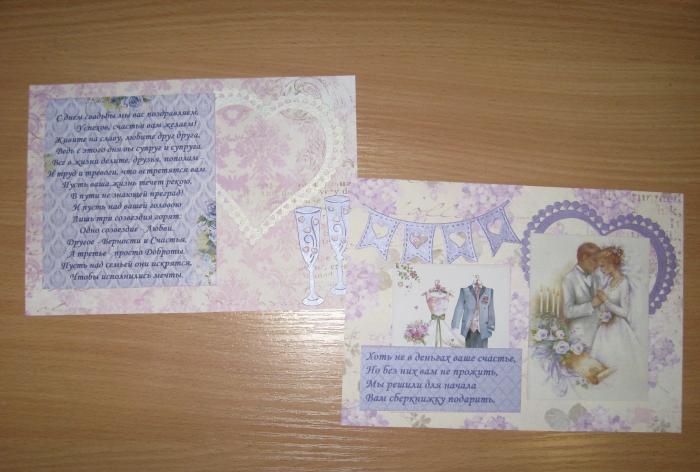
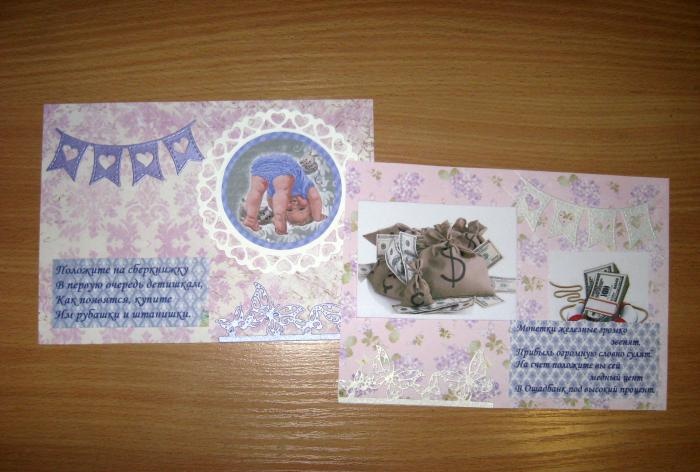
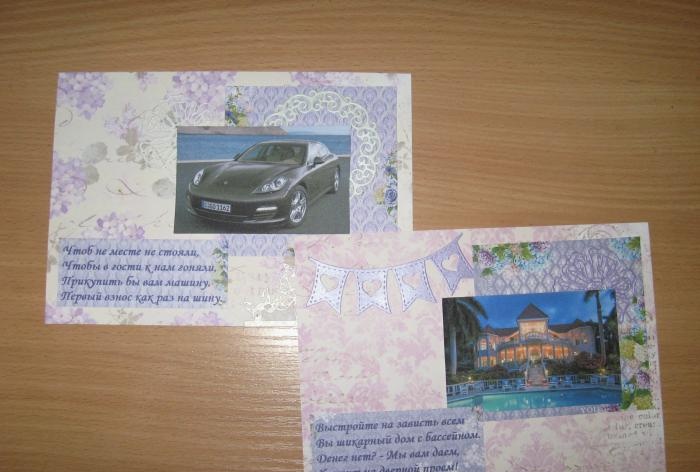
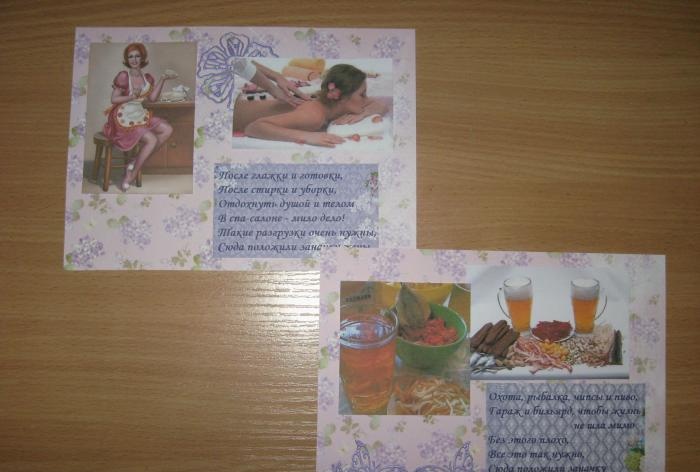
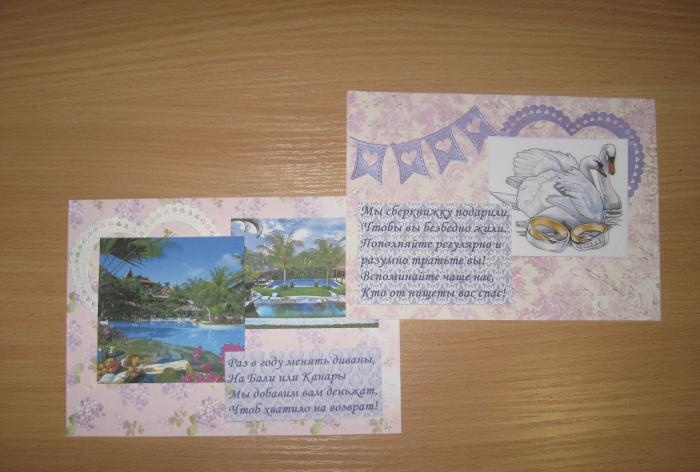
And now, according to the meaning and our discretion, we decorate each inner sheet of scrap paper, including the endpapers.
We stitch the cover.
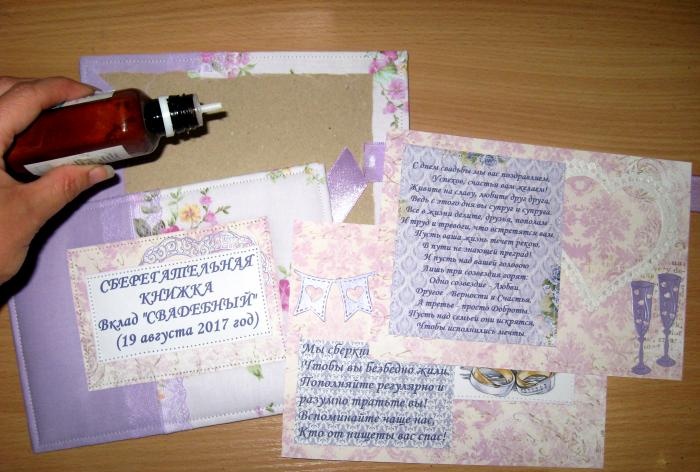
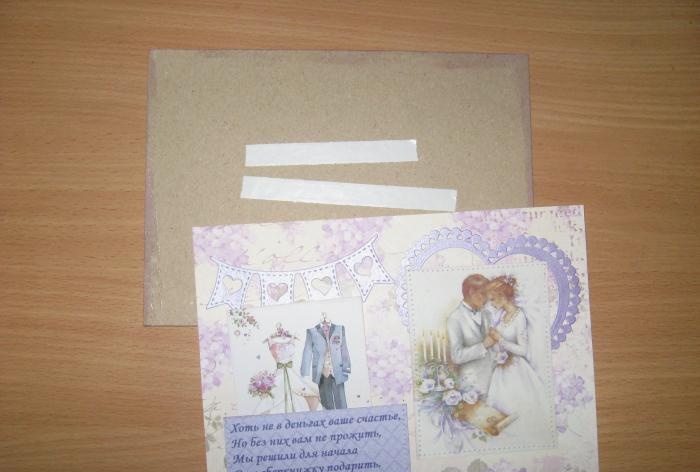
The same thing, we stitch each picture and cutting on the sheets. Glue the already decorated endpapers onto the inside of the cover and leave to dry.
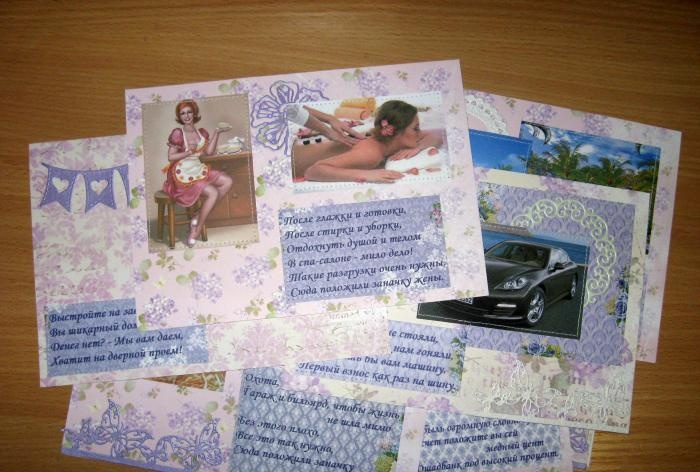
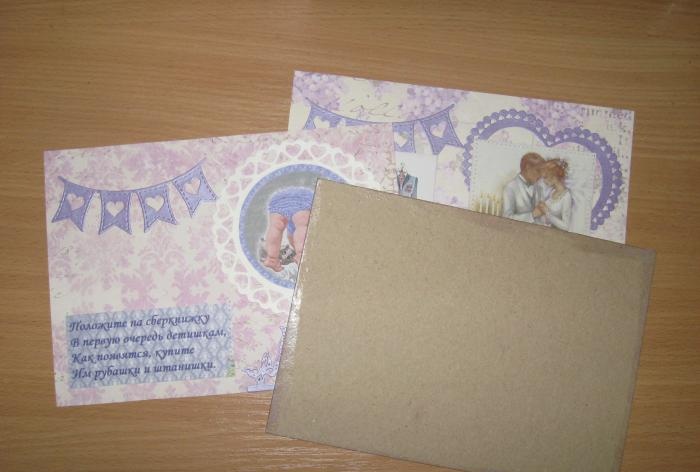
Now we glue the sheets in pairs and in the required sequence.
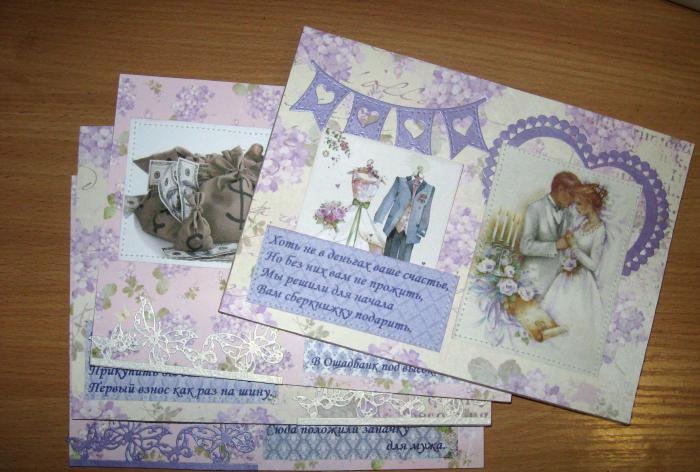
And then we also stitch along the edge of each one.
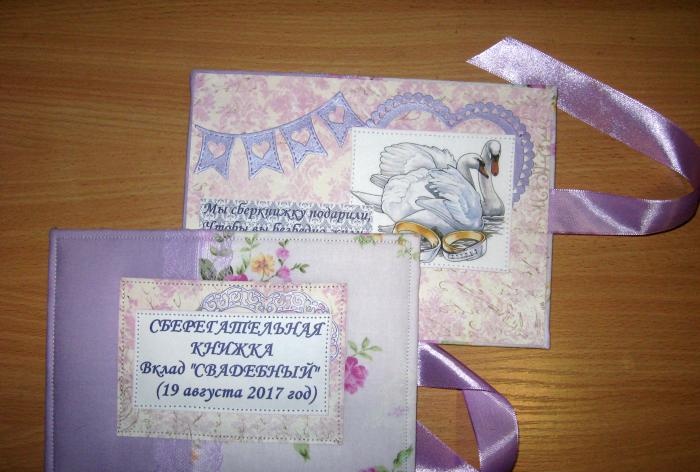
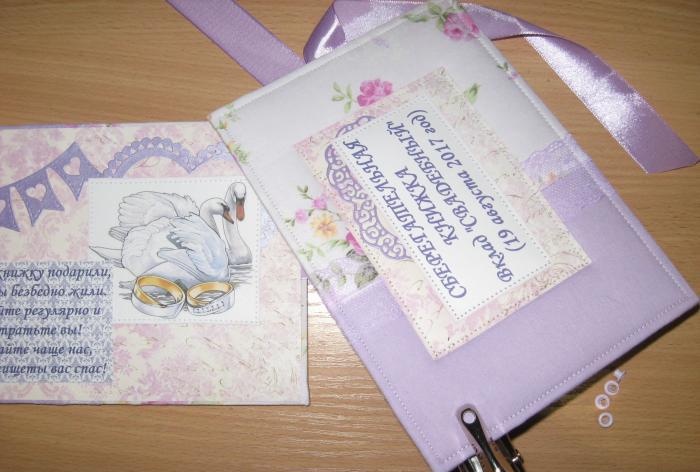
We make holes and put eyelets on the cover. Then we make holes on the sheets and assemble our little book into rings.
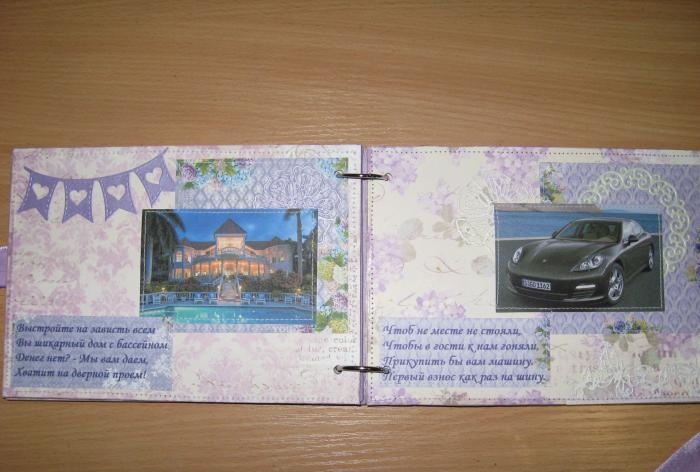
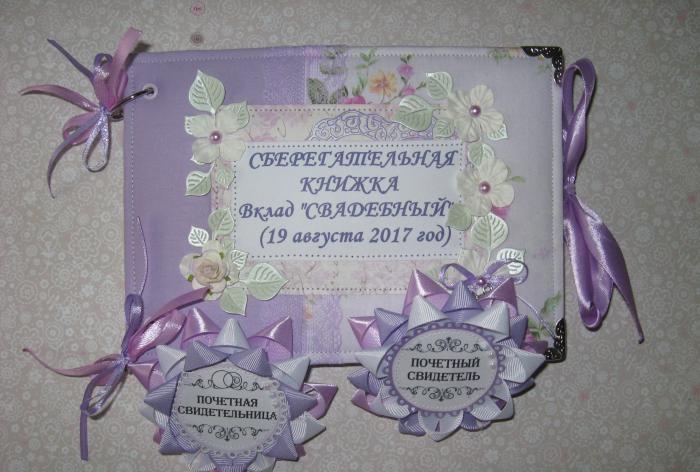
All we have to do is tie bows on the rings, glue flowers, leaves and half-beads and we’re done.

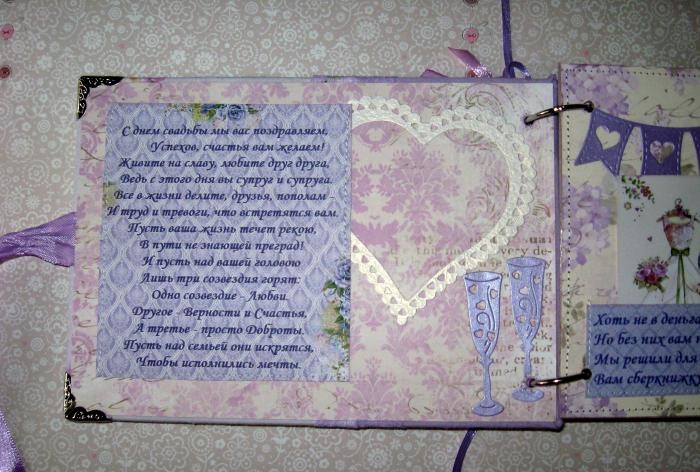
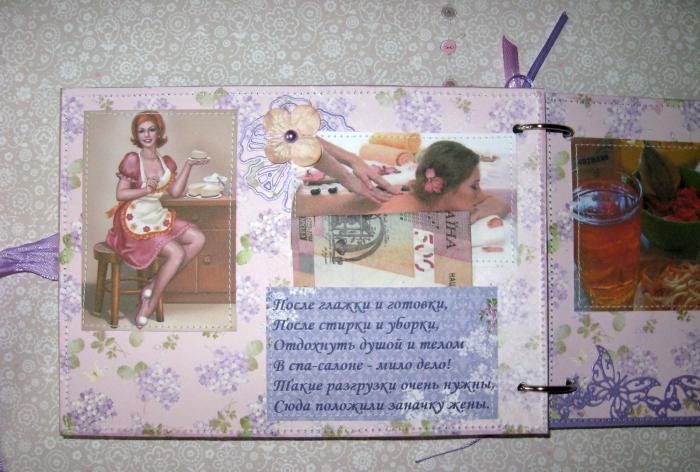
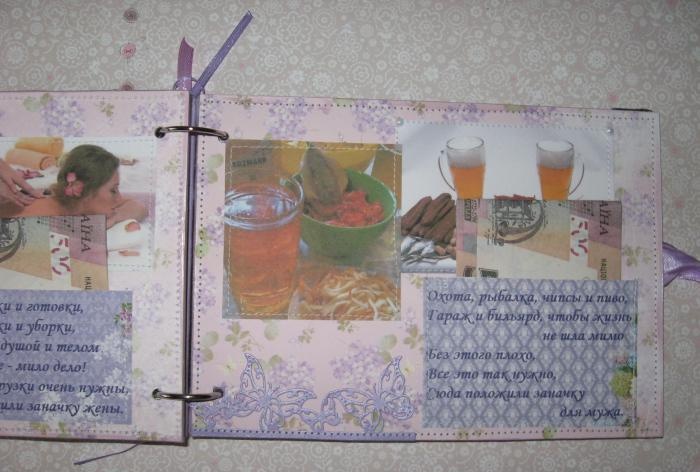
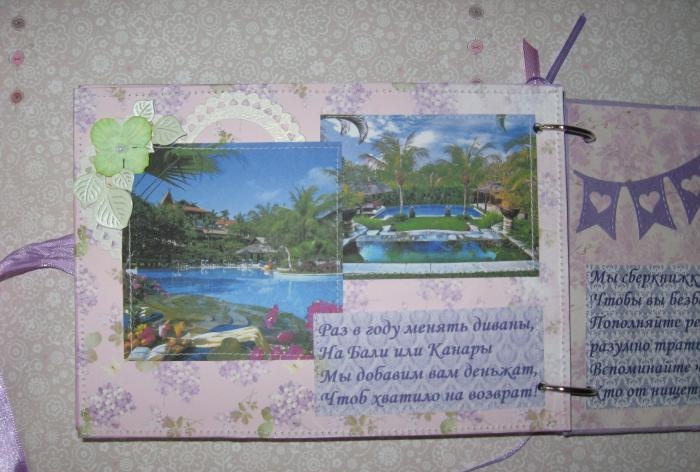
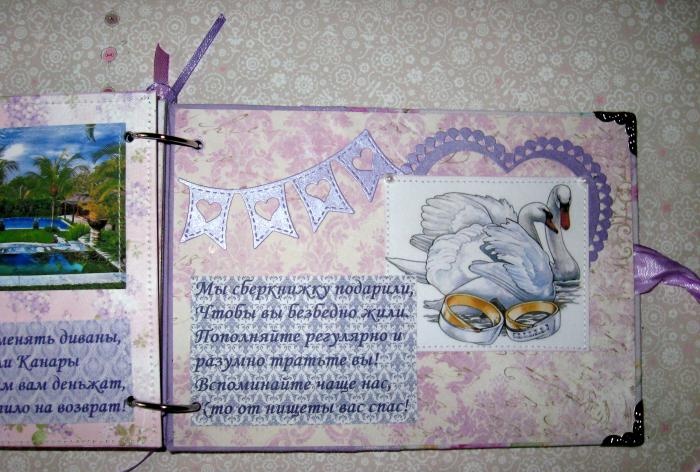
The savings book is ready, we put money in the pockets and congratulate the newlyweds. Thank you for your attention and see you again.
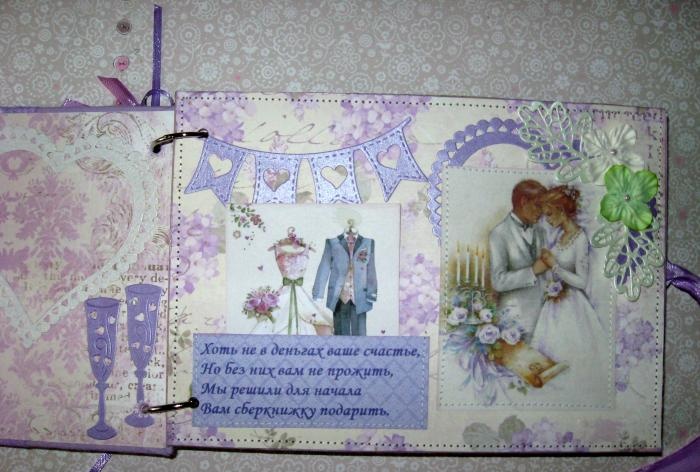

To work on the book we take:
- Three sheets of A4 binding cardboard;
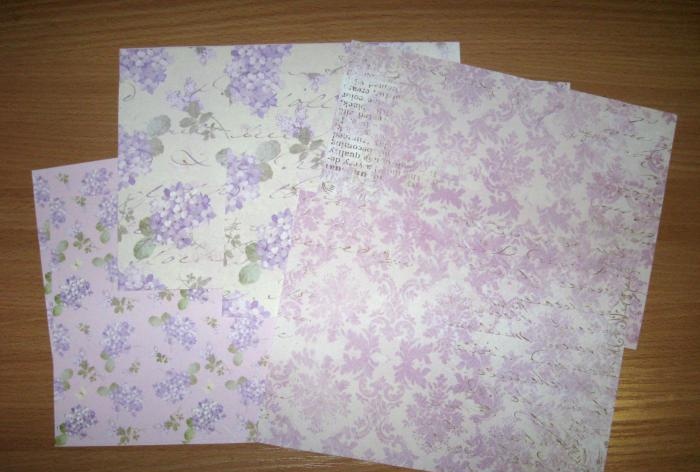
- Five sheets of scrap paper in lilac color, size 30 by 30 cm;
- Sintepon;
- The fabric is natural cotton, we take plain lilac and floral lilac;
- Cotton lilac lace 3.5 cm wide;
- Lilac satin ribbon 25 mm;
- Pictures on a wedding theme, with female and male motifs, children's pictures, nature, car, house, banknotes, etc.;
- Printed wishes for each picture in the form of small poems;
- Lilac acrylic paint;
- Lilac half beads;
- Ink pad for toning;
- Narrow purple and lilac satin ribbons for bows;
- Printed inscription “Savings book”, its name and wedding date;
- Metal pendant daddy hearts;
- Cutting from mother-of-pearl cardboard in mint, lilac and white colors: leaves, flowers, glasses, hearts, butterflies, napkins;
- Paper hydrangea flowers in white and light green colors;
- Metal rings and 4 metal corners;
- Lilac eyelets and installer;
- Tools: double-sided tape, scissors, metal ruler, pencil, glue stick, hot-melt gun, Focus glue.


Since our book will be in the form of a mini-album with hard sheets and binding, we take binding cardboard and divide all three sheets in half, 15*21 cm, and cut them.


We get six pieces. We take two of them on the cover and paste them on one side with padding polyester.


Now we need to prepare the fabric for the cover.


We combine two fabrics with each other and cut them with reserves. We also cut two strips of lace and two strips of ribbon at the joints.


In order not to waste time, while we are sewing the cover, we will tint the edges of the inner sheets with paint and leave them to dry for 15-20 minutes. From scrap paper we need to cut out two endpaper rectangles for the cover, 14.5 by 20.5 cm.


We also cut out pictures and wishes for sheets. We smooth the fabric, sew it together in pairs and sew lace onto the joints.


Now stretch the fabric over the cover and glue it with a glue stick.


Inside the cover we glue tape on both parts. The endpapers are ready.


For the outer part of the book, we also cut out a rectangle from scrap paper and an inscription, and glue a cut out heart between them.


For the inner sheets, cut rectangles of scrap paper 15 by 21 cm.


We tint all pictures and inscriptions with a pad.


And now, according to the meaning and our discretion, we decorate each inner sheet of scrap paper, including the endpapers.


We stitch the cover.


The same thing, we stitch each picture and cutting on the sheets. Glue the already decorated endpapers onto the inside of the cover and leave to dry.


Now we glue the sheets in pairs and in the required sequence.


And then we also stitch along the edge of each one.


We make holes and put eyelets on the cover. Then we make holes on the sheets and assemble our little book into rings.


All we have to do is tie bows on the rings, glue flowers, leaves and half-beads and we’re done.


The savings book is ready, we put money in the pockets and congratulate the newlyweds. Thank you for your attention and see you again.


Similar master classes
Particularly interesting
Comments (2)

