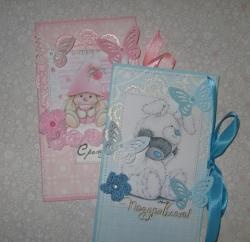
Handmade envelopes for the birth of babies
For every family, the most responsible and important event is the addition of their family, namely the birth of a child. The birth of a baby is always a great joy in any family. Not only the parents themselves are happy, but also grandparents, aunts and uncles, brothers and sisters. A child is a gift from God and a great happiness. Many people believe, and indeed believe in omens, that you can’t buy or give anything in advance until the baby is born, so money will be the most relevant present parents upon discharge of the baby. But still, at least a small memory should remain in the memory of you and your gift for birth or discharge, so you can make a beautiful and original envelope for money just for the baby himself. It will be both individual and made with soul and all love. Now we will look at such a master class, which will teach and help us in making two gift envelopes for newborn babies.
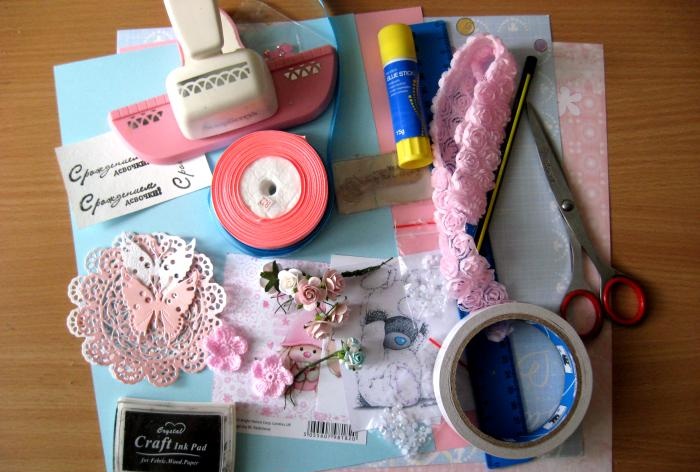
So, for production we need to take:
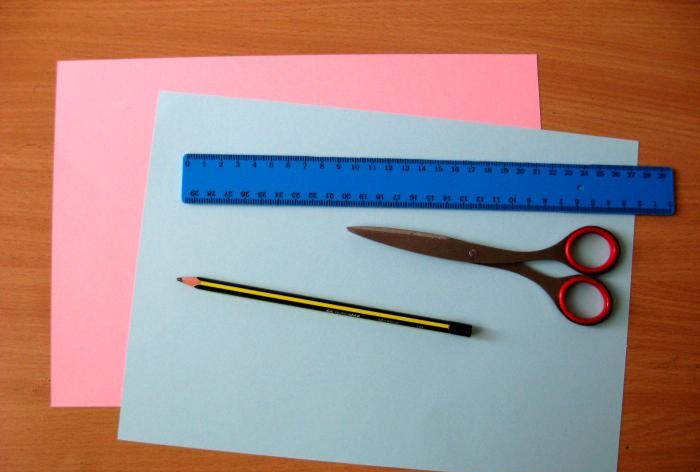
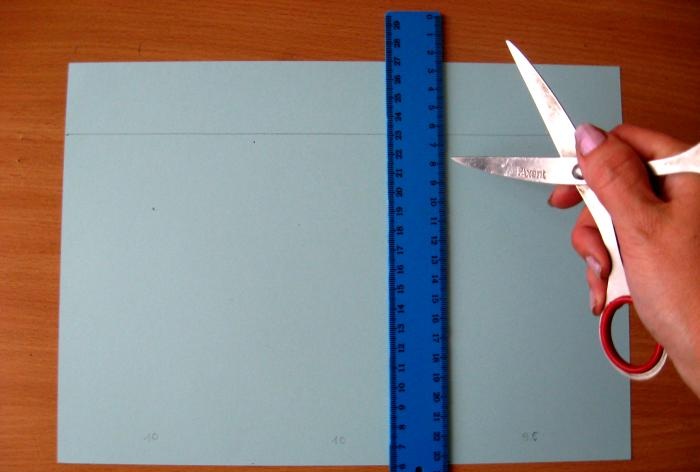
Let's begin. We take cardboard, unfold it horizontally, measure 17 cm in height, and divide the width into parts 10 cm, 10 cm and 9.6 cm.
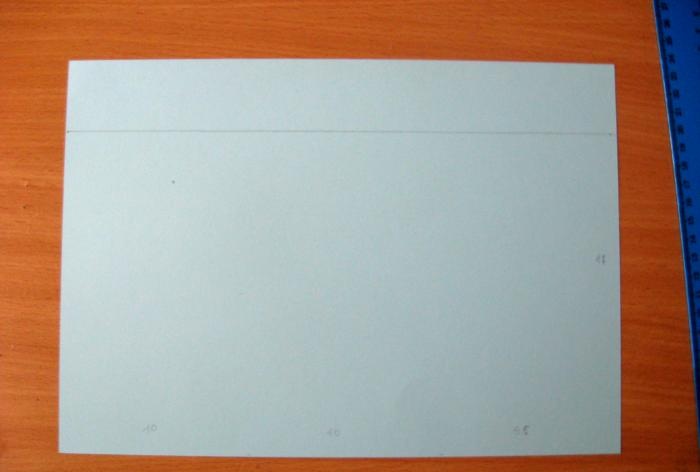
We draw vertical lines for the bends and cut off the extra piece of paper on top. You can then use it to punch butterflies if you have a hole punch.
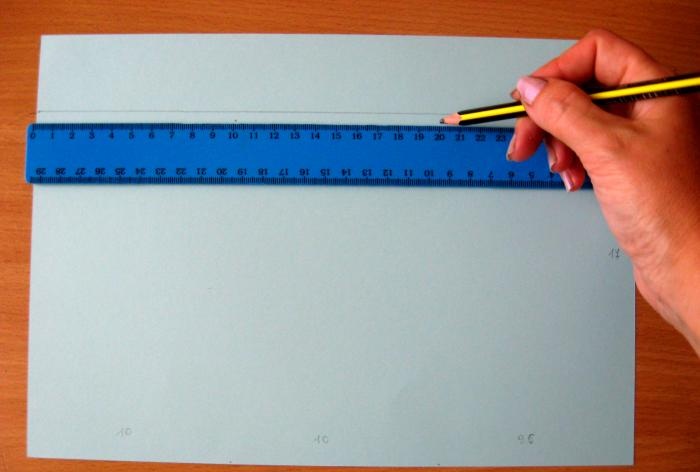
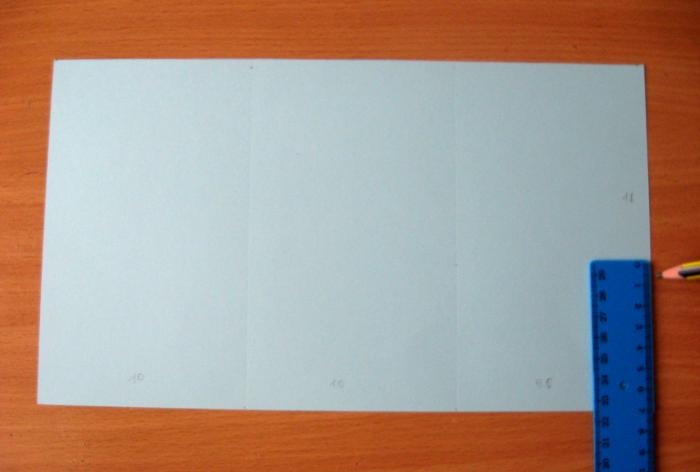
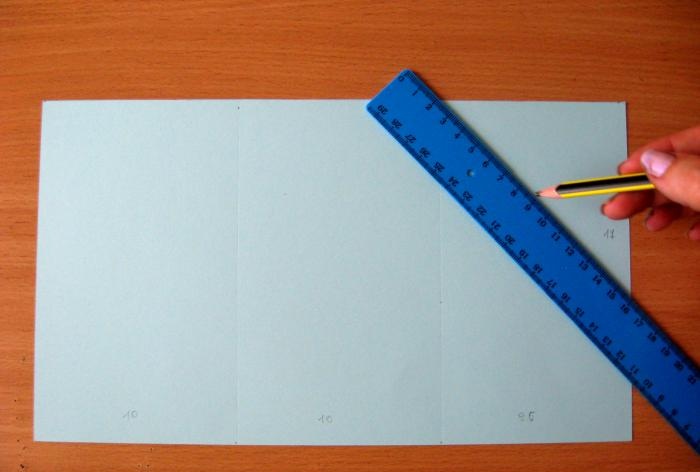
From the bottom right we retreat 7 cm up and connect it to the corner of the inside of the envelope, draw a line and cut it.
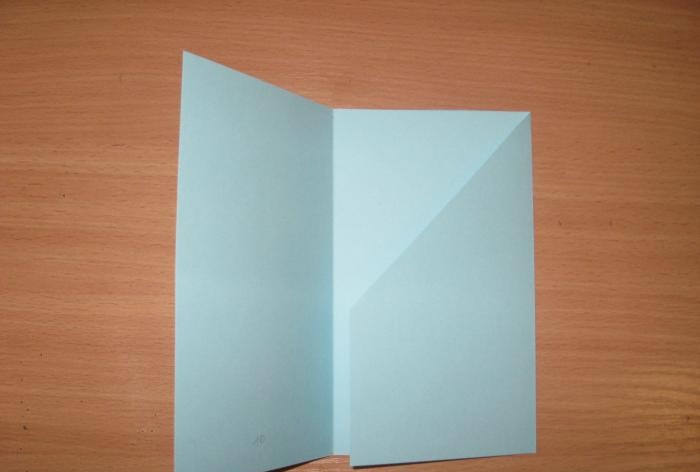
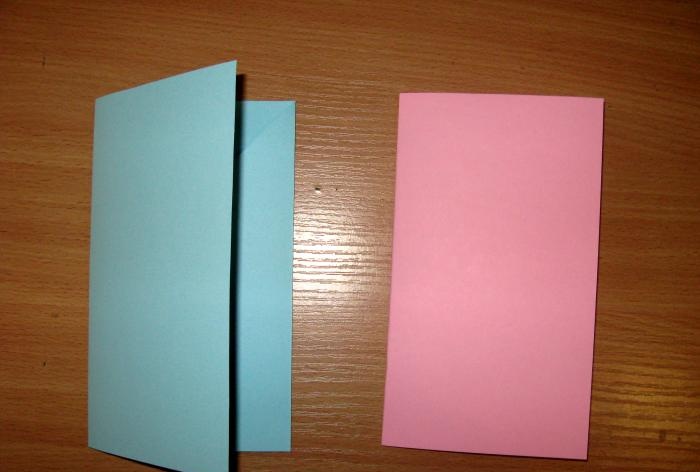
We fold it and get the base for the envelope in blue. We mark and prepare the base for the pink envelope in the same way.
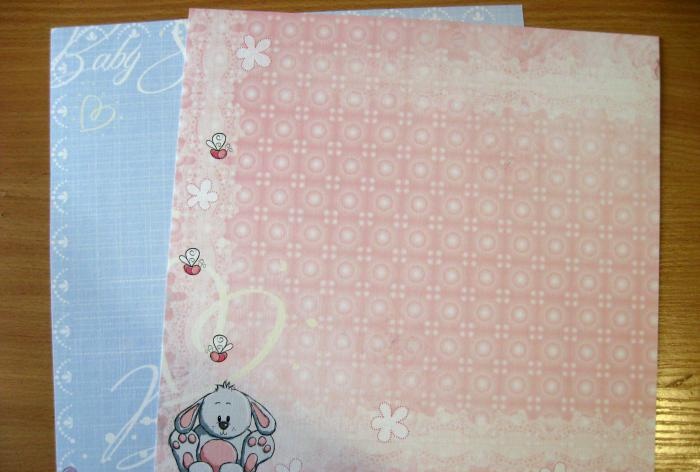
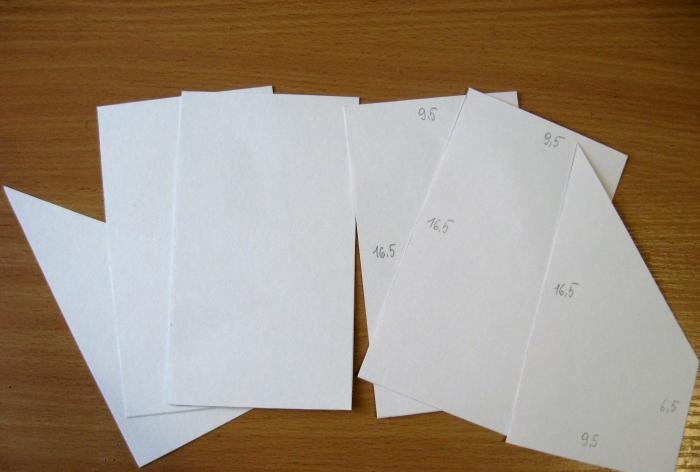
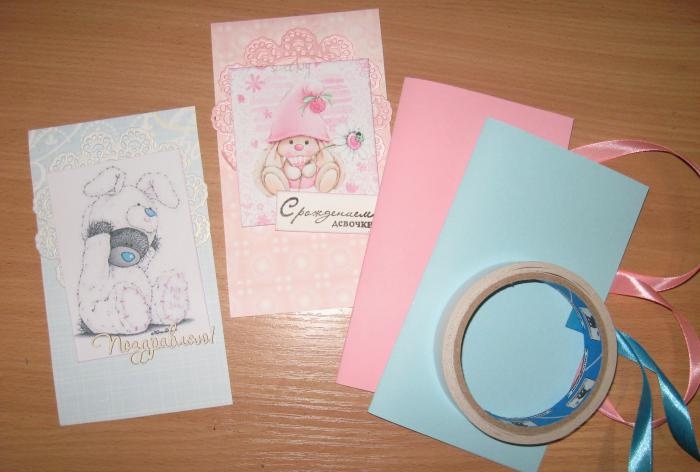
Now we take scrap paper, for each envelope we cut out three elements of the appropriate sizes, as in the photo.
We cut two pieces of 17-18 cm long from satin ribbons, burn the edges and glue them to the center of each base of our envelopes with pieces of double-sided tape.
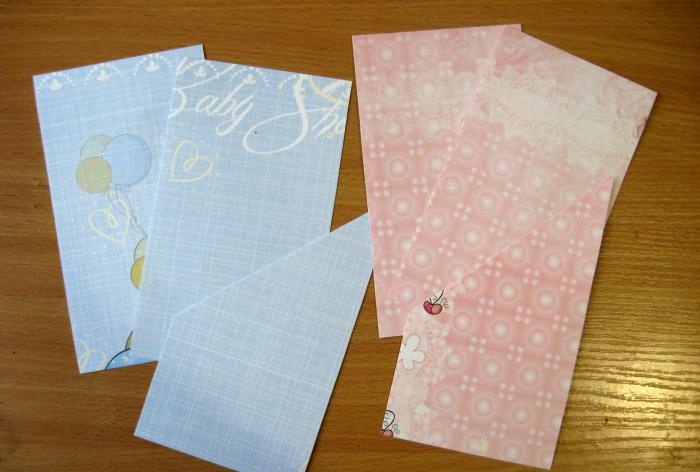
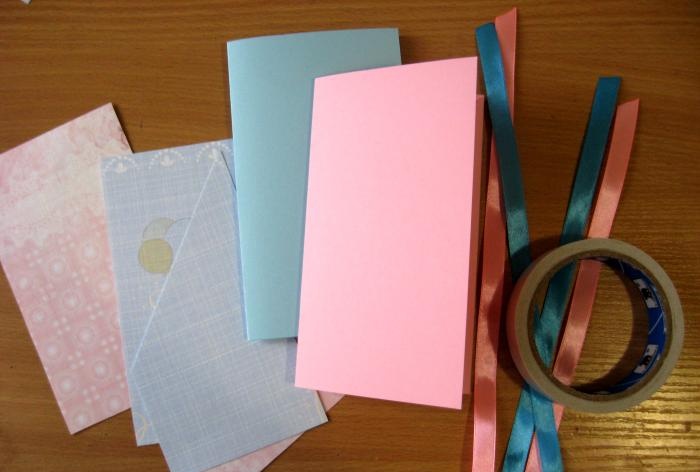
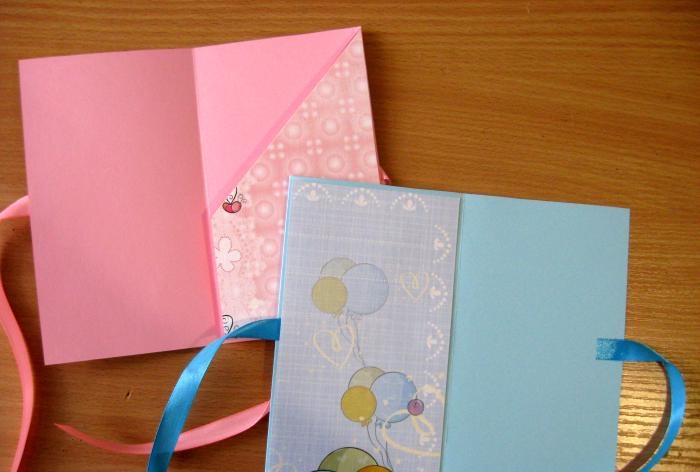
The inner and back parts of scrap paper can also be immediately glued onto double-sided tape. But we will decorate the outer parts with pictures, inscriptions and napkins.
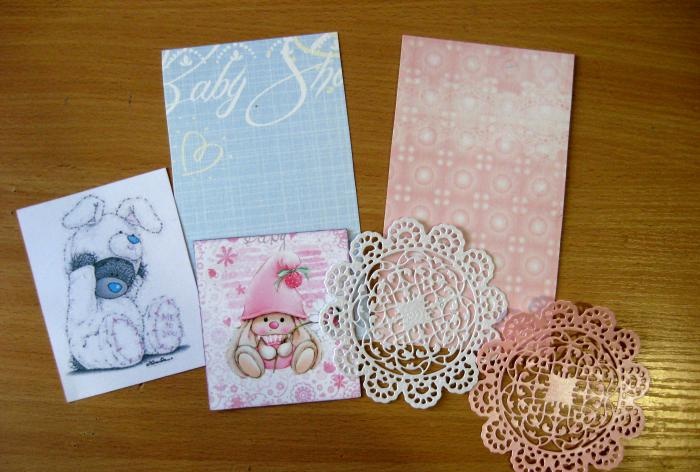
We stamp the inscription on a white sheet and cut it out, tinting its edges. We glue the napkins onto the scrap paper first, then the inscriptions.
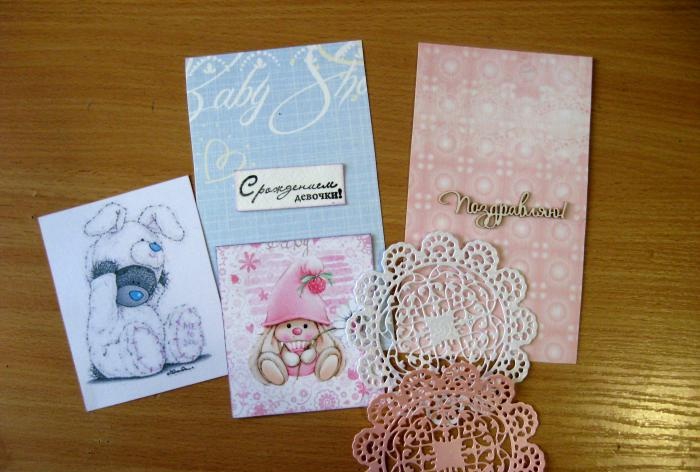
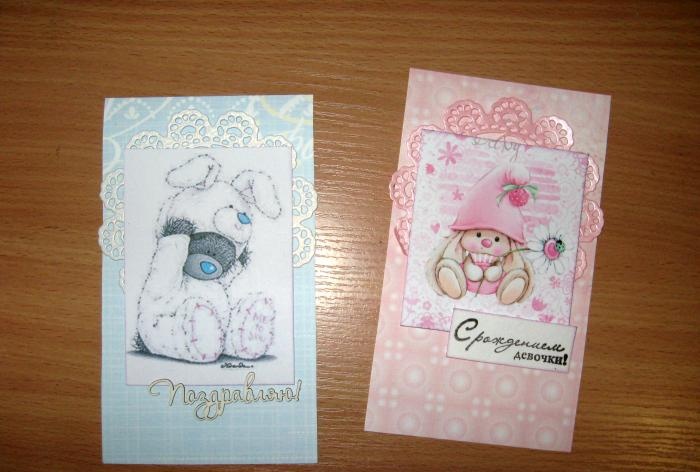
We sew on the pictures and the inscription using a typewriter. Now we also glue these scrap parts onto the bases. We sew the outer parts separately, and the inner and back parts together, thus getting pockets for money inside.

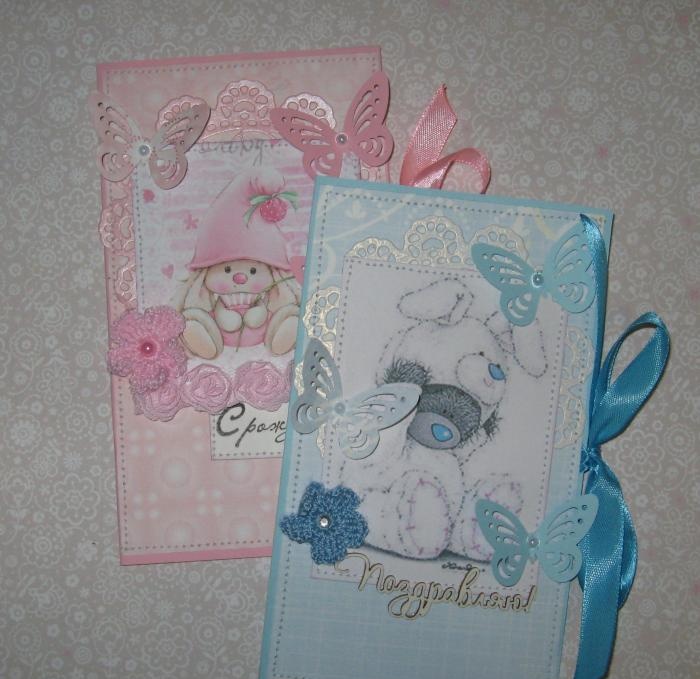
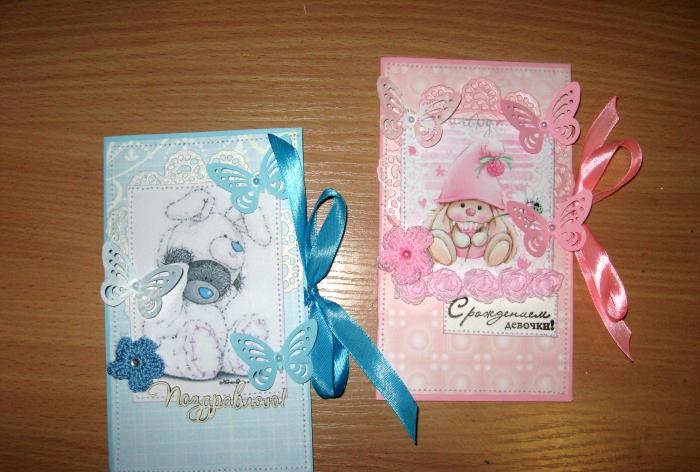
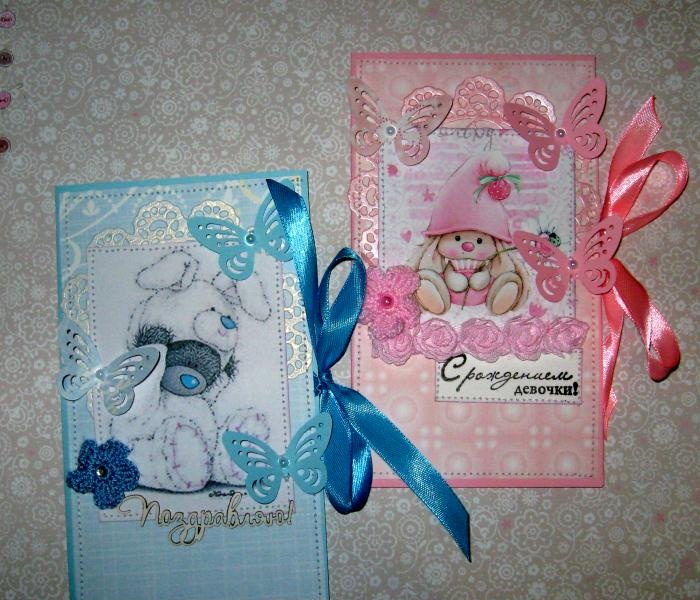
All that remains is to decorate our envelopes. We glue the butterflies, in the center there are half beads. Then add a flower with a half bead and you’re done. We tie bows and you can congratulate the happy parents. Thank you for your attention and see you again!
So, for production we need to take:
- Pink and blue cardboard on A4 sheet;
- Accordingly, the scrapbooking paper is pink and blue;
- Pictures with a pink bunny and a teddy bear;
- Die-cut small butterflies and openwork napkins made of pearlescent white and pink paper;
- Pink and white pearl half beads of different sizes;
- Stamp and ink for it “Happy birth of a daughter”;
- Chipboard “Congratulations”;
- Satin pink and blue ribbons 12 mm wide"
- Lighter for burning;
- Light pink ribbon with roses;
- Knitted flowers blue and pink;
- Glue stick;
- Double-sided tape;
- Ruler, pencil and scissors.


Let's begin. We take cardboard, unfold it horizontally, measure 17 cm in height, and divide the width into parts 10 cm, 10 cm and 9.6 cm.


We draw vertical lines for the bends and cut off the extra piece of paper on top. You can then use it to punch butterflies if you have a hole punch.


From the bottom right we retreat 7 cm up and connect it to the corner of the inside of the envelope, draw a line and cut it.


We fold it and get the base for the envelope in blue. We mark and prepare the base for the pink envelope in the same way.


Now we take scrap paper, for each envelope we cut out three elements of the appropriate sizes, as in the photo.


We cut two pieces of 17-18 cm long from satin ribbons, burn the edges and glue them to the center of each base of our envelopes with pieces of double-sided tape.


The inner and back parts of scrap paper can also be immediately glued onto double-sided tape. But we will decorate the outer parts with pictures, inscriptions and napkins.


We stamp the inscription on a white sheet and cut it out, tinting its edges. We glue the napkins onto the scrap paper first, then the inscriptions.


We sew on the pictures and the inscription using a typewriter. Now we also glue these scrap parts onto the bases. We sew the outer parts separately, and the inner and back parts together, thus getting pockets for money inside.


All that remains is to decorate our envelopes. We glue the butterflies, in the center there are half beads. Then add a flower with a half bead and you’re done. We tie bows and you can congratulate the happy parents. Thank you for your attention and see you again!


Similar master classes
Particularly interesting
Comments (1)


